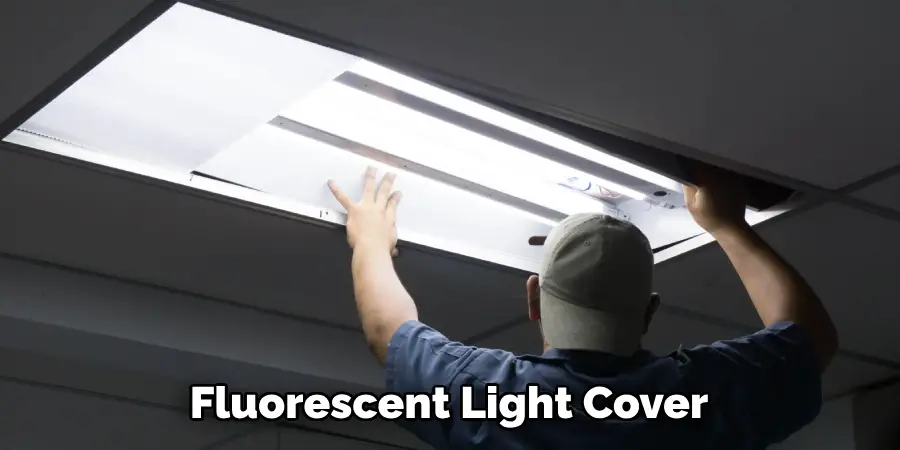
Ah, fluorescent light covers. They’re the unsung heroes of any room, diffusing harsh light so that it doesn’t feel like you’re sitting under the interrogation lights of an old cop movie. These covers do a mighty fine job of softening illumination and adding a splash of style, making any space much more inviting. However, sometimes, these trusty covers need a little revamping.
Maybe they’ve seen better days and are now slightly less chic, more yellow, or worse, sporting a charming crack. Whatever the reason—damage, discoloration, or just a much-needed clean-up—a change is indeed in order. That’s where this guide comes into play, showing you step-by-step how to change fluorescent light cover with ease and safety. So, arm yourself with this knowledge, and soon, you’ll have your space looking spiffy and well-lit in no time!
Understanding Fluorescent Light Covers
Alright, let’s get into the nitty-gritty of fluorescent light covers. These aren’t just any flimsy pieces of plastic but come in different materials like acrylic, polycarbonate, and glass—each with its own personality and charm. Acrylic covers are lightweight and cost-effective, perfect for those who want durability without breaking the bank. Polycarbonate is like acrylic’s stronger cousin—more resistant to impact and scratches—and ideal for dealing with an area prone to knocks. Then we have the classy glass covers, perfect for adding an elegant touch, though they’re a bit more fragile.
Now, why should you care? Well, these covers protect your delicate bulbs from accidental damage, help reduce the glare so you’re not squinting as you’ve just seen the sun for the first time, and enhance the diffusion of light for a nice, even spread. Choosing the right cover doesn’t have to be rocket science! Consider the size that fits your fixture, a material that matches your durability needs, and a design that complements your style. Think of it as accessorizing your room—choose wisely, and you’ll get practicality and a boost to your room’s aesthetics!
Safety Precautions
Before diving headfirst into changing your fluorescent light cover, let’s talk safety. Nothing ruins a DIY project faster than an unexpected zap or a surprise shard of glass. First, make sure to turn off the power at the circuit breaker. It’s the easiest step yet the most crucial to avoiding the whole Frankenstein’s monster impersonation.
Next up, gear up like you’re about to embark on an adventurous quest through the land of dangerous light fixtures. Do some trusty safety goggles to shield your peepers and slip on those snug gloves—the last thing you need is a rogue splinter or shard attacking your hands.
Lastly, channel your inner museum curator when handling fragile materials like glass or acrylic covers. Move slowly and deliberately, and keep that heart-pounding action sequence for a future action movie, not your light cover replacement process. With these precautions, you can safely conquer the fluorescent frontier!
Tools and Materials Needed
Gather your light-saber-like tools and materials before you jump into the dazzling world of fluorescent light transformation. Here’s your trusty list:
- Screwdriver: Depending on your fixture, this might be the beloved Phillips or the less-discussed flathead. Either way, this tool’s got your back if clips or fasteners are involved.
- Ladder: If your light fixtures are playing hide and seek up high, a sturdy ladder is your ticket to reaching those lofty heights without channeling your inner acrobat.
- Cleaning Supplies: A clean cloth or duster, perhaps some gentle cleaner if you’re feeling extra spiffy. These will help ensure your fixture shines bright like a diamond once the job is done.
Now, onto the all-important Replacement Cover. Make sure you’re sizing it up like a boss—measure your fixture, choose the material wisely (a shoutout to acrylic, polycarbonate, or glass!), and match the design to your stylish flair. Hit up your local hardware store or have it shipped for a seamless substitution. Voilà, armed with this gear, you’re ready to take on the world—or at least, your light fixture!
Taking Down The Holiday Lights: Step-by-Step Guide
Step 1: Prepare the Area
Alright, DIY champ, first things first—prep that space! Clear out any clutter or cheeky furniture that might turn your light-fixture dance into a tightrope act. A clear area means ample workspace and no scary trips or tumbles. Trust me, safety and space are the dream team here!
Step 2: Remove the Old Cover
It’s time to say goodbye to the old cover. Locate those sneaky little clips or fasteners—you know, the tiny bits securing the cover like a squirrel hoarding acorns. Depending on your fixture, these could be screws or snap-on types. Gently remove them using a screwdriver if needed. If your cover is glass, channel your inner ninja and handle it with care—no sudden movements! Slowly ease off the cover and breathe a sigh of relief.
Step 3: Inspect the Light Fixture
With the cover off, now’s your chance to inspect the light fixture for any battle scars or hidden gremlins. Look for any signs of wear, loose wiring, or damage needing attention. A quick check here can save you from unexpected flickers or “Oops, it’s not working!” moments in the future.
Step 4: Clean the Fixture
We’ve got the cover off—let’s do a little spring cleaning. Grab your clean cloth, maybe some mild cleaner if you’re feeling like a rockstar, and wipe away the evidence of time: dust, debris, and perhaps a rogue cobweb or two. Ensure everything shines bright like a newly minted penny before moving on.
Step 5: Install the New Cover
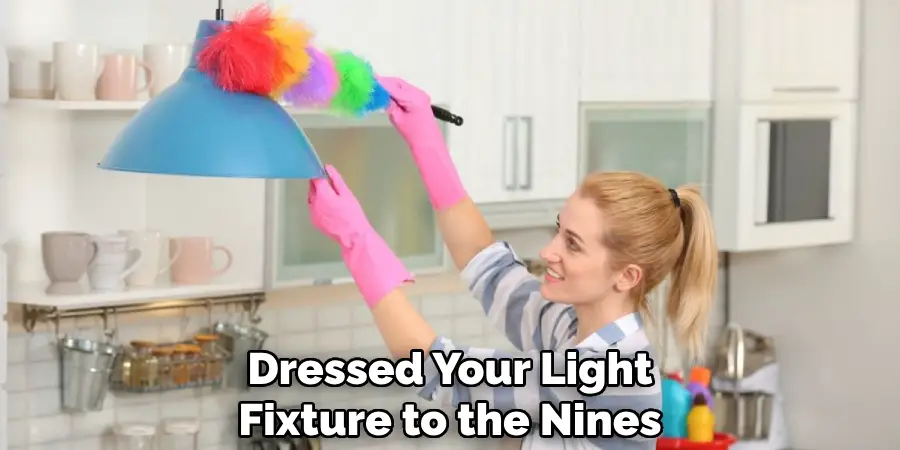
Here comes the fun part—out with the old, in with the new! Take your shiny new cover and make sure it’s all set to replace the retired veteran. Align it carefully with the fixture, taking care to match up any fastener points. Gently but firmly secure the new cover in place by reattaching those clips or screws we so cautiously removed earlier. Voilà, you’ve just dressed your light fixture to the nines!
Step 6: Test the Light
Drumroll, please, as the moment of truth arrives. With cautious anticipation, restore the power and flick on the switch. If everything goes according to plan, you’re greeted with a perfectly diffused glow that rivals any professional setup. If not, retrace your steps to ensure everything’s tickety-boo. And there it is! Bask in the glow of your accomplishment, and perhaps, treat yourself to a cookie for a job well done.
Maintenance Tips for Fluorescent Light Covers
Keeping your fluorescent light covers in top-notch condition is as crucial as finding the perfect playlist for your kitchen dance parties. Here’s how to keep everything shining:
Regular Cleaning
You’ll want to give those covers a bit of TLC about once every three months to maintain that dazzling light diffusion and pristine aesthetic. A gentle wipe-down using a soft cloth and mild cleaner should do the trick, banishing any dust bunnies back to their hiding places and ensuring an even spread of light.
Handling Damage
Life happens, and sometimes, your light cover might catch a bump or crack if you’re channeling your inner rockstar air guitar moves. In such events, don’t panic! Check your local hardware store or online retailers for a perfect match. Replacing a damaged cover is easier than finding a missing sock—measure, choose, and secure the new addition for optimal glow.
Light Bulb Replacement
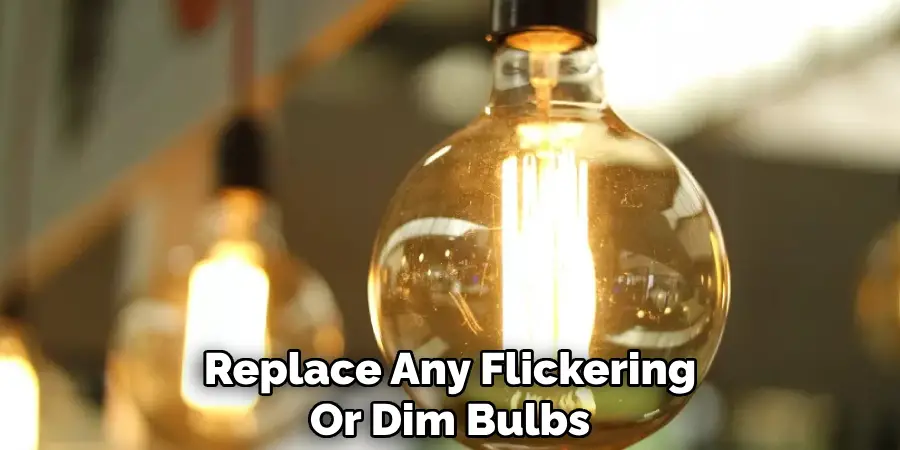
While you’re playing Light Artist and the cover’s off, take the opportunity to replace any flickering or dim bulbs. Handle those bulbs like eggs—a gentle touch is your best bet. When disposing of old bulbs, follow local recycling guidelines to keep things eco-friendly. Pop in a fresh bulb and let there be light—brilliant, smooth, and jazz-hands-approved!
Frequently Asked Questions
1. What if My Fluorescent Light Cover Doesn’t Fit Properly?
Well, isn’t that a pickle? If your cover doesn’t fit, double-check your measurements to ensure accuracy. It’s possible you mixed up the measurements or grabbed the wrong size cover. Don’t fret, though. Just revisit the store or your online cart and swap it out for the perfect dimensions. Remember, measure twice, shop once!
2. Can I Paint My Fluorescent Light Cover to Match My Room’s Décor?
Absolutely! A splash of color never hurt anyone—unless you spill it, of course. Depending on your cover’s material, use spray paint designed for plastic or glass. Ensure you paint in a well-ventilated area and allow ample drying time before reinstallation. Voilà, your light cover can now rock the room’s vibe like a chameleon at a disco!
3. How Do I Know when It’s Time to Replace My Fluorescent Light Cover?
If your cover is sporting cracks, yellowing, or has become the accidental canvas for every dust bunny in town, it might be time for a replacement. Also, if the light diffusion just isn’t cutting it anymore, a fresh cover could revive that vivacious glow—just like swapping out your favorite band’s old t-shirt for a crisp new one!
4. Is There a Quick Fix if My Light Flickers After Installing a New Cover?
First things first, don’t panic. Flickering could be due to a loose connection, bulb issues, or even that mischievous cover not fitting just right. Check to see if everything’s snug and sound—sometimes those sneaky bulbs just need a little extra twist. If the flicker persists, it might be time to consult a professional handyman—cue heroic music!
Conclusion
Wrapping it all up, maintaining your fluorescent light covers isn’t just about keeping things pretty; it’s essential for ensuring your lighting functions flawlessly and complements your space’s vibe. Tackling how to change fluorescent light cover is surprisingly simple and a perfect fit for any DIY aficionado. Remember, safety first—preparation and care in handling gear are key. By stepping up to the task, you’re enhancing your home’s look and nurturing a safe, illuminated environment that you can truly enjoy every day. Light up your world, one cover at a time!

