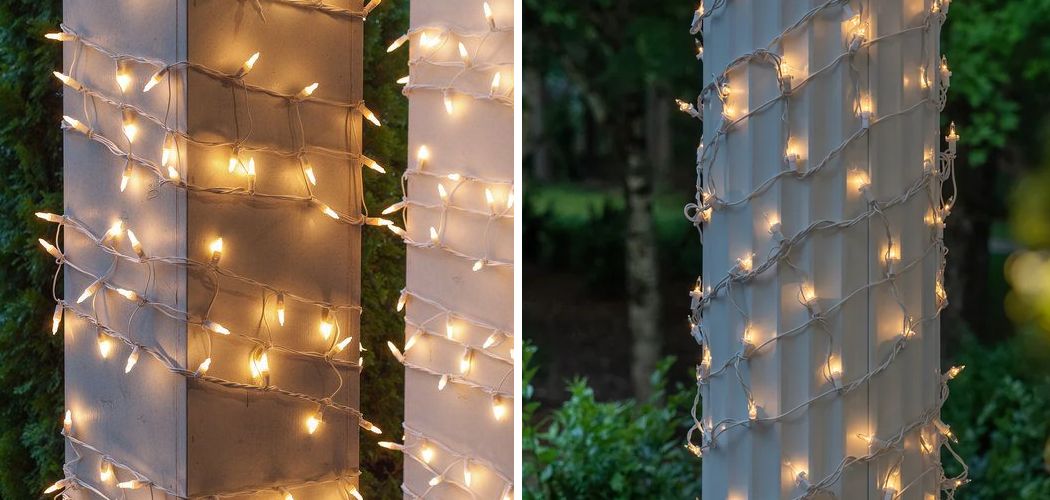
Are you looking to add a special touch to an outdoor event or gathering? Wrapping lights around pillars can be the perfect way to create a festive atmosphere. Here are some tips and tricks on wrap lights around pillars.
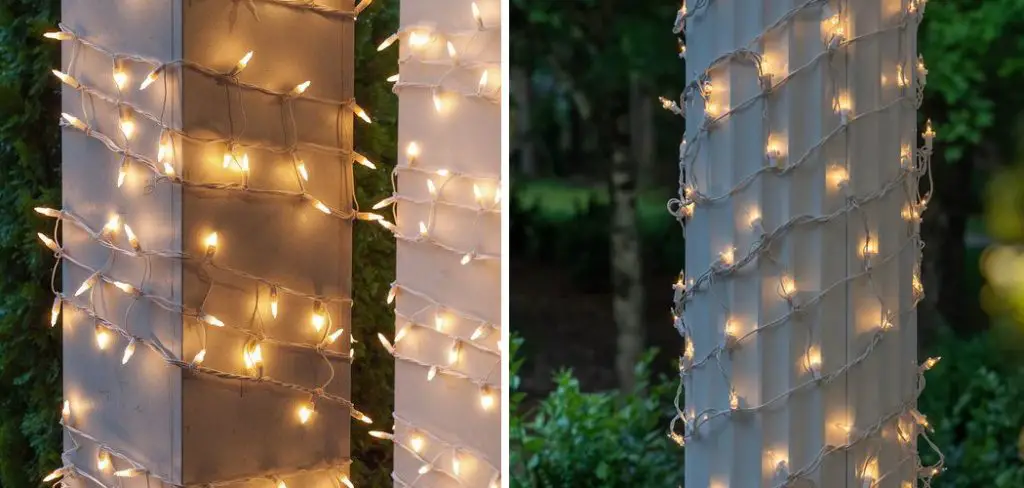
Creating a magical and inviting atmosphere has never been easier, thanks to the art of wrapping lights around pillars! Whether you’re sprucing up your wedding venue, adding a touch of ambiance at an outdoor party or accentuating an aisle in a church – light wraps are the perfect way to bring life and radiance into any space.
If you’re overwhelmed by the thought of figuring out how to wrap lights around pillars, don’t worry – it’s easier than you think!
In this blog post, we’ll show you how easy it is to wrap fabric-based lighting around pillars, helping create stunning effects for any occasion.
What Will You Need?
Before you get started, you’ll need a few tools and items. You’ll need the followings:
1. Lights for Wrapping: Whether you opt for LED, rope, or fairy lights, pick something bright and decorative that will look good when wrapped around the pillar.
2. Pillars of Choice: This could be a free standing column, a garden fence or even an indoor pillar – whatever works best with your décor.
3. Safety Pins: For thicker materials such as fabric, you’ll need some safety pins to secure the lights in place.
4. Extension Cords or Adapters: You will need an extension cord or adapter depending on where you want your lighting to be positioned – whether closer to an outlet or further away.
5. Masking Tape: This is optional but handy when it comes to keeping things neat and tidy – masking tape holds everything together without damaging the pillar or surrounding area.

Once you have the items listed above, you’re ready to wrap your pillars!
9 Easy Steps on How to Wrap Lights Around Pillars
Step 1: Measure and Cut
Start by measuring out the amount of fabric-based lighting you’ll need and then cut accordingly. Depending on how many times you want your light strands to wrap around the pillars (or columns) will depend on how much you need. Make sure to measure twice so that your cuts are accurate!
Step 2: Attach Your Lights
You can start attaching your lights in two ways- starting from the top or starting from the bottom. If you’re wrapping around multiple pillars, starting from one spot and working your way down is a good idea.
Step 3: Begin Wrapping
Begin wrapping the lights around the pillar by looping them through, making sure to keep them secure. If necessary, use safety pins to hold them in place. Ensure that the lights are not too tight, or else they will become difficult to remove.
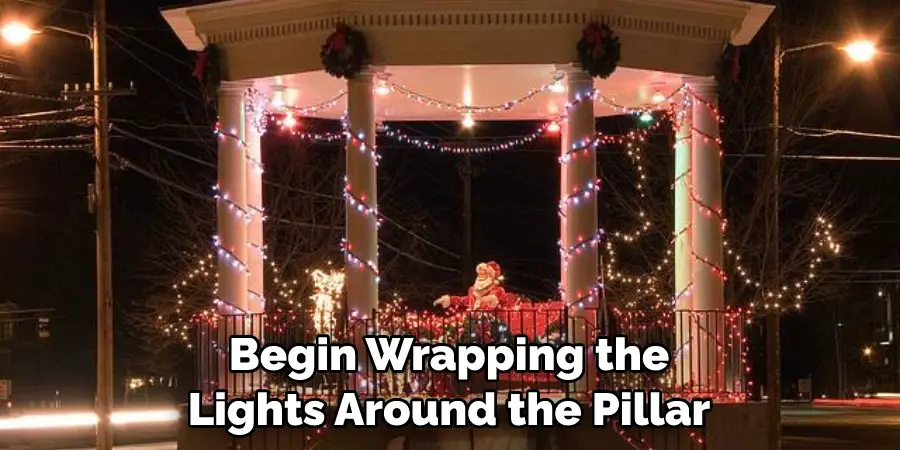
Step 4: Keep Wrapping!
Continue working your way down the pillar, tucking in any spare fabric if needed, until you reach the bottom. Be careful not to wrap too tightly or too loosely – you want a snug fit against the pillar.
Step 5: Extensions & Adapters
If you need to extend or add an adapter for power (or both), this is best done – before moving onto other pillars or walls. Use masking tape to secure any cords running across the ground – not only does this help prevent tripping hazards, but also keeps the look neat and tidy. Repeat steps 1-5 for other pillars or fences until you are happy with the overall effect.
Step 6: Connect & Test Lighting
Once everything is in place, make sure to connect up all cords and plugs properly before you switch on the lighting. Test out each strand individually to ensure everything works correctly. Don’t forget to check for loose ends or pins that may need additional tucking.
Step 7: Secure Cords
Use masking tape to secure any cords running across the ground to prevent tripping hazards. This helps keep your display looking neat and professional! If necessary, use zip ties to tidy up any wires.
Step 8: Additional Décor & Accessories
Now it’s time to glam up your light wrap with additional décor and accessories. Whether it’s a floral garland or some glittering decorations, the finishing touches will really bring your light wrapping to life!

You can also add in some battery operated fairy lights for added sparkle. Before leaving your pillars for use, have a final check of all your wiring and ensure that no exposed wires or cords may cause harm.
Step 9: Enjoy!
Voila! You now have an eye-catching display of lighting perfectly wrapped around pillars – enjoy! Not only is this perfect for events such as weddings, but also looks great in any home décor. With this guide on how to wrap lights around pillars, creating something beautiful has never been easier!
By following these simple steps, you can now wrap lights around pillars and create a stunning display of lighting. Whether it’s for an event or just to add some sparkle to your home décor, this is a great way to show off your creativity and light up any space!
5 Additional Tips and Tricks
1. Start by measuring your light strands and pillar to ensure they are the same size. This will help you plan for a more even wrap and avoid overstretching the lights.
2. When wrapping lights around pillars, use a ladder or other elevated platform to reach higher areas.
3. Place the plug-end of the light strand at the bottom of the pillar so it is easier to manage and hide after installation.
4. If possible, secure any excess wiring left over from connecting multiple light strands together behind decorations or inside posts.
5. Check frequently that all bulbs are working correctly and readjust when necessary before securing them into place with tape or cable ties. This will ensure a festive display and avoid the need for troubleshooting further down the line.
Following these tips will help you to successfully wrap lights around pillars, creating a beautiful display that can be enjoyed throughout the holiday season! Give it a try and see what amazing results you can achieve!
5 Things You Should Avoid
1. Avoid using staples, nails, or other sharp objects to attach the lights to the pillar as this can damage both the structure and the wiring.
2. Do not use too many light strands on a single pillar – it can become overwhelming and look cluttered instead of festive and cheerful!
3. Ensure you don’t overload the circuit by connecting too many light strands into one plug socket – consider buying an extension cord if necessary.
4. Avoid running electrical cords across walkways or pathways where people may trip over them.
5. Keeping electricity and water separate is essential for safety reasons, so never hang lights near areas where moisture could potentially enter into contact with any part of the power source.
By following these tips and avoiding the common pitfalls, you’ll be able to wrap lights around pillars confidently! Enjoy your festive decor, and have a safe and happy holiday season.
5 Different Decor Ideas
- Use colored ribbon to create a festive pattern around the pillar.
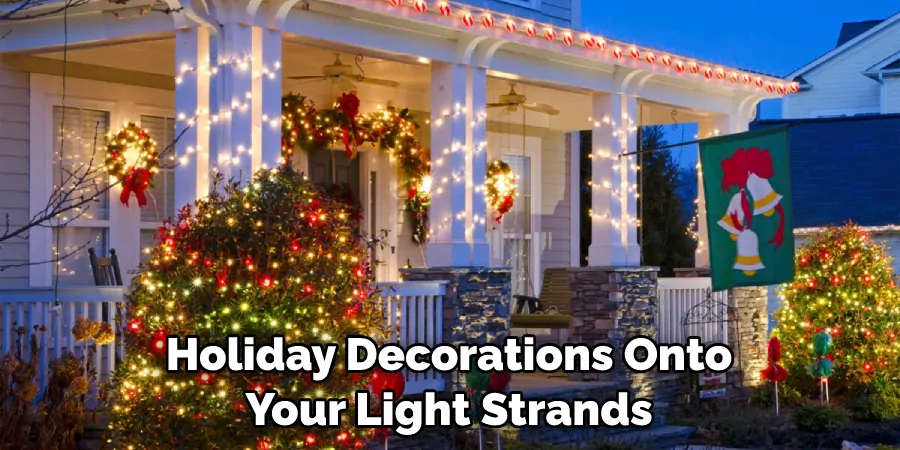
- String together small ornaments and other holiday decorations onto your light strands to personalize your display.
- To add a natural touch, Hang garlands of evergreen foliage, holly, or mistletoe around the pillars.
- Place wreaths with twinkle lights around each pillar for an extra dose of sparkle.
- Wrap large bows or ribbons with special messages in contrasting colors from top to bottom – these are perfect for celebrating special occasions and holidays!
With so many ways to decorate pillars with lights, there’s no limit to the creative possibilities! Enjoy experimenting and creating unique displays that will make your holiday season truly magical.
If You Don’t Want to Use Electrical Tape or Cable Ties, What Else Can You Use?
If you don’t want to use electrical tape or cable ties, other options for securing your lights around pillars include twist ties, zip ties, string, or twine. You could also use clips and clamps specifically designed for wrapping lights around posts and poles. These come in various sizes so that they can be adjusted to fit the size and shape of your pillar. Whichever option you choose, ensure it’s sufficient to secure the lights for long-term installation.
By following these tips and tricks, you’ll have no trouble wrapping lights around pillars this holiday season! With a little bit of planning and creativity, you’ll be able to create a festive display that will light up the night. Enjoy!
Conclusion
Creating stunning, crisp light displays around pillars has never been easier! After following these simple steps, you will be successful in winding small lights beautifully around any structure. Don’t forget that if your pillars aren’t large or wide enough to support lights properly, it may be necessary to look into higher quality products with more robust brackets or supports.
By doing a little bit of research and taking the right precautions, you can safely construct attractive light displays for this upcoming holiday season. Even if your design is ambitious, using the correct tools and supplies will give you great results.
Whether you’re looking for lively Christmas decorations or bright colors to show your patriotism at a Fourth of July event, anointing pillars with cheerful lighting is an inventive way to add flair and vibrancy.
Use these tips on how to wrap lights around pillars as a quick guide in order to get an impressive wrapping job done in no time at all. Hopefully, these steps will help you create a stunning light-up masterpiece! Good luck and happy decorating!

