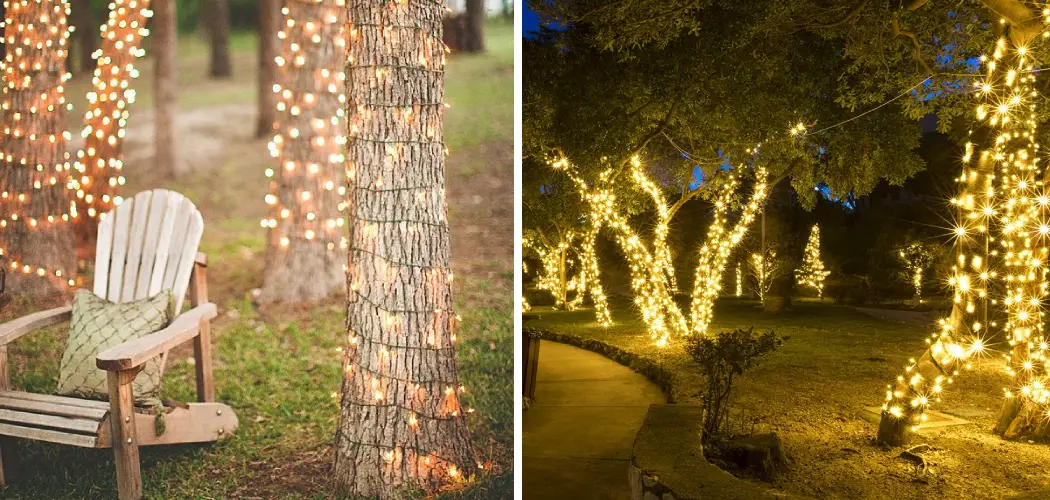
Are you looking for a way to light up your garden at night? Wrapping lights around the tree trunk is an easy and effective way to create a cozy atmosphere in any outdoor space. Not only do strings of light make it feel like a special occasion, but they also transform trees into stunning centerpieces that can be enjoyed all year round.
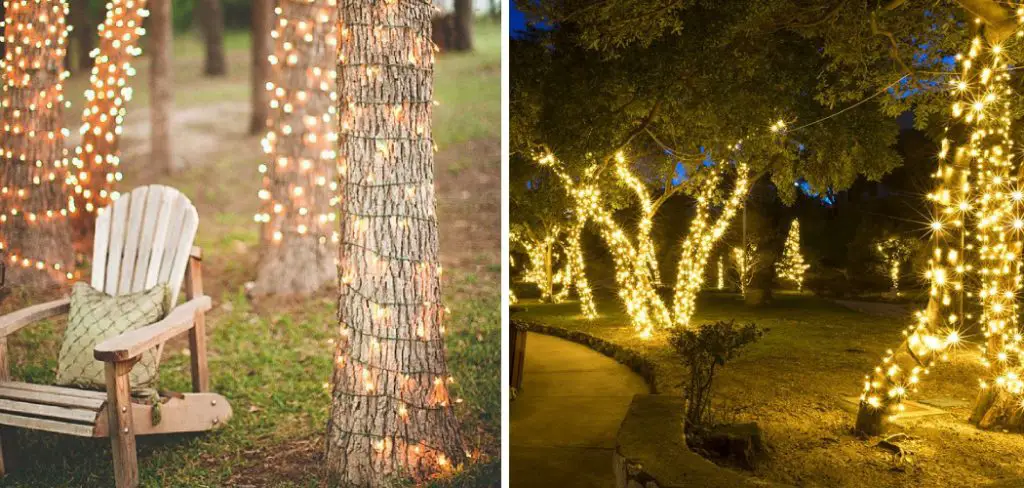
If this is your first time doing it, wrapping lights around a tree trunk may seem daunting. But don’t worry. We’ve got you covered with our step-by-step guide on how to wrap lights around a tree trunk.
In this blog post, we’ll show you how to effectively wrap lights around a tree trunk so that you get maximum impact with minimum effort. You can easily create a captivating ambiance in your backyard with simple tips and tricks!
What Will You Need?
Before you dive into wrapping lights around a tree trunk, make sure you have the following materials on hand:
- Outdoor string lights
- Extension cord (if needed)
- Zip ties or twist ties
- A sturdy ladder (if your tree is tall)
Once you have your materials, you’re ready to start!
10 Easy Steps on How to Wrap Lights Around a Tree Trunk
Step 1: Plan Your Design
Before starting, it’s important to plan out the design and placement of your lights. This will help ensure that you have enough lights and can avoid any tangles or issues while wrapping them around the tree trunk. If you want a more natural look, simply wrap the lights around the trunk in a random pattern. For a more uniform and traditional look, space out your lights evenly.
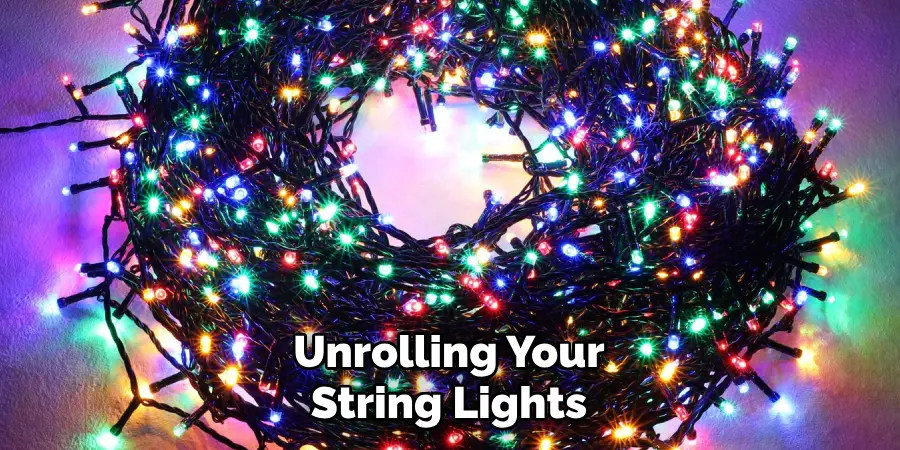
Step 2: Unroll the Lights
Start by unrolling your string lights, removing any twists or tangles that may interfere with the process of wrapping them around the tree trunk. It’s a good idea to plug in the lights to ensure all the bulbs function correctly before you begin wrapping. Once you’ve ensured the lights are in good working order, unplug them before you start wrapping for safety reasons.
Step 3: Begin Wrapping
Start at the base of the tree with the end of the light string that doesn’t have the plug. Begin wrapping the lights around the trunk, keeping the string taut but not too tight as to damage the tree or the lights.
Continue to wrap the string around the tree in an upward spiral, ensuring the lights are spaced evenly. The spacing between the light wraps depends on your preference and the number of lights you have; closer wraps require more lights but give a brighter effect.
Step 4: Secure the Lights
As you proceed with wrapping, securing the lights in place is essential. Use zip ties or twist ties to fasten the string lights to the trunk at regular intervals. This not only ensures that the lights won’t unravel or slip down but also helps to keep the light pattern intact, even in windy conditions. Remember to trim off any excess from the ties for a neat look.
Step 5: Continue Wrapping Upwards
Keep wrapping the lights around the tree. As the trunk widens or narrows, adjust the spacing of the lights accordingly to create a balanced look. If your tree is tall and you need to use a ladder, always ensure that it is positioned safely and securely. Use an extension cord if needed, ensuring that it’s connected securely and safely tucked away to prevent tripping hazards.
Step 6: End the Wrap
Once you’ve reached the end of the string lights or the top of the area, you want to illuminate, secure the end of the strand to the tree trunk using a zip tie or twist tie. Make sure the plug end is towards the bottom of the tree if you started at the top or near an outlet for easy access.
Step 7: Check Your Work
After completing the wrapping process, take a few steps back and admire your work. Check for any inconsistent spacing or loose strings that may need adjustment. Ensure the lights are securely fastened and evenly distributed around the tree trunk. This is also the time to adjust any lights that might be hidden or facing the tree trunk instead of outwards.
Step 8: Plug in the Lights
Now that you’ve finished wrapping and securing the lights around the tree trunk, it’s time to illuminate your masterpiece. Carefully plug the lights into a safe and appropriate outdoor outlet.

If necessary, use an outdoor rated extension cord that is long enough to reach the outlet without causing any strain on the plug of the lights. It’s important to ensure that all cords and plugs are away from any potential water source to prevent any electrical hazards. Once plugged in, the glow from your newly lit tree should create a warm and inviting ambiance in your outdoor space.
Step 9: Safety Check
After plugging in the lights, perform a safety check. Look for any potential hazards, such as loose cords that could cause trips and falls. Ensure the lights are securely attached to the tree and won’t easily be dislodged by wind or small animals. Ensure all electrical connections are away from wet ground or water sources to avoid the risk of electrical shock. If using an extension cord, make sure it’s designed for outdoor use and is not overloaded.
Step 10: Enjoy the View
Now that your tree is beautifully lit and safety checks are complete, it’s time to enjoy the view! The soft glow of the lights against the tree trunk will create a magical atmosphere in your outdoor space.
Whether it’s for a special occasion or just to brighten up your garden at night, you can take pride in knowing you successfully wrapped lights around a tree trunk. Remember to switch off the lights when they aren’t needed to save energy and extend the lifespan of your lights.
By following these ten simple steps, you can easily and safely create a stunning outdoor display by wrapping lights around a tree trunk. With your new knowledge, get creative and make your backyard the envy of all your neighbors!
5 Additional Tips and Tricks
- Choose the Right Lights: LED lights are often the best choice for wrapping around a tree trunk. They’re energy efficient, durable, and emit less heat than traditional bulbs, making them safer for use on a tree.
- Measure Your Tree: Before wrapping lights, make sure you know the circumference of your tree trunk and calculate how many strands of lights you’ll need. This will prevent you from running out mid-wrap.
- Start from the Bottom: Begin wrapping at the tree’s base and work your way up to ensure an even distribution of lights. This also makes it easier to adjust as you go.
- Space Your Lights Evenly: Try to space your lights evenly for the best visual effect. A consistent wrap will create a more attractive and professional look.
- Use a Guide Wire If Needed: Consider using a guide wire if the tree is tall. Attach the lights to the wire and then wrap it around the tree. This can make the process easier and safer.
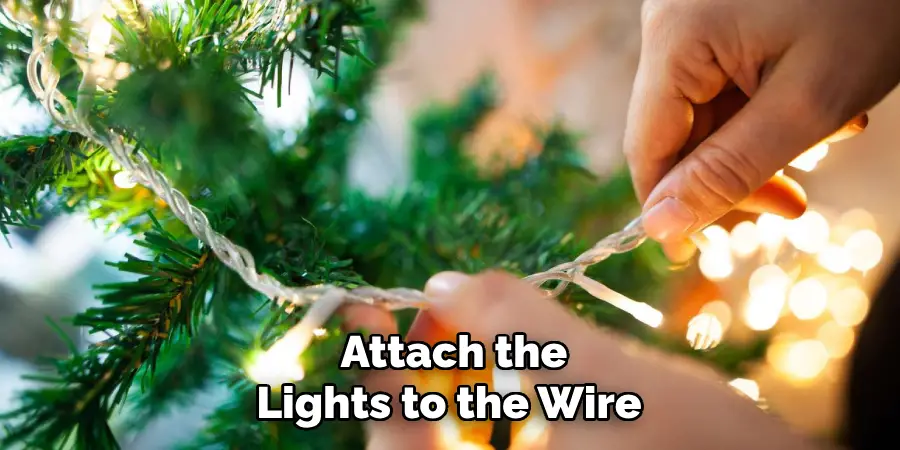
With these additional tips and tricks, you can wrap lights around a tree trunk like a pro. Just remember to plan, choose the right lights, and take your time for the best results.
5 Things You Should Avoid
- Avoid Using Damaged Lights: Always check your lights before beginning to wrap them around the tree. Discard any string of lights with frayed wires, broken bulbs, or visible damage. Safety should always be your top priority.
- Don’t Wrap Lights Too Tightly: Wrapping the lights around the tree trunk could harm the tree and damage the lights. Always leave some slack to allow for tree growth and movement.
- Avoid Overloading Circuits: Do not connect more than the recommended light strings together. Overloading circuits can lead to fire hazards. Always read and follow the manufacturer’s instructions.
- Don’t Leave Lights On Unattended: Never leave your lights on when you’re not home or when you’re sleeping. This is a basic safety measure to prevent any potential accidents.
- Avoid Using Indoor Lights Outdoors: Make sure your lights are rated for outdoor use. Indoor lights may not be waterproof and pose a safety risk when exposed to the elements.
Remember, the key to a successful and safe tree light wrapping is patience, care, and attention to detail.
Do You Wrap Lights From the Top or Bottom of the Tree?
There is no right or wrong way to wrap lights around a tree trunk. However, starting from the bottom and working your way up provides better results, allowing for an even distribution of lights and easier adjustments. You can start from the top and work your way down. The most important thing is to have a plan in mind and take your time to ensure a beautiful and safe display.
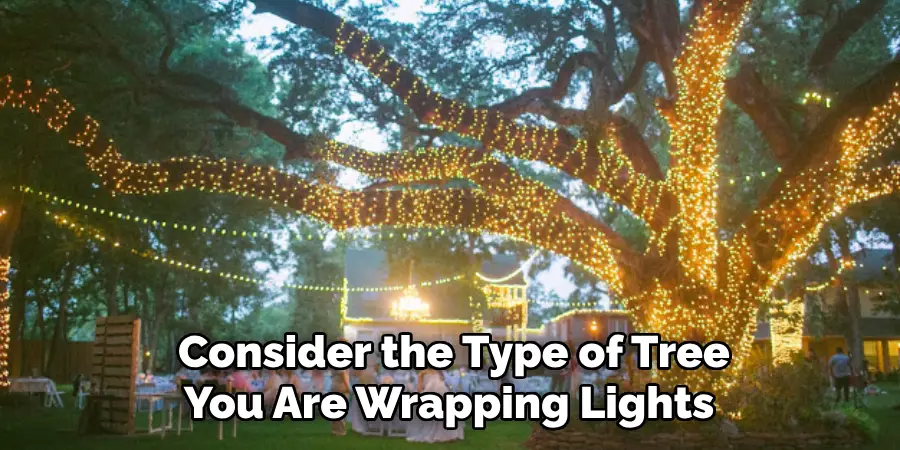
Additionally, consider the type of tree you are wrapping lights around. Starting from the top may be easier for taller, thinner trees, while for shorter and wider trees, starting from the bottom might work better. Ultimately, it depends on personal preference and what works best for your tree. Experiment and find a method that works for you.
Conclusion
Taking the time to wrap your tree trunk will improve the overall aesthetic of your outdoor holiday decorations and reduce the risk of fire from exposed wires. As you can see, it does not require a lot of tools or skills to safely and securely wrap a tree trunk with holiday lights.
All that is needed is patience and discipline to ensure the job is done correctly. With this brief tutorial, we hope you now have all the information and tips necessary to wrap lights around your tree’s trunk without doing any damage whatsoever!
Hopefully, the article on how to wrap lights around a tree trunk has been helpful and informative. With these tips, you can create a beautiful, festive display that impresses your friends and neighbors. So go ahead, grab those lights, and get decorating! Happy holidays!

