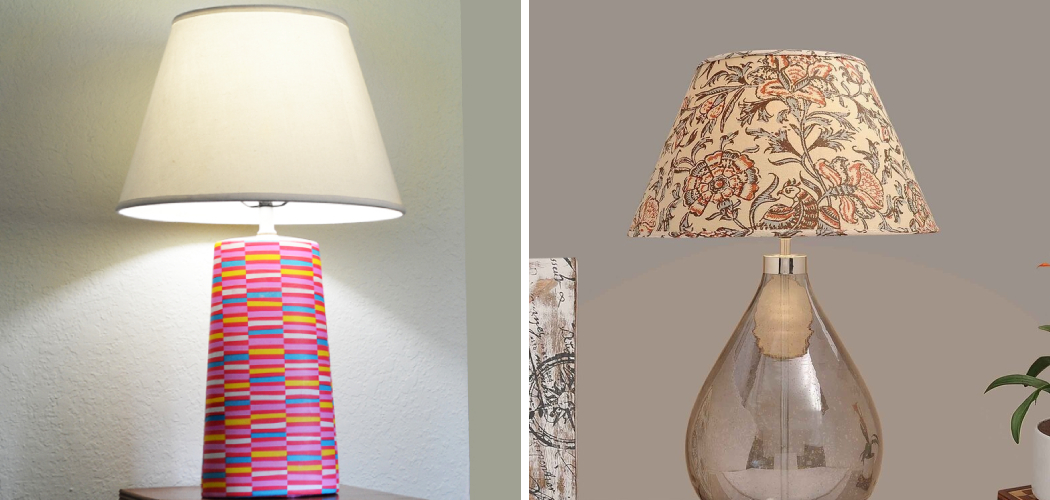
Are you looking for a unique and creative way to make your light fixtures look extra special? Look no further!
Wrapping a lamp with thread or wool is an easy yet effective solution that adds personality and texture to any living space. It’s an inexpensive, stylish solution and takes less than 30 minutes from start to finish – what could be better? In this blog post, we’ll cover everything you need to know about wrapping a lamp like a professional.
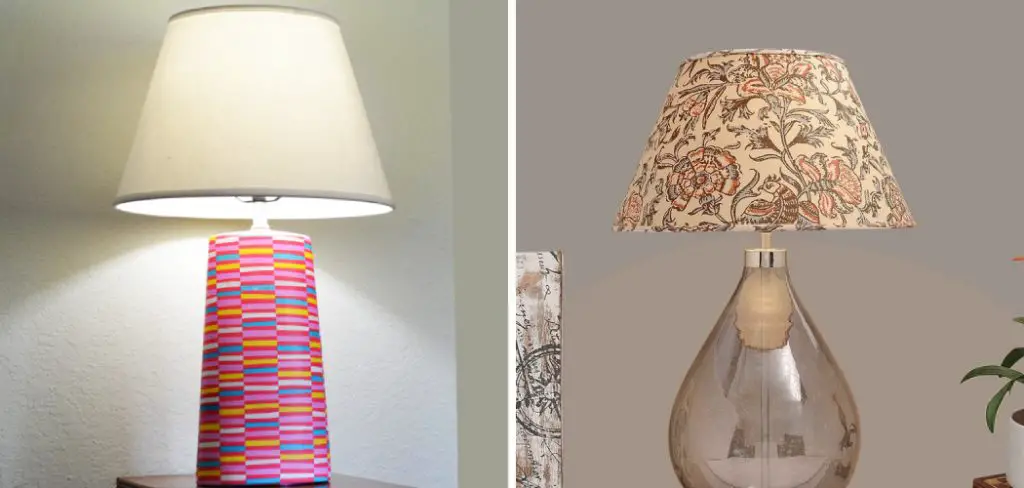
From choosing the right type of wool or thread, prepping for wrapping, working around tricky curves, and knotting the result–you won’t want to miss out on these insider tips! So let’s get started – read on for everything you need to know about how to wrap a lamp like a pro!
What Will You Need?
Before wrapping a lamp, you’ll need the following materials and tools:
- Wool or thread of your choice (choose different colors to add contrast!)
- Scissors
- Measuring tape
- Hot glue gun and glue sticks
- Pencil
Once you’ve gathered your supplies, it’s time to get started.
10 Easy Steps on How to Wrap a Lamp
Step 1. Preparing for Wrapping
Your first step is to measure the length of your lamp and then write down the measurements. You’ll need this data when you buy your wool or thread. Be careful when measuring with tape measure, as you must get the right measurements for a successful wrap.
Step 2. Make a Template
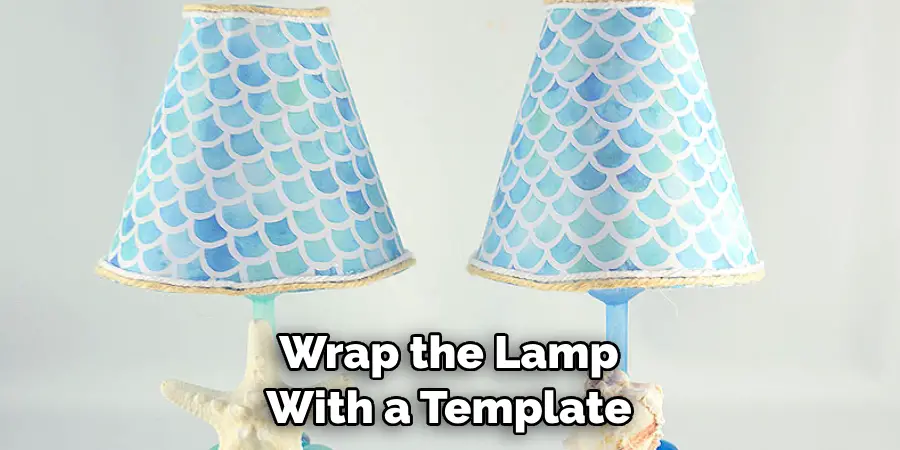
Using a pencil, mark the area where you want to wrap the lamp with a template. This will make it easier for you to know how much wool or thread you’ll need and where exactly it needs to go. Try to keep the template as even and symmetrical as possible.
Step 3. Cut the Thread or Wool
After determining how much material you need, carefully cut your thread or wool accordingly. Be sure to leave some extra fabric at either end so that it’s easier to knot them together! As a general rule of thumb, you’ll need twice the length of your lamp.
Step 4. Start Wrapping
Now that you’ve cut your thread or wool, it’s time to start wrapping! Starting at one end of the lamp, wrap the material around the base in a tight spiral. Keep everything neat as you go – this will give your lamp an even, professional finish. You can choose to wrap up and down or side-to-side – it’s completely up to you!
Step 5. Work Around Curves
If your lamp has any tricky curves or indentations, take extra care when wrapping them. If necessary, apply hot glue along the curve’s edges for added stability and hold it in place until dry. This will ensure that your wrap is secure and even.
Step 6. Keep Going…
Continue wrapping until you reach the top of the lampshade. Once you’ve reached the end, secure the thread or wool with hot glue. Ensure that it’s firmly in place and set aside to dry.
Step 7. Tie it Up
When you’re finished wrapping your lamp, tie a knot at either end to keep everything in place and ensure your design is secure. You can use various knots – if you’re unsure which one to go for, a simple overhand knot will do the trick! Another tip – tie a bow at the top if you want to add some extra detail.
Step 8. Trim the Excess Material
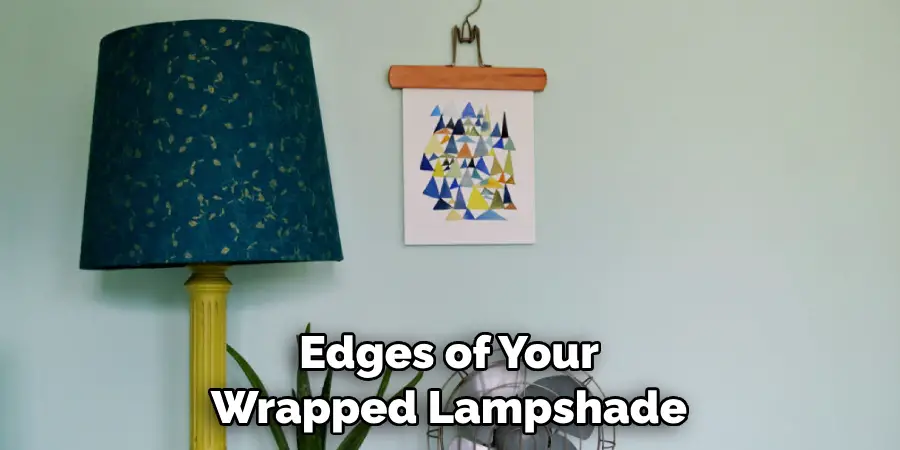
Now it’s time to trim any excess material and neaten up the edges of your wrapped lampshade. Be careful not to cut too much – you want to ensure everything looks even and uniform! You can apply more hot glue to ensure your wrap is secure if necessary.
Step 9. Apply Glue for Extra Security
Once you’ve trimmed the excess fabric, apply some hot glue along the edges of the wrap for added security. This will also help to prevent any fraying or unraveling of the thread or wool. Keep a careful eye and ensure you don’t accidentally glue any of the knots!
Step 10. Congratulations!
You’ve successfully wrapped your lamp like a pro! All left to do now is admire your handiwork and enjoy your newly stylishly decorated living space. Remember to switch off your lamp before wrapping – safety first!
Wrapping a Lamp with Thread or Wool can be an easy way to add character and texture to any light fixture in your home – you don’t have to break the bank or spend hours trying to get it right!
5 Additional Tips and Tricks
- Choose a complementary color for your lamp thread or wool – this will give your light fixture an extra pop of color.
- If you’re having trouble wrapping your lamp, try using a piece of wire or dowel to help keep the threads in place.
- Consider using smaller pieces of thread or yarn for intricate sections like flower petals – this will make them look more realistic.
- use jute twine instead of wool or thread if you want a rustic look.
- After wrapping your lamp, seal it with a coat of varnish to protect it from dust and dirt buildup. This will also give it a nice shine and help it last longer.
You can wrap a lamp like a pro with these tips and tricks!
5 Things You Should Avoid
- Don’t try to wrap your lamp too tightly – this can stress the threads and cause them to break.
- Avoid using rough materials like rope or thick yarn as they may be too abrasive for delicate parts of the lamp.
- Avoid thin fabrics such as silk – these will tear easily and not provide enough coverage for the light fixture.
- Do not use glittery or sparkly materials – these will attract dust and make it difficult to keep your lamp clean.
- Finally, never use hot glue or other adhesives on your lamp – this can cause irreparable damage.
Following these tips and tricks ensures that your lamp wrapping project goes smoothly with a professional-looking result.
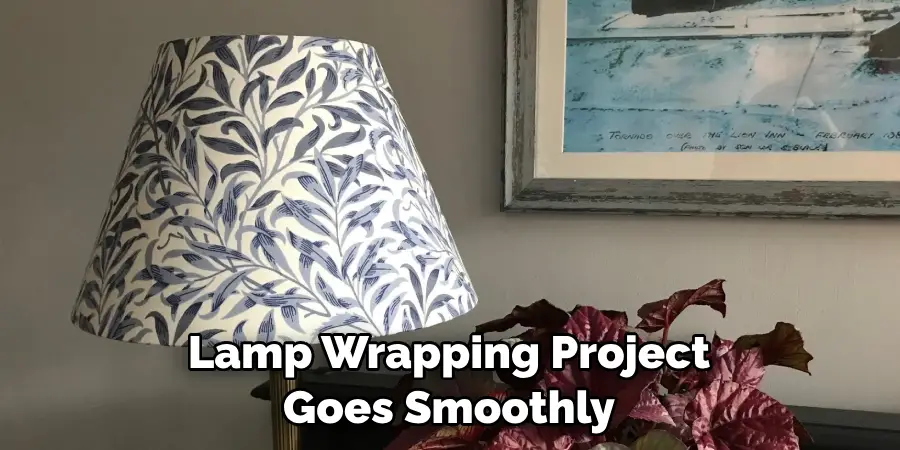
5 Different Wrapping Ideas
Fabric Strips: Choose a fabric that is the same color as your lamp and wrap thin strips around it. Use hot glue to keep them in place if needed.
Macrame: Create intricate patterns using macrame knots for a unique look.
Beads: Use colorful beads to create a beautiful, beaded design on your lamp.
Paint: Add some paint to your lamp by painting designs directly onto it or wrapping it with painted cloth pieces.
Lace or Ribbon: Wrap lace or ribbon around your light fixture to give it an elegant touch. You can also add pearls or decorative stones for extra sparkle!
By experimenting with different materials and techniques, you can create an eye-catching lamp wrap that’s one of a kind.
No matter how you wrap your lamp, the most important thing is to have fun with it and be creative! With these tips and tricks, you can create a stunning light fixture that will envy all who see it.
Where Do You Put a Lamp?
When deciding where to put a lamp, consider the purpose of lighting and the size of the room. Placing lamps near seating areas will provide ample light for reading or conversation.
For larger rooms, floor lamps are an excellent choice as they can easily move around. Desk lamps are great for task lighting and can be used in any room. Finally, smaller table lamps can be placed on end tables or nightstands for a decorative touch.
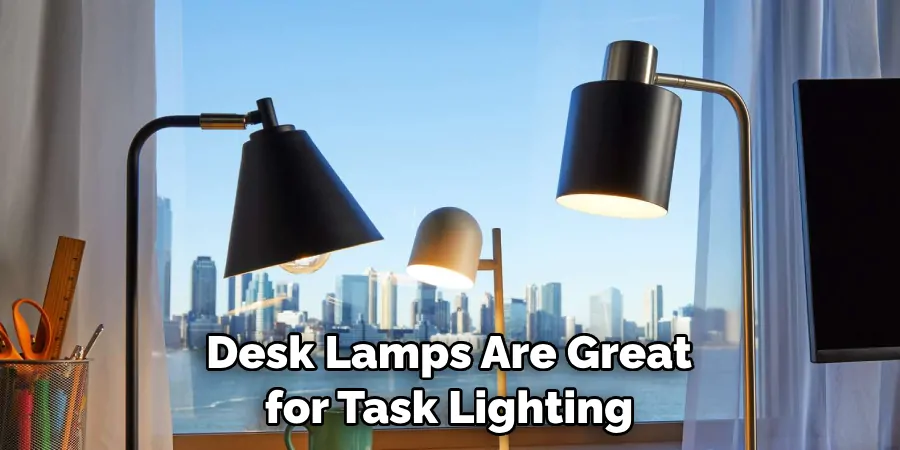
By taking the time to think about where to place your lamp, you’ll be able to create a well-lit and inviting atmosphere in any room of your house.
Should You Sleep With Your Lamp on?
Sleeping with your lamp on is generally not recommended, as the light can disrupt your sleep patterns. If you need extra light in your bedroom, consider using a small nightlight instead of a full-sized lamp. This will provide enough illumination while allowing you to get a good night’s rest.
By following these tips and tricks, you can wrap a lamp like a pro and create an inviting atmosphere in any room of your house. Whether you choose subtle elegance or bold colors, wrapping lamps has endless possibilities!
Have fun playing around with different materials and techniques – after all, it’s always better to experiment than to stick solely with the basics.
Should the Lamp Be on the Left or Right?
There is no definitive answer as to whether a lamp should be placed on the left or right side of a room. Ultimately, it depends on how you want the light to spread throughout the space and what lamp you use. For instance, if you’re using a table lamp with an adjustable arm, then you can easily move it around in order to find the ideal spot for your lighting needs.
Additionally, if you are using a floor lamp, then placement can depend on the size and shape of the room. Generally speaking, it is better to place the lamp towards one side or the other in order to create pools of light that will make the space appear larger than it actually is.
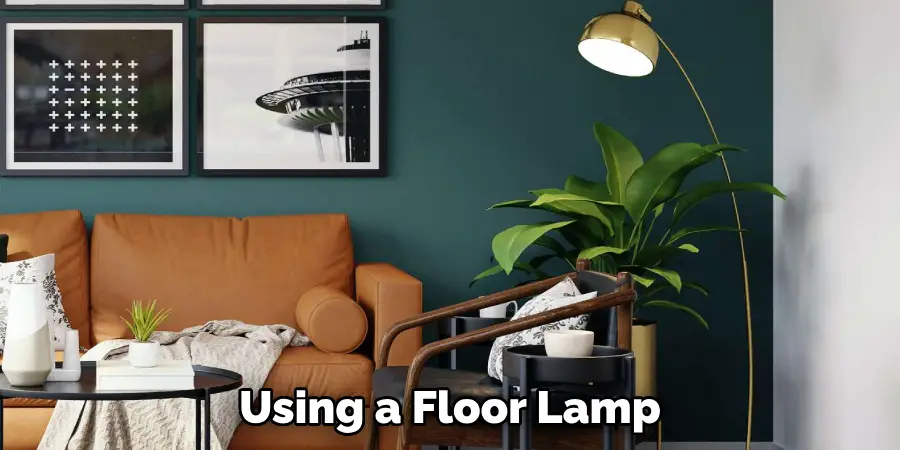
No matter where you decide to place your lamp, make sure that it will provide enough illumination for whatever task or activity, you plan on doing in that area. With careful planning and consideration, you’ll be able to create a well-lit environment perfect for any occasion!
Conclusion
Wrapping your lamp is a straightforward process, with a few minor adjustments to make depending on the stylistic choice. With these simple steps on how to wrap a lamp, you can go from an outdated fixture to a brand-new one in no time. Embrace the chance to get creative and enjoy the results.
If selecting colorful wrapping paper isn’t your style, but you still want to spruce up your decor, consider a different route – think LED bulbs to add a cheerful touch. Small tweaks such as this can make all of the difference for any living space. Even if one lamp doesn’t tie the entire interior design together, it will surely be a step in that direction!
Let this blog post inspire and guide you when it’s time to revamp yours.

