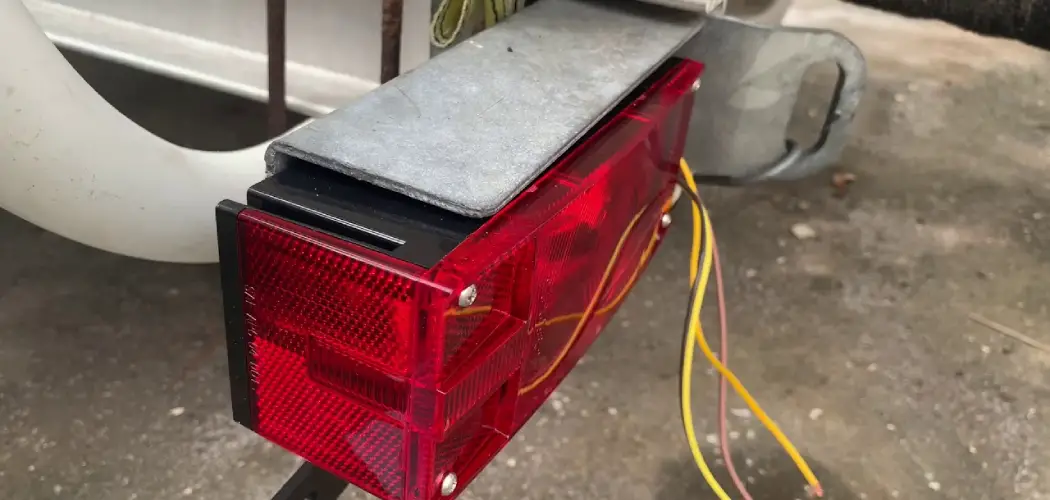
Are you planning to haul a trailer soon? Whether for camping, moving, or any other reason, ensuring that your trailer lights are working correctly is crucial for safe and legal towing.
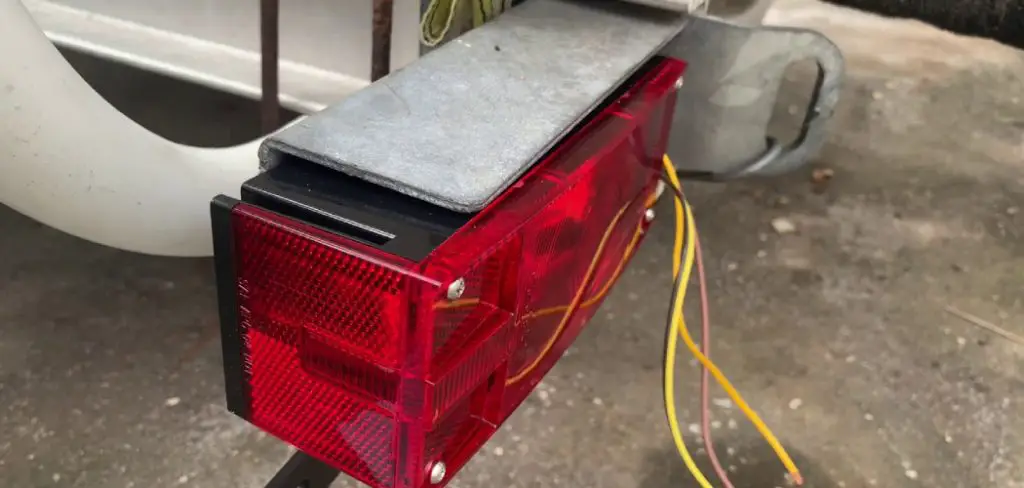
Wiring trailer lights with a 7-pin connector is essential for those who frequently tow trailers for recreational or work purposes. A 7-pin configuration is more advanced than a standard 4-pin setup, providing compatibility for additional functionality such as electric brakes, reverse lights, and auxiliary power.
Properly wiring your trailer ensures safety and legal compliance on the road, while enhancing your trailer’s usability.
This guide will walk you through the step-by-step process of how to wire trailer lights 7 pin, ensuring you have reliable and safe connections every time you tow.
What Will You Need?
To successfully wire trailer lights with a 7-pin connector, you will need the following materials:
- A 7-pin trailer wiring harness kit (available at most automotive or trailer supply stores)
- Wire strippers and crimping tool
- Electrical tape or heat shrink tubing
- Trailer light tester (optional but highly recommended)
You can begin the wiring process once you have all the necessary materials.
10 Easy Steps on How to Wire Trailer Lights 7 Pin
Step 1: Check Your Vehicle’s Wiring
Before you start wiring your trailer, it’s crucial to understand your vehicle’s existing wiring configuration. Begin by locating your vehicle’s wiring harness, typically found near the back of the vehicle.
If your car does not have a factory-installed connector, you may need an adapter or a wiring kit specifically designed for your vehicle’s make and model. Use a wiring schematic appropriate for your car to identify the specific functions of each wire.
This setup will include connections for the tail lights, brake lights, turn signals, and additional tasks that the 7-pin setup allows.
Step 2: Prepare the Trailer
Next, you need to examine your trailer’s wiring. Begin by inspecting the trailer’s existing wiring harness to ensure that it is in good condition and compatible with a 7-pin connector.
If the wiring is damaged or worn out, consider replacing it with a new harness to prevent malfunction or unsafe connections. Clean any corroded terminals and ensure all connections are secure.
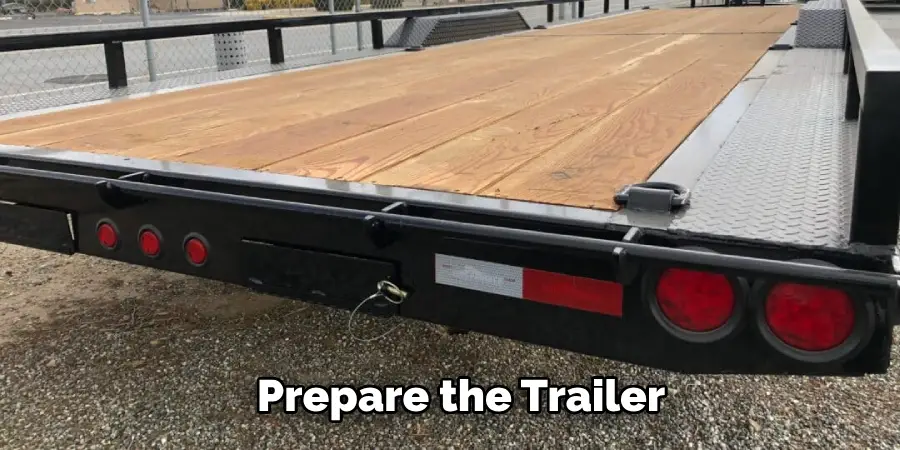
Having a clear understanding of the trailer’s wiring layout will simplify matching it to the vehicle’s wiring. Organize and label the wires to correspond with functions like tail lights, brake lights, turn signals, and any additional features your trailer might have.
Step 3: Connect the Ground Wire
The next crucial step in wiring your trailer’s 7-pin connector is establishing a solid ground connection. The ground wire is typically white and should be securely connected to the trailer’s frame.
Using either a ring terminal or a grounding screw, fasten the ground wire to a clean, paint-free section of the trailer chassis. Ensuring proper ground is essential for the electrical system’s stability and functionality, as it completes the circuit for all other connections.
Ensure that the connection is tight and free from rust or corrosion, as poor grounding can result in erratic light operation or electrical failures.
Step 4: Connect the Tail Light Wires
You can securely connect the tail light wires with the ground wire. Typically, the brown wire in your 7-pin harness is designated for the tail lights. This wire must be connected to the corresponding wire on your trailer’s light system.
To ensure a solid connection, strip a small portion of insulation from both wires, twist them together, and secure them with a wire connector or by soldering. Wrap the connection with electrical tape or use heat shrink tubing for added protection against moisture and corrosion.
Confirm that the connection is secure and provides proper functionality for the trailer’s tail lights. This ensures your trailer is visible to other drivers under low light conditions, enhancing travel safety.
Step 5: Connect the Left Turn and Brake Light Wires
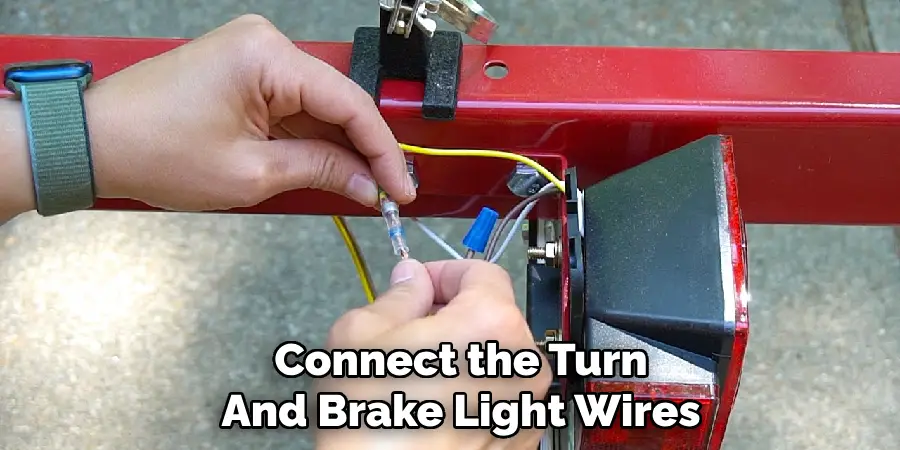
Next, focus on wiring the left turn and brake lights, which typically use the yellow wire in your 7-pin setup. This wire must be connected to your trailer’s left turn signal and brake light wire.
Begin by stripping a small section of insulation from both wires. Twist the exposed ends together and secure them using a wire connector or by soldering the connection for extra durability.
After securing the connection, cover it with electrical tape or heat shrink tubing to protect against moisture and wear. Correctly wiring the left turn and brake lights is crucial as it ensures other drivers can clearly see your intended maneuvers, maintaining safety on the road.
Step 6: Connect the Right Turn and Brake Light Wires
Connect the green wire from your 7-pin wiring harness to the corresponding wire on your trailer’s lighting system for the right turn and brake lights.
As with the previous connections, begin by stripping the insulation from the ends of both cables. Twist the cables securely together and use a wire connector or solder to provide a stable and reliable connection.
Cover the completed connection with electrical tape or heat shrink tubing to shield it from environmental elements.
Step 7: Connect the Reverse Light Wire
If your trailer is equipped with reverse lights, the purple or blue wire in the 7-pin connector is typically used for this function.
Start by stripping a small section of insulation from the ends of the harness wire and the trailer’s reverse light wire to wire the reverse lights. Twist the exposed wires together, ensuring a secure connection, and then fasten them using a wire connector or solder the connection for extra durability.
Protect the joint with electrical tape or heat shrink tubing to prevent water intrusion and corrosion.
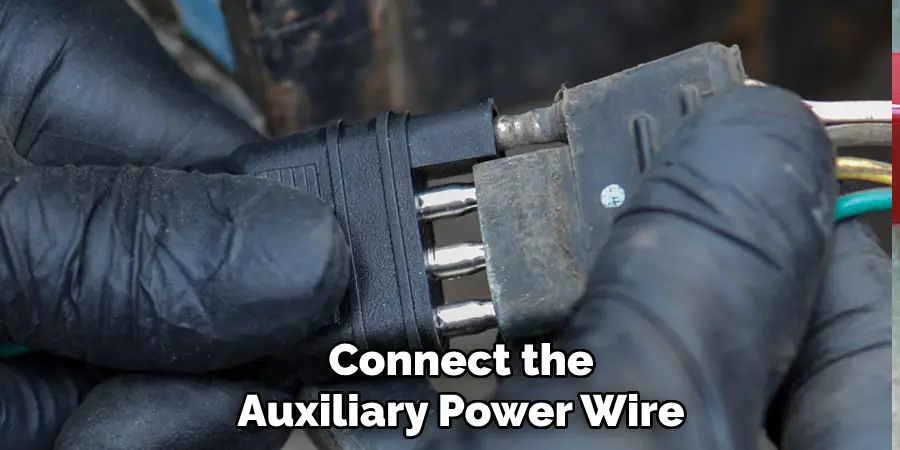
Step 8: Connect the Auxiliary Power Wire
The auxiliary power wire, often red in the 7-pin connector, provides power for additional functions such as charging a trailer battery or powering interior trailer lights.
To connect this wire, strip a small insulation section from the red and corresponding wires on your trailer. Twist the exposed ends together and secure the connection using a wire connector or solder for added strength.
Use electrical tape or heat shrink tubing to protect the connection from environmental damage. Ensuring a stable auxiliary power connection facilitates additional features and utilities, enhancing the functionality and convenience of your trailer system.
Step 9: Connect the Brake Controller Wire
The brake controller wire, typically blue, controls the trailer brakes and ensures safe stopping. Begin by locating the blue wire in your 7-pin connector setup and the brake wire on your trailer.
Strip a small insulation section from both wires and twist the bare ends together securely. Use a wire connector or solder the connection to ensure reliability and durability.
Cover the joint with electrical tape or heat shrink tubing for protection against moisture and mechanical wear.
Properly connecting the brake controller wire is crucial for effective brake operation, allowing for safer and more controlled braking performance of your trailer, especially when carrying heavy loads.
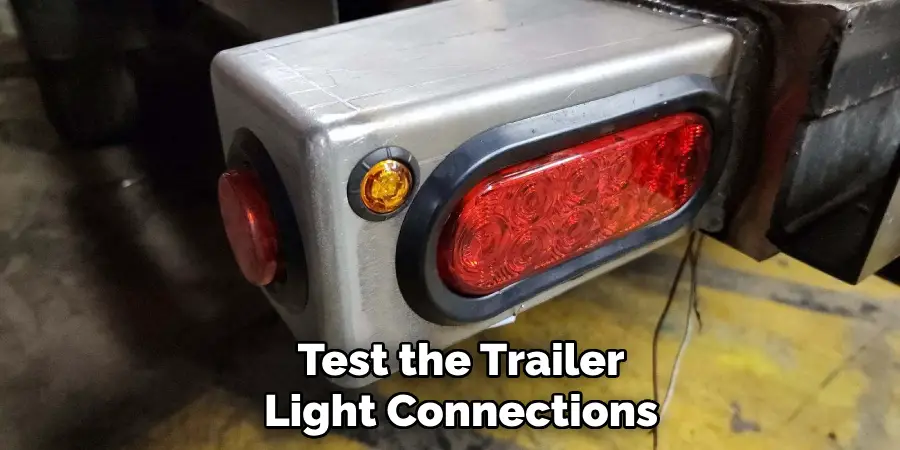
Step 10: Test the Connections
After completing all the wiring connections, it is essential to thoroughly test each function to ensure your trailer wiring is working correctly. Begin by reconnecting the trailer to the towing vehicle and turning on the vehicle’s electrical system.
Have someone assist you by observing the trailer lights while you engage each function – tail lights, left and right turn signals, brake lights, reverse lights, and any auxiliary functions.
Verify that each light and system operates as intended and without any hitch. If any issues are detected, revisit the specific connections to check for poor contact or corrosion and rectify as needed.
Testing confirms the wiring’s functionality and ensures that your trailer is roadworthy and safe for travel.
By following these steps and ensuring a secure connection between your trailer and towing vehicle, you can safely transport your trailer and cargo while complying with all road regulations.
5 Things You Should Avoid
- Ignoring the Color Codes: Each wire in a 7-pin connector has a specific color code corresponding to certain functions. Ignoring these color codes can lead to incorrect connections, malfunctioning lights or blown fuses. Always refer to a reliable wiring diagram.
- Using Improper Tools: Attempting to wire trailer lights without the proper tools can damage the wiring or connectors. Invest in quality tools such as wire strippers, crimpers, and multimeters to ensure precise and secure connections.
- Skipping a Secure Ground Connection: Good ground is crucial for the trailer lights to function correctly. Failing to secure a strong ground connection can lead to intermittent lighting issues. Ensure the ground wire is tightly connected to a clean, bare metal surface.
- Overlooking Corrosion Prevention: Trailer wiring is exposed to the elements and can easily rust. To prevent this, use waterproof connectors and regularly inspect the wiring for signs of wear or corrosion, applying dielectric grease as needed.
- Neglecting to Test the Setup: Always test your trailer lights thoroughly before hitting the road. Neglecting this step can result in overlooked errors that could compromise safety. Confirm all lights function properly, including brake lights, turn signals, and running lights.
Conclusion
In conclusion, wiring a trailer with a 7-pin connector requires careful attention to detail and adherence to proper procedures.
By following the guidelines outlined on how to wire trailer lights 7 pin, such as observing color codes, using the right tools, ensuring secure connections, and preventing corrosion, you can ensure a reliable and efficient lighting system. Testing the setup before travel is crucial to identify and resolve any issues.
Hopefully, this guide has provided you with the necessary knowledge and confidence to wire your trailer’s lights successfully. Happy towing!

