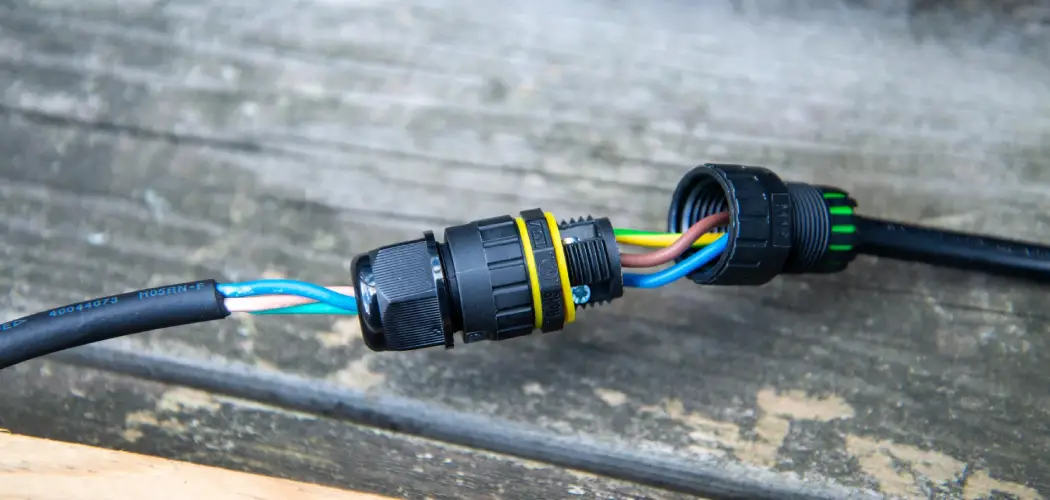
Installing a Ring Floodlight can be a great way to enhance the security and visibility around your home. This guide will walk you through how to wire ring floodlight efficiently and safely.
Whether you’re a seasoned DIY enthusiast or just starting, understanding the basics of electrical wiring is essential. Before you begin, ensure you have all the necessary tools and materials, and always prioritize safety to prevent any electrical mishaps. With careful preparation and attention to detail, you’ll have the floodlight installed and ready to provide peace of mind in no time.
Importance of Proper Wiring
Proper wiring is crucial when installing a Ring Floodlight, as it ensures both the functionality and safety of the device. Incorrect wiring can lead to serious issues, such as electrical fires or equipment failure, putting your property and its occupants at risk.
Additionally, proper wiring guarantees that the floodlight operates at optimal performance, providing consistent and effective illumination. It also helps in reducing the likelihood of frequent maintenance or replacements, saving time and money in the long run. By adhering to electrical standards and guidelines, you ensure a reliable outdoor lighting system, contributing to overall home security and peace of mind.
Understanding Ring Floodlight Components
Before you begin the installation process, it’s crucial to familiarize yourself with the various components of the Ring Floodlight. This will not only streamline the setup but also ensure a more secure and effective installation. The main components typically include the floodlight itself, which houses the LED bulbs and motion sensors responsible for detecting movement and providing illumination. Additionally, the mounting bracket is essential for securely attaching the floodlight to your chosen surface.
You’ll also find electrical wires that need to be carefully connected to your home’s wiring system, a junction box cover for safety, and various mounting hardware such as screws and anchors. Finally, the user manual provides detailed instructions and should be consulted throughout the installation process. Understanding each component’s role and functionality will greatly assist in achieving a successful and efficient setup.
Safety Precautions Before Starting
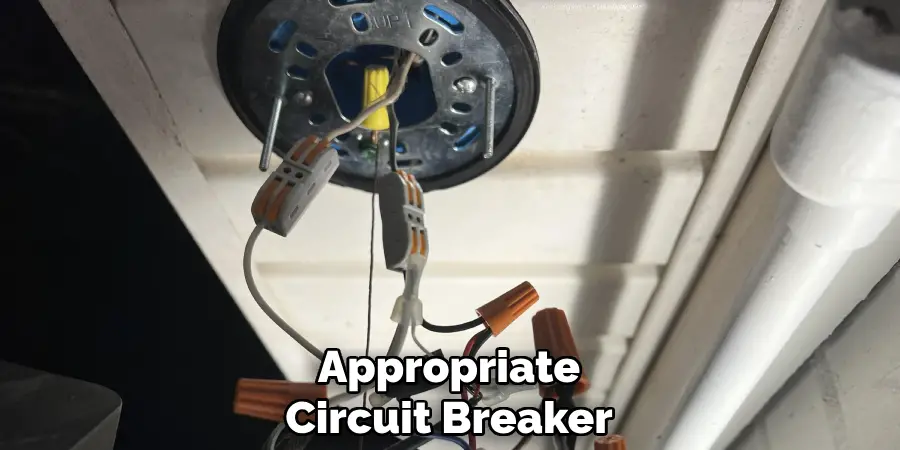
Before you begin wiring your Ring Floodlight, it is essential to take several safety precautions to ensure a safe installation process. First, make sure to turn off the power supply to the area where you will be working; this can be done by switching off the appropriate circuit breaker in your home’s electrical panel. Double-check that the power is off by using a voltage tester on the wires you will be working with. Wear rubber-soled shoes and use tools with insulated handles to reduce the risk of electric shock.
Ensure your workspace is dry and free from any moisture. Additionally, it’s advisable to have a partner assist you during the installation for added safety and ease. If you feel uncomfortable or unsure at any point, consult a professional electrician to handle the wiring. Safety should always be your top priority when working with electricity to prevent accidents and ensure a successful installation.
10 Methods for How to Wire Ring Floodlight
Are you ready to enhance the security of your home with a Ring Floodlight? With its advanced features and smart connectivity, this device can be a game-changer for protecting your property. Wiring your Ring Floodlight might seem daunting at first, but with the right guidance, you can tackle this project with confidence. Here’s a step-by-step guide tailored for homeowners and tech-savvy individuals looking to secure their homes efficiently.
1. Gather Your Tools and Materials
Before you begin, make sure you have all the necessary tools and materials. You’ll need a voltage tester, screwdriver, electrical tape, wire nuts, and a drill. Having these on hand will streamline the process and help you avoid unnecessary interruptions.
2. Turn Off the Power
Safety first! Before starting any electrical work, ensure the power is turned off at the circuit breaker. Use a voltage tester to double-check that no electricity is flowing through the wires you’ll be working with. This crucial step prevents accidents and ensures a safe installation process.
3. Prepare the Junction Box
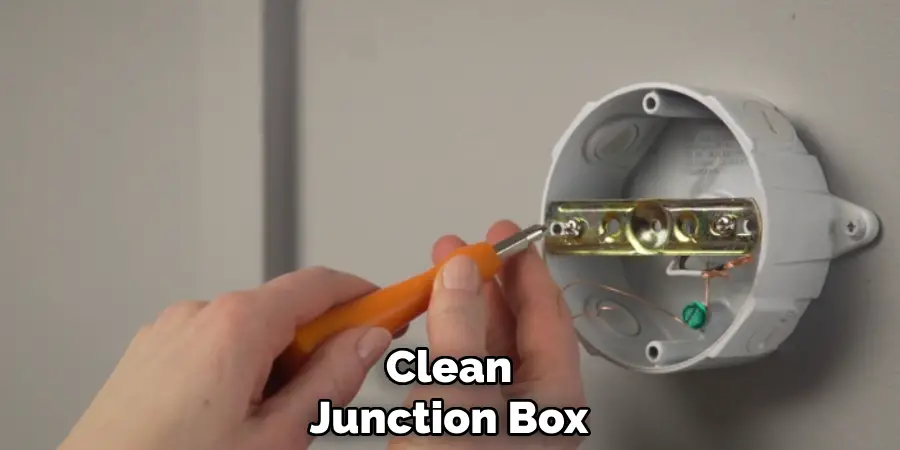
You’ll be connecting your Ring Floodlight to a junction box. Make sure it’s clean and free from any debris. If you’re replacing an older fixture, remove it carefully and check for any damage to the wires or box. A sturdy and clean junction box ensures a more secure installation.
4. Connect the Ground Wire
Begin by connecting the ground wire from your floodlight to the ground wire in your junction box. Use a wire nut to secure them together tightly. The ground wire is essential for safety, as it prevents electrical shocks by redirecting excess electricity away from your floodlight.
5. Attach the Neutral Wire
Next, connect the neutral wire (usually white) from your Ring Floodlight to the neutral wire in the junction box. Secure these wires together with a wire nut. Properly connecting neutral wires ensures your floodlight receives a steady flow of electricity.
6. Connect the Hot Wire
Now, take the hot wire (typically black) from your floodlight and attach it to the hot wire in the junction box. Use a wire nut to safely secure them. The hot wire is responsible for delivering electricity to your device, allowing it to function correctly.
7. Secure the Floodlight
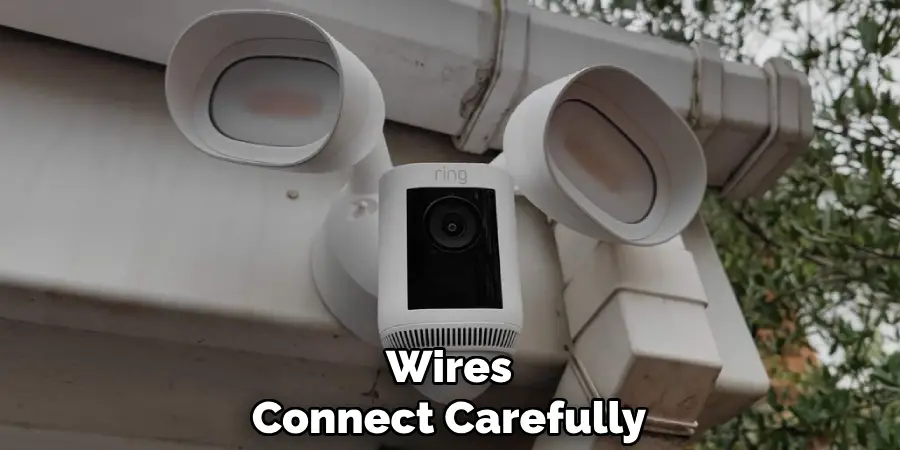
Once all wires are connected, carefully fit the floodlight onto the junction box. Use the provided screws to secure it firmly in place. Ensure that no wires are pinched or exposed during this step, as this could lead to future malfunctions.
8. Test the Connection
With everything in place, it’s time to test your installation. Turn the power back on at the circuit breaker and check if your Ring Floodlight powers up. If it doesn’t, double-check your connections and ensure everything is tight and secure.
9. Adjust the Settings
Use the Ring app to adjust settings such as motion sensitivity, light schedules, and alerts. Tailor these settings to suit your specific needs, ensuring optimal security coverage for your home.
10. Regular Maintenance
To maintain optimal performance, periodically check your Ring Floodlight for any signs of wear or damage. Clean the sensors and ensure the wires remain secure. Regular maintenance can prolong the life of your floodlight and keep your home secure.
Maintenance and Upkeep
Ensuring your Ring Floodlight remains in top condition involves a consistent schedule of maintenance and upkeep. Regularly inspect the floodlight for any physical signs of wear, such as cracks in the housing or corrosion on the metal parts, which can affect both its functionality and appearance. Clean the lens and sensors with a soft, damp cloth to remove dust, debris, or cobwebs that may interfere with light emission and motion detection. Periodically check the security of the mounting hardware to prevent any loosening over time.
Troubleshooting Common Issues
Even with careful installation and maintenance, your Ring Floodlight may occasionally experience issues that need troubleshooting. Here are some common problems and solutions to help you resolve them effectively:
1. Floodlight Doesn’t Turn On
If your floodlight fails to power on, first verify that the circuit breaker is turned on and that the fixture is receiving power. Use a voltage tester to confirm that electricity is flowing to the floodlight. Double-check all wire connections to ensure they are secure. If connections appear firm, consider resetting the Ring device through the app or performing a soft reset by briefly cutting power to the circuit before turning it back on.
2. Motion Detection Not Working Properly
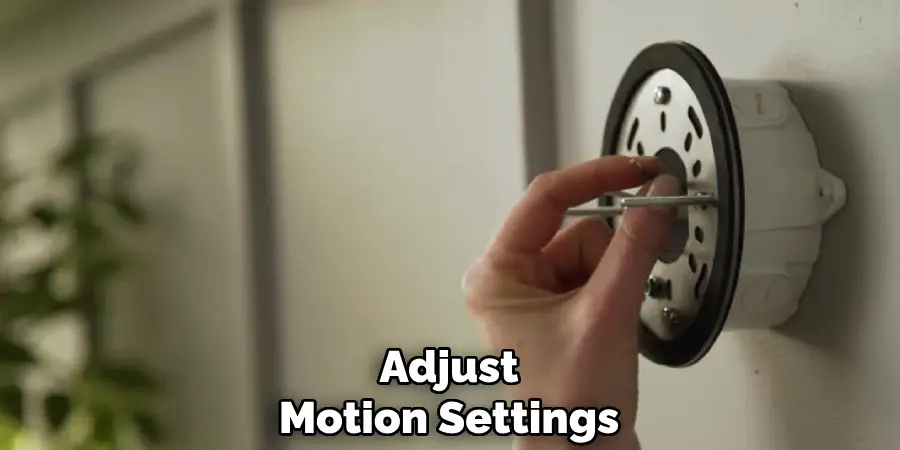
If the motion detection seems off or fails to trigger, inspect the sensors for any obstructions like dirt or debris. Clean the area with a damp cloth to ensure proper functionality. Next, verify the settings in the Ring app, ensuring the motion sensitivity is set correctly. It might be necessary to adjust the position of the floodlight to optimize the detection zone if false alarms or missed movements persist.
3. Connectivity Issues
For connectivity problems, make sure your Wi-Fi signal is strong in the area where the floodlight is installed. You can test the signal with other devices or use a Wi-Fi extender to boost coverage. In the Ring app, check to see if the floodlight is connected and receiving updates. Restart your router if needed, and consider relocating the Wi-Fi access point to maximize the connection stability.
4. Light Flickering
Flickering lights can be caused by loose wire connections or electrical interference. Inspect the connections to ensure they are secure and check for any signs of wire damage. Turn off other electronics nearby that could be causing interference. If the flicker issues continue, consult with a professional electrician to evaluate the electrical wiring or circuit compatibility.
Conclusion
Installing and maintaining a Ring Floodlight can significantly enhance the security and safety of your home. By following the detailed installation steps and performing regular maintenance, you ensure the floodlight operates effectively and lasts longer. Troubleshooting any issues promptly can prevent minor problems from becoming more significant concerns. Thanks for reading, and we hope this has given you some inspiration on how to wire ring floodlight!

