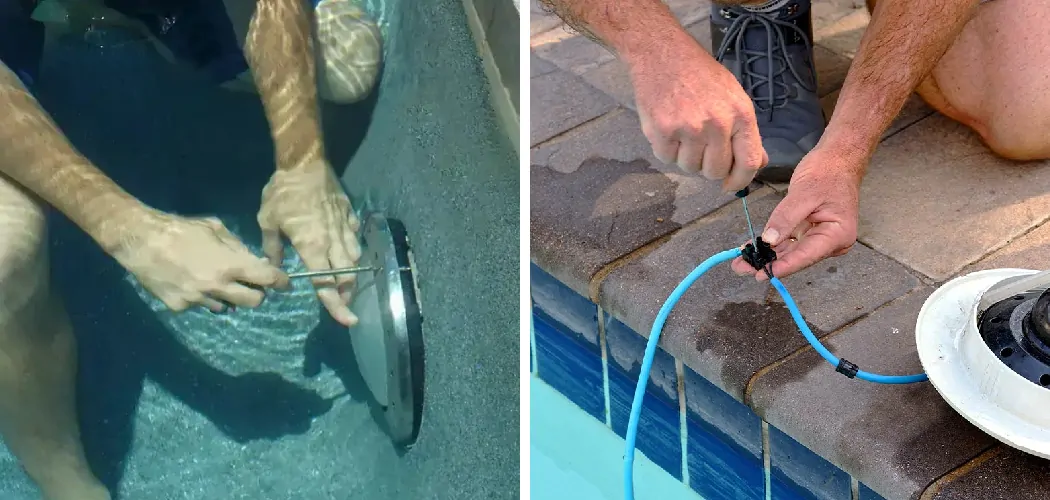
Are you planning to install pool lights in your backyard? Pool lights not only enhance the beauty of your pool but also provide safety during nighttime swimming.
Wiring pool lights is a task that can significantly enhance the ambiance and safety of your swimming area. When the sun sets, a well-lit pool allows for extended enjoyment and adds a touch of elegance to your backyard oasis. However, wiring lights around water requires careful planning and a comprehensive understanding of safety protocols.
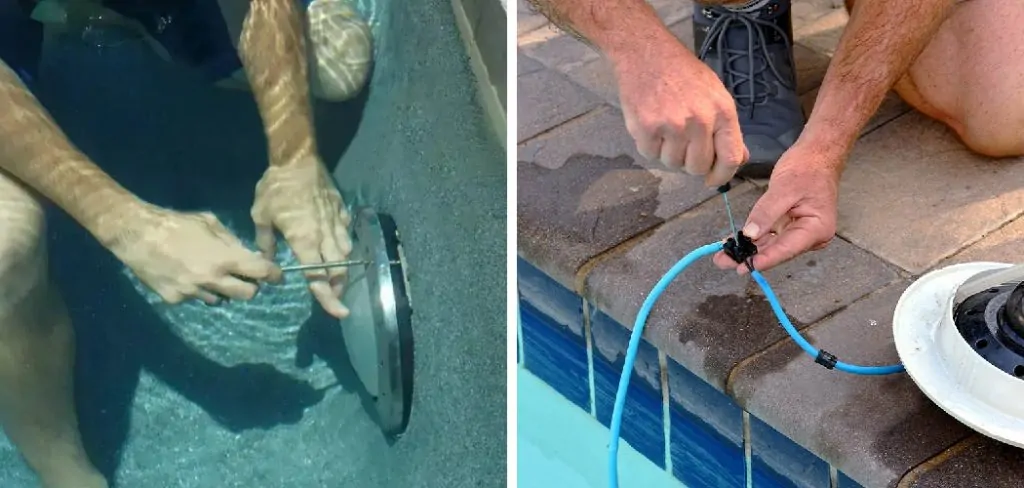
In this guide, we will walk through the essential steps on how to wire pool lights correctly, from selecting suitable fixtures to adhering to electrical codes. Whether you’re a seasoned DIY enthusiast or a newcomer to home improvement projects, our aim is to provide clear and concise instructions to illuminate your pool area safely and effectively.
What are the Benefits of Pool Lighting?
Before we dive into the process of wiring pool lights, let’s first explore the benefits that come with it. Aside from adding a touch of beauty to your backyard, installing pool lights provides safety during nighttime swimming. It also extends the use of your pool area, allowing you to enjoy evening swims or outdoor gatherings with friends and family.
Additionally, proper lighting can help prevent accidents by making the pool edges and depth more visible. It also improves visibility for lifeguards or parents monitoring small children in the pool. Furthermore, pool lighting allows for various color options, creating different moods and atmospheres to suit any occasion.
Overall, wiring pool lights are a worthwhile investment that brings aesthetic appeal and practicality to your outdoor space. Now, let’s get started on how to wire pool lights!
Types of Pool Lights
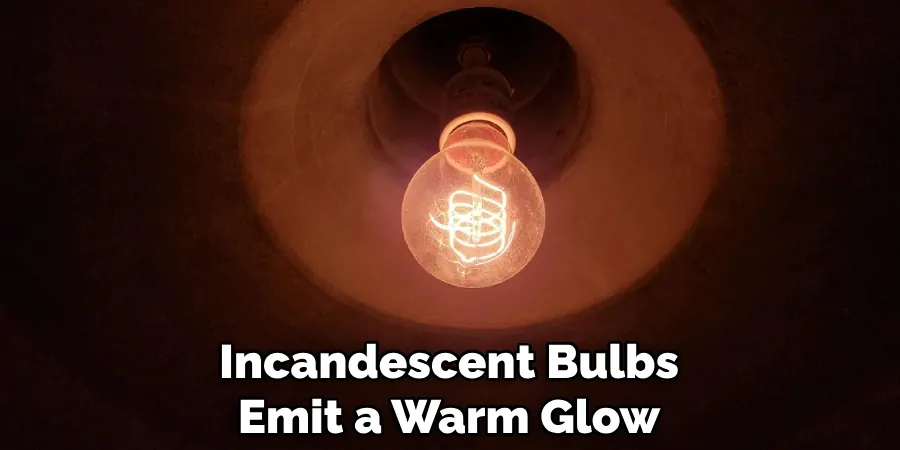
When considering pool lights, there are a few options to choose from. Some popular choices include LED halogen and incandescent bulbs. LED lights are the most energy-efficient option and have a longer lifespan than traditional bulbs. Halogen and incandescent bulbs emit a warm glow but tend to consume more energy.
Regardless of the type of pool light chosen, make sure it is specifically designed for use in water. These lights have a waterproof rating and are safe to install in and around your pool.
Ultimately, the type of pool light you choose will depend on your personal preference and budget. Consider doing some research and comparing different options before making a decision.
What Will You Need?
Before starting any project, gathering all the necessary tools and materials is important. Here’s a list of what you will need to wire pool lights:
- Pool Lights (LED, halogen, or incandescent)
- Transformer (if using low-voltage lights)
- PVC Conduit
- Waterproof junction box
- Wire connectors
- Electrical tape
- Wire strippers
Additionally, you may need a drill, screws, and a ladder, depending on your pool’s setup. Using high-quality materials and following safety precautions while installing pool lights is essential.
10 Easy Steps on How to Wire Pool Lights
Step 1. Turn Off the Power:
Always begin any electrical project by turning off the power to the circuit you will be working on. This typically involves switching off the circuit breaker that supplies electricity to the pool area for pool lighting. This step is crucial for preventing electrical shock or accidents while installing your pool lights.
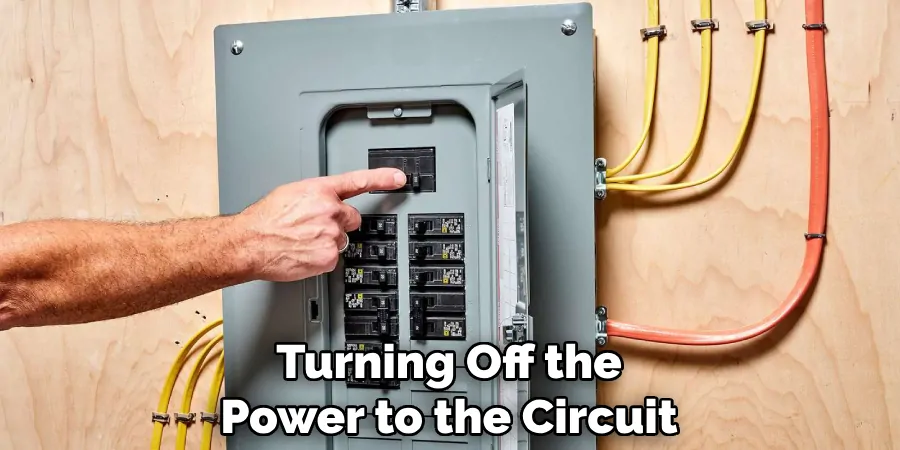
Confirm that the power is off using a non-contact voltage tester near the wiring or electrical box you’ll be working with. This additional safety measure ensures that there’s no current flowing and that proceeding with the installation process is safe. It’s better to be overly cautious when dealing with electricity, especially in a wet environment like a pool.
Step 2. Plan Your Lighting Layout:
Planning the layout of your pool lighting is essential to achieving an even distribution of light and the desired aesthetic effect. You’ll need to decide on the number of lights, their placement, and how they will illuminate the pool’s features. It’s essential to consider both the pool’s size and shape and any landscaping or architectural features you wish to highlight.
Start by sketching a rough diagram of your pool, marking potential spots for lights, and ensuring they are spaced out evenly. Consider the depth of the pool as well – deeper areas may require more lighting for better visibility. Remember that the lights should be positioned to minimize glare for swimmers and onlookers. Once you have a plan, you can install the conduit and wiring necessary for your pool lights.
Step 3. Install the Conduit:
Your next step is to lay out and install the PVC conduit to house the electrical wires for your pool lights. The conduit should run from the power source to each light fixture, ideally through a trench that will keep the conduit protected and out of sight.
Begin by measuring the distance from your power source to each light location, allowing for extra length for future adjustments or re-routes. Ensure that the conduit is adequately secured and lays flat, avoiding any areas where water may pool or where it could be damaged. Use sweeps instead of 90-degree bends to make pulling wire through the conduit easier.
Step 4. Wire the Pool Lights:
Once the conduit is in place, thread the electrical wires through it, ensuring you have enough length to reach each light and the transformer or power source. Use the wire strippers to carefully remove the insulation from the ends of the wires without damaging the inner conductor. Connect the wires from the power source to the corresponding terminals in the transformer. If you’re using a low-voltage system, the transformer must be connected between the power source and the lights to reduce the voltage to a safe level.
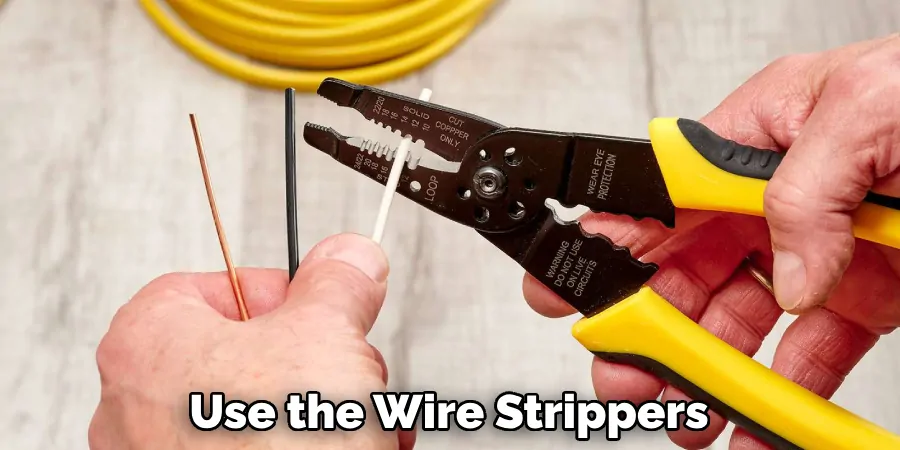
For each light fixture, connect the wires using waterproof wire connectors. These connectors will help protect the connections from water ingress and are a critical part of the installation for safety reasons. Ensure that all links are tight and secure to prevent any future issues.
Step 5. Attach the Junction Box:
Mount a waterproof junction box at a location convenient for maintenance and close to your power source. The junction box will act as a hub where all pool lighting cables converge before connecting to the transformer or power supply. Ensure that the junction box is firmly secured and has the proper waterproof seal to prevent any water from entering. Connect each set of wires from your pool lights to the junction box, ensuring that your connections are organized and that the wires are not over-tensioned or coiled inside.
Step 6. Check the Connections:
Before proceeding further, it’s essential to double-check all the wire connections to ensure they are secure and properly insulated. Look over each waterproof wire connector to confirm that they are tightly sealed, and there is no exposed wiring that could potentially cause a short circuit. It’s also prudent to verify that the wires are correctly connected to their corresponding terminals in the transformer, junction box, and light fixtures. Addressing issues at this stage can save time and prevent problems when you power on the pool lights for the first time.
Step 7. Test the Lights:
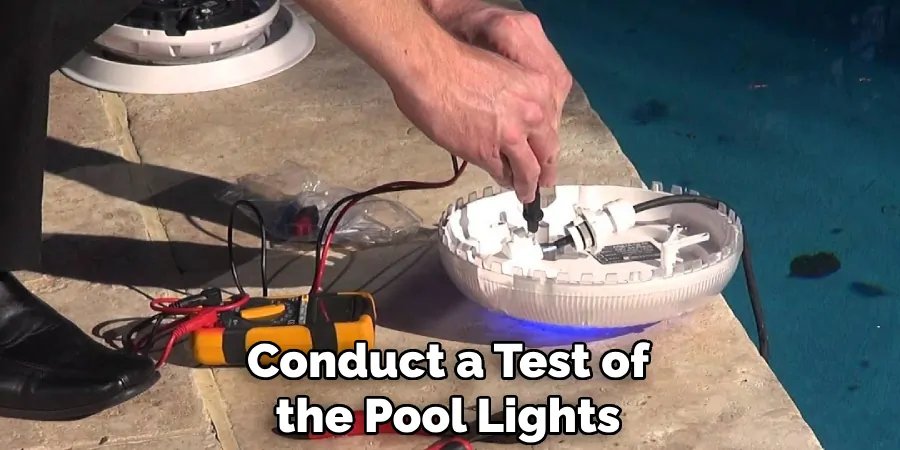
Before burying the conduit and finalizing the installation, it’s essential to conduct a test of the pool lights. Carefully turn the power back on at the circuit breaker, then switch on the lights using your pool’s control panel or switch. Check each light fixture to ensure that it is illuminating properly, and that there are no electrical issues. If a light is not working or flickering, turn off the power and revisit the connections for that fixture to troubleshoot the problem. This step not only tests the functionality of the lights but also ensures the safety of the entire system before it’s fully installed.
Step 8. Bury the Conduit:
With the lighting system tested and confirmed to function correctly, the next step is to bury the conduit. Carefully fill the trench, covering the conduit with dirt or the material you previously excavated. Ensure the fill material is free of sharp rocks or debris that could damage the conduit. Tamp down the soil to eliminate air pockets and provide a stable base for any landscaping or decking that will go over the top. Follow local codes for the required depth to achieve proper protection and avoid future digging that could disrupt the installation. After the conduit is buried, restore the surface area to match its original condition, whether grass, pavers, or concrete.
Step 9. Install the Light Fixtures:
Once the electrical groundwork is laid, the next step is installing the light fixtures. Ensure all fixtures are specific to pool use, rated for submersion, and compatible with your power system. Carefully insert each institution into the designated locations around the pool. Secure them according to the manufacturer’s instructions, which typically involve a combination of waterproof gaskets, screws, and niches or brackets designed to hold the fixture firmly in the pool wall. It is vital to ensure a tight seal to prevent water from entering and damaging the light. After installation, check again that each light is aligned correctly to achieve your pool area’s best aesthetic and functional lighting.
Step 10. Final Inspection and Sealing:
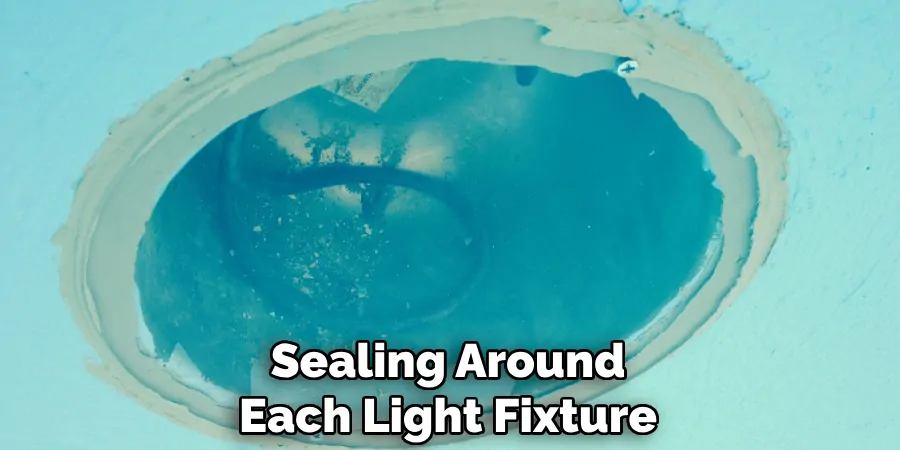
After installing the light fixtures, undertake a final inspection to verify that all the components are properly secured and functioning as intended. Ensure the sealing around each light fixture is impeccable, leaving no room for water ingress. Test the lighting once more to ensure that all institutions are operational and the entire system is free from electrical faults. Seal any access points or junction boxes used during installation to protect against moisture and debris further. Comply with all local pool lighting and electrical systems codes, and consider scheduling a professional inspection to certify that your installation meets safety standards. This final step assures peace of mind, knowing your pool lighting has been installed safely and is ready for use.
By following these ten steps, you can successfully install pool lighting that enhances the beauty of your pool area and increases its safety and functionality.
5 Additional Tips and Tricks
- Label Your Wiring: To make future maintenance or troubleshooting easier, label each wire at both ends with a waterproof tag. Indicating the light fixture it connects to can save time and confusion when adjustments are needed.
- Use a Cable Trencher: If you have multiple lines to run or a large area to cover, consider renting a cable trencher to dig the trenches. This can make the job faster and more uniform than digging by hand.
- Ground Fault Circuit Interrupter (GFCI): Always use a GFCI for each lighting circuit to protect against electrical shock. Periodically test the GFCI to ensure it is functioning correctly.
- Conduit Fit: Ensure your conduit and fittings are snug. Using the appropriate adhesive for your type of conduit (PVC, metal, etc.) can prevent water from seeping in and causing electrical hazards.
- Smart Controls: Consider installing intelligent controls for your pool lights. With smart management, you can easily adjust the lighting from your phone or tablet and set schedules, adding convenience and saving energy costs.
With these additional tips and tricks, you can make your pool lighting installation even more efficient and effective. Remember to always prioritize safety and follow local codes when working with electrical systems.
6 Things You Should Avoid
- Not Following Electrical Codes: It’s essential always to follow local electrical codes when installing pool lighting. Please do so to avoid safety hazards and potential legal issues.
- Using Non-Waterproof Fixtures: Pool lights are constantly exposed to water, so it is crucial to use fixtures specifically designed for submersion. Using non-waterproof fixtures can result in electrical hazards and damage to the lighting system.
- Skipping a Test: It may be tempting to skip testing the lights before burying the conduit, but this step is crucial for both the safety and functionality of the lighting system. Skipping this step can lead to future issues that are more difficult and costly to fix.
- Not Using Proper Equipment: Always use the appropriate tools and equipment when installing pool lighting. This includes waterproof connectors, wire strippers, and conduit cutters.
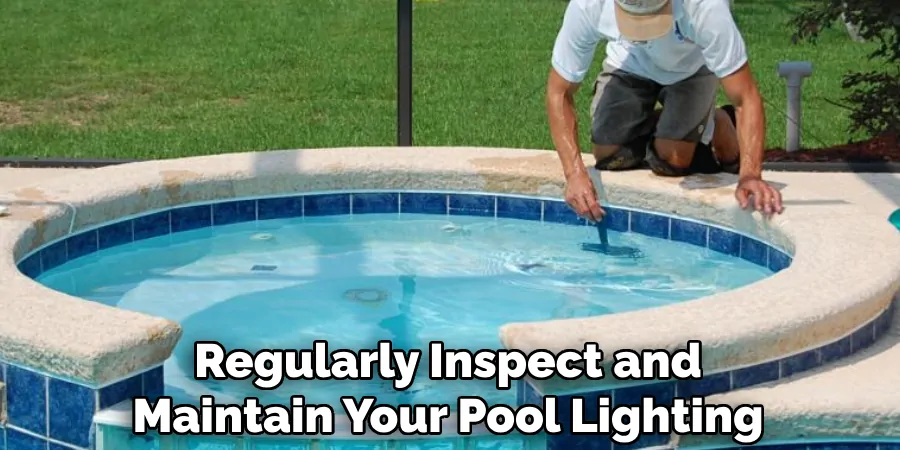
- Neglecting Maintenance: Regularly inspect and maintain your pool lighting to ensure optimal functionality and safety. Neglecting maintenance can lead to early burnout of bulbs or damage to the wiring, which can be costly.
- Ignoring Water Levels: The water level in your pool can affect the functionality of your lighting system. Ensure that the water level is maintained at the appropriate height to avoid any issues with the fixtures.
Avoiding these mistakes and following proper installation techniques will help ensure a successful and safe pool lighting system for years.
Why Use 24v Instead of 12v?
Using 24v instead of 12v for pool lighting has several benefits. First, 24v systems use less current, which results in less voltage drop and longer runs of wire without needing to use thicker wires. This can save time and money during installation.
Additionally, 24v systems are more energy-efficient than 12v, resulting in lower operating costs. They also produce less heat, which can extend the lifespan of the bulbs and reduce the risk of potential hazards.
Overall, 24v systems offer more flexibility and cost savings than 12v systems, making them a popular choice for pool lighting installations. As always, check local codes and regulations before deciding on the voltage for your pool lighting. So, these are some advantages of using 24v instead of 12v for pool lighting.
How to Convert 12v Led to 24v?
Converting 12v LED to 24v is a relatively simple process. First, you must purchase a 12v to 24v converter or transformer. These can be found at most electronic supply stores or online retailers.
Once you have the converter, follow these steps:
- Turn off Power: Before beginning any electrical work, turn off the power to your pool lighting system.
- Remove Old Transformer: If you have an existing 12v transformer, remove it from the circuit by disconnecting the wires and removing any mounting screws.
- Connect New Transformer: Connect the input wires of the 24v transformer to the same source as the previous 12v transformer, typically a GFCI outlet. Connect the output wires to the 24v LED power supply.
- Install Converter: Once wired, mount the new transformer in a suitable location, ensuring it is not exposed to water or moisture.
- Test and Adjust Voltage: Turn on the power and test the lights to ensure they work correctly. If necessary, use a multimeter to adjust the converter’s output voltage until it reaches 24v.
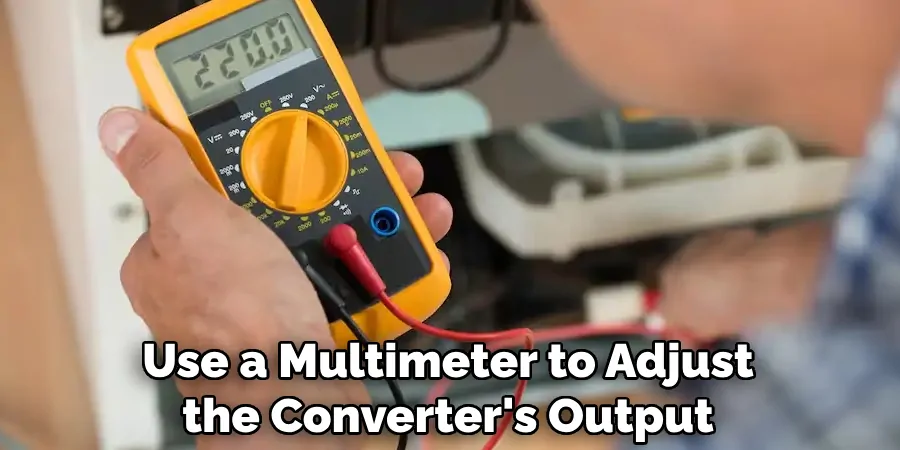
By following these steps, you can successfully convert your 12v LED pool lighting system to 24v. As always, consult with a professional if you need clarification or uncomfortable performing this task.
Conclusion
How to wire pool lights with precision and adherence to safety standards can significantly enhance the ambiance and safety of your outdoor swimming area.
By carefully selecting appropriate fixtures, utilizing proper wiring techniques, incorporating smart controls, and obeying local electrical codes, homeowners can achieve a well-lit pool that offers both beauty and security after dusk. It’s crucial to avoid common pitfalls, such as using non-waterproof fixtures or neglecting regular maintenance, which can compromise the longevity and performance of your lighting system.
In conclusion, whether you choose a standard 12v system or opt for the efficiency of a 24v setup, success lies in the installation details and the ongoing commitment to quality and safety. Always consult with or hire a licensed electrician for optimal results and compliance with all regulations.

