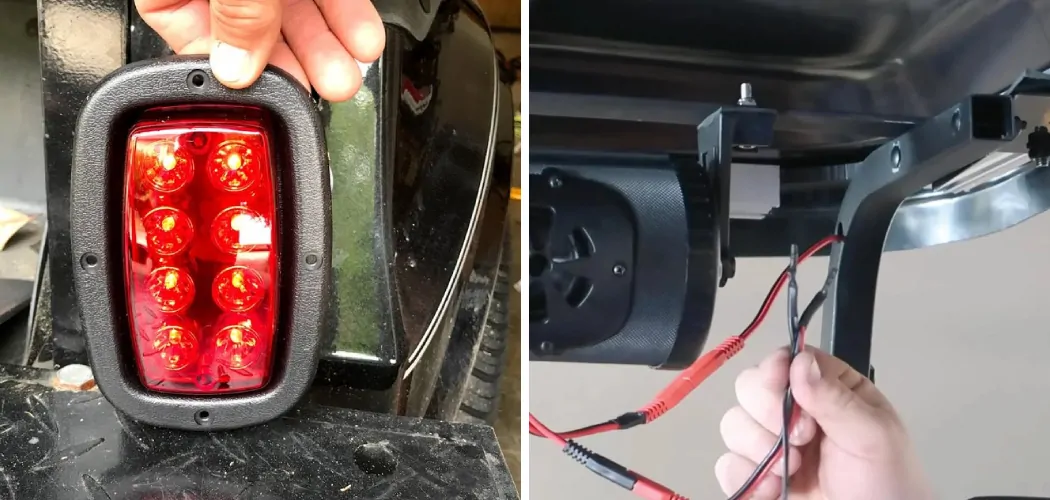
Customizing a golf cart with additional lighting is a popular and practical modification for enthusiasts looking to enhance visibility and style. Whether it’s installing headlights, taillights, or decorative LED strips, wiring lights on a golf cart is a valuable skill for those seeking to elevate their riding experience.
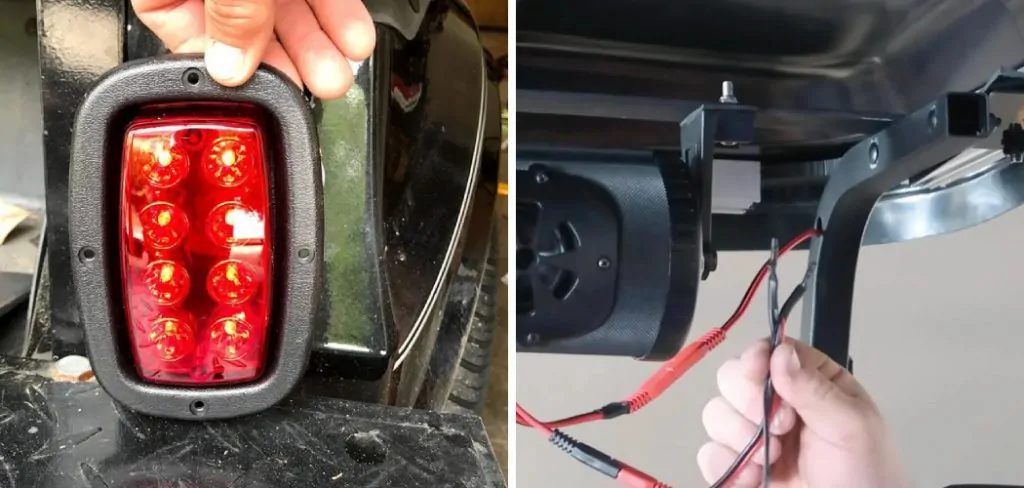
This article delves into the essential steps and considerations for wiring lights on a golf cart, covering aspects such as power sources, wiring harnesses, and safety precautions. From understanding the electrical system of the golf cart to selecting the appropriate lighting components, this guide aims to empower how to wire lights on a golf cart, ensuring a well-lit and safe journey on the fairways or around the neighborhood.
Importance of Proper Lighting on A Golf Cart
Proper lighting on a golf cart is not merely an aesthetic upgrade; it’s a critical safety feature, especially when driving during early morning hours, at dusk, or at night. Effective lighting ensures that the driver can clearly see the path ahead, avoiding potential hazards such as uneven terrain, obstacles on the track, or other vehicles.
Additionally, it makes the golf cart visible to pedestrians and other drivers, significantly reducing the risk of accidents. Beyond safety, enhanced lighting also increases the functionality of the golf cart, making it suitable for use in a wider range of conditions and times, thereby maximizing the utility and enjoyment of the vehicle.
The Necessity of Wiring Lights on a Golf Cart
The necessity of wiring lights on a golf cart extends beyond the basic function of illumination; it encompasses safety, legality, and personalization. In many regions, having a properly lit golf cart is a legal requirement for operation during non-daylight hours, ensuring that all vehicles are visible and identifiable to prevent accidents.
From a safety perspective, lights provide the critical visibility needed to avoid hazards and safely navigate in low-light conditions. Furthermore, custom lighting allows owners to personalize their carts, reflecting their style and making their carts stand out. Thus, wiring lights on a golf cart is an essential consideration for any owner looking to enhance their cart’s safety, legality, and aesthetic appeal.
Steps for Wiring Lights on a Golf Cart
Wiring lights on a golf cart involves several crucial steps to ensure a successful and safe installation. Here is a simplified guide:
- Gather Necessary Tools and Materials: Before beginning, assemble all required tools and components, including the light kit (headlights, taillights, wiring harness, switch), screwdriver, wire cutters, electrical tape, and any provided installation instructions.
- Disconnect the Golf Cart Battery: Safety first. Ensure that all power to the cart is turned off by disconnecting the battery. This prevents any accidental electrical shorts or shocks during the installation process.
- Mount the Lights: Depending on the kit, start by mounting the headlights and taillights on the cart. Ensure they are securely attached and positioned correctly for optimal illumination and visibility.
- Install the Switch: Mount the switch in an accessible location near the driver’s seat. Ensure it’s firmly installed and that you have easy access to turn the lights on and off.
- Run the Wiring: Carefully run the wiring from the lights to the battery source, making sure to route the wires away from moving parts or areas that could pinch or damage them. Use zip ties or clips to secure the wiring in place.
- Connect the Lights to Power Source: Using the wiring harness, connect the lights to your power source. This might be directly to the battery or through a voltage reducer if your golf cart operates on a higher voltage. Always follow the specific instructions provided by the light kit manufacturer.
- Test Your Lights: Before finalizing the installation, reconnect your battery and test the lights to ensure everything is working correctly. Check both headlights and taillights, and ensure the switch functions as intended.
- Secure and Insulate Wires: Once everything is tested and working, secure any loose wires and use electrical tape to insulate all connections. This prevents any short circuits and ensures the wiring is protected from the elements.
- Final Check and Clean-up: Perform one final inspection to make sure all parts are securely fastened and that the wiring does not interfere with the operation of the golf cart. Clean up your work area, and you’re ready to enjoy your newly lit golf cart.
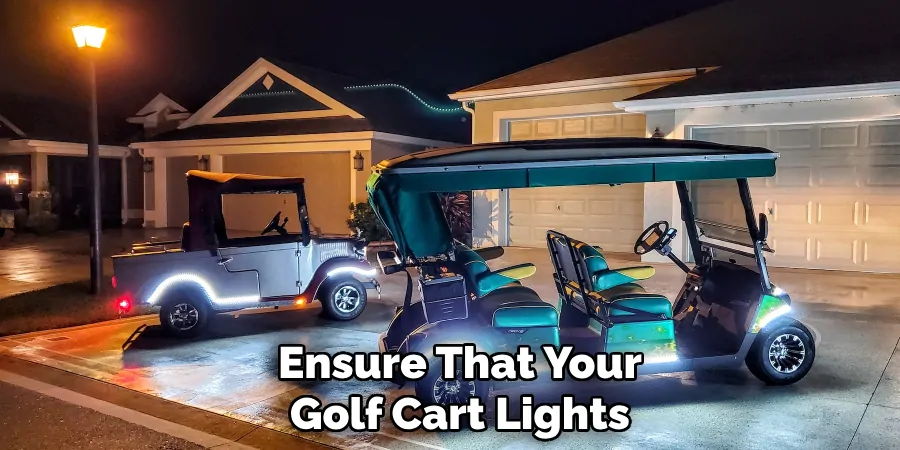
Following these steps will help ensure that your golf cart lights are installed correctly and safely, providing improved visibility and adding a personal touch to your cart. Remember, when in doubt, consult with a professional or refer to your golf cart’s manual for specific electrical guidelines.
Safety Considerations When Wiring Lights on a Golf Cart
When undertaking the task of wiring lights on a golf cart, safety should always be the top priority. It’s essential to follow a set of guidelines to prevent accidents and ensure the installation does not harm the golf cart’s electrical system. First, always disconnect the battery before starting any electrical work to prevent shock or accidental short circuits.
Wear protective gear, such as gloves and eye protection, to safeguard against potential sparks or wire snipping. When handling wires, ensure they are properly insulated and secure, away from any components that could cause wear and tear over time, such as sharp edges or moving parts. It is also crucial to use the right tools for the job to avoid damaging the components you are working with.
Components of a Typical Golf Cart Electrical System
Understanding the components of a typical golf cart electrical system is crucial for any owner wishing to maintain or modify their vehicle. At its core, the system comprises several key elements, each with a specific role in the cart’s function and performance:
- Batteries: The power source for electric golf carts, batteries are typically lead-acid and come in various voltages, such as 6, 8, or 12 volts, which are connected in series to meet the golf cart’s operating voltage.
- Controller: The controller acts as the brain of the golf cart, regulating the speed by controlling the electrical current flow from the batteries to the motor based on the accelerator’s position.
- Solenoid: This electro-magnetic switch activates the main power flow from the batteries to the controller when the accelerator is pressed. It acts as a critical safety feature, preventing the cart from moving unless intentionally operated.
- Motor: The heart of the golf cart, converting electrical energy from the batteries into mechanical energy to drive the wheels. Motors can be either direct current (DC) or alternating current (AC), with each type offering its own benefits.
- Forward/Reverse Switch: This switch allows the driver to change the direction of the motor’s rotation, thereby enabling the cart to move forwards or backwards.
- Voltage Reducer: In carts with higher operating voltages, a voltage reducer is often used to step down the voltage to a safe level for operating accessories, like lights or audio systems, which typically require 12 volts.
- Fuses and Circuit Breakers: Safety components that protect the golf cart’s electrical system from overloads or short circuits by breaking the circuit if the current is too high.
- Wiring and Connectors: The network of wires and connectors carries electrical current between the various components of the golf cart, ensuring smooth operation.
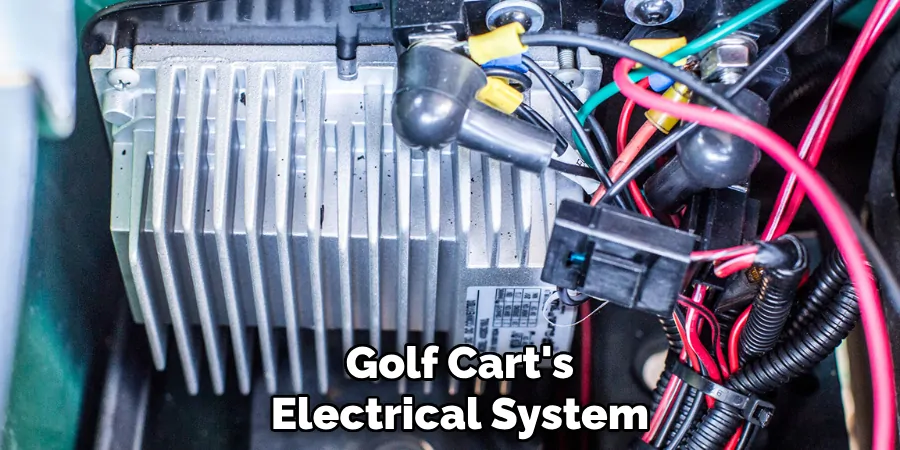
Each component in a golf cart’s electrical system plays a vital role in its functionality. Proper maintenance and understanding of these components can help ensure the longevity and reliability of the golf cart, as well as enhance its performance and safety features.
Different Types of Lighting Options for Golf Carts
When customizing your golf cart, choosing the right type of lighting can not only enhance your vehicle’s aesthetics but also improve visibility and safety during dusk or nighttime rides. Here are some popular lighting options for golf carts:
- LED Headlights and Taillights: LED (Light Emitting Diode) lights are among the most popular choices for golf carts due to their energy efficiency, long lifespan, and bright, clear light output. They provide excellent forward and rear visibility for nighttime driving.
- Halogen Lights: Although not as energy-efficient as LEDs, halogen lights offer a strong, bright white light. They are a cost-effective option for golf cart owners looking for simple, no-frills illumination.
- Fog Lights: Installed closer to the ground, fog lights help improve visibility in foggy, rainy, or dusty conditions. They can be either LED or halogen and are designed to cut through low-visibility environments.
- Underbody Lights: Also known as underglow lights, these are LED strips installed under the body of the golf cart. They add a custom, stylish look to your cart and are available in various colors.
- Light Bars: LED light bars can be mounted on the roof or front of the golf cart, providing broad, bright illumination. They are ideal for off-road conditions or paths where additional lighting is needed.
- Turn Signals and Brake Lights: For those using their golf carts in more urban or residential areas, adding turn signals and brake lights is essential for communication with other drivers and pedestrians, enhancing safety.
- Accent Lights: These include LED strips or pods that can be placed in the interior or along the trim of the golf cart for aesthetic purposes. They come in various colors and can be used to personalize your golf cart’s appearance.
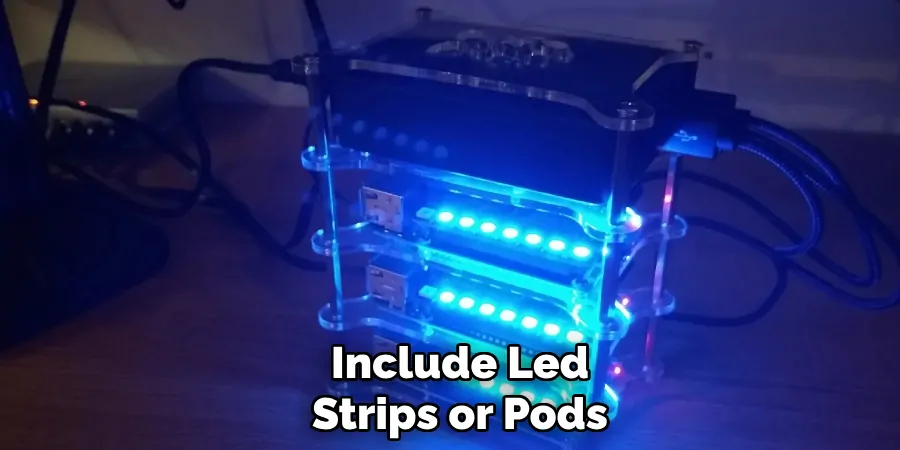
Each lighting option offers its own set of advantages, from improving visibility and safety to enhancing the aesthetic appeal of the golf cart. When selecting lighting for your golf cart, consider the primary use of your cart, the conditions you’ll be driving in, and your personal style preferences.
Necessary Tools and Materials
Before commencing any lighting installation or upgrade on your golf cart, it is imperative to gather all the necessary tools and materials to ensure a smooth and successful process. Here is a list of essential items you’ll need:
- Screwdrivers: A set of both Phillips and flathead screwdrivers of various sizes for removing and securing different types of screws.
- Wire Stripper/Cutter: A wire stripper is crucial for safely stripping the insulation from electrical wires without damaging them, while a cutter will help in trimming wires to the desired length.
- Multimeter: An invaluable tool for diagnosing electrical issues, measuring voltage levels, and ensuring connections are correct and safe.
- Soldering Iron and Solder: For permanent and secure connections, soldering is preferred over twisting wires together. A soldering iron and some solder will be needed for this task.
- Heat Shrink Tubing or Electrical Tape: To insulate and protect wire connections, heat shrink tubing is ideal as it provides a durable and waterproof seal. Electrical tape can also be used as an alternative.
- Drill and Drill Bits: A drill may be necessary for installing new lighting fixtures or making holes for running wires through the golf cart’s frame.
- Crimping Tool: For attaching terminal connectors to wires, a crimping tool ensures a tight and secure connection.
- Zip Ties: To keep wires organized and prevent them from dangling or getting caught in moving parts, zip ties are a simple yet effective solution.
- Lighting Kit and Accessories: Of course, the desired lighting fixtures themselves, along with any mounting hardware or specific connectors required for installation.
- Safety Gear: Safety glasses and gloves to protect yourself from potential hazards during the installation process.

Having these tools and materials ready before starting your project will help ensure that the installation goes smoothly and reduces the risk of any delays or complications.
10 Methods How to Wire Lights on a Golf Cart
1. Understand the Golf Cart’s Electrical System:
Before embarking on wiring lights, familiarize yourself with the golf cart’s electrical system. Identify the voltage (usually 36V or 48V for electric carts) and determine if it uses a series or parallel wiring setup. This knowledge is crucial for selecting compatible lighting components and ensuring a safe and effective wiring process.
2. Choose Appropriate Lights:
Select lights that suit your specific needs and comply with local regulations. Options include headlights, taillights, brake lights, and decorative LED strips. Ensure the chosen lights are compatible with the voltage of your golf cart and designed for automotive applications.
3. Determine the Power Source:
Identify the power source for the lights. Most golf carts have a dedicated accessory or accessory switch on the key switch that provides power when the cart is in use. Alternatively, you can connect the lights directly to the battery. Choose a method that aligns with your preferences and the available power sources on your golf cart.

4. Use a Wiring Harness:
Simplify the wiring process by utilizing a pre-made wiring harness designed for golf carts. Wiring harnesses come with connectors, switches, and labeled wires, streamlining the installation and reducing the risk of errors. Follow the harness instructions and connect each component according to the provided diagram.
5. Plan the Wiring Route:
Plan the route for running the wiring to each light. Conceal wires along the frame or body, securing them with clips or ties to prevent interference with moving parts. Ensure wires are protected from potential damage and avoid sharp edges or areas exposed to extreme heat.
6. Connect the Lights:
Connect each light to the wiring harness or directly to the power source. Follow the specific instructions for each light component, ensuring proper polarity. Typically, lights have positive (usually red) and negative (usually black) wires. Secure connections with appropriate crimp connectors or soldering for a reliable electrical connection.
7. Install Switches and Controls:
If your golf cart doesn’t have a dedicated light switch, install switches for controlling the lights. Mount switches in a convenient location on the dashboard and wire them to the appropriate circuits. Additionally, consider adding a fuse or circuit breaker to protect the electrical system from overloads.
8. Test the Lights:
Before finalizing the wiring, test each light to ensure proper functionality. Turn on the lights and verify that headlights, taillights, and brake lights operate as intended. Check for any flickering, dimming, or other irregularities that may indicate a wiring issue.
9. Weatherproof Connections:
Given the outdoor nature of golf cart use, weatherproof your connections to protect against moisture and environmental elements. Apply electrical tape or heat-shrink tubing to exposed connectors, and use weatherproof housing for switches if mounted in an open area. This step helps prevent corrosion and ensures the longevity of your lighting system.
10. Follow Local Regulations:
Adhere to local regulations and guidelines regarding golf cart lighting. Different regions may have specific requirements for the type, color, and placement of lights on golf carts. Confirm that your lighting setup complies with these regulations to ensure a safe and legal driving experience.
Conclusion
In conclusion, understanding how to wire lights on a golf cart is vital for both safety and convenience during use, especially in low-light conditions. By following the outlined steps and adhering to safety protocols, individuals can successfully install lighting fixtures to enhance visibility and functionality.
Careful planning, selection of quality components, and proper wiring techniques contribute to a reliable lighting system on the golf cart. Regular maintenance and periodic checks ensure continued performance and safety compliance. Thanks for reading, and we hope this has given you some inspiration on how to wire lights on a golf cart!

