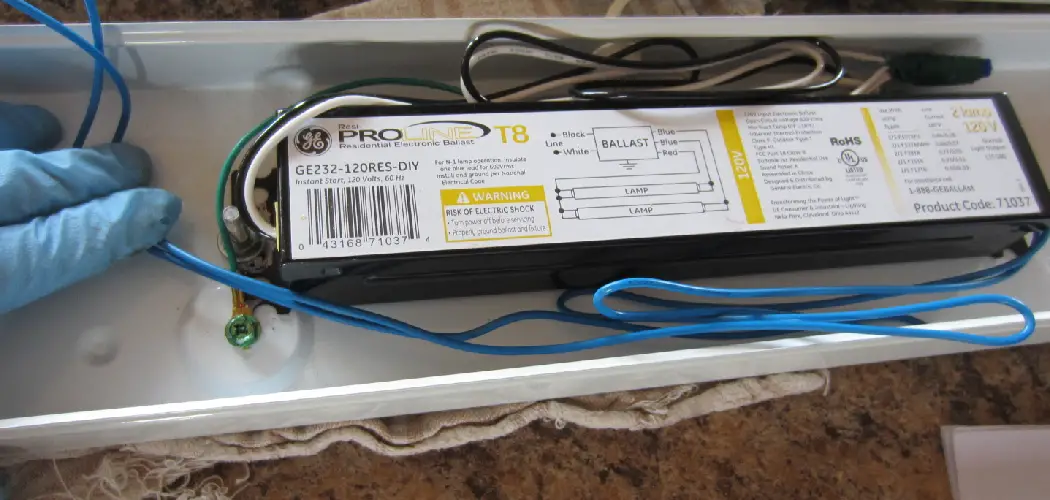
Embracing energy-efficient LED technology often involves upgrading traditional fluorescent tube lighting systems. One key aspect of this transition is learning how to wire LED tube lights without a ballast. Ballasts, once essential for fluorescent bulbs, can hinder the performance and efficiency of LED tubes.
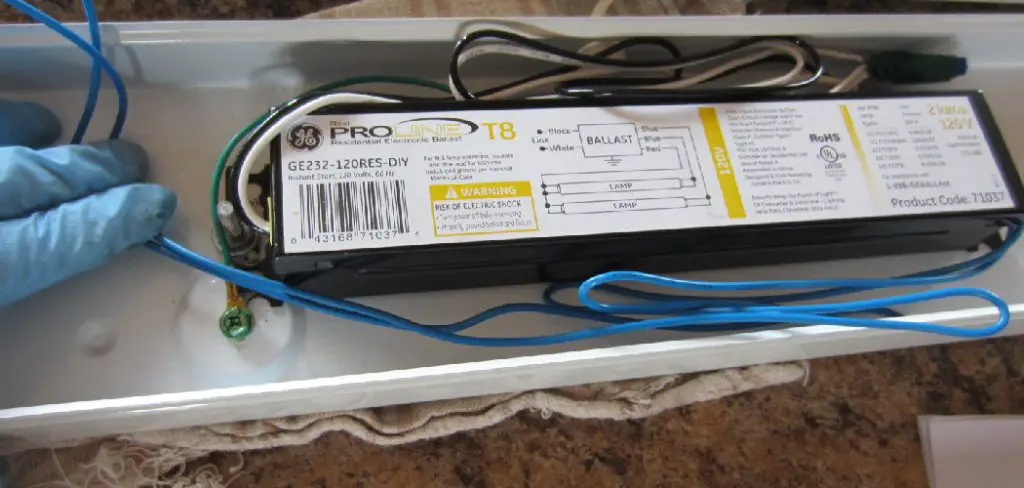
This article serves as a comprehensive guide for how to wire led tube lights without ballast, providing a step-by-step approach to rewiring LED tubes directly to the electrical circuit.
By bypassing the ballast, users can optimize the longevity and energy-saving benefits of LED lighting, all while ensuring a straightforward and safer installation process. From understanding the wiring nuances to securing the right materials, this guide empowers individuals to make a seamless switch to LED tube lights, contributing to both environmental sustainability and reduced energy consumption.
Importance of Wiring LED Tube Lights Properly
The importance of wiring LED tube lights properly cannot be overstated. Proper installation ensures not only the safety of those handling the fixtures but also the efficiency and longevity of the LED lights themselves. Incorrect wiring may lead to short circuits, malfunctions, or even electrical fires, posing serious risks.
Additionally, well-wired LED tube lights operate at their peak capability, which translates into significant energy savings and a reduction in maintenance costs over time. Adhering to correct wiring practices, therefore, is crucial for harnessing the full potential of LED technology in a responsible and cost-effective manner.
Understanding LED Tube Lights without Ballast
Before diving into the installation process, it’s imperative to understand how LED tube lights operate without the need for a ballast.
Unlike fluorescent tubes, which require a ballast to regulate the current and provide sufficient voltage to start the lights, LED tube lights are designed with internal drivers that manage this function internally. This key difference allows for a more simplified wiring setup and eliminates the energy losses associated with traditional ballasts.
Furthermore, in an LED retrofit, the removal of the ballast reduces the fixture’s weight and increases overall efficiency while decreasing the potential for points of failure. It is essential to recognize that not all LED tubes are made the same, and some might be compatible with existing ballasts, while others are not. Thus, one should always check the manufacturer’s specifications before pursuing the wiring process.
Benefits of Using LED Tube Lights Without Ballasts
Transitioning to LED tube lights without ballasts provides numerous advantages. By eliminating the ballast, there is a reduction in energy consumption since the power no longer needs to flow through this additional component. As a result, this leads directly to cost savings, reflected in lower electricity bills.
Moreover, without the ballast, the LED tubes tend to have a longer lifespan due to fewer points of failure within the lighting system. The direct wiring of LED tubes also simplifies the maintenance process, since there’s no need to replace ballasts over time. LED lights are known for their instant start-up and consistent light output, which further improves the user experience.
Environmentally, LED lights without ballasts are a greener option, cutting down on waste and hazardous materials associated with traditional ballast disposal. All these benefits align with the goal of creating sustainable and efficient lighting solutions for both residential and commercial environments.
Potential Issues with Compatibility and Wiring
While the switch to LED tube lights without ballasts is beneficial, it’s not without its challenges—particularly regarding compatibility and wiring nuances. Not all LED tubes are designed to work without a ballast, and using incompatible types can result in non-functional lighting or damage to the LED tubes.
It is imperative to confirm the specific requirements of the LED tube lights being installed and ensure they match your existing fixtures. Furthermore, the wiring process itself may present obstacles; as direct wiring involves altering the fixture, a clear understanding of the electrical system is crucial.

Incorrect wiring can lead to potential hazards such as electric shocks or fires. It’s also worth noting that modifications to electrical fixtures can void UL listings or manufacturer warranties, so proceeding with caution is key. Professional consultation is advised for those unfamiliar with electrical work to avoid these risks and ensure a safe and successful transition to LED tube lighting without ballasts.
Safety Precautions and Tools
Before embarking on the task of wiring LED tube lights without a ballast, safety must take precedence. The mishandling of electrical components can lead to dangerous outcomes; hence, it is paramount to adhere to the following safety precautions:
- Power Off: Always turn off the circuit at the breaker box to ensure there is no power flowing to the light fixture.
- Use Insulated Tools: Utilize tools with insulated handles to protect against accidental electric shocks.
- Wear Safety Gear: Don protective eyewear and gloves to safeguard against potential sparks or debris.
- Verify Equipment: Use a non-contact voltage tester to confirm the power is indeed off before starting the work.
Equally important are the tools required for the job. Ensure you have the following on hand:
- Wire Cutters/Strippers: For cutting and stripping the electrical wires.
- Screwdrivers: Both flathead and Phillips may be necessary for working on the fixtures.
- Wire Nuts: For securing wire connections.
- Electrical Tape: To insulate wire connections after applying wire nuts.
- Non-Contact Voltage Tester: To double-check that the power is off before you begin work.
- Ladder: To safely reach fixtures installed at height.
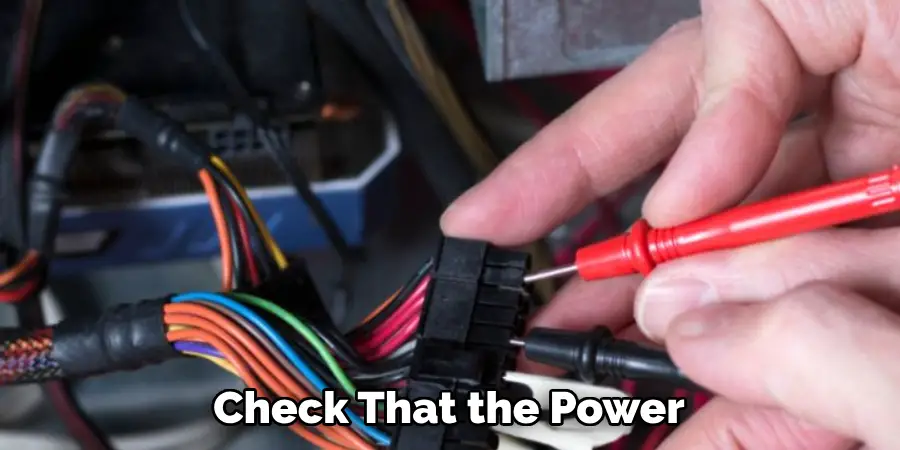
Following these precautions and using the right tools will help in executing a safe and efficient installation. If at any point the task seems beyond your skill level, seeking professional assistance is strongly advised.
10 Methods How to Wire Led Tube Lights without Ballast
1. Gather Necessary Materials:
Before starting the rewiring process, ensure you have the necessary materials, including non-shunted tombstone sockets, wire nuts, a voltage tester, and LED tube lights compatible with direct wiring.
It’s crucial to use high-quality components to guarantee the safety and efficiency of the new LED lighting setup. You can purchase these materials from any hardware store or online retailer. However, make sure to check the specifications of each component to ensure they are compatible with one another.
2. Turn Off Power:
Prioritize safety by turning off the power to the lighting circuit at the breaker box. Use a voltage tester to confirm that the circuit is de-energized before proceeding with any electrical work. This step is essential to prevent electric shock and ensure a secure working environment.
In addition, it is also important to consider the surrounding area when working with electrical fixtures. Make sure the work area is clear of any potential hazards such as water or flammable materials. This will reduce the risk of accidents and make your job easier.
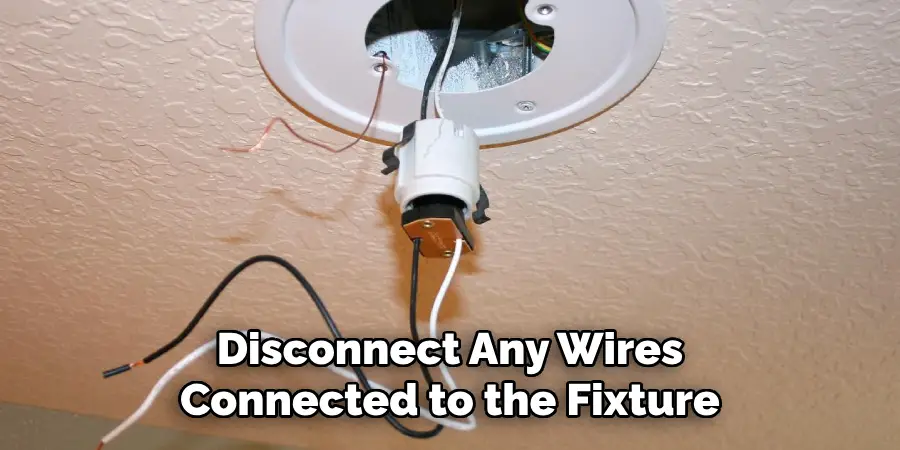
Another safety precaution to take when turning off power is to label and disconnect any wires connected to the fixture. This will help you keep track of which wires go where and prevent any mix-ups when reconnecting the fixture later on.
3. Remove Fluorescent Tubes and Ballast:
Remove the existing fluorescent tubes from the fixtures and then eliminate the ballast. The ballast is no longer needed for LED tubes and can cause compatibility issues. Carefully disconnect and label the wires connected to the ballast to simplify the rewiring process.
Once the ballast is removed, install the new LED tubes and connect them directly to the existing wires. It is important to follow safety precautions and turn off power to the fixture before removing or installing any electrical components.
LED technology has revolutionized lighting systems by offering energy-efficient solutions with improved longevity. Fluorescent tubes were once a common choice for commercial lighting, but they have now been replaced by LED tubes due to their numerous advantages.
LED tubes have a longer lifespan than fluorescent tubes, reducing the need for frequent replacements and saving maintenance costs in the long run. They also offer better light quality, with adjustable brightness options and a wider range of color temperatures to suit different needs. Additionally, LED tubes are more energy-efficient, consuming up to 50% less energy than fluorescent tubes and contributing to lower electricity bills.
4. Identify Hot and Neutral Wires:
Use a voltage tester to identify the hot (live) and neutral wires in the fixture. The hot wire typically has black insulation, while the neutral wire is white. Understanding the wiring configuration is crucial for the proper installation of the LED tubes. Incorrect wiring can result in a malfunctioning fixture or even cause electrical hazards.
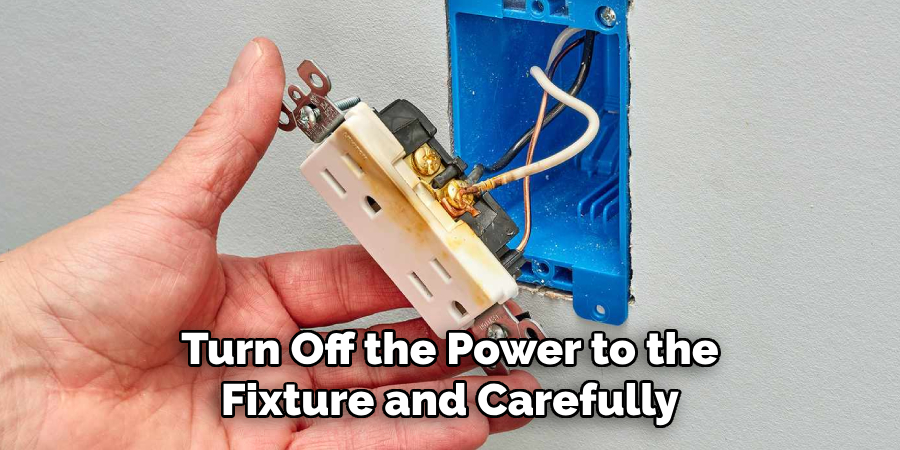
To determine which wire is hot, turn off the power to the fixture and carefully remove it from the ceiling. Next, use a voltage tester to test each wire individually. The hot wire will give a reading on the voltage tester, while the neutral wire will not produce any reading. Once you have identified the hot wire, mark it with a piece of tape or label.
Now that you have identified the hot and neutral wires, you can proceed with the installation process. First, make sure to connect the ground wire (usually green or bare copper) to the fixture’s grounding screw. Next, connect the hot wire from the fixture to the black wire in the junction box and secure them with a wire connector. Then, connect the neutral wire from the fixture to the white wire in the junction box and secure them with a wire connector.
5. Bypass the Ballast:
With the ballast removed, connect the hot and neutral wires directly to the non-shunted tombstone sockets. LED tubes operate on direct line voltage, and bypassing the ballast ensures a direct connection to the electrical circuit. Secure the connections using wire nuts, ensuring a snug fit. Repeat this process for each tombstone socket on both sides of the fixture.
After bypassing the ballast, it is important to properly insulate and secure all wiring connections. This will not only ensure electrical safety, but also prevent any potential damage or malfunctions in the future. It is recommended to use electrical tape or heat shrink tubing to cover the exposed wire nuts and connections.
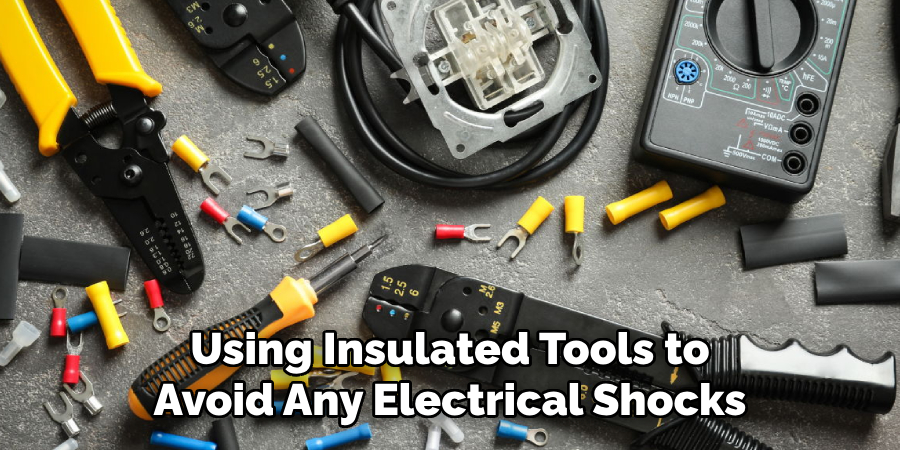
When working with electrical components, it is always important to follow proper safety precautions. This includes turning off the power at the circuit breaker before starting any work and using insulated tools to avoid any electrical shocks. Additionally, make sure to double check all connections and wiring before turning on the power again.
6. Install Non-Shunted Tombstone Sockets:
Replace the existing tombstone sockets with non-shunted tombstone sockets designed for direct wiring. Non-shunted sockets provide a secure connection for LED tubes without the need for a ballast. Follow the manufacturer’s instructions for proper installation, and ensure the sockets are securely mounted.
Continue by carefully connecting the wires to their appropriate terminals and tightening them securely. It is important to double check the wiring before powering on the lights to ensure proper installation. Once installed, these non-shunted tombstone sockets will provide a reliable and efficient connection for your LED tubes.
Additionally, if you are upgrading from traditional fluorescent lighting to LED, it may be necessary to also replace the existing ballast with a compatible LED driver. This will ensure that your new LED tubes are receiving the appropriate amount of power and will function properly.
7. Connect LED Tube Wires:
Insert the LED tubes into the non-shunted tombstone sockets, making sure they are properly aligned. Connect the LED tube wires to the corresponding hot and neutral wires in the fixture. Some LED tubes may have specific wiring requirements, so refer to the manufacturer’s guidelines for accurate connections.
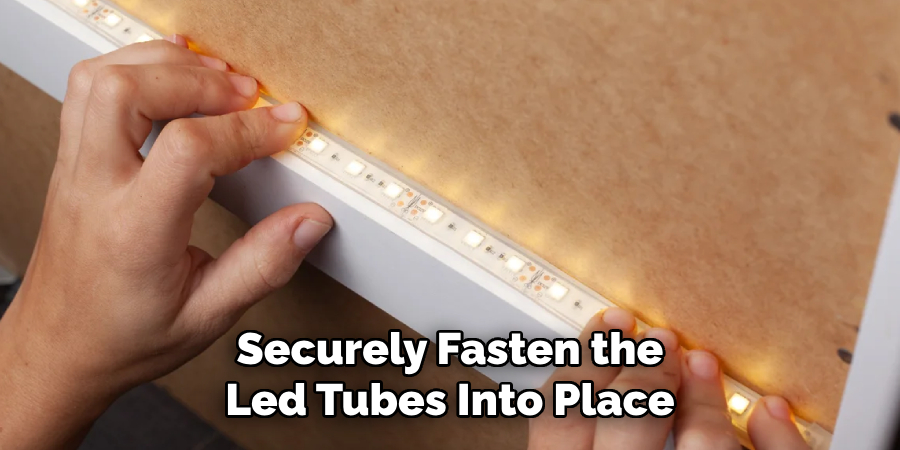
Once the connections are made, securely fasten the LED tubes into place. Though LED tubes are more energy-efficient and have a longer lifespan, they can still be fragile, so handle them with care during installation.
8. Secure Wiring and Close Fixtures:
Organize and secure the wiring within the fixture, ensuring there are no exposed or loose wires that could pose a safety risk. Close the fixture securely, following the manufacturer’s instructions.
Properly sealing the fixture maintains the integrity of the installation and protects against potential electrical hazards. In addition, ensure all mounting brackets, screws, and other hardware are properly tightened to prevent the fixture from falling or becoming dislodged.
When working with electrical fixtures, it is important to follow proper safety procedures. Always make sure the power supply is turned off before beginning any work on the fixture. Use insulated tools and wear protective gear such as gloves and goggles to avoid any potential accidents.
In addition to proper wiring and fixture closure, it is important to regularly check and maintain the fixtures to ensure they are in good working condition. Inspect for any signs of wear or damage, such as cracks in the casing or frayed wires. If any issues are found, address them immediately to prevent potential hazards.
9. Test the LED Tube Lights:
Turn the power back on at the breaker box and test the LED tube lights. Ensure that all tubes are illuminating correctly and that there are no flickering or dimming issues. If any problems arise, double-check the wiring connections and consult the manufacturer’s troubleshooting guide.
Additionally, it is important to regularly clean the LED tube lights to prevent dust and dirt buildup. This can affect the brightness and overall performance of the lights over time. Use a soft, damp cloth to gently wipe down the tubes and remove any debris.
Another factor to consider when testing LED tube lights is their compatibility with dimmer switches. Not all LED tubes are compatible with dimmer switches, so it is important to check the product specifications before installation. Using a non-compatible tube with a dimmer switch can cause flickering or buzzing, and potentially damage the lights.
10. Monitor Performance and Energy Savings:
Over time, monitor the performance of the newly rewired LED tube lights. Measure energy savings and assess the overall efficiency of the LED lighting system. LED technology is known for its longevity and reduced energy consumption, providing a cost-effective and sustainable lighting solution.
However, it is important to regularly monitor the performance of the LED lights to ensure they are functioning at their optimum level. While LED lights have a longer lifespan compared to traditional lighting options, they can still experience some decline in performance over time.
To monitor the performance of LED tube lights, keep track of their lumen output. This is the measure of light emitted by the LED and is an indicator of its brightness. If there is a significant decrease in lumen output, it may be a sign that the LED lights need to be replaced.
Additionally, monitor the color temperature of the LED lights. This refers to the appearance of light emitted by the LEDs, with warmer temperatures being closer to yellow and cooler temperatures being closer to blue. Consistency in color temperature is important for maintaining a visually appealing and comfortable environment.
Conclusion
In conclusion, wiring LED tube lights without a ballast offers numerous benefits including energy efficiency, longevity, and reduced maintenance costs. By following the outlined steps and safety precautions, individuals can successfully convert their existing fluorescent fixtures to LED technology.
Removing the ballast and properly wiring the LED tubes ensures optimal performance and avoids compatibility issues commonly associated with retrofitting.
Additionally, the emphasis on safety measures underscores the importance of protecting oneself from electrical hazards during the installation process. Troubleshooting tips provided enable individuals to address any potential challenges effectively, ensuring a smooth transition to LED lighting.

