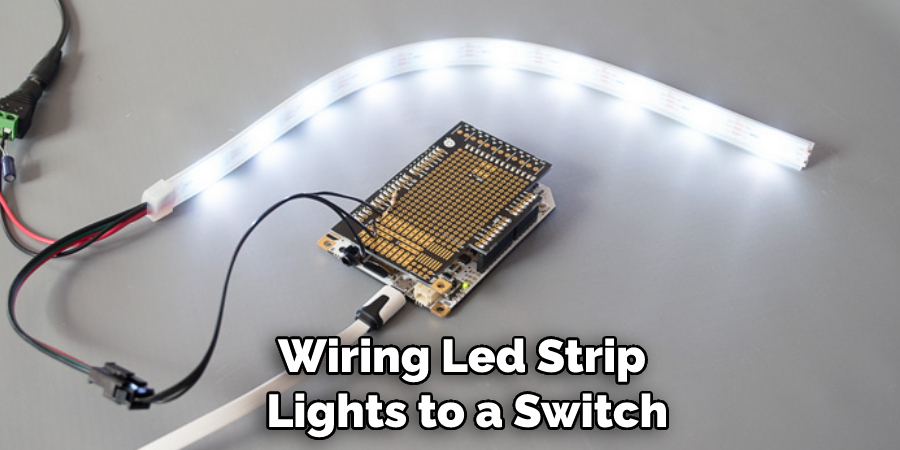
Do you want to upgrade the lighting in your space without having to install a permanent light fixture? Installing LED strip lights connecting it to a switch is an effective way of improving the look and feel of your space with minimal effort. In this blog post, we’ll cover how to wire led strip lights to a switch to turn them on or off with just one switch.
You’ll also find out what materials are required for this project, as well as be shown useful tips that will make the process easy! So if you’re looking for ways to add some illuminating touches around your home with minimum hassle, read on! If you’re looking to add some extra light and flair to your home, look no further than LED strip lights.
Not only are they cost-efficient and energy-saving, but they can also be installed relatively easily. Here, we’ll walk through the basics of how to wire up your LED strip lights to a switch so that you can turn them on or off at will without having to unplug any cords or wires.
Why You May Want to Wire Led Strip Lights to a Switch?
There are many reasons why you may want to wire LED strip lights to a switch. Such as:
1. Convenience
One of the most compelling reasons to wire LED strip lights to a switch is convenience. It allows you to quickly and easily turn your lights on and off without having to reach behind the light fixture or wall mounted switch.
2. Energy Savings
If you want to save energy, wiring LED strip lights to a switch can help you do so by allowing you to control when the lights are in use, which reduces your overall energy consumption. So if you’re looking for ways to reduce your electricity bills, this could be an effective way to do so.
3. Security and Safety
Wiring LED strip lights to a switch can also provide an extra layer of security and safety, since it allows you to turn on the lights remotely or from a different location. This is especially important if you have children or elderly family members living in the home.
4. Aesthetics
Finally, wiring LED strip lights to a switch provides an aesthetically pleasing look to your home’s interior design. You can choose from a variety of designs and colors, giving you the ability to customize your lighting setup exactly how you want it.
In conclusion, wiring LED strip lights to a switch offers many benefits, from convenience to energy savings. Therefore, it’s an ideal solution for those looking for a simple and effective way to control their lighting. With the right tools and knowledge, anyone can wire LED strip lights to a switch in just a few easy steps.
Tools You Will Need to Wire Led Strip Lights to a Switch
Now that you know why you may want to wire LED strip lights to a switch, let’s discuss how to do it. First and foremost, you will need the following tools and materials:
- LED Strip Lights
- Electrical Tape
- Wire Nuts
- Screwdriver
How to Wire Led Strip Lights to a Switch in 6 Easy Steps
Step 1: Cut the Led Strip to Desired Size
The very first step is to cut the LED strip light to the desired size. This is done with a pair of scissors and should be done before you begin any wiring. Also, make sure that the LED strip is cut in a straight line to ensure an even light output.
Step 2: Install Wire Connectors
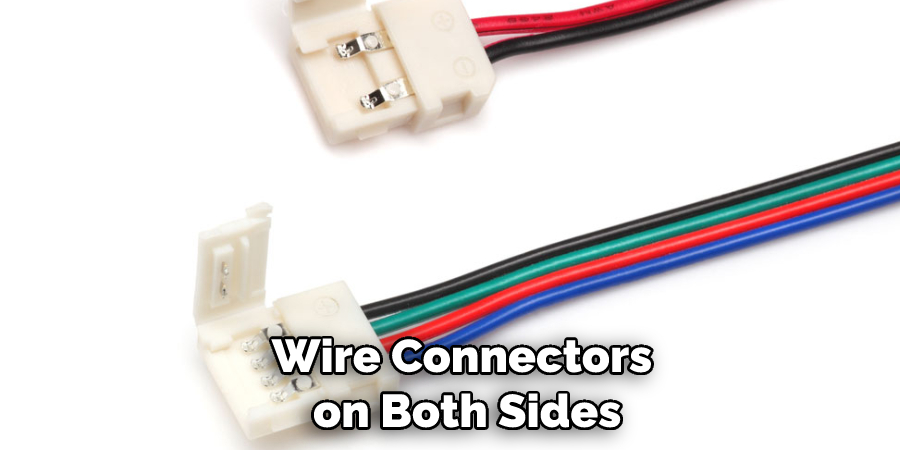
Next, you need to install wire connectors on both sides of the LED strip light. Make sure they are firmly secured and using appropriate tools such as pliers or other similar tools. This will provide a safe and secure connection for the wiring process.
Step 3: Connect Wires
Now that the wire connectors are installed, you can start connecting wires from one side of the LED strip to the other, connecting each connector to the appropriate wire. Make sure all connections are tight and secure before moving on to the next step.
Step 4: Install Switch
The next step is to install the switch. This can be done by connecting wires from the LED strip light to the terminals on the outside of the switch. Make sure all connections are tight and secure before moving on.
Step 5: Connect Wires to Power Source
Now that the switch is installed, you need to connect the wires from the LED strip light to the power source. This is done by connecting one wire from the LED strip light to the positive terminal of the power source and one wire from the switch to the negative terminal of the power source.

Step 6: Secure Connections
Now that all connections have been made, make sure they are secure by taping them down or using cable ties. This will help ensure that the connections are safe and secure and ready to use. Once all connections have been made, you can now turn on your switch and enjoy the lights! You have successfully wired LED strip lights to a switch.
Remember, it is important to take extra precautions when dealing with electrical wiring, so be sure to always use safety equipment and follow all instructions. If you are ever unsure of what to do, it is best to consult a professional electrician for more information and assistance.
Some Additional Tips to Wire Led Strip Lights to a Switch
1. Use a Low Voltage Dc Power Supply
This is very important as LED strip lights require a small amount of electrical current, and this can be provided by a Low Voltage DC power supply. Make sure to purchase the appropriate size power supply for your LED strip lights.
2. Use Appropriate Wiring and Connections
It is critical that you use the right wiring connections when wiring led strip lights to a switch. Use only properly rated wire that is suitable for your application and make sure to use the right type of connector. Also make sure to tighten the terminals securely and check for any loose connections.
3. Make Sure the Strip Lights are Rated for Switching
It is important that your LED strip lights are rated for switching as this will ensure maximum safety and efficiency. Check with the manufacturer to make sure your LED strips are suitable for switching and test them before connecting them to the switch.
4. Protect from Static Discharge
Static electricity can damage LED strip lights and cause them to malfunction or stop working altogether, so it’s important to take precautions when wiring led strips to a switch. Make sure you use appropriate anti-static measures such as wrist straps and grounding straps.

5. Test Your Wiring
Before you connect the switch to the power supply, it’s important to test your wiring. Check for any loose connections and make sure everything is firmly connected. If there are any doubts or issues, it’s best to seek professional help.
6. Label Your Connections
It is also a good idea to label each connection to make it easier to troubleshoot any issues in the future. Use a permanent marker or labelling tape and clearly identify each connection point. This way you can easily trace back any problems and find the source quickly.
Following these simple tips will help ensure that you get the best out of your LED strip lights when wiring them to a switch. With proper care and attention, you can enjoy many years of reliable lighting from your LED strips.
So always remember to use the right wiring connections, use appropriate Low Voltage DC power supplies, protect from static discharge and test your wiring before connecting to the switch. Also make sure to label each connection for easy troubleshooting in the future.
Frequently Asked Questions
What Precautions Should I Take When Wiring LED Strip Lights to a Switch?
When wiring LED strip lights to a switch, it’s important to take necessary precautions to avoid any potential wiring hazards. Before beginning the process of wiring your LEDs to a switch, make sure that you turn off the power supply and disconnect all wires. Additionally, be careful not to short circuit any of the wires, as this could cause damage to your LED strip lights switch. If you’re unsure about any steps in the process, it’s best to consult an experienced electrician for assistance.
What Are The Benefits Of Wiring Led Strip Lights To a Switch?
Wiring LED strip lights to a switch is a great way to customize your lighting setup and control it manually. Instead of having the LEDs automatically turn on when plugged in, you can control them with a simple switch.
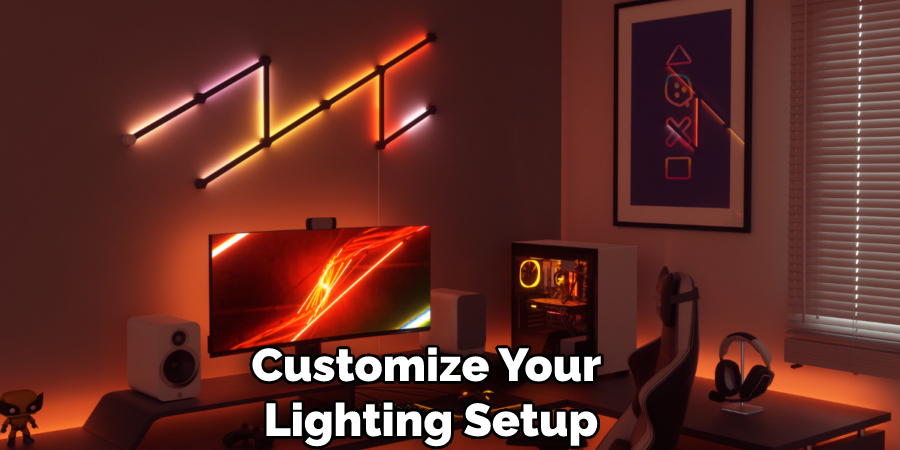
This makes it easy to turn off your lights without unplugging them or using a remote. Additionally, wiring LED strip lights gives you the option to use a dimmer switch to further customize the brightness of your lighting setup.
What Is The Best Way To Wire Led Strip Lights To A Switch?
The best way to wire LED strip lights to a switch is by using a double pole single throw (DPST) switch. This type of switch will keep both wires connected when it’s switched on, while disconnecting them when it’s switched off.
To wire the switch correctly, connect one of the wires to the common terminal and then connect the other wire to the normally open (NO) terminal. Once you’ve done this, all that’s left is to connect your LED strip lights to a power source and test the switch.
What Tools Are Needed To Wire Led Strip Lights To A Switch?
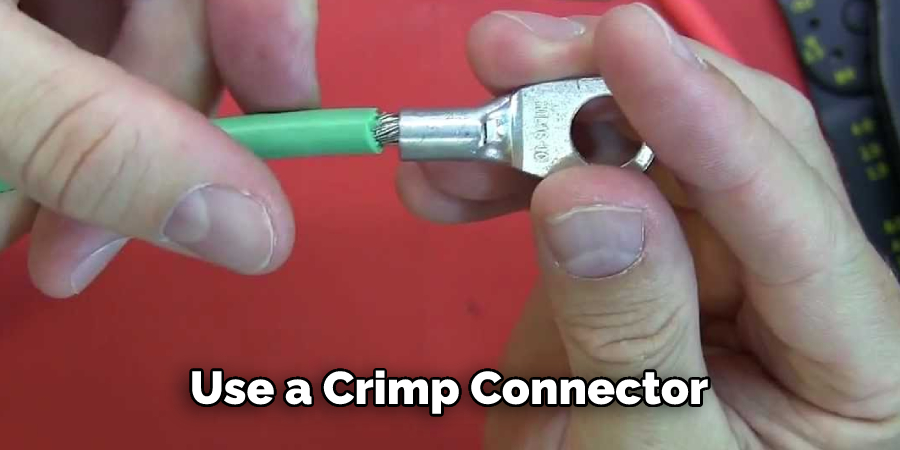
When wiring LED strip lights to a switch, you’ll need a few tools to help with the process. These include wire strippers, electrical tape, crimp connectors, heat shrink tubing, and solder.
Additionally, it’s recommended to have a voltage tester and multimeter on hand to help ensure that the switch is wired correctly. Having these tools can help make the wiring process much easier and more efficient.
What Is The Proper Way To Connect LEDs To A Switch?
When connecting LED strip lights to a switch, it’s important to make sure that you properly connect the wires. Start by striping about 1-2 inches of insulation from each wire, then twist them together to prevent them from shorting out.
Next, use a crimp connector or solder connection to secure the two wires together. Finally, cover the connection with electrical tape and heat shrink tubing to prevent any shorts. Once you’ve finished, test the connection to make sure that it’s secure.
What Is The Difference Between a Single Pole and Double Pole Switch?
Single pole switches are used to control one device or circuit, while double pole switches can be used to control two devices or circuits. When wiring LED strip lights to a switch, double pole switches are usually the best option as they can control two wires at once. This allows for more control over your lighting setup and makes it easier to turn them on or off with one switch.
Conclusion
Now you know how to wire led strip lights to a switch, you can make your space feel brighter and give it extra light whenever you need it. The techniques discussed in this article are easy to follow so now that you feel confident enough, start experimenting with these flexible strips of lights and add atmosphere to your interior or outdoor environment.
Adding electrical wiring can seem intimidating but with the right tools and knowledge, even beginner DIYers can create the perfect ambience. Talk to a qualified electrician if you have any doubts throughout the process, as electricity is something to take seriously.
With the tips outlined in this post, you should have no problem ensuring your LED strips are securely attached to your switch and providing plenty of light. Additionally, don’t forget to use caution when dealing with electricity and always turn off the power at the circuit breaker before attempting any wiring.

