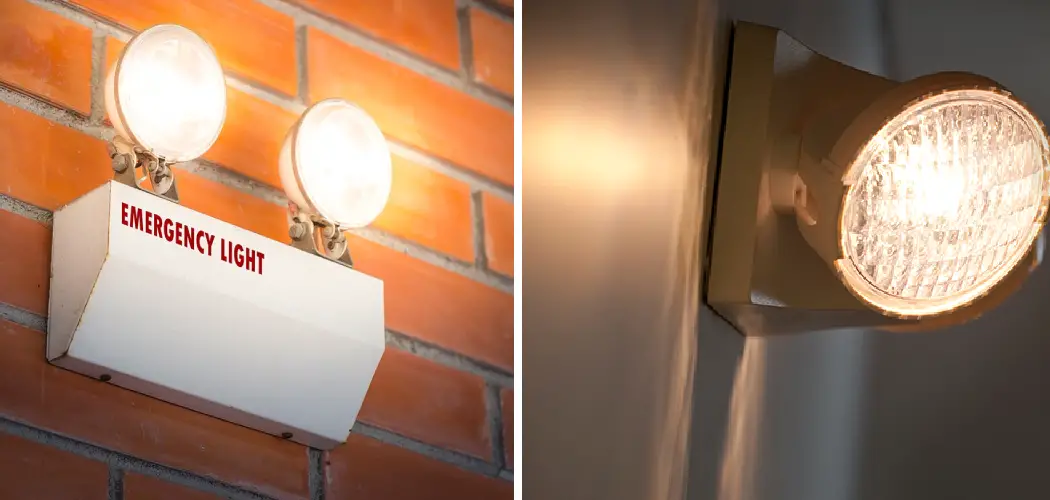
Emergency lighting is a crucial aspect of any building’s safety and security system. It provides illumination during power outages or emergencies, allowing people to safely evacuate the building. However, emergency lighting is only effective if it is properly wired and installed.

Faulty wiring or improper installation can render emergency lighting useless, putting people’s lives at risk. In this article, we will discuss how to wire emergency lights the importance of emergency lighting, the different types of emergency lights, how to plan and wire an emergency lighting system, and the importance of compliance with building codes and regulations.
Understanding the Importance of Emergency Lighting
Emergency lighting is a backup lighting system that automatically turns on during power outages or emergencies. Its purpose is to provide illumination in areas where people need to safely evacuate, such as stairwells, hallways, and exits.
Emergency lighting is essential in any building, whether it is a commercial building, a residential building, or an industrial facility. In the event of a power outage or emergency, emergency lighting can prevent panic and confusion, allowing people to safely evacuate the building.
Emergency lighting is especially important in settings where people may be unfamiliar with the layout of the building, such as hospitals, schools, and hotels. In these settings, emergency lighting can guide people to safety and prevent injuries or fatalities. Emergency lighting is also important in industrial facilities where hazardous materials are present. In the event of an emergency, emergency lighting can help workers safely evacuate the area and prevent accidents.
Types of Emergency Lights and Their Uses
There are several types of emergency lights, each with its own uses and benefits. The most common types of emergency lights are exit signs, emergency lights, and combination units.
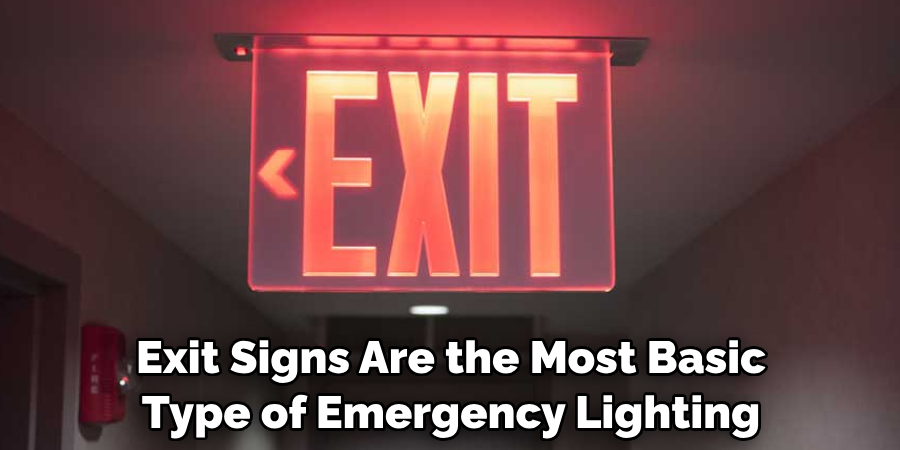
Exit signs are the most basic type of emergency lighting. They are designed to indicate the location of exits in the event of an emergency. Exit signs can be either internally or externally illuminated, and they can be powered by either AC or DC power.
Emergency lights are designed to provide illumination in areas where people need to safely evacuate. They are typically installed in stairwells, hallways, and other areas where people may need to navigate in the event of a power outage or emergency. Emergency lights can be either self-contained or remote-mounted, and they can be powered by either AC or DC power.
Combination units are a combination of exit signs and emergency lights. They are designed to provide both exit signage and emergency lighting in one unit. Combination units are typically installed in areas where space is limited, such as small stairwells or hallways.
Planning Your Emergency Lighting System
When planning your emergency lighting system, there are several factors to consider. First, you need to determine the areas of the building that require emergency lighting. This typically includes stairwells, hallways, exits, and other areas where people may need to navigate in the event of a power outage or emergency.
Next, you need to determine the type of emergency lighting that is best suited for each area. For example, exit signs may be sufficient in some areas, while emergency lights may be necessary in others. You also need to consider the power source for your emergency lighting system. AC power is the most common power source, but DC power may be necessary in some settings.
Finally, you need to ensure that your emergency lighting system is compliant with building codes and regulations. Building codes and regulations vary by jurisdiction, so it is important to consult with a professional to ensure that your system meets all requirements.
Choosing the Right Wiring and Components
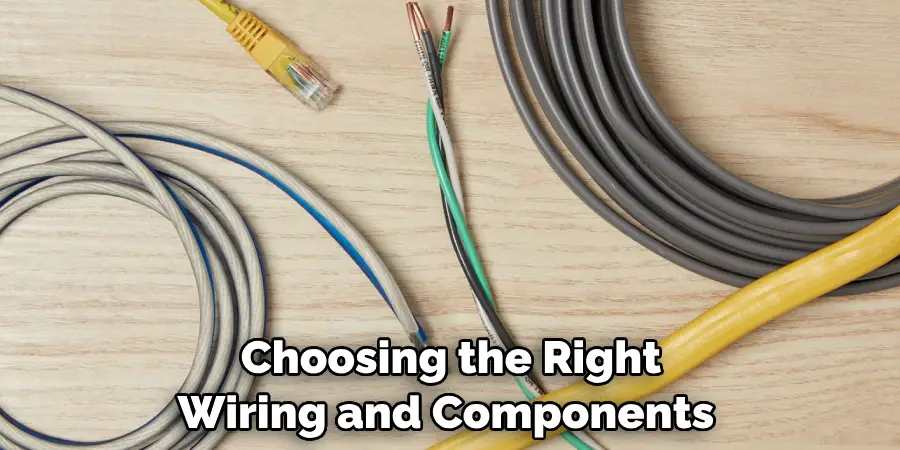
Choosing the right wiring and components is essential for a properly functioning emergency lighting system. The wiring and components you choose will depend on the type of emergency lighting system you are installing, as well as the power source you are using.
For AC-powered emergency lighting systems, you will need to choose wiring and components that are compatible with AC power. This typically includes AC power supplies, relays, and wiring that is rated for AC power.
For DC-powered emergency lighting systems, you will need to choose wiring and components that are compatible with DC power. This typically includes DC power supplies, batteries, and wiring that is rated for DC power.
10 Methods How to Wire Emergency Lights
Method 1: Gather the Necessary Tools and Materials
Before you begin wiring emergency lights, gather all the required tools and materials. These may include wire cutters, wire strippers, electrical tape, wire nuts, a screwdriver, emergency light fixtures, and the appropriate electrical cables. Ensuring you have everything you need will make the process smoother.
Method 2: Identify Power Sources and Circuit Breakers
Identify the power sources that will supply electricity to the emergency lights. Locate the circuit breakers responsible for these power sources and turn them off to ensure a safe working environment.
If you are not sure which breaker controls a specific power source, check the electrical panel and look for an identifying label. Once the power sources have been identified, it is time to start wiring your emergency lights.
Method 3: Determine Light Placement
Plan the placement of your emergency lights. Identify the areas where you need emergency lighting and ensure that they comply with safety regulations and building codes. Consider factors such as exit paths, stairwells, hallways, and important facilities.
Make sure that you plan to place the lights in out of reach spaces and away from other lighting fixtures. When planning for light placement, remember to factor in the power sources, as some may need to be placed near an outlet or power source.
Method 4: Install the Emergency Light Fixtures
Follow the manufacturer’s instructions to install the emergency light fixtures in the designated locations. Ensure that the fixtures are securely mounted and aligned properly for optimal lighting coverage.
When mounting the fixtures, it is important to consider positioning in relation to other objects such as walls, furniture, and ceilings. Positioning the fixtures too close to walls, furniture, or ceilings may reduce the effectiveness of the lighting.
Method 5: Run Electrical Cables
Carefully run the appropriate electrical cables from the power source to each emergency light fixture. Conceal the cables using conduits or cable management systems to ensure a neat and professional appearance.
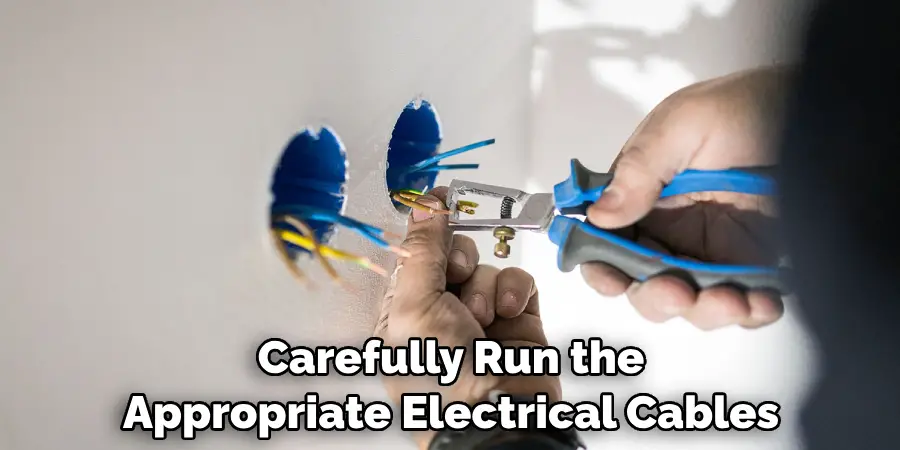
Connect the cables to each emergency light fixture and test the system thoroughly for effectiveness. Make any necessary adjustments to ensure that all lights are functioning properly. Once the wiring is complete, secure all light fixtures and hardware in place using mounting brackets.
Method 6: Make Electrical Connections
Strip the ends of the electrical cables and make the necessary electrical connections. Connect the black (hot) wires, white (neutral) wires, and green or bare copper (ground) wires together using wire nuts. Follow the wiring diagram provided by the manufacturer for your specific emergency light fixtures.
Method 7: Connect to a Backup Power Source
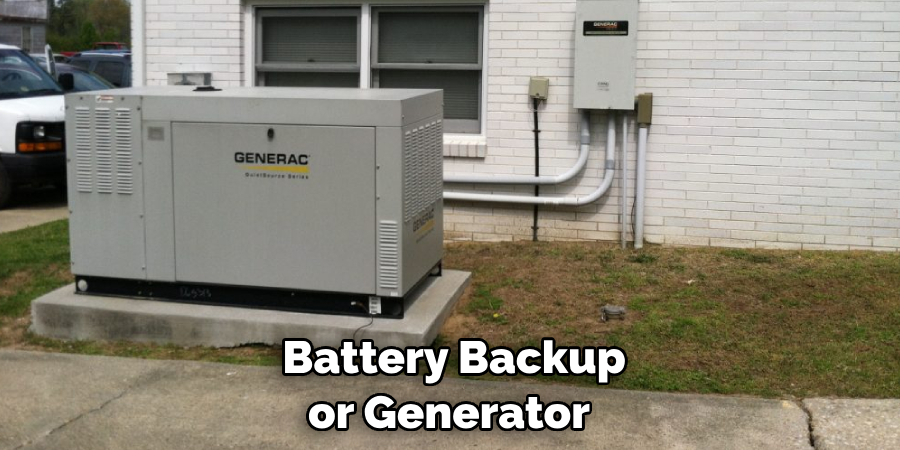
If your emergency lights are designed to be connected to a backup power source, such as a generator or battery backup system, follow the manufacturer’s instructions to make the necessary connections. This will ensure that the lights function during a power outage.
Method 8: Test the Connections
Before fully securing the emergency light fixtures and closing electrical boxes, test the connections. Turn on the power and ensure that all emergency lights illuminate properly. Test the backup power source, if applicable, to ensure a smooth transition during a power outage.

Check the wiring to make sure that it meets all safety standards and is not causing any exposed wiring or other hazardous situations. Make sure all wires are secured with wire nuts and that they are properly connected to the power supply.
Method 9: Secure Wiring and Mounting
Once all the connections have been tested and verified, secure the wiring inside electrical boxes using cable clamps or cable staples. Ensure that all connections are tightly secured and that no exposed wires are present. Neatly fold and organize the wires to maintain a clean appearance.
Mount the emergency lights using mounting brackets according to manufacturer instructions. Make sure that the brackets are securely fastened and that there is no risk of the light fixture becoming loose or dislodged.
Method 10: Perform Regular Maintenance and Inspections
To ensure the continued functionality of your emergency lights, perform regular maintenance and inspections. Replace any burnt-out bulbs, check the condition of the wiring and connections, and test the emergency lights periodically.
This will help identify and address any issues promptly. It’s also important to keep the emergency lights clean and free of dirt or debris. A clean light will provide better illumination in an emergency situation. Before any new wiring is installed, make sure the power source and grounding are up to code.
Testing and Maintenance of Emergency Lights
Testing and maintenance of emergency lights is essential for ensuring that they are functioning properly in the event of an emergency. Emergency lights should be tested on a regular basis, typically once a month, to ensure that they are working properly. During testing, all emergency lights should be turned on and checked for proper illumination.
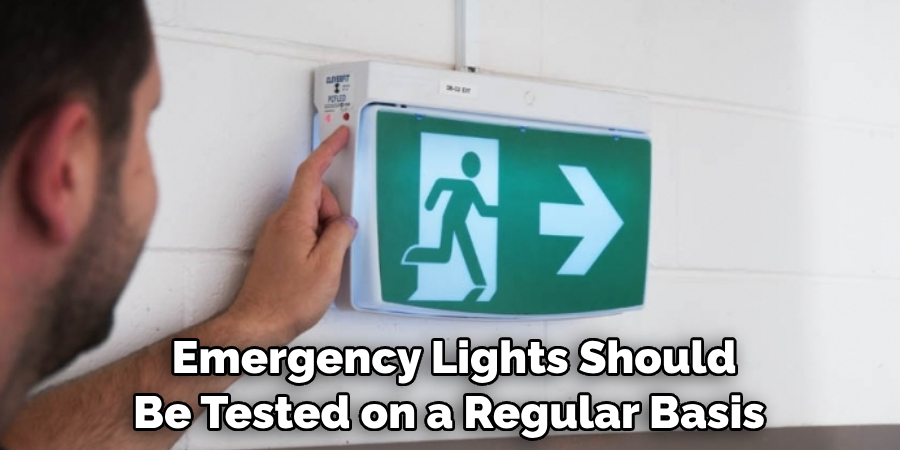
Emergency lights should also be maintained on a regular basis to ensure that they are functioning properly. This typically includes cleaning the emergency lights, replacing batteries, and replacing any damaged or worn components.
Common Mistakes to Avoid When Wiring Emergency Lights
Using the wrong wiring or components can be a serious safety hazard, as it can lead to malfunctioning emergency lights that fail to illuminate when they are needed most. It is important to use high-quality wiring and components that are specifically designed for emergency lighting systems. Additionally, failing to label emergency lights and exit signs can lead to confusion during an emergency, which can be dangerous and potentially life-threatening.
Proper labeling ensures that people can quickly and easily identify emergency exits and other important safety features. Finally, failing to test the emergency lighting system on a regular basis can lead to problems with the system that may not be immediately apparent.
Regular testing ensures that the system is functioning properly and can help identify any issues before they become serious problems. By consulting with a professional and following all building codes and regulations related to emergency lighting, you can ensure that your emergency lighting system is safe, reliable, and effective in the event of an emergency.
Compliance with Building Codes and Regulations
Compliance with building codes and regulations related to emergency lighting is crucial for ensuring that building occupants are able to safely evacuate the building in the event of an emergency. Emergency lighting is required in areas such as stairwells, corridors, and exits, where visibility may be reduced during a power outage or other emergency situation.
The emergency lighting system must be powered by a reliable power source, such as a battery backup or generator, to ensure that it remains operational during a power outage. Regular testing and maintenance of the emergency lighting system is also required to ensure that it is functioning properly and able to provide adequate illumination during an emergency.
Failure to comply with building codes and regulations related to emergency lighting can result in fines, legal liability, and most importantly, jeopardize the safety of building occupants. Therefore, it is important for building owners and managers to stay up-to-date with the latest codes and regulations related to emergency lighting and ensure that their systems are properly installed, maintained, and tested.
Conclusion
In conclusion, learning how to wire emergency lights is essential for ensuring the safety and security of buildings during power outages or emergencies. By following the ten step-by-step methods outlined in this article, you can confidently tackle the wiring process and ensure reliable illumination when it matters most.
From gathering the necessary tools and materials to testing the final connections, each step plays a crucial role in creating a functional and efficient emergency lighting system. Remember to adhere to electrical safety practices, comply with building codes, and perform regular maintenance and inspections to keep your emergency lights in optimal condition.

