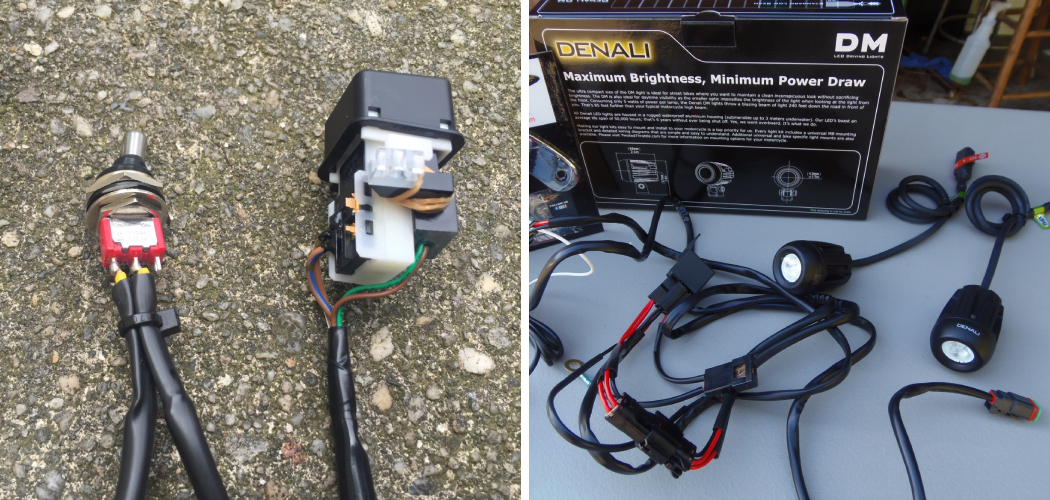
Wiring auxiliary lights to your vehicle can greatly enhance visibility and safety, especially in low-light or off-road conditions. Whether you want to add fog lights, driving lights, or off-road lights, properly wiring them is essential for optimal performance.
Wiring auxiliary lights may seem daunting for those without prior electrical experience, but with the right tools and knowledge, it can be a manageable task. This article will guide you through the process of how to wire auxiliary lights step by step, providing clear instructions and tips to ensure a successful installation.
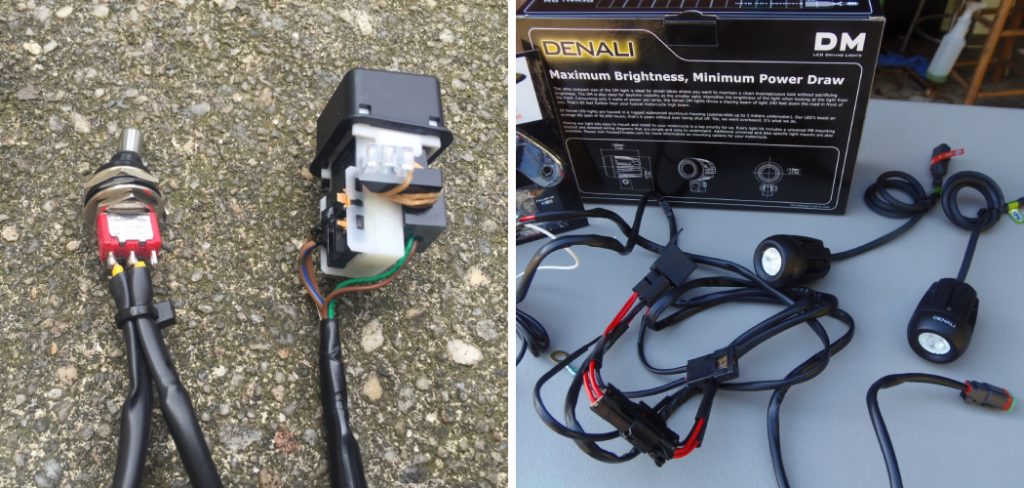
From understanding the electrical requirements to selecting the appropriate wiring components and connecting them to your vehicle’s electrical system, you’ll learn everything you need to know to wire auxiliary lights effectively and enjoy the benefits of improved visibility on the road or trail.
How Is a Lighting Circuit Wired?
When wiring an auxiliary lighting circuit, the power source is typically connected to the main fuse panel. From there, a run of positive wire connects from the fuse box to the switch to control the lights. The switch should be rated for use with whatever current will be running through it. A negative wire runs from the switch to the ground, and a wire carries power from the switch to the auxiliary lights.
If multiple sets of auxiliary lights are connected, another run of positive and negative wiring should be added between each set. This ensures that each set will receive an adequate amount of power without overloading the circuit. It also allows for all sets to be controlled by the same switch without impacting the power of each set.
It is important to use the correct wire size for each connection in order to prevent a short circuit or overload of the system. The wiring should also be properly secured and insulated, with any exposed wiring covered up with electrical tape or other suitable material.
Finally, all connections should be tested for proper operation before turning on the switch. Following these steps will help ensure that your auxiliary lighting circuit is safe and efficient.
10 Methods How to Wire Auxiliary Lights
1. Using a Relay
One of the best ways to wire auxiliary lights is to use a relay. A relay is an electrical switch that is activated by another electrical device, such as a switch or a sensor. When the relay is activated, it will allow current to flow from the battery to the auxiliary lights. This method is very effective and can be used to wire multiple sets of lights.
To wire auxiliary lights using a relay, first, identify the power and ground wires that connect to the battery. These can typically be found in the engine bay near the battery. Next, attach a fuse to the power wire and connect it to one side of the relay. Then connect one lead from
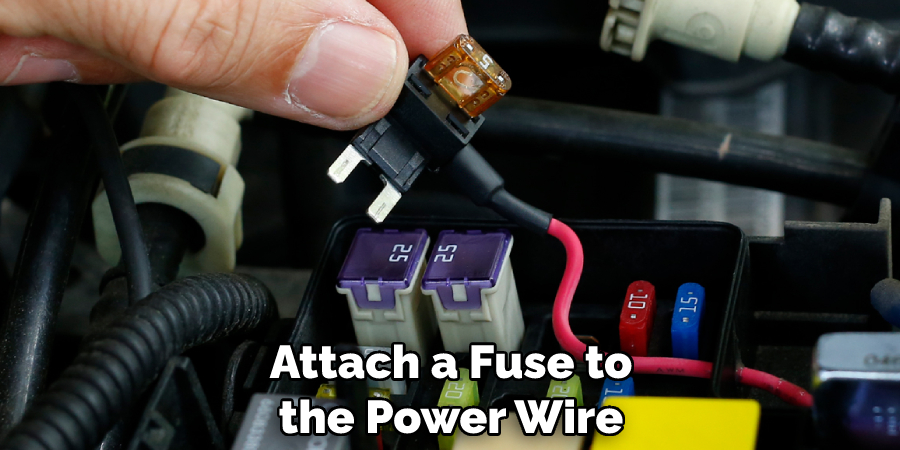
2. Using a Fuse Box
Another way to wire auxiliary lights is to use a fuse box. A fuse box is an electrical device that contains fuses, which are devices that protect circuits from overloading. When wiring auxiliary lights, it is important to use the proper size fuse so that the circuit does not become overloaded.
To wire auxiliary lights using a fuse box, begin by turning off the power to the circuit. Next, identify the type of fuse that is being used, and make sure it is the proper size for the circuit. Once the fuse type has been determined, locate an unused slot in the fuse box and insert the fuse.
3. Using a Switch Panel
A switch panel is another electrical device that can be used to wire auxiliary lights. A switch panel contains switches that can be used to control various electrical devices. When wiring auxiliary lights, the switches on the switch panel can be used to turn the lights on and off.
To wire auxiliary lights using a switch panel, the lights must be connected to a power source and then wired to the switches on the switch panel. The switches should be labeled so that the user knows which switch controls which light. Once all of the wirings is complete, the lights can be turned on and off using the switches on the switch panel.
4. Using Wiring Harnesses
Wiring harnesses are devices that are used to connect two or more wires together. Wiring harnesses are very useful when wiring auxiliary lights, as they can make the process much simpler and less time-consuming.
Using a wiring harness is as simple as plugging the wires into one end of the harness and then connecting the opposite ends of the harness to where they need to be. This can be done in a matter of minutes, and makes wiring auxiliary lights an easy task.
5. Using Electrical Tape
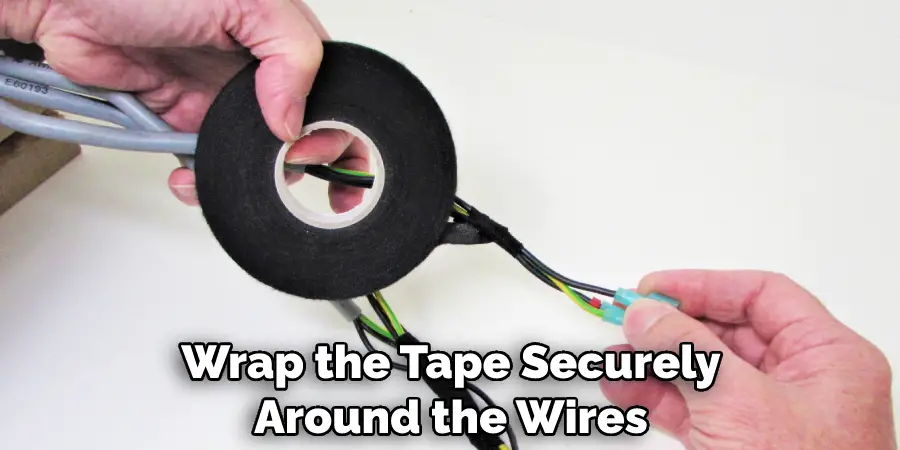
Electrical tape is a type of tape that is used to insulate electrical wires from each other. When wiring auxiliary lights, electrical tape can be used to secure the wires so that they do not come into contact with each other and cause a short circuit.
It is important to wrap the tape securely around the wires, covering all exposed metal. This will help protect the wiring from any damage caused by heat, vibration, or moisture.
6. Using Heat Shrink Tubing
Heat shrink tubing is a type of tubing that shrinks when heated. Heat shrink tubing can be used to secure wires and prevent them from moving around when wiring auxiliary lights. When using heat shrink tubing, make sure to slide the tubing over the wires before connecting them.
Once the wires are connected, use a heat gun or a lighter to heat the tubing. As it shrinks, it will create a tight seal around the wires, preventing them from coming apart or moving around. Make sure to wear protective gloves when handling the heat shrink tubing to avoid possible injuries or burns.
7. Using Wire Looms
Wire looms are devices that are used to organize and protect wires. Wire looms can be very helpful when wiring auxiliary lights, as they can keep the wires tidy and organized and prevent them from being damaged by abrasion or vibration.
To use a wire loom, simply thread the wires through it and secure them in place with zip ties. Make sure to leave some slack in the wires to account for any movement. Once all the wires are secure, you can install the loom on your vehicle. There are various mounting options available and it is important to choose mounting locations that will protect the wires.
8. Using Cable Ties
Cable ties are devices that are used to secure cables and wires together. Cable ties can be very helpful when wiring auxiliary lights, as they can keep the wires tidy and organized and prevent them from being damaged by abrasion or vibration.
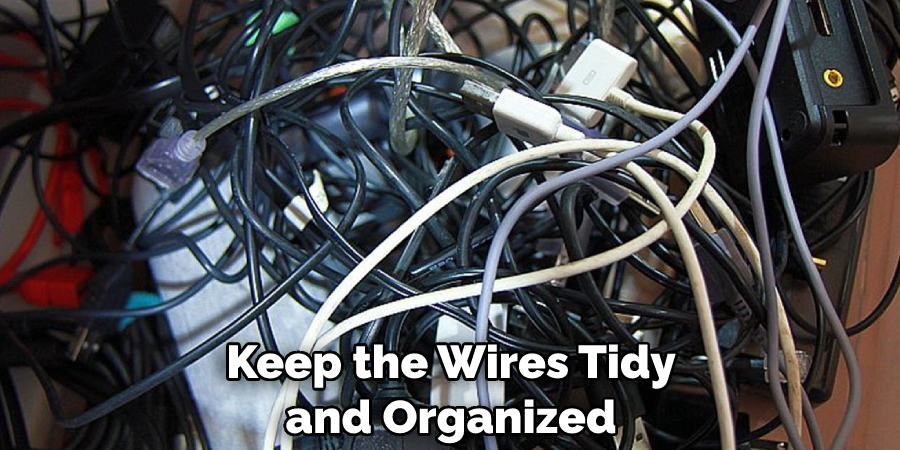
First, gather the excess wire and bundle it together. Then, use cable ties to secure the wires in place. Make sure to leave enough slack so that the lights are not under strain or tension. Finally, cut off any excess cable ties and use electrical tape to cover any sharp edges.
9. Testing
Finally, it is very important to test the wiring of auxiliary lights before turning on the switch. This can be done by using a voltage meter to ensure that the power is reaching the light correctly. With some basic knowledge of wiring and testing, you can easily wire auxiliary lights that will provide extra illumination for your vehicle’s interior or exterior lighting.
The installation process does not take too long if done properly and will help keep your driving experience safe and enjoyable.
10. Continuity Tester
This device will help you ensure that the wiring is correct and that no wires are short-circuited. Once all of the wires have been connected, you can use the continuity tester to test them. To do this, attach one meter lead to one of your auxiliary light’s positive or negative wires and the other lead to the corresponding wire in the circuit.
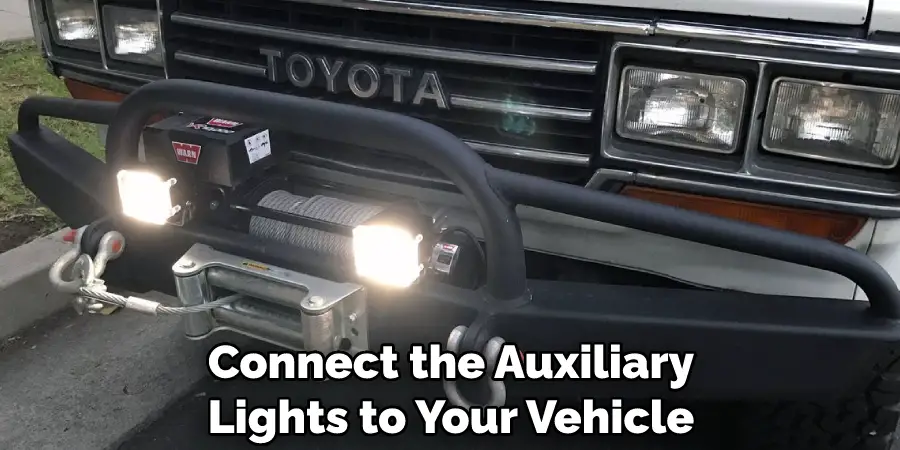
If everything is correct, then you should be able to read a full current on your meter. If there is no current, then you need to recheck the wiring. Once everything is checked and tested, go ahead and connect the auxiliary lights to your vehicle’s main power supply and test them to make sure they are working.
Conclusion
In conclusion, there are a number of ways to wire auxiliary lights to ensure you can enjoy the extra illumination you need while remaining safe and legal. The process can be difficult for some and straightforward for others, but doing it correctly is key to avoiding any unnecessary fines or danger.
Understanding the best methods for wiring these lights and ensuring that all safety regulations are being met is important.
With some basic electrical knowledge and a few tools, wires, connectors, and fuses, having your auxiliary lights all set up should be stress-free. By following all of the steps outlined in this blog post, you will be able to get your lights set up in no time. Now that you know how to wire auxiliary lights, there’s no excuse not to get started! Safety first, and enjoy the new ambient light!

