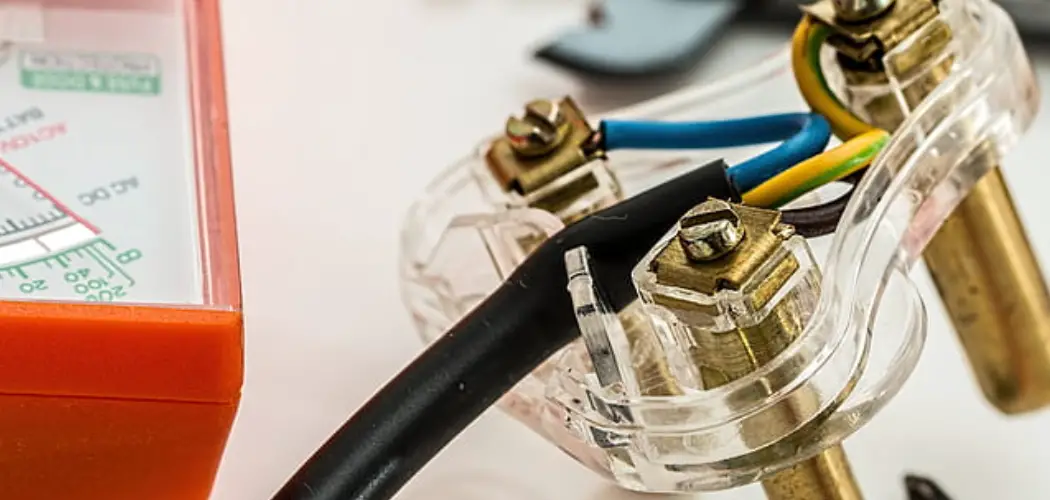
Are you looking to add an outlet near a light fixture in your home? This is a joint project for homeowners who want easy access to power in areas.
Wiring an outlet from a light fixture can be a practical solution if you need an additional power source and have limited outlets. This process involves tapping into the electrical wiring that already powers a light fixture and extending it to include an outlet. Before beginning, it’s crucial to ensure you have a basic understanding of electrical work and the necessary safety precautions. Proper tools and materials and adherence to any local electrical codes are essential steps in ensuring a safe and effective installation.
This guide will walk you through the essential steps on how to wire an outlet from a light fixture, making it a useful addition to your home’s electrical system.
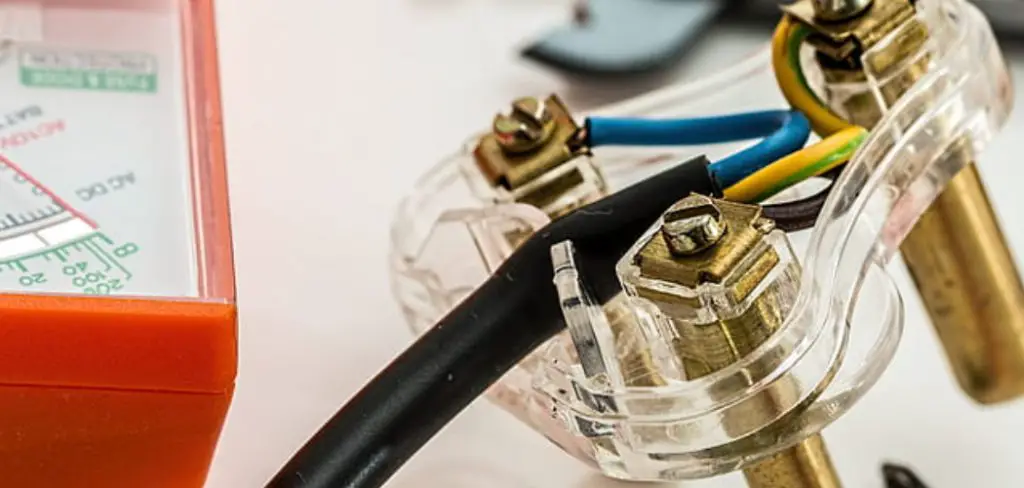
What Will You Need?
- Electrical wire (14-gauge or 12-gauge, depending on your local codes)
- Screwdriver
- Wire stripper
- Wire connectors
- Outlet box
- Outlet cover plate
- Power drill and bits (if necessary)
Before beginning the project, it’s essential to ensure you have all the necessary tools and materials. Additionally, it would be best to consider consulting a certified electrician for any advanced wiring needs or for assistance with troubleshooting.
9 Easy Steps on How to Wire an Outlet From a Light Fixture
Step 1: Gather Necessary Information
Before starting any electrical work, gathering all the relevant information regarding your home’s electrical system and any local electrical codes or regulations is imperative. Begin by identifying the light fixture from which you plan to extend the wiring. Assess its current load and ensure that adding an outlet will be within the circuit’s capacity.
Check the electrical panel to verify which circuit the light fixture is connected to and confirm that the circuit can support an additional load without tripping the breaker. It’s also crucial to gather details on the type of light switch controlling the fixture, as it may be connected to other lights or outlets. Understanding the existing wiring scheme will help you plan the most effective way to wire the new outlet. Consider drawing a basic diagram for reference, showing how the current wiring looks and where the new wiring will be attached.
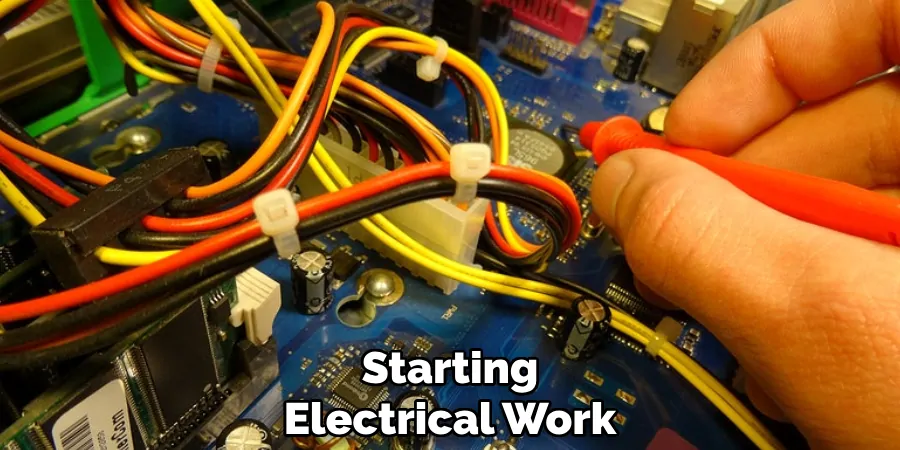
Step 2: Turn Off the Power
Safety is the top priority when working with electricity, so turn off the power to the light fixture at the circuit breaker before beginning any work. Locate the correct breaker in the electrical panel corresponding to the light fixture you’ll work on.
Switch off the breaker and use a voltage tester to confirm that no electrical current flows to the fixture. It’s also advisable to put a piece of tape over the breaker switch to prevent it from being accidentally turned back on while you’re working or to notify others in the household that electrical work is being carried out. Ensure the light fixture is not receiving any power by testing the switch and confirming the light does not turn on.
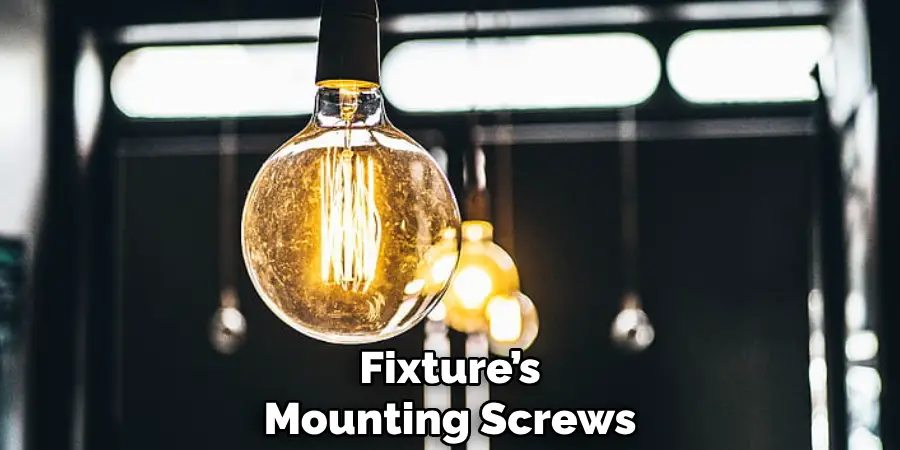
Step 3: Remove the Light Fixture
Carefully remove the light fixture from the ceiling or wall to access the wiring behind it. Start by unscrewing the fixture’s mounting screws using a screwdriver. Depending on the design, you may need to detach parts like globes or bulbs to reach these screws.
Once the light fixture is detached, gently pull it away from the mounting bracket to expose the wires. Note how the existing wires are connected; you’ll need to replicate or modify them when adding the new outlet. It’s helpful to take a photo of the current setup for future reference. Be cautious not to pull too forcefully, as this can damage the wires or connections.
Step 4: Identify the Wires
After removing the light fixture, the next step is identifying the wires inside the electrical box. Typically, you will find a hot wire (black), a neutral wire (white), and a ground wire (bare or green). It’s essential to ensure you accurately identify these wires so that you can connect them correctly to the new outlet.
Use a voltage tester to double-check that these wires are de-energized before proceeding. If the cables are color-coded differently, carefully trace their path to understand their purpose within the circuit. At this point, you should determine which wire will be used to extend the power to the outlet. Document each wire’s function or label them if necessary to avoid confusion during the wiring process.
Step 5: Prepare the Outlet Location
Determine the location where you want to install the new outlet. Consider the convenience and accessibility, as well as the length of the wire that will connect it to the existing light fixture. Once you’ve opted for the optimal spot, use the outlet box to trace an outline on the wall.
Carefully cut along this outline with a drywall saw to create an opening for the outlet box. Ensure the hole accommodates the box snugly, ensuring it’s level and securely fits within the wall cavity. If necessary, use a power drill to remove any obstacles or smooth out the edges. Ensure the designated area allows enough space for wiring and future access.

Step 6: Run the Wire
With the outlet location prepared, it’s time to run the electrical wire from the light fixture to the new outlet. Measure the distance between the two points and cut the wire to the desired length, providing a little extra for maneuvering and connections. Carefully feed the wire through the wall cavity, ensuring that it is protected from sharp edges or potential damage.
You may need to drill holes through interior framing members to guide the wire along its path. If additional support is required, use wire staples to secure the wire to the framing structure, maintaining slack for any necessary adjustments. It’s essential that the wire is routed neatly and safely, without pinching or kinks, to prevent any potential hazards or future maintenance issues.
Step 7: Connect the Wire to the Light Fixture
Once the wire has been successfully run to the location of the new outlet, it’s time to connect it to the light fixture. Begin by stripping approximately 3/4 inch of insulation from the ends of the new wire, using wire strippers to avoid damaging the internal copper. With the power still off, carefully connect the new wire to the existing wires in the electrical box.
Match the wires by color: connect the new hot wire to the existing hot wire and the new neutral wire to the existing neutral, and attach the new ground wire to the grounding connection in the box. Use wire nuts to fasten these connections, twisting them clockwise until tight securely. Double-check each connection for security and verify that no bare wires are exposed outside the wire nuts.
Step 8: Install the New Outlet
With the wiring now connected to the light fixture, you can install the new outlet. Start by securing the outlet box within the wall cavity. Insert the outlet box into the opening you created earlier, ensuring it fits snugly and is aligned with the wall surface. Use screws to attach the box to the wall studs, maintaining stability. Next, strip approximately 3/4 inch of insulation from the wire ends inside the outlet box.
Attach the wires to the outlet, connecting the black wire to the brass terminal, the white wire to the silver terminal, and the ground wire to the green terminal. Make sure the screws are tightly fastened to ensure a secure connection. After all connections are made, gently fold the wires into the outlet box and attach the outlet to the box with screws. Finally, affix the faceplate over the outlet and ensure it is firmly seated against the wall.
Step 9: Restore Power and Test the Outlet
Now that the new outlet is installed, it’s time to restore power to the circuit and test your work. First, return to the breaker panel and switch the breaker back on, ensuring that no one else is working on the electrical system. Confirm that the light fixture operates as expected by turning the switch on and off. Next, test the outlet using a voltage tester or by plugging in a small electrical device like a lamp or phone charger.
Ensure the device works properly to verify the outlet is receiving power. If the outlet does not function correctly, turn off the power again and re-check the connections. Once satisfied that everything is in proper working order, you can clean up your workspace and enjoy the added convenience of the new outlet. Remember to update any records of electrical work done in your home for future reference.
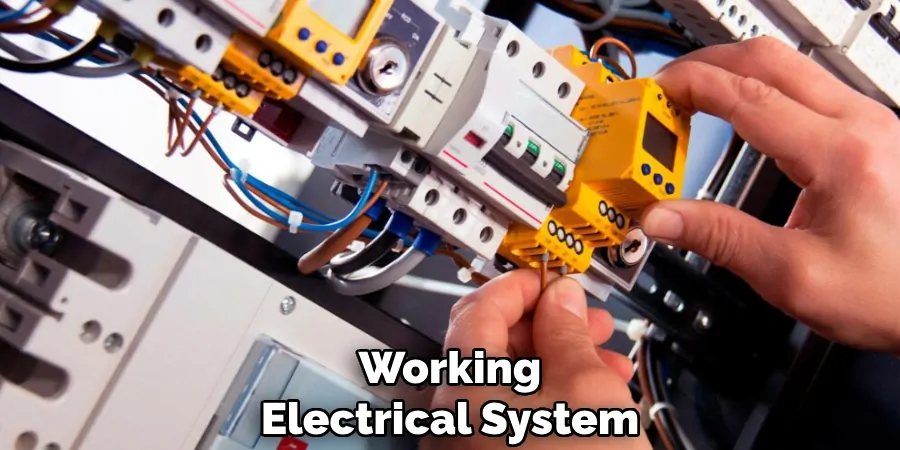
By following these steps, you can successfully extend power to a new outlet from an existing light fixture.
Conclusion
How to wire an outlet from a light fixture is a rewarding and practical project that can enhance the functionality of your living space.
By carefully following each step, ensuring safety measures, and verifying connections, you can efficiently extend the electrical capability of any room. Always work with the power off to prevent accidents, and double-check your connections for safety and performance.
Completing this task benefits your household with additional power outlets and builds your confidence in handling electrical projects. Should you encounter any uncertainties, consulting with a licensed electrician can ensure your work complies with local electrical codes and standards.
With the successful installation of a new outlet, you now have greater convenience and flexibility for powering devices and appliances in your home.

