Are you planning to make major renovations to your home? If so, you may want to consider wiring a room for lights and outlets.
How to wire a room for lights and outlets is an essential skill for many home renovation and remodeling projects. Whether you’re building a new space or upgrading an old one, ensuring proper electrical wiring is crucial for safety and functionality. This process involves planning the layout, choosing suitable materials, and following electrical codes to avoid hazards. With the right tools and guidance, wiring a room can become manageable, even for DIY enthusiasts.
In this guide, we will explain the necessary steps and precautions for effectively and safely wiring a room, enabling you to efficiently bring light and power to your space.
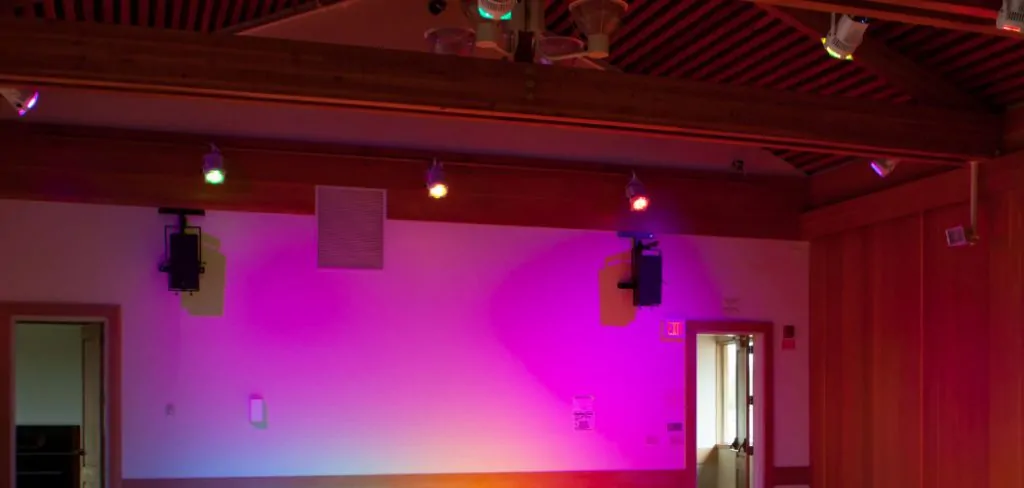
What Will You Need?
Before beginning your wiring project, gathering all necessary tools and materials is essential. These will include:
- Electrical wire (Romex)
- Outlet boxes
- Light switches
- Circuit breaker panel
- Wire cutters/strippers
- Screwdrivers
- Drill with a 1-inch spade bit
- Hammer and nails or screws for securing outlet boxes and light fixtures
It’s also crucial to consult local building codes before starting any electrical work in your home. These regulations vary by location, so make sure you understand the requirements specific to your area.
10 Easy Steps on How to Wire a Room for Lights and Outlets
Step 1: Plan Your Layout
Begin by carefully planning the layout of your electrical system. Determine where you want to place your outlets and light fixtures. Consider the functionality and convenience, ensuring that outlets are spaced appropriately according to local codes, typically every 6 to 12 feet. Additionally, think about the placement of light switches at entrances and exits of the room for ease of access. Sketch a diagram of your room and mark the locations for each electrical component, as this will serve as your guide throughout the wiring process.
Step 2: Turn Off the Power
Before starting any electrical installation, turning off the power to the room you’ll be working in is critical to ensure safety. Locate the circuit breaker panel in your home and switch off the main breaker or the specific branch circuit serving the room. Once the power is off, use a voltage tester on existing outlets or switches to double-check and confirm that there’s no live electricity flowing. This precaution is vital to prevent electrical shock or injury during wiring.
Step 3: Install Outlet Boxes and Light Fixtures
You can install the outlet boxes and light fixtures with the power turned off according to your layout plan. For outlets, cut openings in the drywall using a utility knife or a drywall saw, ensuring that the cuts are slightly larger than the boxes for a snug fit. Secure the outlet boxes to the wall studs using screws or nails.
When installing light fixtures, position their boxes on the ceiling or wall studs as outlined in your plan. Make sure they are tightly fastened to support the weight of the fixtures later. As you install these components, ensure all boxes are flush with the wall or ceiling surface to maintain a neat and professional appearance.
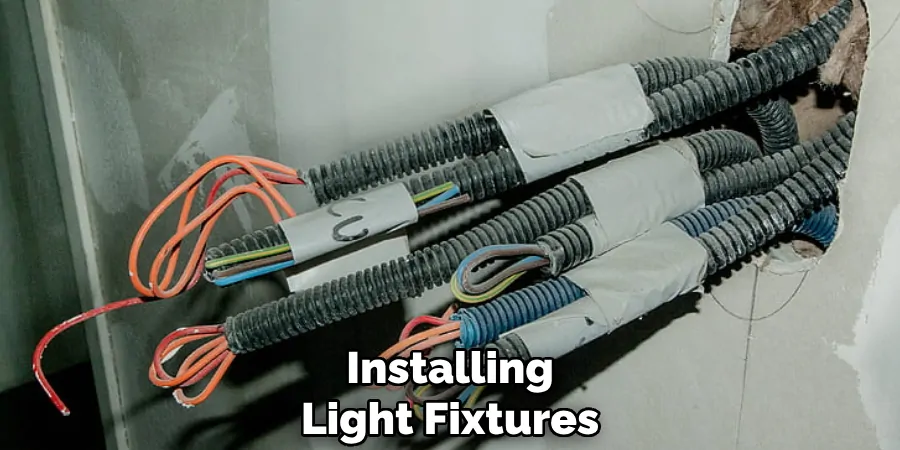
Step 4: Run the Electrical Wire
With the outlet and light fixture boxes securely in place, run the electrical wire between them. Begin by threading the wire through the holes in the boxes, leaving about 6-8 inches of extra wire to work with at each end, routing the wire along the walls and ceiling joists, and securing it with cable staples every few feet to prevent sagging or movement. Be mindful to follow any additional local wiring codes, which may include specifications on the type of wire and secured intervals. If you connect multiple outlets or fixtures in a series, ensure the wires are interconnected correctly according to your wiring plan.
Step 5: Connect the Wires to the Fixtures
Once the wires are in place, it’s time to connect them to your light fixtures and outlets. Start by stripping about 1/2 inch of insulation from the ends of each wire using wire strippers. For light fixtures, generally, you will connect the black (hot) wire to the black or brass terminal and the white (neutral) wire to the white or silver terminal. The green or bare wire represents the ground wire and should be connected to the green grounding screw.
Follow the manufacturer’s instructions carefully to ensure proper connections. For outlets, attach wires similarly, matching black to brass, white to silver, and green to the grounding screw. Ensure that all connections are tight and secure to prevent any loose wiring. Once connected, neatly fold the wires into the boxes and attach the fixtures or outlet covers to the boxes for a complete installation.
Step 6: Install the Circuit Breaker
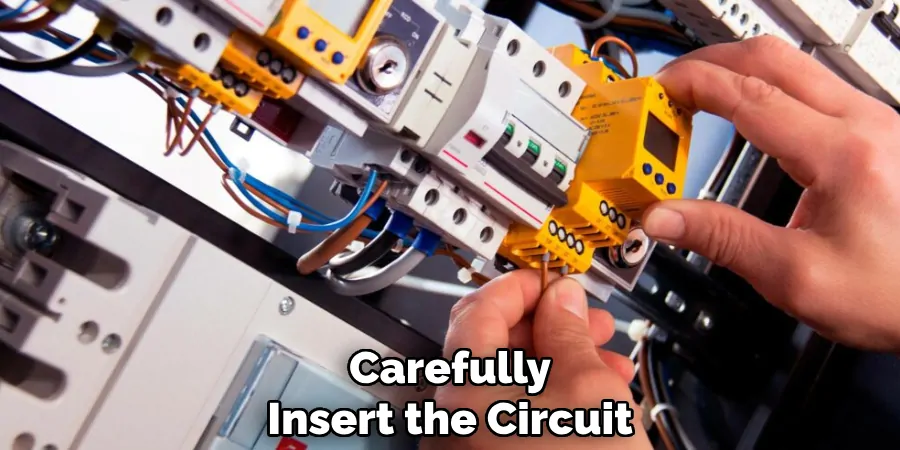
After you’ve connected the wires to the fixtures and outlets, the next step is to install the circuit breaker in your home’s breaker panel. Begin by identifying an open slot in the panel for your new circuit.
Carefully insert the circuit breaker into the slot, ensuring it fits securely and is compatible with your panel. Attach the black (hot) wire to the breaker terminal and connect it by tightening the screw. The white (neutral) wire should be connected to the neutral bar, while the green or bare ground wire connects to the ground bar. Double-check all connections to ensure they are tight and properly secured.
Step 7: Test the Circuit
With the circuit breaker installed and all connections made, it’s time to test the circuit to ensure everything functions correctly. First, turn the main power back on at the circuit breaker panel, then switch the branch circuit you’ve just installed to the “on” position. Carefully test each outlet and light fixture using a voltage tester to verify that electricity flows as expected.
Check whether the light fixtures illuminate when turned on and whether each outlet delivers power. If any issues arise, double-check your wiring connections and consult the manufacturer’s guidelines or local codes to troubleshoot. Confirm everything is working safely and efficiently before wrapping up the project.
Step 8: Install Switches and Cover Plates
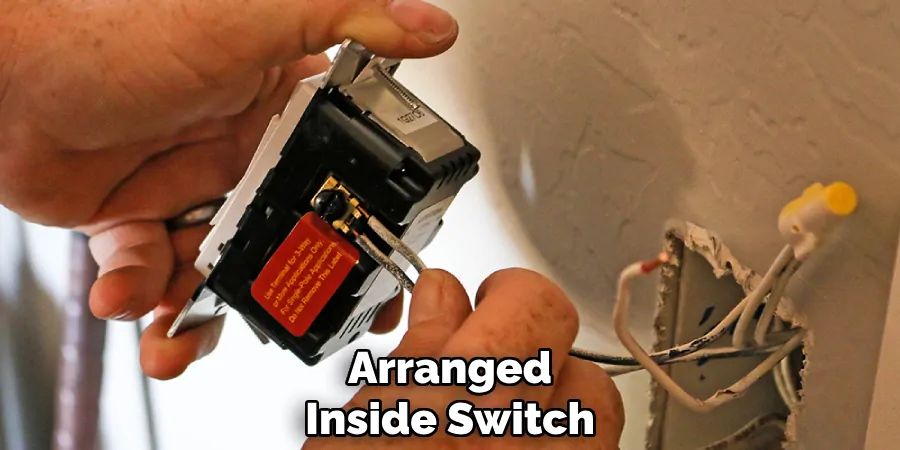
Once you’ve confirmed that the circuit is functioning correctly, install the light switches and cover plates. Begin by connecting the appropriate wires to the switch terminals: the black (hot) wire typically goes to the upper or lower terminal (depending on the switch’s orientation) and the ground wire to the green grounding screw. Ensure that the connections are secure and that the cables are neatly arranged inside the switch boxes to prevent any interference when attaching the switch to the wall.
After the switches are connected, fasten them to the wall boxes with screws. Then, attach the cover plates to both the switches and outlets, covering all exposed wiring for safety and neatness. Make sure that all screws are tightly secured to keep the switches and plates flush with the wall, providing a polished and professional finish to your installation.
Step 9: Final Inspection and Cleanup
After installing switches and cover plates, conduct a final inspection of your work. Check each component, including outlets, switches, and fixtures, to ensure they are adequately secured and functioning as intended. Verify that all wires are neatly tucked within the boxes without visible damage or loose connections. Ensure all cover plates and fixtures are flush with the wall and ceiling to maintain a clean, professional appearance. Once satisfied with the inspection, clean up your work area by collecting tools, unused materials, and debris. Safely store your tools and dispose of any waste materials following local environmental guidelines. This thorough inspection and cleanup will ensure safety and enhance the longevity and reliability of your electrical installation.
Step 10: Label the Circuit Breaker
The final step in your electrical installation process is to label the new circuit breaker in your panel. Accurate labeling is crucial for the safety and convenience of anyone needing to work with your electrical system in the future. Write a clear description of the circuit’s purpose on the panel door next to the slot where you’ve installed the breaker. For example, if the circuit is for the living room outlets, you might label it “Living Room Outlets.” Use a permanent marker or a printed label to ensure the text remains legible over time. Proper labeling helps quickly identify circuits, making maintenance or troubleshooting tasks significantly more accessible and safer.
You can install a new electrical circuit in your home by following these ten steps carefully and adhering to local building codes and safety guidelines.
Conclusion
How to wire a room for lights and outlets is a detailed process that requires careful planning and execution to ensure safety and functionality.
Following the step-by-step guide outlined above, you can confidently tackle this task, whether upgrading a current electrical system or installing new circuits. Always prioritize safety by turning off the main power before starting any electrical work and double-checking each connection for security and compliance with local codes. Additionally, consider enlisting the help of a professional electrician if you encounter any uncertainties.
With patience and attention to detail, you can achieve a professional and reliable electrical setup that meets your space’s needs.

