Do you ever want to turn on a light at night without having to fumble for switches? Wouldn’t it be great if your lights come on automatically as the sun sets, or some other time of day when they are most needed? Well, with a photocell and some basic wiring skills, you can make this happen.
A photocell is an inexpensive device that reacts rapidly to changes in lighting conditions, making it useful for controlling outdoor lights. In this guide, we will teach you step-by-step how to wire up a photocell and use it to control multiple lights around your home or business.
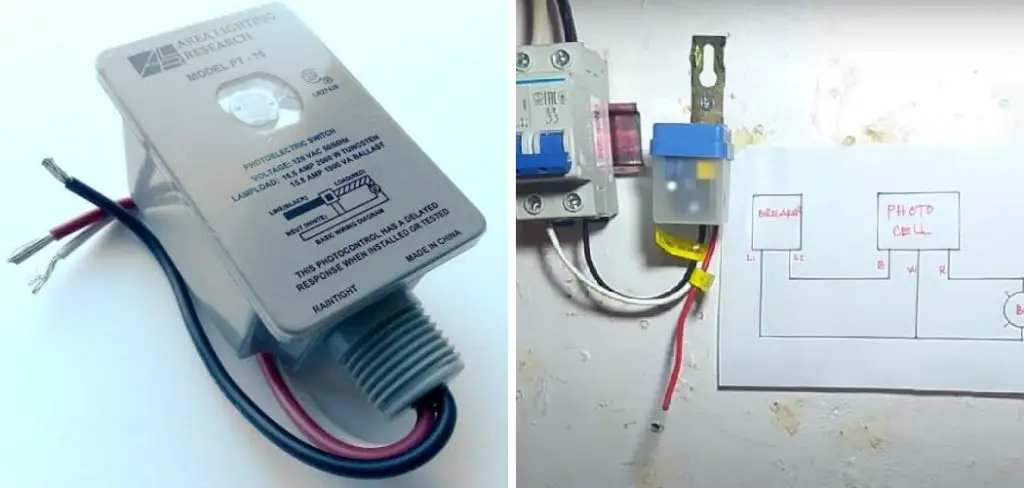
After reading through our instructions on how to wire a photocell to multiple lights, you’ll know what materials you need, how the wires connect together, which devices work best with each type of lighting setup – and everything else in between!
Why May You Need to Wire a Photocell to Multiple Lights?
1. Automatic Lighting
Wiring a photocell to multiple lights allows you to turn on your outdoor lighting automatically at dusk or any other set time. Using a photocell also saves energy, as the lights will only switch on when needed rather than be left running all day and night. Additionally, wiring a photocell to multiple lights reduces labor costs, as you won’t have to manually switch your lights on or off.
2. Safety and Security
Having outdoor lighting come on at set times can provide peace of mind, as it will make your property more visible to both visitors and potential intruders. It’s important that you wire the photocell correctly for maximum security, however – so be sure to follow our instructions closely.
What Problem May Arise While Wiring a Photocell to Multiple Lights
1. Incorrect Connection of Multiple Lights
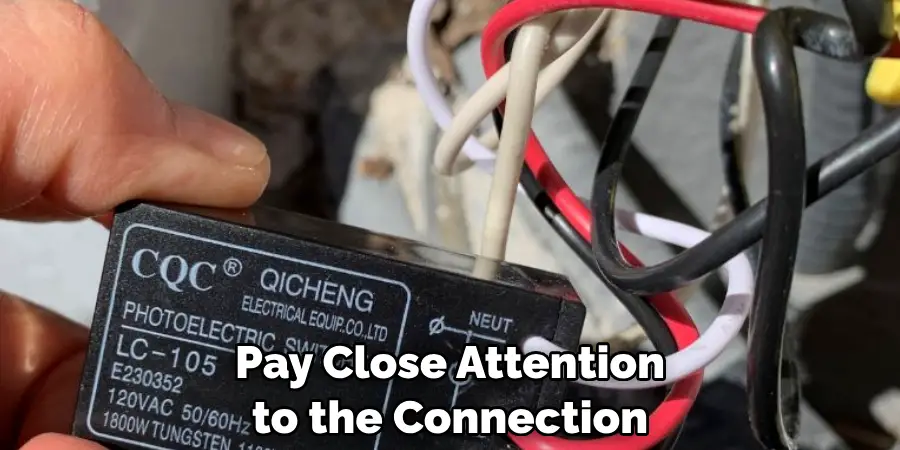
When wiring a photocell to multiple lights, it’s important to pay close attention to the connection of the lights. If your connections are incorrect, your outdoor lighting will not operate correctly and may even malfunction or short-circuit. To help you avoid this issue, make sure that all wires and connections are labeled clearly and connected correctly.
2. Incorrect Wiring of the Photocell
When wiring a photocell, it’s also important to make sure that all the connections are secure and correct. If you wire the photocell incorrectly, your outdoor lighting may not come on at all or will not turn off when it is supposed to. To avoid this issue, pay close attention to how the wires should be connected and test the wiring before switching on your lights.
3. Choosing the Wrong Type of Photocell
Finally, it is important to make sure that you choose a photocell that meets your needs. Different types of photocells are better for controlling specific lighting setups, so it’s important to do some research before selecting one. Make sure to read the product specifications to determine which type of photocell will be best for you.
Required Items
To set a photocell to multiple lights, you will need the following materials:
- A photocell
- An appropriate power source (battery/transformer)
- Electrical wire
- Connectors and splitters (if needed)
- Fuses or circuit breakers
- Light fixtures
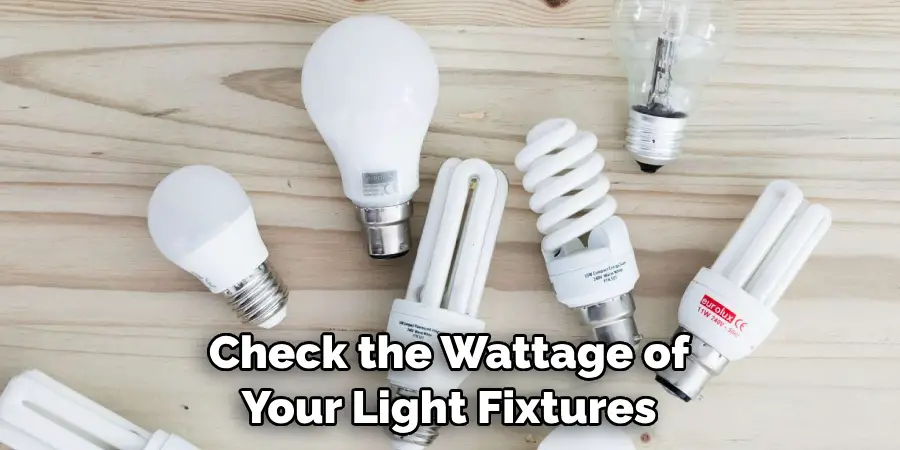
You will also need to know the wattage of your light fixture, as this is important for selecting the right power source. Once you have all the materials, you can begin wiring your photocell and lights together.
How to Wire a Photocell to Multiple Lights in 10 Steps
Step 1: Safety Wear
Put on safety glasses and work gloves. Safety wear will protect you from the potential hazards of dealing with electricity. Also, ensure that the power source for your lights is turned off.
Step 2: Connect the Photocell to a Power Source
Find an appropriate power source, such as a battery or transformer. Then, connect the photocell directly to this power source via an electrical wire. Before making any connections, make sure that you check the wattage of your light fixtures and select a power source that is capable of supplying the correct amount of electricity.
Step 3: Connect the Photocell to the Lights
The next step is to connect the photocell to your light fixtures. To do this, you will need to use electrical wire and connectors or splitters (depending on how many lights you have). If you are using multiple light fixtures, you will need to connect them in series – meaning one fixture after the other. This will prevent them from drawing too much power at once and overloading your system.
Step 4: Install a Fuse or Circuit Breaker
Next up, install a fuse or circuit breaker between the photocell and lights. This device is designed to protect your wiring from overheating and will cut the power to your lights if it senses too much current.
Step 5: Connect the Lights to a Power Source
Once you have connected the photocell to your light fixtures, you can now connect them to an appropriate power source, such as a battery or transformer. Make sure that your power source is capable of supplying the right amount of electricity for all your lights.
Step 6: Test Your System
Now, you can turn on your power source and test your system to make sure that everything is connected properly. As you increase and decrease light levels, be sure to check that the photocell is switching on and off correctly.
Step 7: Check Your Wiring
Once you are satisfied that your system is functioning correctly, it’s time to check your wiring for any potential faults. Check all the connections and make sure they aren’t loose or damaged. This will help prevent fires and other electrical hazards.
Step 8: Insulate Your System
Now, you can insulate your wiring using electric tape or plastic tubing. This will help protect your system from moisture, dirt, and other elements that could potentially cause damage.
Step 9: Mount the Photocell
Finally, mount the photocell in a suitable location relative to the light fixtures. You may need to use fasteners or brackets to secure it in place. Mounting the photocell at a suitable angle will help it to detect light levels more accurately.
Step 10: Enjoy Automatic Lighting!
Once your system is wired up and mounted, you can now enjoy automatic lighting! With this setup, you won’t need to worry about manually switching your lights on or off – they’ll turn on and off automatically, depending on how much light is detected.
With the right materials and a bit of patience, wiring a photocell to multiple lights doesn’t need to be complicated. Just follow our simple instructions, and you’ll have your system up and running in no time.
8 Common Mistakes to Avoid when Wiring a Photocell to Multiple Lights
Wiring a photocell to multiple lights can be a tricky procedure. Here are 8 common mistakes that people make when wiring and how you can avoid them:
- Not following basic safety protocols is a common mistake. It is important to follow all safety precautions, such as shutting off the power before beginning your wiring work, in order to protect yourself and others.
- Taking shortcuts can be tempting, but it can lead to unintended consequences. For example, using a wire nut to extend wiring is not recommended as it could cause a fire hazard if the connections are not properly secured.
- Not verifying the output voltage of the photocell in relation to the lights you are using is another common mistake. It is important to make sure that the correct voltage is being generated and used in order to ensure a proper connection.
- Not checking the rating of the switch you’re using is also an issue. You should always check that your switch rating meets or exceeds its intended use.
- Incorrect wiring can cause shorts, which can lead to a fire hazard. Make sure you check the wiring diagrams for your specific application before beginning your work.
- Not using enough wire is a common mistake as well, resulting in low voltage and potential overheating of wires or switches.
- Using improper wire gauges when connecting multiple lights or even one light can cause significant damage to the circuit. Always use the correct wire gauges based on the distance and wattage of your lights.
- Lastly, not labeling wires correctly can cause confusion when attempting to identify which pair of wires leads to which light or switch at a later date. It is important to number or color-code all your wires for easy identification down the road.
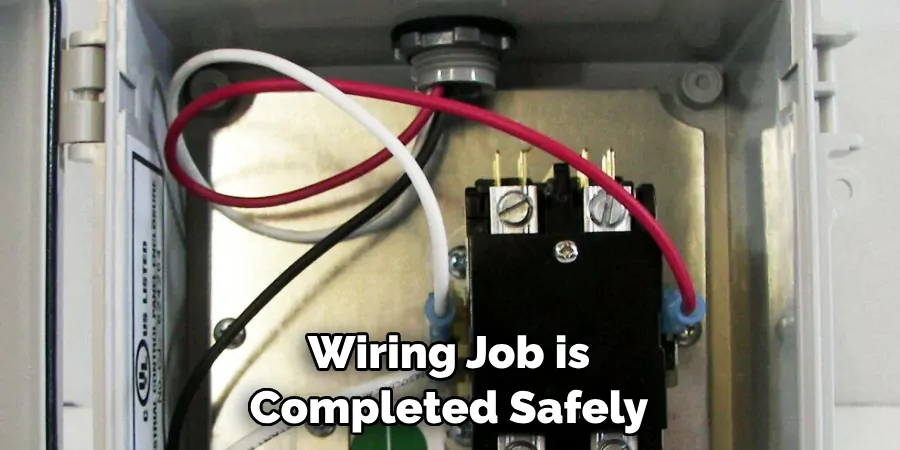
Following these simple tips can help you avoid common mistakes when wiring a photocell to multiple lights. With these guidelines, you can be sure that your wiring job is completed safely and correctly.
Conclusion
To wrap up our exploration into how to wire a photocell to multiple lights, one thing is certain: there’s no one-size-fits-all solution! Choosing the best wiring option for your application needs involves taking into account factors such as safety concerns, ease of installation, and overall efficiency. Doing your research ahead of time will ensure that you pick the right wiring choice for your needs.
It can be complex and risky to tackle the task of wiring a photocell to multiple lights, but with patience and proper planning, it could save you time and money in the long run!
So don’t be discouraged—take a deep breath and get ready to enjoy the benefits of convenience, custom lighting control, and energy savings that come with having a wired photocell. Now go forth confidently and amp up your light show game!

