Wiring a light socket is an essential skill for anyone undertaking DIY home improvement projects. Whether you are replacing an outdated fixture or installing a new light socket, learning this practical technique can save you time and money while offering the satisfaction of completing the task yourself. Knowing how to wire a light socket not only empowers homeowners to handle minor electrical fixes but also ensures that repairs and installations are done safely and efficiently.
This article serves as a comprehensive step-by-step guide on how to wire a light socket, focusing on preparation, proper wiring techniques, and critical safety precautions to help you confidently complete the task. By following these instructions, even first-time DIYers can approach wiring projects with the knowledge needed to avoid costly mistakes and ensure the functionality of their light socket installations.
Materials and Tools Needed
Required Materials
- Light socket (standard or specialty, depending on the fixture).
- Electrical wire (rated for the intended voltage and load).
- Wire nuts or electrical tape for securing wire connections.
- Junction box (if necessary for the installation).
- Light bulb.
- Light switch (if applicable).
Tools You’ll Need
- Screwdriver (flathead and Phillips).
- Wire stripper/cutter.
- Voltage tester.
- Pliers.
- Electrical tape.
- Drill and drill bits (if necessary for installing the socket into a wall or ceiling).
Having the right materials and tools prepared beforehand ensures a smooth and efficient process. Each item on this list is essential for completing the wiring safely and correctly. Take the time to verify that all materials meet electrical and safety codes for your project to avoid potential hazards or damage. From securing connections with wire nuts to testing circuits with a voltage tester, these tools and materials will help you complete your light socket installation confidently.
Safety Precautions Before Starting
Turn Off the Power
Always turn off the power at the breaker box before working with electrical wiring. This is a crucial step to prevent electrical shock or injury during the installation process. Label the breaker to ensure no one accidentally restores power while you are working.
Test the Circuit
Before handling any wires, use a voltage tester to confirm that there is no live electricity in the circuit. Even after turning off the breaker, residual power could remain in the system, making this step essential to ensure complete safety.
Wear Proper Safety Gear
Wearing the right safety gear minimizes the risk of injury. Rubber-soled shoes are effective at preventing direct grounding, and insulated gloves or tools provide further protection against electrical shock. Always prioritize safety by ensuring that your tools and equipment are designed specifically for electrical work.
Choosing the Right Socket for Your Project
Types of Light Sockets
When selecting a light socket, it is essential to understand the types available and their applications. Standard sockets, such as E26 and E27, are commonly used for everyday light bulbs and are suitable for most household lighting needs. On the other hand, specialty sockets like candelabra bases or bayonet mounts are designed for specific bulb types often found in decorative fixtures, appliances, or specialized equipment. Choosing the correct socket type ensures proper functionality and compatibility with the intended bulb.
Selecting the Correct Voltage Rating
Matching the socket to the voltage of your electrical circuit is a critical safety consideration. Most household systems in the United States operate at 120V, and sockets designed for this voltage will work seamlessly in such systems. For higher-voltage circuits, specialized sockets rated for that specific use must be selected to prevent overheating or equipment failure. Always verify the voltage rating of both the bulb and the socket before installation.
Choosing a Socket for Different Locations
The environment of the installation area greatly impacts socket selection. For outdoor or wet locations, always opt for weather-resistant and sealed sockets to protect against moisture and other elements. These specialized sockets help maintain safety and ensure durability, even in challenging conditions.
How to Wire a Light Socket: Wiring the Light Socket
Properly wiring a light socket is essential for safety and functionality. The following steps will guide you through the process to ensure a secure and effective installation.
Step 1: Preparing the Wires
Cut the electrical wire to the desired length, allowing for enough slack to make connections easily. Use a wire stripper to carefully strip about 1 inch of insulation from the ends of the wire, exposing the copper conductors. Be cautious not to nick or damage the wires during this process, as this can weaken the connection and cause potential issues later.
Step 2: Connecting the Wires to the Socket
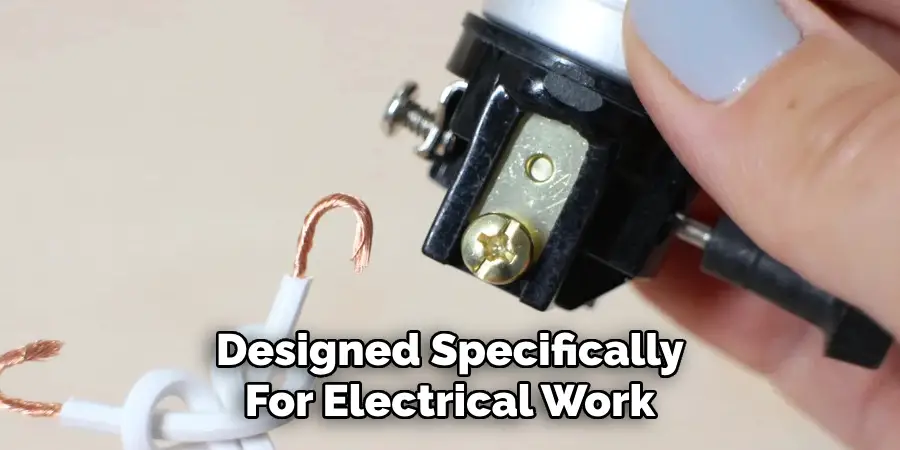
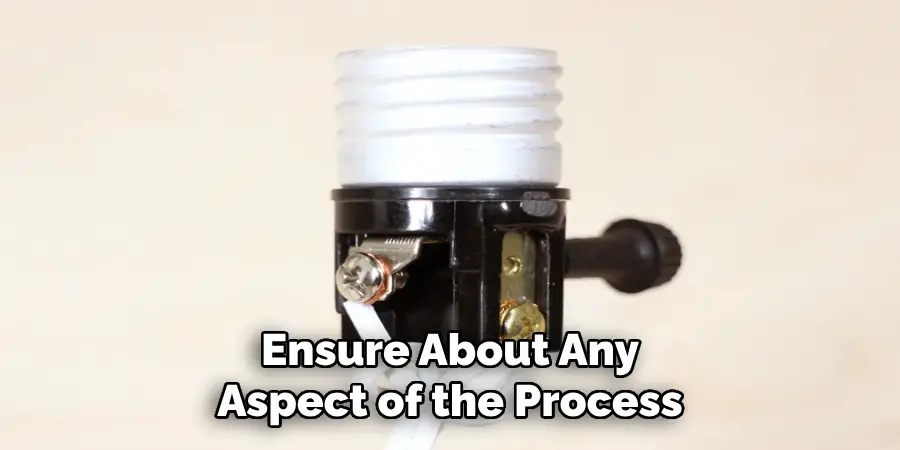
Locate the terminals on the light socket. Typically, the brass or gold screw is designated for the “live” (hot) wire, while the silver screw is used for the “neutral” wire. Identify the wires in your electrical setup—most often, the live wire is black or red, while the neutral wire is white. Attach the live wire to the brass screw and the neutral wire to the silver screw. Tighten the screws firmly to ensure a strong, stable connection. Loose connections can cause arcing or inconsistent power delivery.
Step 3: Connecting the Ground Wire (if applicable)
If your light socket is equipped with a green ground screw, attach the bare or green ground wire securely to this terminal. For sockets without a ground screw, ensure that the fixture is grounded through the junction box or another grounding system. Proper grounding is crucial for reducing the risk of electrical shock and ensuring long-term system safety.
By following these steps carefully, you can wire a light socket effectively, creating a reliable and secure electrical connection. Always turn off the power supply before starting any electrical work, and consult a professional if you are unsure about any aspect of the process.
Securing the Socket and Making Final Connections
Step 1: Mounting the Socket
Secure the socket into its mounting bracket or base, ensuring it is positioned correctly. Align the socket properly with the bracket so that it sits evenly and securely. If necessary, use a drill to create mounting holes and screw the socket into place. Check that it is stable and will not shift or move when in use, as a loose socket could cause problems over time. Stability is key to ensuring a durable and safe installation.
Step 2: Final Check of Wire Connections
Before proceeding further, perform a thorough inspection of all wire connections. Ensure that each wire is tightly secured under its respective terminal screw. Look closely to confirm that no wires are loose or improperly connected. Additionally, verify that no exposed sections of wire are visible after the screws have been tightened, as this can pose a safety risk. A clean and secure connection minimizes the chances of electrical failure or potential hazards.
Step 3: Attaching the Socket Cover
Once the wiring and mounting are complete, attach the socket cover or shade (if applicable) as a finishing step. Ensure the cover is aligned correctly and securely fastened to avoid it becoming loose or interfering with the electrical connections. Test the fit to confirm it stays in place and does not wiggle or shift when touched. This final touch not only enhances safety but also gives the installation a polished and complete appearance.
Testing the Installation
Step 1: Restoring Power to the Circuit
Turn the power back on at the breaker box, ensuring the circuit for the newly installed socket is turned back on. Use a voltage tester to confirm that the socket is energized and ready for use. This step ensures electricity is properly flowing to the socket and helps identify any potential issues early.
Step 2: Testing the Socket
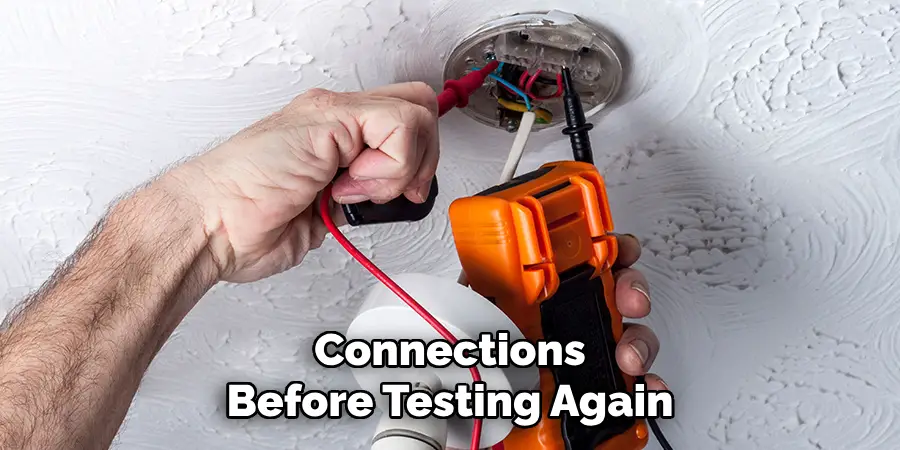
Insert a compatible light bulb into the socket and flip the switch to check if the light turns on. Observe whether the bulb illuminates consistently, ensuring proper electrical contact. If the light doesn’t come on, double-check the wiring connections to ensure there are no loose or improperly connected wires. Secure any loose connections before testing again.
Step 3: Troubleshooting
If the socket still doesn’t work, proceed with a thorough inspection to identify possible issues. Test the circuit breaker to confirm it remains in the “on” position. Please verify that all wires are connected to their proper terminals and are firmly in place. Additionally, look for signs of damage to the socket, bulb, or any components used during the installation. Address any problems found, retest, and repeat these steps until the issue is resolved, ensuring a safe and functional installation.
Common Mistakes to Avoid
Incorrect Wire Connections
Double-check that the “live” and “neutral” wires are connected to the correct terminals. Swapping these wires can lead to malfunctioning fixtures or even pose significant safety risks. Always verify the wire colors and terminal labels against the provided wiring diagram.
Not Grounding Properly
Never skip grounding the fixture, as it is critical for ensuring safety. A proper ground connection protects users from electrical shocks in case of a fault and prevents damage to the system. Take the time to secure the ground wire properly to the designated terminal.
Loose Connections
Ensure all wire connections are tight and secure. Loose connections can lead to electrical shorts, arcing, or overheating, all of which are fire hazards. Always tug gently on wires to confirm they are firmly in place during installation.
Not Using the Correct Tools
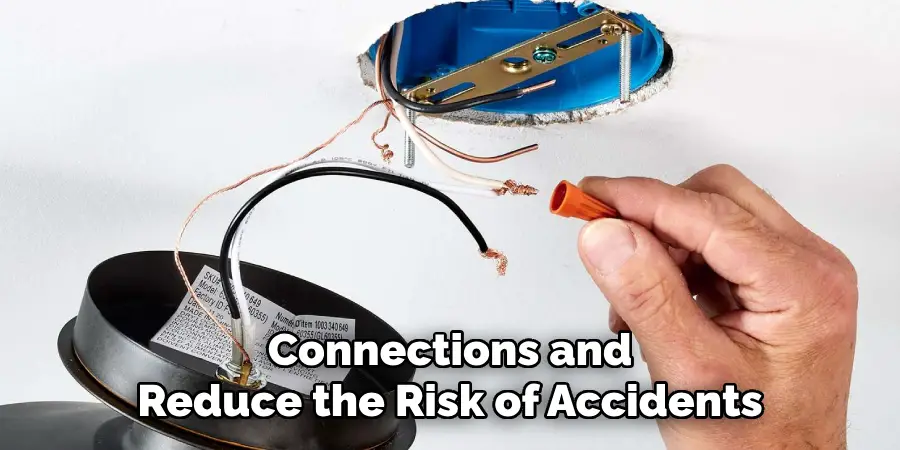
Using improper tools can compromise the safety and effectiveness of wiring installations. For instance, using the wrong pliers or makeshift tools can damage the wires or insulation. Always use tools designed for electrical work, such as wire strippers, screwdrivers, and insulated tools. These ensure precise connections and reduce the risk of accidents.
Conclusion
Understanding how to wire a light socket involves a careful and systematic approach. Start by preparing the socket and ensuring all components are ready for assembly. Connect the wires correctly, matching them with their designated terminals to guarantee proper conductivity. Once completed, test the socket to confirm it works properly before use. Always ensure the power is turned off prior to beginning any electrical work and double-check each connection. For first-time DIYers, proceed with caution and consider seeking professional help if uncertain. Safety is paramount, so taking the necessary precautions will ensure a successful and hazard-free installation.
You Can Check It Out To How to Wire LED Lights to Speakers

