Wiring a light fixture correctly is a crucial step in ensuring both safety and proper functionality in your home. A solid understanding of the color-coded wires involved in the process is essential for creating secure and efficient electrical connections. Typically, the black wire is the “hot” wire that carries current, the white wire is the “neutral” wire that completes the circuit, and the red wire is often used for a second switch or specific wiring configurations.
This article provides a comprehensive step-by-step guide on how to wire a light fixture with red black and white wires. It includes practical tips for ensuring a secure installation, troubleshooting common issues, and adhering to essential safety precautions. Whether you’re an experienced DIYer or new to electrical work, this guide aims to simplify the process while emphasizing the importance of accuracy and care when working with electrical connections.
Understanding the Different Wires
Black Wire (Hot)
The black wire is the “hot” wire, which carries electricity from the power source to the light fixture. It is the live wire that becomes energized when the circuit is active. Properly identifying and connecting the black wire is essential for ensuring the electrical system functions correctly and safely.
White Wire (Neutral)
The white wire is the neutral wire, completing the electrical circuit by carrying current back to the power source. It plays a crucial role in making the circuit operational. Ensuring a secure connection for the white wire is important to maintain a safe and functional electrical installation.
Red Wire (Switched Hot or Secondary Live Wire)
The red wire serves as a switched hot or secondary live wire. Commonly seen in setups such as three-way switches or multi-way switch systems, it allows for additional control, like operating the light from multiple locations. It may also be used in specific wiring configurations for specialized purposes. Knowing the role of the red wire in a circuit is particularly important during installation or troubleshooting.
Safety Precautions
When handling any electrical project, safety should always be the top priority. Even minor mistakes can lead to serious injuries or create hazardous conditions. Follow these essential steps to ensure a safe working environment:
Turn Off the Power
Always turn off the power at the circuit breaker before beginning any electrical work. This step is crucial to prevent electrical shocks or injuries. Once the power is off, clearly label the breaker to avoid accidental reconnection.
Use a Voltage Tester
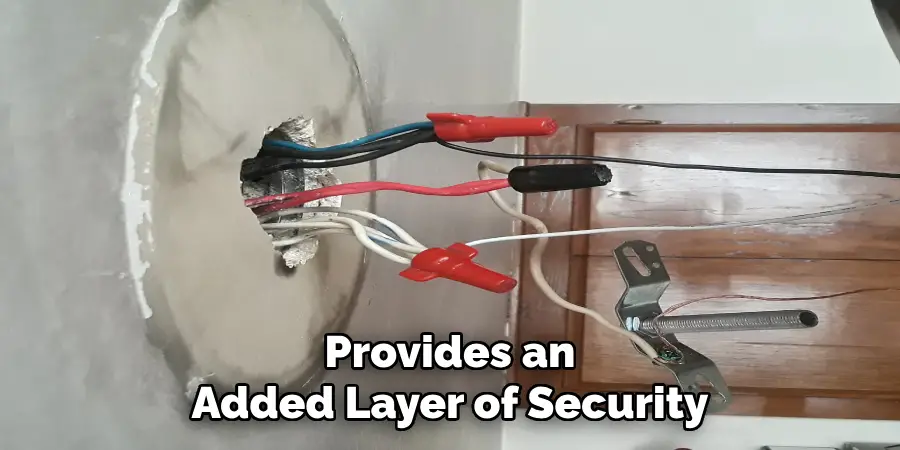
Before touching any wires, use a reliable voltage tester or multimeter to confirm that there is no electrical current running through them. This double-check provides an added layer of security.
Wear Rubber-Soled Shoes and Avoid Wet Areas
Ensure you are standing on a dry surface when working with electrical components. Additionally, wearing rubber-soled shoes helps reduce the risk of electrical grounding through your body.
Check for Proper Grounding
Confirm that the electrical fixture is properly grounded. Proper grounding is essential as it provides a safe path for stray electricity, protecting you and your equipment.
If Unsure, Call a Professional
If you are unfamiliar with electrical systems or encounter a task that seems complex, it’s always safer to consult or hire a licensed electrician. A professional can ensure the work is done correctly and safely.
Preparing the Wires and Fixture
Step 1: Inspect the Wires
Examine the black, white, and red wires for any visible damage or fraying. Frayed or damaged wires can lead to inefficient connections or pose safety risks. If you notice any damage, carefully cut and remove the damaged portion. Then, strip the wire ends with a wire stripper to expose the fresh copper wire. Ensure the wires are clean and in good condition before proceeding.
Step 2: Strip the Wire Insulation
Using a pair of wire strippers, gently remove approximately 3/4 inch of insulation from the ends of the black, white, and red wires. Take care not to nick or damage the copper wiring underneath. Exposing a clean section of wire ensures a reliable and secure connection during installation.
Step 3: Prepare the Light Fixture
Identify the wiring terminals on the light fixture provided by the manufacturer. Most fixtures come with a black (hot), white (neutral), and green (ground) terminal, clearly labeled for easy identification. If the light fixture has a ground wire, you will need to connect this green wire to the ground screw or terminal on the fixture or in the electrical box. Make sure the terminals are accessible and properly secured to ensure smooth installation.
How to Wire a Light Fixture With Red Black and White Wires: Connecting the Wires
Step 1: Connect the White (Neutral) Wire
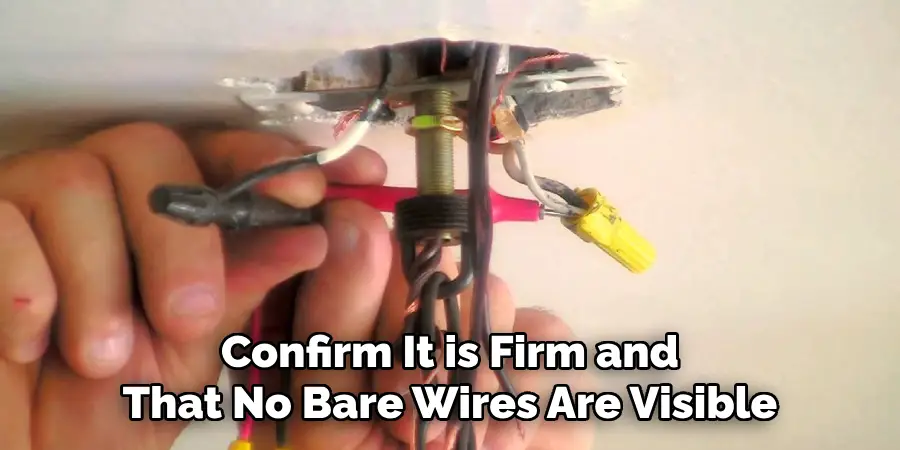
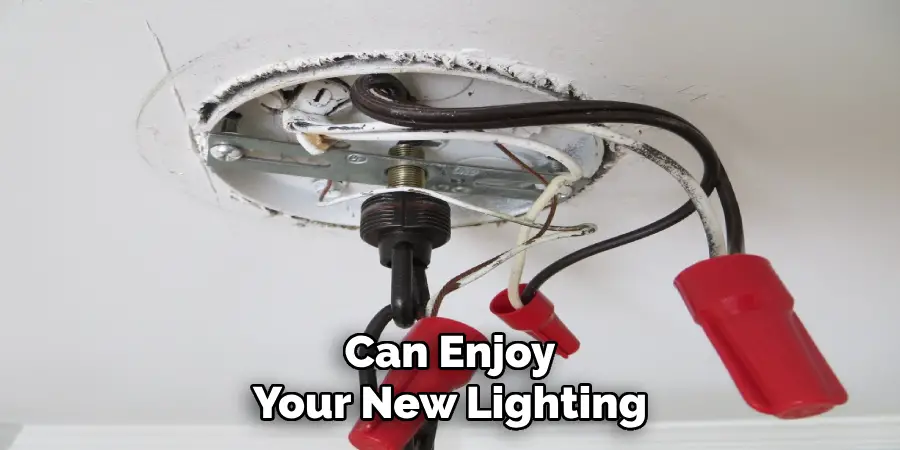
Begin by connecting the white neutral wire from the power supply to the white terminal on the light fixture. Twist the stripped ends of the wires together tightly to form a secure connection. To ensure safety and prevent exposure to live wires, cover the connection with a wire nut. Double-check the connection to confirm it is firm and that no bare wires are visible.
Step 2: Connect the Black (Hot) Wire
Next, connect the black hot wire from the power supply to the black terminal on the light fixture. Similar to the neutral wire, twist the ends of the wires securely to establish a reliable connection. Protect this connection as well by capping it with a wire nut. This step is crucial, as the black wire carries the electrical current to power the fixture.
Step 3: Connect the Red (Switched Hot) Wire
If your wiring setup includes a red wire, which is typically used in a switch-controlled circuit, connect it to the red terminal on the light fixture. Twist the ends of the wires together, ensuring a tight bond, and cap them with a wire nut. For setups without a second switch or if the red wire is not in use, cap the red wire individually with a wire nut to prevent accidental contact with other components.
Step 4: Ground the Fixture
Finally, if the light fixture has a ground wire, usually green or bare copper, it must be connected to the grounding system. Attach the ground wire to the grounding terminal or screw in the electrical box. Use a screwdriver to tighten the connection securely, providing a safe electrical pathway and reducing the risk of electrical shock. Double-check all connections to ensure they are secure before proceeding to the next steps of the installation process.
Securing the Fixture and Checking the Connections
Step 1: Attach the Fixture to the Ceiling Box
Secure the light fixture to the ceiling box by aligning the mounting screws with the fixture’s mounting holes. Hold the fixture steady and tighten the screws carefully using a screwdriver. Ensure the fixture is flush against the ceiling for a neat and secure installation. Avoid overtightening, as this may damage the fixture or its mounting hardware.
Step 2: Double-Check the Connections
Before finalizing the installation, inspect all wire connections to ensure they are secure. Confirm that all wires are tightly twisted together and capped with wire nuts to eliminate any exposed wiring that could lead to electrical hazards. Pay close attention to the ground wire, making sure it is firmly connected to the ground terminal or grounding screw within the electrical box.
Step 3: Test the Fixture
Once everything is secured, restore power to the circuit by turning the breaker back on. Go to the light switch and flip it on to determine if the fixture works properly. If the light does not illuminate, turn off the power again and recheck all connections for any loose or incorrect wiring. If the fixture works as intended, your installation is successful, and you can enjoy your new lighting.
Troubleshooting Common Issues
Light Doesn’t Turn On
If the light fixture does not illuminate, start by verifying that the circuit breaker is on. Double-check all wiring connections to ensure they are adequately secured and correctly matched. For setups involving a red wire, confirm that it is securely connected to the switch, as this wire often controls power to the fixture. Additionally, test the light switch itself to ensure it is functioning correctly and sending power to the fixture.
Flickering Light
A flickering light is often caused by loose connections or an improperly installed bulb. Inspect the connections within the fixture to ensure all wires are securely in place. Also, verify that the bulb is correctly screwed into the socket and is not defective. Faulty switches can also lead to flickering; take time to examine the switch and replace it if necessary to resolve the issue.
Power Shortage
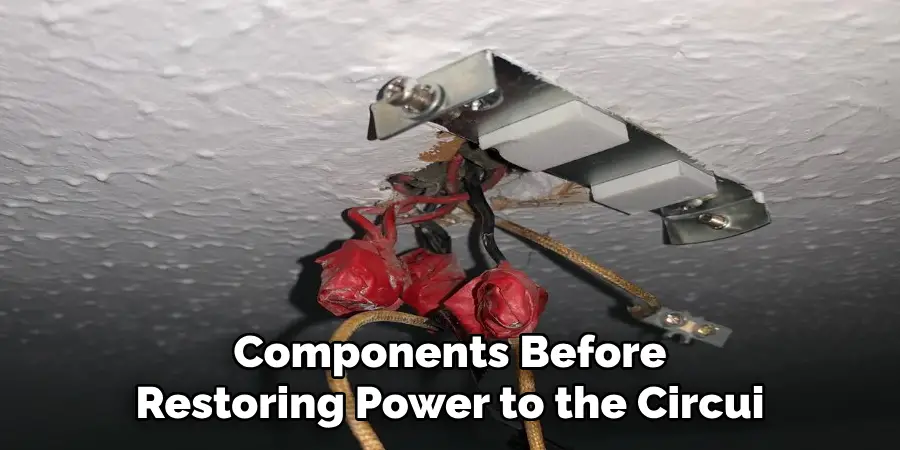
If the light fixture trips the circuit breaker, immediately turn off the power at the breaker to avoid any potential hazards. This could indicate a short circuit in the wiring or a fault in the fixture’s installation. Carefully inspect the wires for any damage, exposed areas, or incorrect connections. Replace any damaged wires or faulty components before restoring power to the circuit.
Conclusion
Understanding how to wire a light fixture with red black and white wires is essential for ensuring a safe and functional installation. By carefully connecting each wire to its corresponding terminal, inspecting for damage, and testing the fixture, you can complete the process with confidence. Always prioritize safety precautions, such as turning off the power at the breaker and using insulated tools. If you’re unsure about any step, it’s wise to consult a professional electrician. Finally, double-check all connections to ensure the light fixture operates as expected, providing you with a reliable and safe lighting solution.

