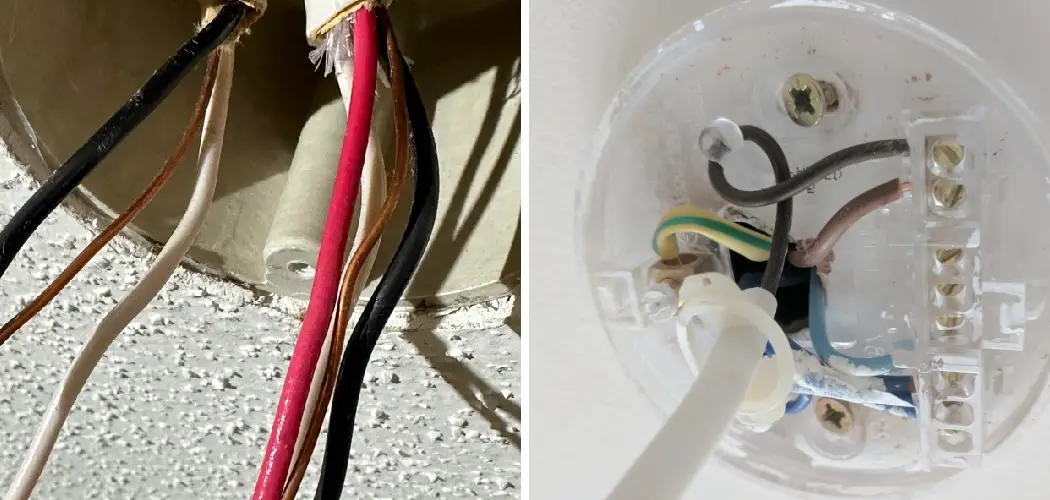
Learning how to wire a light fitting with 3 cables is a valuable skill that can save you money on electrician fees while giving you confidence to tackle basic home electrical projects. When you encounter three cables in a ceiling rose or junction box, it typically means you’re dealing with a loop-in system where power feeds through to other lights or switches in the circuit.
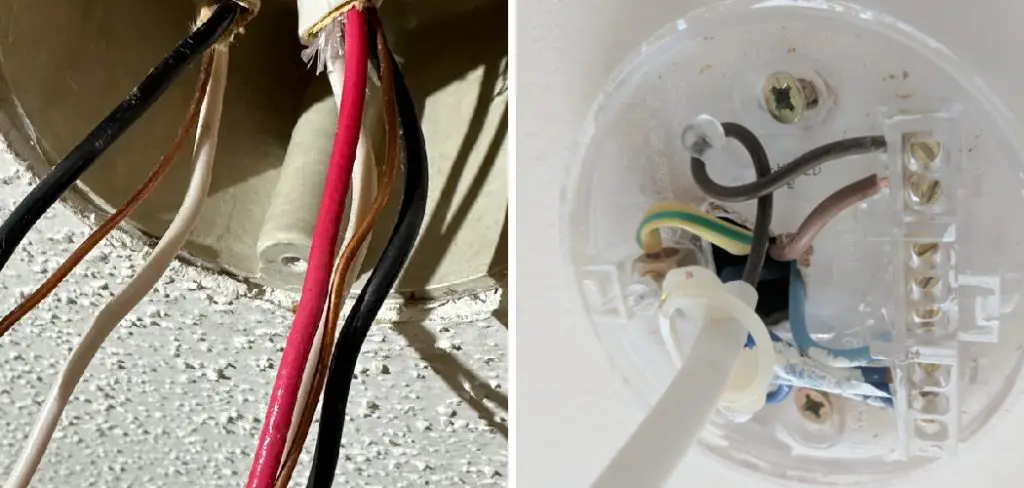
This wiring configuration is common in many homes, especially in the UK and other countries that use ring circuits. While it might seem intimidating at first, understanding the basics of live, neutral, and earth connections makes the process straightforward. The key is following proper safety procedures and understanding which wires go where.
This guide will walk you through each step of the process, from turning off the power to testing your completed installation. By the end, you’ll have the knowledge and confidence to wire a light fitting safely and correctly, ensuring it operates reliably for years to come.
Why Wiring a Light Fitting with 3 Cables Matters
Understanding electrical wiring basics is increasingly important for homeowners who want to maintain and improve their properties. Light fittings are among the most commonly replaced electrical fixtures, and knowing how to handle the wiring yourself saves both time and money.
The three-cable configuration you’ll encounter represents a loop-in system, which is an efficient way to distribute power throughout a home’s lighting circuit. This system allows one cable to bring power in, another to continue the circuit to the next fitting, and a third to connect to the switch that controls the light.
Mastering this skill also builds confidence for other electrical projects around the home. Once you understand the principles of connecting live, neutral, and earth wires safely, you’ll be better equipped to handle outlet installations, ceiling fan connections, and other basic electrical work.
Step-by-Step Guide: How to Wire a Light Fitting with 3 Cables
Step 1: Turn Off the Power at the Circuit Breaker
Before beginning any electrical work, locate your home’s main electrical panel and switch off the circuit breaker that controls the light you’ll be working on. This is the most critical safety step in the entire process.
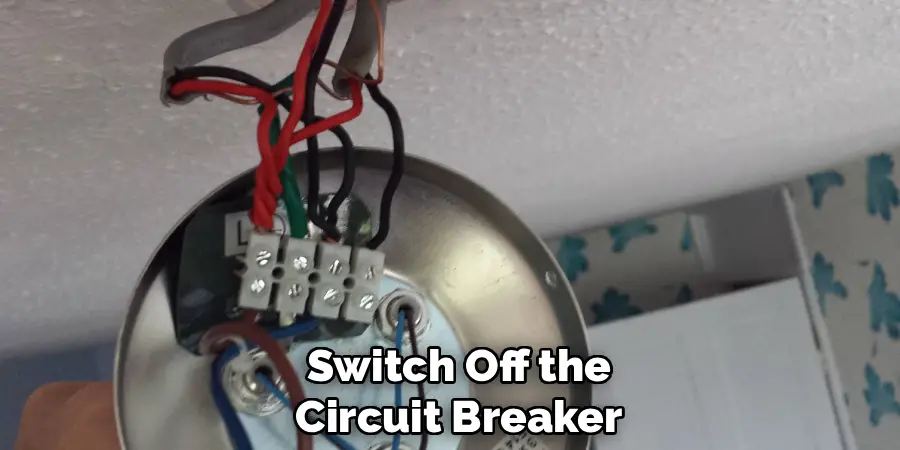
Use a non-contact voltage tester to verify that power is actually off at the light fitting location. Hold the tester near the cables and listen for any beeping or watch for light indicators that would signal the presence of electricity. Even experienced electricians double-check this step because electrical panels are sometimes mislabeled.
Place tape over the circuit breaker and leave a note to prevent someone from accidentally turning it back on while you’re working. This extra precaution could save your life if a family member unknowingly restores power to the circuit.
Step 2: Remove the Old Light Fitting Safely
Carefully unscrew the old light fitting from the ceiling, supporting its weight as you work. Many fittings are heavier than they appear, and dropping one can damage your floors or injure you.
Once you’ve loosened the mounting screws, gently lower the fitting to expose the wiring connections. Take a photo of the existing connections before disconnecting anything—this serves as a reference if you need to troubleshoot later.
Disconnect the wires by unscrewing the terminal connectors or removing wire nuts, depending on your system. Keep the old fitting nearby until you’ve successfully installed and tested the new one, just in case you need to reinstall it temporarily.
Step 3: Identify the Three Cables and Their Purpose
Examine the three cables emerging from your ceiling. In a typical loop-in system, you’ll see multiple red or brown wires (live), black or blue wires (neutral), and green/yellow wires (earth).
The first cable brings power from the previous fitting in the circuit. The second cable continues power to the next fitting. The third cable connects to your light switch—this switch cable will have its black or blue wire connected to the live terminals because it carries live power when the switch is on.
Understanding this configuration is crucial for proper wiring. The switch return wire (the one that’s been connected to live) should be marked with red tape or a red sleeve to indicate it carries live power despite being a different color.
Step 4: Prepare Your New Light Fitting
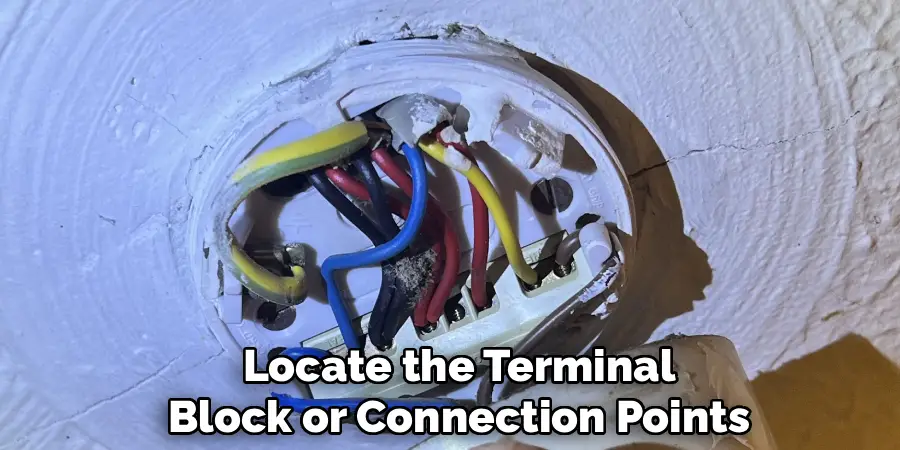
Unpack your new light fitting and locate the terminal block or connection points. Most modern fittings have clearly labeled terminals for live (L), neutral (N), and earth (E or ⏚).
If your fitting uses a separate terminal block, ensure it’s rated for the number of connections you need to make. You’ll typically need terminals that can accommodate three wires in the live and neutral positions, and all earth wires together.
Strip about 10mm of insulation from the ends of your fitting’s wires if they’re not already prepared. Use proper wire strippers to avoid damaging the copper conductors, as damaged wires can create dangerous loose connections.
Step 5: Connect All Earth Wires Together
Start with the earth connections, as these provide essential safety protection. Connect all the green and yellow earth wires from your three cables to the earth terminal on your light fitting.
Use a suitable connector block or terminal that can accommodate all the earth wires plus the earth wire from your fitting. Ensure each connection is tight and secure—loose earth connections can be extremely dangerous.
The earth wire provides a safe path for electricity to flow in case of a fault, protecting you from electric shock. This connection must be made even if your old fitting didn’t have an earth wire connected.
Step 6: Wire the Neutral Connections Properly
Connect all the black or blue neutral wires from your three cables together with the neutral wire from your light fitting. This creates a continuous neutral path through your lighting circuit.
Use an appropriate connector block that can handle the gauge of wire you’re working with. Most domestic lighting circuits use 1.5mm cable, so ensure your connectors are rated accordingly.
Tighten each connection firmly but avoid over-tightening, which can damage the wire or connector. A properly made connection should not pull apart when gently tugged.
Step 7: Make the Live Wire Connections
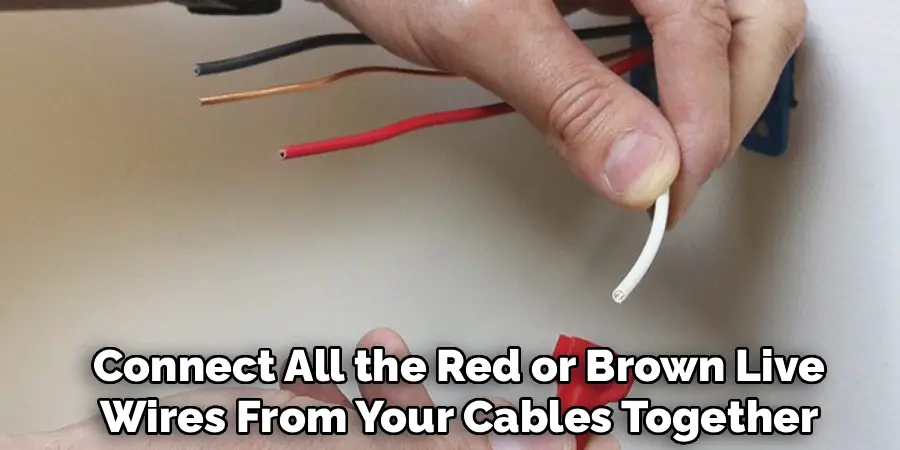
This step requires careful attention to detail. Connect all the red or brown live wires from your cables together with the live wire from your light fitting. Include the switch return wire (which should be marked with red tape) in this connection.
The switch return wire is the one that was connected to the live terminal in your old installation despite being black or blue. This wire carries live power when the switch is turned on.
Double-check that you’ve identified the switch return wire correctly before making this connection. If you’re unsure, the switch return wire is typically the black or blue wire that was connected to red or brown wires in the old installation.
Step 8: Secure All Connections and Test
Once all wires are connected, gently fold them back into the ceiling void, ensuring no bare wires are touching each other or the ceiling. Secure your light fitting to the ceiling using appropriate screws and wall plugs.
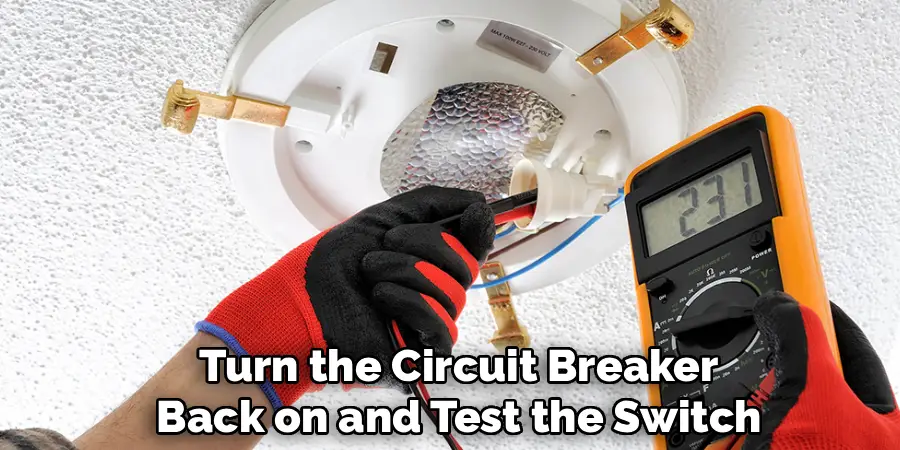
Before installing the light bulb, turn the circuit breaker back on and test the switch. You should hear a clicking sound from any relays in the fitting, or see an LED indicator if your fitting has one.
Install the appropriate bulb and test the complete installation. The light should turn on and off smoothly with the wall switch. If it doesn’t work, turn off the power immediately and recheck your connections.
Step 9: Final Safety Checks and Clean-Up
With the light working properly, perform final safety checks. Ensure all connections are tight, no bare wires are visible, and the fitting is securely mounted to the ceiling.
Test the light switch multiple times to verify reliable operation. Check that the fitting doesn’t wobble or show any signs of loose mounting.
Clean up your work area and dispose of any old fittings or packaging materials responsibly. Keep your reference photos and any documentation that came with the new fitting for future reference.
Common Wiring Mistakes
When working with electrical wiring, certain mistakes are easy to make but can pose serious risks if not avoided. One common error is connecting wires to the wrong terminals, such as mixing up the live, neutral, and ground wires, which can cause circuit malfunctions or create a shock hazard.
Another frequent mistake is leaving wire insulation too long or too short. Exposed wires can lead to short circuits, while insufficient stripping may result in poor connections. Additionally, failing to use wire nuts or tape properly to secure and insulate connections can leave them vulnerable to damage or accidental contact.
Frequently Asked Questions
What if I have more than three cables at my light fitting?
Some installations may have four or even five cables, especially in complex circuits or where multiple switches control the same light. The principle remains the same—connect all earth wires together, all neutral wires together, and all live wires (including switch returns) together. If you’re unsure about any connections, consult a qualified electrician.
Why is my black wire connected to the red wires?
The black wire connected to red wires is called a “switch return” or “switched live.” When the switch is off, this wire carries no power, but when the switch is on, it becomes live. It should be marked with red tape to indicate its function and connected with the other live wires.
Can I install a dimmer switch with this wiring configuration?
Yes, most standard dimmer switches work with three-cable configurations. However, ensure your dimmer is rated for the type of bulbs you’re using (LED, halogen, etc.) and the total wattage of your light fitting. Some LED bulbs require specific dimmer types to function properly.
What should I do if the earth wires are missing?
Older installations may not have earth wires. While you can connect the fitting without earth, it’s not recommended for safety reasons. Consider having an electrician assess whether your installation can be upgraded to include earth connections for improved safety.
How do I know if my connections are secure enough?
A properly made connection should not pull apart when gently tugged. The wire should be fully inserted into the terminal with no bare copper visible outside the connector. If using screw terminals, the wire should be firmly clamped without being over-tightened to the point of damage.
Conclusion
Successfully completing this project demonstrates that how to wire a light fitting with 3 cables is achievable for most homeowners with the right knowledge and safety precautions. The key elements—proper power isolation, correct wire identification, and secure connections—form the foundation of safe electrical work.
Remember that electrical safety should never be compromised. If you encounter unexpected wiring configurations or feel uncertain about any aspect of the installation, don’t hesitate to consult a qualified electrician. The small cost of professional advice is insignificant compared to the potential consequences of incorrect wiring.

