Wiring a four-way switch in your home can be a practical and rewarding DIY project, enabling you to control lighting from multiple locations. This is particularly useful in large rooms, hallways, or staircases where multiple switch points are convenient.
Before beginning this task, understanding how the circuit works and the wiring setup is critical. The four-way switch sits between two three-way switches, allowing you to operate a single light source from three different places.
In this guide, we’ll walk through a step-by-step process of how to wire a four way switch diagram, ensuring that even beginners can confidently and safely undertake this project. Safety will be our top priority, followed by a clear explanation of the wiring connections, diagrams, and important tips to make your installation a success.
How Does the Circuit Work?
Before diving into the wiring process, it’s crucial to understand how the circuit works. The four-way switch is a double-pole, double-throw switch that controls the flow of electricity within the circuit. It has four terminals – two brass and two dark-colored- connected in pairs with jumper wires.
The first three-way switch is connected to the power source, while the second three-way switch is connected to the light fixture. The four-way switch sits in between these two switches, allowing you to control the flow of electricity and turn the light on or off from any of the three locations.
Now that we have a basic understanding of how the circuit works let’s move on to wiring diagrams and step-by-step instructions.
What are the Benefits of a Four-Way Switch?
Aside from the convenience of controlling a single light source from multiple locations, there are other benefits to installing a four-way switch. These include:
- Increased Energy Efficiency: With multiple switch points, you can easily turn off lights when leaving a room and save on energy costs.
- Improved Safety: Having more than one access point to control lights can be helpful in case of an emergency or if one switch is not functioning correctly.
- Enhanced Functionality: A four-way switch adds versatility and allows you to customize lighting options in a room according to your needs.
These are just some of the advantages that come with wiring a four-way switch diagram in your home.
What Will You Need?
Before starting any electrical project, gathering all the necessary materials and tools is essential. For wiring a four-way switch diagram, you will need:
- Four-way switches (2)
- Three-way switches (2)
- 14/3 or 12/3 wire (depending on your circuit requirements)
- Wire connectors
- Screwdrivers (flathead and Phillips)
- Wire strippers
- Needle-nose pliers
- Voltage tester
- Electrical tape
It’s crucial to check the local building codes and regulations before starting this project. Make sure you have a permit if required, and consult with an electrician if you’re unsure about any aspect of the wiring.
10 Easy Steps on How to Wire a Four Way Switch Diagram
Step 1. Turn Off the Power:
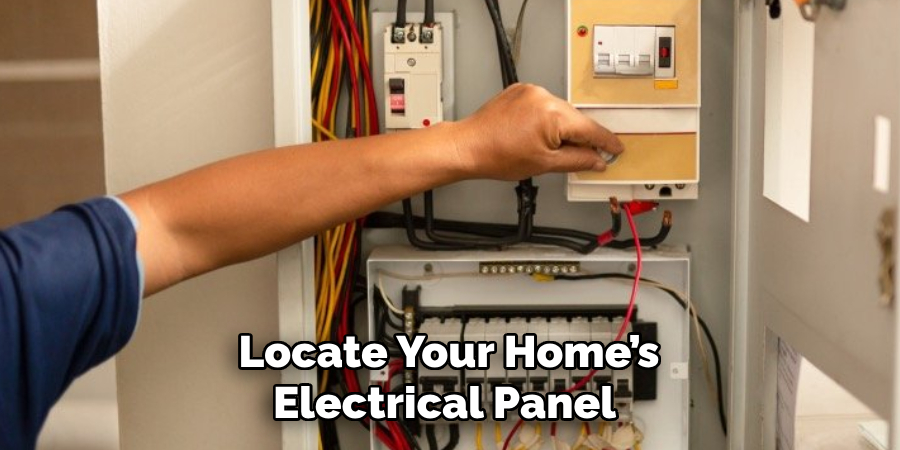
Always start by ensuring your safety, and the first step in any electrical project is to shut off the power to the circuit you will be working on. Locate your home’s electrical panel and turn off the circuit breaker for the course, including the switches you wiring.
Put a piece of tape over the breaker to prevent someone from accidentally turning it back on while you’re working. Use a voltage tester on the switches to double-check that the power is off before proceeding to the next steps. This simple act can prevent electric shock and is a fundamental safety practice whenever working with electricity.
Step 2. Remove the Existing Switches:
Carefully remove the wall plates and unscrew the existing switches from the electrical boxes. Gently pull out the switches enough to access the wires.
Snap a photo or label the wires if necessary for easy re-identification during the installation of the four-way controller. It’s essential to note how the original switches are connected, as this will provide a useful reference when connecting the new switches.
Step 3. Identify the Wires:
Understanding the purpose of each wire is critical for proper installation. Generally, you will deal with three types of wires: the traveler wires, which are usually red or black; the standard wire, which is often black and connected to the common terminal of the three-way switches; and the ground wire, which is bare or green.

In a four-way switch setup, the traveler wires connect the two three-way switches to the four-way switch. Ensure that you accurately identify these wires and their corresponding terminals before you proceed with the installation.
Step 4. Connect the Ground Wires:
Before connecting the switches, attach all ground wires from the electrical box to the ground terminal on each switch. If you have more than one ground wire, twist them together with a wire connector and include a jumper wire that extends to the switches.
This provides a continuous path to the ground, necessary for safety and to meet electrical code requirements. Typically, ground terminals are green or may be indicated on the switch. Ensure all connections are secure before moving on to the next step.
Step 5. Connect the Traveler Wires:
With the ground wires connected, focus on the traveler wires. These will attach to the brass-colored terminals on the four-way switch. Each pair of traveler wires from a three-way switch is connected to one set of brass terminals.
There is no specific order to which pair of wires connect to which terminals, but it should be consistent so the wiring is orderly. After connecting the traveler wires, carefully push the switch back into the electrical box, ensuring no wires are pinched or excessively bent.
Step 6. Connect the Three-Way Switches:
Now, turn your attention to the three-way switches. These switches will have a common terminal, typically different in color from the traveler terminals. Connect the standard wire (previously identified) to this terminal. The standard wire must connect to the correct terminal since it carries the continuous power feed.
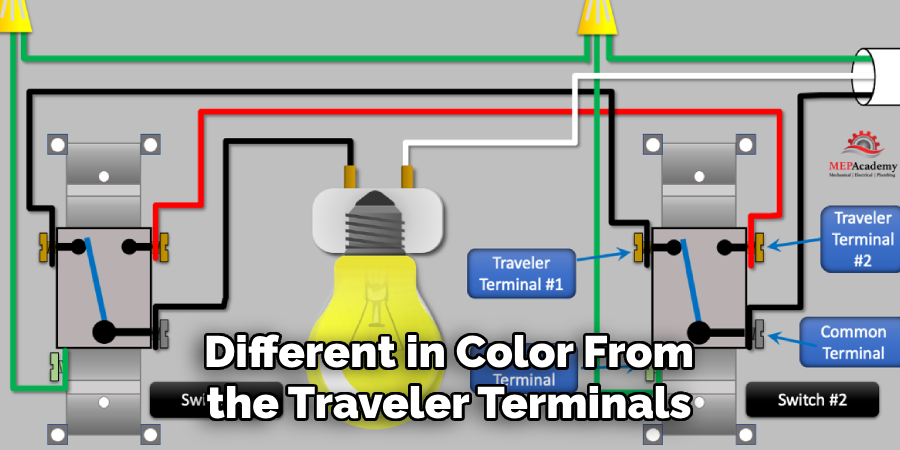
The traveler wires that extend from the four-way switch will then be connected to the remaining terminals on the three-way switches. After completing these connections, neatly arrange the wires and screw the switches back into the electrical boxes.
Step 7. Install the Four-Way Switch:
Position the four-way switch between the two three-way switches within the electrical circuit. Ensure that the switch is oriented correctly and that the traveler wires are securely connected to the appropriate terminals. The four-way switch will typically have labeling or instructions indicating where to connect the traveler wires.
Attach the switch to the wall box using the provided screws and ensure that it sits flush with the wall surface, maintaining the aesthetic of the room. Once the switch is secured, double-check all wire connections to ensure they are tight and secure before moving on to the next step.
Step 8. Attach the Wall Plates:
Once all switches are wired and secured in their boxes, the next step is to attach the wall plates. Begin by gently positioning them over the switches, making sure not to disrupt any of the wire connections.
Line up the screw holes of the wall plate with those on the electrical box and use a screwdriver to secure them in place. Take care not to over-tighten the screws, as this could crack the wall plate. Ensure the leaves are straight and flush with the wall for a clean, professional look.
Step 9. Turn On the Power and Test the Switches:
After attaching the wall plates, it’s time to restore power and test your handiwork. Carefully remove the tape from the circuit breaker and turn the power back on. Then, go back to your switches and test them.
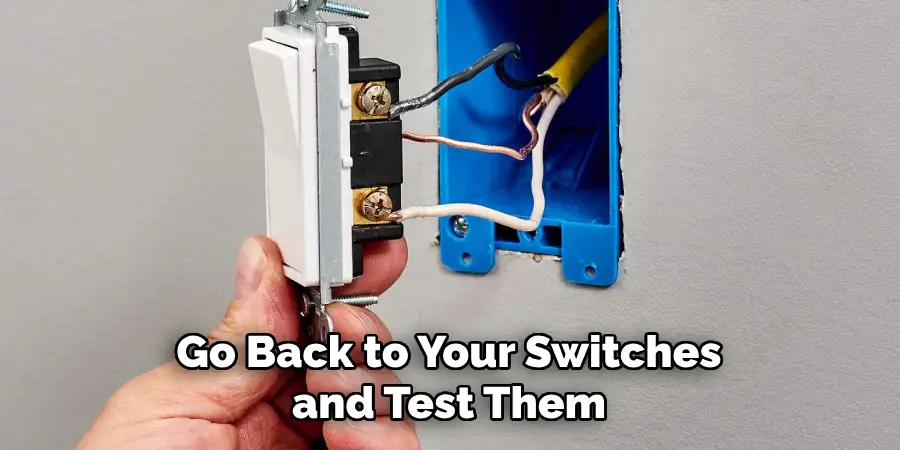
Toggle the buttons in various combinations to ensure that the circuit functions correctly and that the lights or receptacles they control respond appropriately. You should notice that you can turn the light on and off from multiple locations. This is the hallmark of a correctly wired four-way switch circuit. If something isn’t working right, turn off the power and double-check your connections.
Step 10. Troubleshooting:
If the switches do not work as expected, switch off the power at the breaker panel before you begin troubleshooting. Carefully remove the wall plates, pull out the switches, and check all wire connections. Ensure that the traveler and standard wires are connected to the correct terminals and that no wire is loose.
Inspect the switches themselves for any damage or defects. If you cannot find the issue, or if the wiring does not match the standard setup described, it may be best to consult with a licensed electrician. Always prioritize safety and proper functionality over quick fixes when dealing with electrical systems.
Following these ten steps, you can successfully wire a four-way switch circuit in your home or building. Remember to take precautions and follow safety guidelines when working with electrical systems. Feel free to call a professional if you encounter any issues or feel unsure about the process.
5 Additional Tips and Tricks
- Label Your Wires: Before disconnecting any wires, it’s helpful to label them with colored electrical tape or tags. This can help you remember which wire is which when it comes time to connect them to the new switches.
- Use a Continuity Tester: A continuity tester can be invaluable when identifying wires and their connections, especially if you’re working on an existing setup with complex wiring.
- Take Photos Before Unwiring: If you’re replacing an old four-way switch setup, take clear photos of the original wiring before you disconnect anything. This provides a valuable reference if you need to review the original connections.
- Check the Manufacturer’s Diagram: Always refer to the manufacturer’s wiring diagram for your specific switches. There can be variations between brands, and the provided diagram will have the most accurate information for installation.
- Ensure a Neutral Wire in the Box: If you upgrade to smart switches or certain types of timers, you will need a neutral wire in the switch box. Ensure that your electrical system provides this, if necessary, for your new setup.
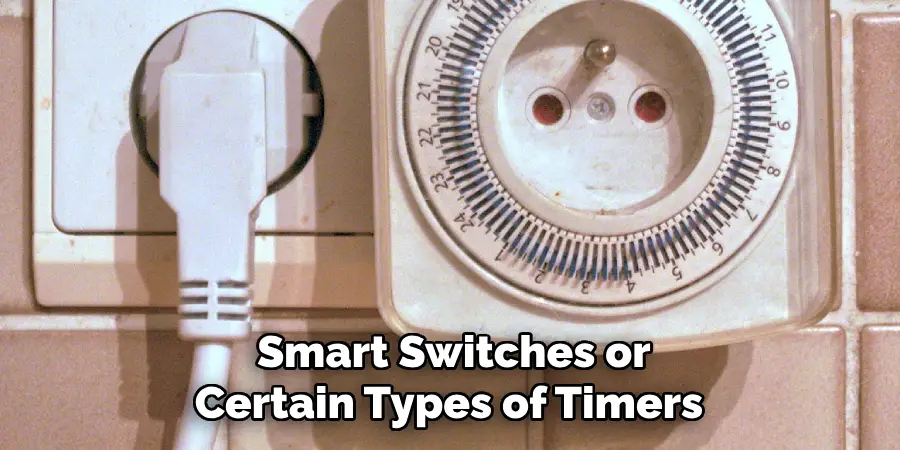
With these tips and tricks, you can confidently wire a four-way switch circuit and add more functionality to your home’s lighting.
5 Things You Should Avoid When Wiring a Four-Way Switch Diagram
- Do Not Mix Up Wire Types: Avoid confusing the common wire with the traveler wires. The standard wire is typically a different color and must be connected to the common terminal on the three-way switches.
- Avoid Inaccurate Diagrams: Do not rely on memory or inconsistent diagrams found online. Always use the wiring diagram that comes with your switch or one from a reliable electrical manual.
- Don’t Neglect Wire Organization: Never leave wires tangled or unorganized. This can lead to mistakes in wiring and difficulty in troubleshooting any potential issues.
- Skip Testing at Your Own Risk: Only test the connections at each step. Skipping tests can lead to completing the installation only to discover something needs to be fixed, requiring you to redo work.
- Never Compromise on Safety: Avoid hurrying through the process without double-checking each connection for security, and never work with live wires. Always turn off the power to the circuit you’re working on at the breaker panel.
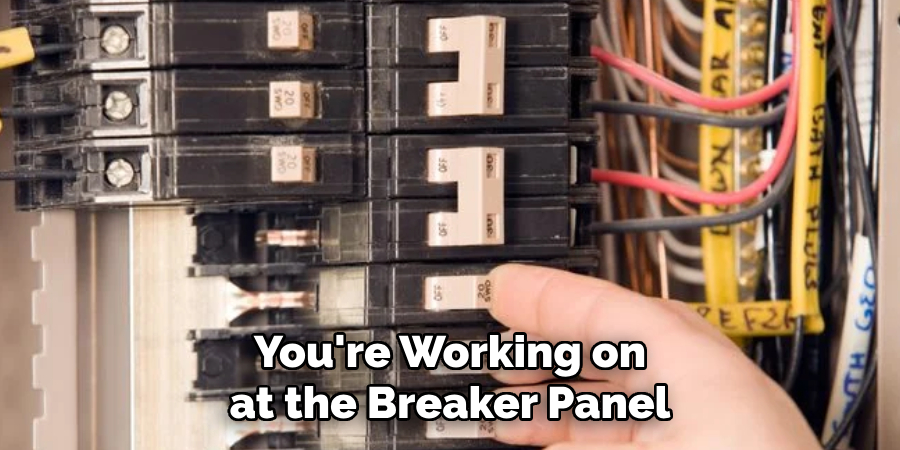
By avoiding these common mistakes, you can ensure a smooth and safe installation process when wiring a four-way switch. Remember that proper planning, organization, and attention to detail are key to successfully completing any electrical project.
Some Frequently Asked Questions
1. Why is It Called a 4-way Switch?
The term “4-way switch” is somewhat of a misnomer, as it suggests the switch can be connected in four different ways. However, the number does not actually refer to the number of connections but rather to the function the switch serves within a circuit.
A 4-way switch is used with two 3-way switches to control a single light fixture from three or more locations. The component that sits between the 3-way switches in the electrical circuit allows for this extended control. When you look inside a 4-way switch, you’ll find it has four terminals plus the ground terminal, which is where it gets its name.
Its unique internal switch configuration alters the path of the electricity between the first and second 3-way switches, thus controlling the on and off state of the light from multiple locations.
2. What is the Difference Between 3 Way and 4 Way Switch?
The main difference between a 3-way and a 4-way switch is the locations from which you can control a single light fixture. A 3-way switch allows for control from two locations, while a 4-way switch allows for control from three or more locations.
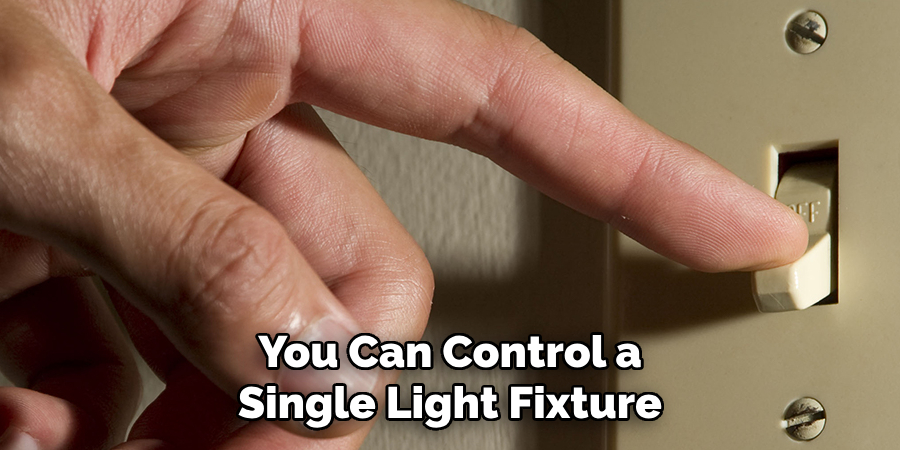
In terms of wiring, a 3-way switch has three terminals (plus ground) and requires a hot wire, a traveler wire, and a standard wire. A 4-way switch has four terminals (plus ground) and requires two traveler wires to connect it to the circuit’s first and second 3-way switches. Essentially, the 4-way switch acts as a bridge between the two 3-way switches, allowing for control from multiple locations.
3. Is There a 4-Way Dimmer Switch?
Yes, there are 4-way dimmer switches available. These switches have the same functionality as a regular 4-way switch, with the added feature of adjusting the brightness of the connected light fixture. They work with two 3-way dimmer switches to control a single light from three or more locations and can provide convenient and customizable lighting options for your home.
As with any electrical project, follow safety guidelines and consult a professional if you encounter any issues or feel unsure about the installation process. So, when considering a new lighting setup for your home, don’t forget to explore the possibilities of a 4-way dimmer switch. With proper planning and careful execution, you can successfully incorporate this versatile switch into your home’s lighting system.
4. What Are the 4 Wires in a 2 Way Switch?
A 2-way switch typically has four wires, including a hot wire (usually black), a neutral wire (usually white), and two traveler wires (typically red or black). The hot wire carries the electrical current from the power source to the switch, while the neutral wire provides a return path for the current.
The traveler wires connect the 2-way switch to a 3-way or 4-way switch, allowing for control from multiple locations. In some cases, the neutral wire may not be present in the switch box, and in these instances, it is essential to follow proper wiring practices and consult a professional if needed. Understanding the function of each wire is crucial when wiring any electrical component, so always refer to diagrams and manufacturer instructions for guidance.

Remember to always work safely and turn off the power at the breaker panel before starting any electrical project. With these precautions in mind, you can confidently wire a 2-way switch and add even more convenience and control to your home’s lighting system.
Conclusion
Wiring a four-way switch may seem daunting at first, but with the proper guidance and a careful step-by-step approach, it is a task well within the capabilities of a DIY enthusiast. Remember always to prioritize safety first—shut off the power before starting and verify it’s off. Use the tips and steps outlined to identify wires and their corresponding terminals correctly.
Additionally, incorporating 4-way dimmer switches allows for increased control over your home’s ambiance and energy usage. With this knowledge, and by avoiding common pitfalls, you can confidently enhance your home’s electrical functionality and enjoy the convenience of multi-location light control.
Hopefully, this guide has given you a comprehensive understanding of how to wire a four way switch diagram. Now, go forth and tackle your next electrical project with confidence! Happy wiring!

