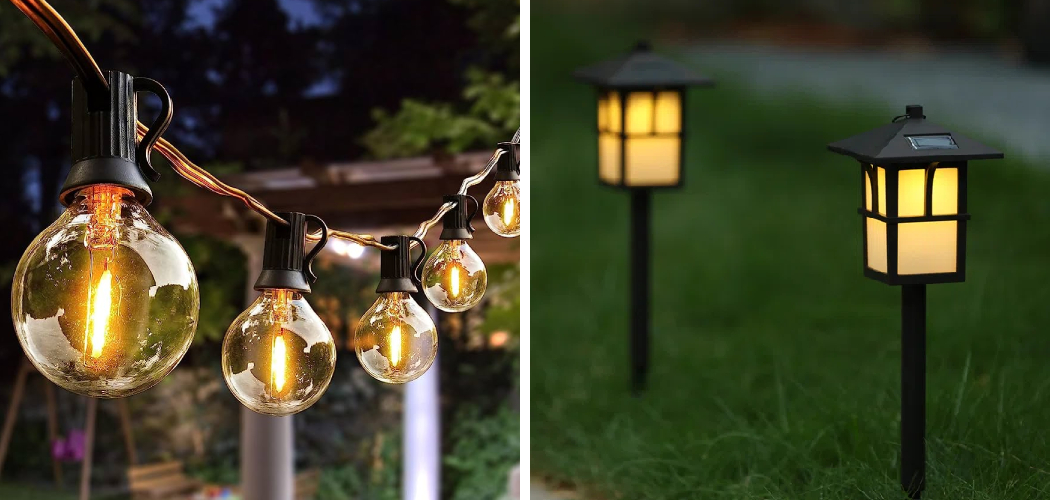
It’s essential to make sure your outdoor lights are waterproof if you want them to last through the rigors of weather. With proper care and maintenance, you can ensure that your outdoor light sources don’t become a safety hazard when they’re exposed to rain, snow, or even intense heat.
Over time, chill, dampness, and moisture can cause corrosion of outdoor lighting fixtures and other electrical components. In this article, we’ll explore how to properly waterproof outdoor lights so you can keep them looking great and functioning for years!
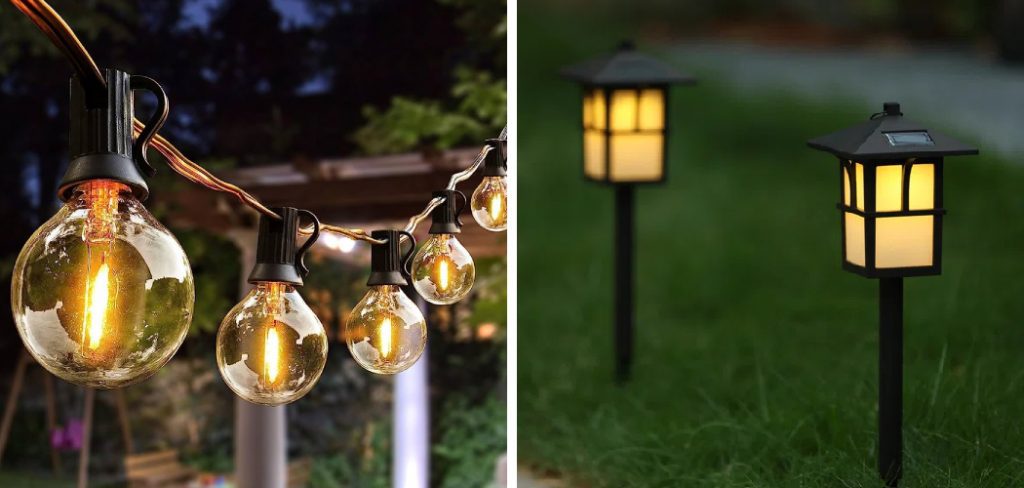
Fortunately, there are easy strategies that homeowners like you can use to waterproof any outdoor light fixture – from simple LED lamps to complex motion sensors.
We’ll cover everything from choosing the right materials for protective enclosures to applying sealants that help protect wiring and other components from water damage. Keep reading if you want all the tips and tricks on how to waterproof outdoor lights to safeguard your outdoor lights against weather conditions!
The Benefits of Waterproofing Outdoor Lights
1. Prevent Damage
There are many benefits to waterproofing outdoor lights. For starters, it’s important that moisture doesn’t corrode or damage the electrical components within your lighting fixtures. Without proper protection, this can lead to costly repairs and replacements down the road – not to mention potential safety hazards if wires start sparking due to damaged insulation.
2. Extend Lifespan
Another great benefit of waterproofing your outdoor lights is that it can extend the lifespan of your fixtures. Since water damage is one of the leading causes of fixture failure, taking precautions to keep moisture out will help you get more use out of your lighting fixtures before they need to be replaced.
3. Enhance Aesthetics
Waterproofing outdoor lights isn’t just about functionality – it’s also about protecting the aesthetic appeal of your fixtures. Without proper protection, rust and corrosion can take over and ruin the look of your lighting fixtures. So don’t forget to waterproof your outdoor lighting if you want them to look great for years to come!
4. Save Money
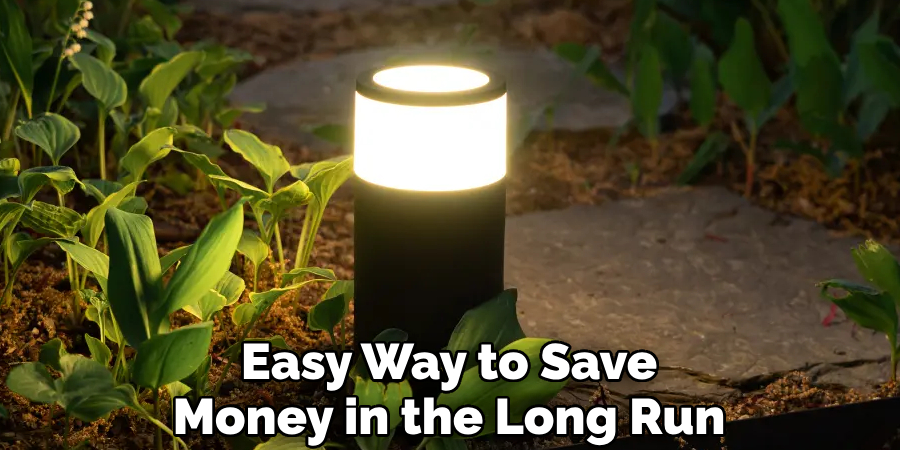
Finally, waterproofing your outdoor lights is an easy way to save money in the long run. As we mentioned before, without proper waterproofing, you could end up spending more on repairs and replacements down the line. Not to mention, you’ll also be paying for electricity if water damage causes your fixtures to malfunction!
Choosing Materials For Waterproofing Outdoor Lights
It’s important to choose the right materials for waterproofing your outdoor lights. The main types of materials you’ll need are:
1. Protective Enclosures
Protective enclosures are a great way to keep moisture out and protect your lighting fixtures from the elements. Look for enclosures made from corrosion-resistant material like stainless steel or plastic, which will stand up to weather exposure for many years.
2. Sealants
In addition to protective enclosures, you’ll also need to use sealants in order to completely waterproof your outdoor lighting fixtures. Look for products designed specifically for outdoor use that create a tight sealant around wiring and other components – such as silicone-based caulking or waterproof tape.
3. Weather Stripping
Finally, you’ll want to use weather stripping around the edges of your enclosures in order to further protect components from water damage. Look for products designed specifically for outdoor use that are able to withstand UV rays and temperature fluctuations without breaking down over time.
By following these simple tips, you can ensure that your outdoor lights are properly waterproofed and protected from the elements. With the right materials and a little bit of effort, you can keep your outdoor lighting fixtures looking great and functioning for many years to come!
10 Ways How to Waterproof Outdoor Lights
1. Choose Materials
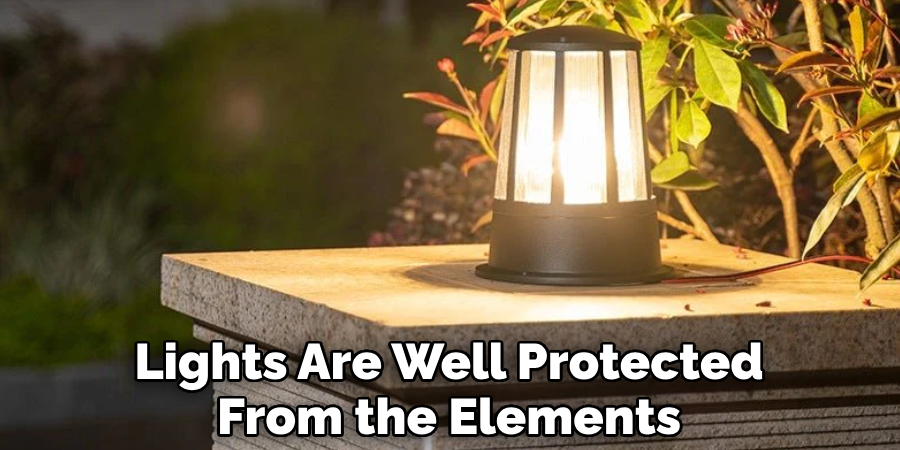
Choose the right material for protective enclosures. Look for corrosion-resistant materials such as stainless steel or plastic that will stand up to weather exposure. Choosing the right materials will help to ensure that your lights are well protected from the elements.
2. Use Sealants
Using sealants is essential for waterproofing outdoor lighting fixtures. Look for products that create a tight seal around wiring and other components, such as silicone-based caulking or waterproof tape. This will protect electrical components from water damage and ensure that they stay dry.
3. Install Weather Stripping
Weather stripping can also be used to further protect components from moisture. Look for products designed specifically for outdoor use that are able to withstand UV rays and temperature fluctuations without breaking down over time. This will ensure that the seal around your fixtures is watertight and won’t break down due to weather exposure.
4. Check for Leaks
Check your fixtures regularly for any signs of leaks. Check around seals and weather stripping to make sure that they’re still tight and not letting in moisture. If you find any areas that need improvement, make sure to fix them ASAP before the problem gets worse.
5. Clean Regularly
Make sure to clean your outdoor lighting fixtures regularly. This will help to prevent dirt and grime from building up on the surface, which can impede the effectiveness of sealants and other waterproofing materials.
6. Replace Damaged Parts
If you notice any signs of damage or cs, don’t hesitate to replace them with new parts. This is especially important if you want to ensure that your fixtures remain waterproof.
7. Cover When Not in Use
When you’re not using your lights, make sure to cover them with a tarp or other protective material. This will help to keep moisture out and ensure that your fixtures remain dry when not in use.
8. Monitor Weather Conditions
Pay attention to the weather conditions outside and be prepared to take measures if necessary. If it looks like a storm is coming your way, make sure to cover your lights or move them inside until the storm has passed.
9. Use Outdoor-Rated Lights
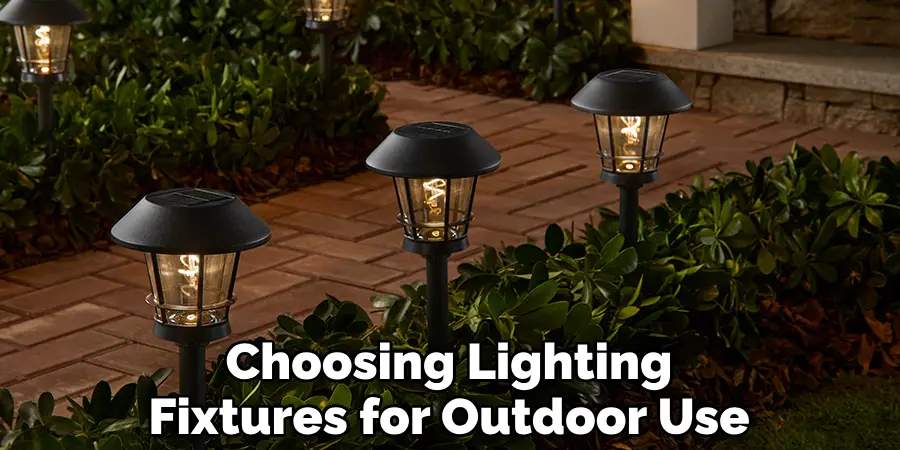
When choosing lighting fixtures for outdoor use, make sure to look for products that are rated for outdoor use. This will ensure that they are designed with waterproofing in mind and will be able to stand up to the elements.
10. Professional Installation
Finally, consider having your outdoor lights professionally installed. This will ensure that they are properly waterproofed and that all connections are secure and functioning properly.
Having proper waterproofing is essential for ensuring that your outdoor lighting fixtures remain safe and functional for many years to come. By following these tips, you can ensure that your outdoor lights are well-protected from the elements and will remain in good condition for many years to come!
6 Maintenance Tips for Waterproof Outdoor Lights
1. Invest in high-quality materials. Quality materials will ensure that your outdoor lighting is waterproof and can withstand all types of weather conditions. Look for rust-resistant, UV-protected, and waterproof materials when selecting fixtures. Also, be sure to use waterproof wiring.
2. Keep a clean and clear area around your lights. Make sure that the area around your outdoor lighting is free of debris and dirt that can accumulate over time and reduce the effectiveness of the waterproofing. Also, it’s important to avoid placing outdoor lighting near sprinkler systems or areas with high concentrations of water.
3. Use a sealant to waterproof your outdoor lights. A good sealant will provide a lasting barrier between the light fixture and the surrounding environment, ensuring that the connections of your lights are adequately protected from water damage. Make sure to check on the sealant periodically to ensure it’s still in good condition.
4. Re-apply weatherproof coating. Periodically inspect your fixtures and reapply a weatherproof coating over the sealant to help keep it in top condition.
5. Test for leaks. Waterproof outdoor lights are generally designed to withstand water damage, but it’s important to check them periodically for any leaks that may have occurred since installation. If you find any, make sure to repair them right away.
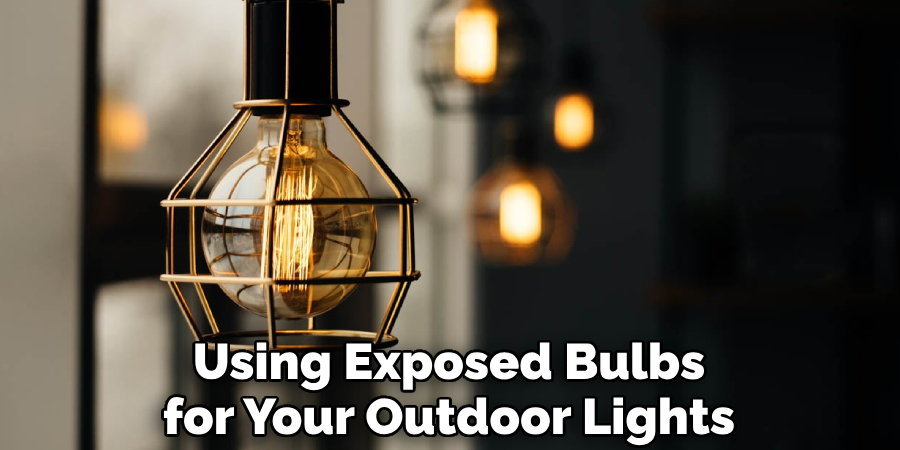
6. Install gaskets. If you’re using exposed bulbs for your outdoor lights, make sure to install a rubber or silicone gasket in the fixture to help keep out moisture and dust particles.
Following these maintenance tips can help you keep your waterproof outdoor lights in top condition for years to come! Make sure to inspect them regularly and follow all the necessary steps for proper installation and upkeep. Doing so will ensure that your lighting fixtures stay safe, functional, and look great.
Conclusion
After reading this article, you now understand why waterproofing your outdoor lights is an essential step in the installation process. Not only does waterproofing protect from potential weather damage, but it also prevents hazards such as electric shock and water infiltration. Now go out and get some good quality sealant and put these tips to use when installing your lighting fixtures.
Remember that waterproofing doesn’t guarantee long-term security, so be sure to check your lights periodically for wear or leaks. By following these instructions on how to waterproof outdoor lights, you have a much better chance of keeping those lights looking vibrant and up to par with all the wonderful outdoor projects you’ve accomplished! Take some time today to make sure you’re keeping your outdoor lights in tip-top shape while enjoying the outdoors even more safely.

