Getting salon-quality nails at home has never been more achievable, thanks to UV lamps and gel polish technology. Learning how to use uv lamp for nails opens up a world of long-lasting, chip-resistant manicures that can save you time and money while giving you professional results in your own space.
UV lamps work by emitting ultraviolet light that cures gel polish, creating a hard, durable finish that can last up to three weeks. Unlike regular nail polish that air-dries, gel polish requires this special curing process to transform from a liquid to a solid coating.
The process might seem intimidating at first, but with the right technique and safety precautions, anyone can master UV lamp usage. This comprehensive guide will walk you through every step, from nail preparation to final touches, ensuring you achieve beautiful, long-lasting results every time. Whether you’re new to gel manicures or looking to improve your technique, you’ll find practical tips that make the process both safe and enjoyable.
Why Using a UV Lamp for Nails Matters
UV lamps have revolutionized at-home nail care by making professional-quality manicures accessible to everyone. The technology behind gel polish curing creates stronger, more durable nails that resist chipping, peeling, and everyday wear better than traditional polish.
From a practical standpoint, gel manicures last significantly longer than regular polish. While traditional nail polish might chip within days, properly cured gel polish can maintain its glossy finish for weeks. This longevity makes UV lamp investment worthwhile for anyone who values well-maintained nails.
The curing process itself is fascinating from a scientific perspective. UV light triggers a chemical reaction called polymerization, where liquid gel monomers link together to form a solid polymer network. This process creates the characteristic hardness and durability that gel nails are known for.
Safety considerations make understanding proper UV lamp usage even more important. While these devices are generally safe when used correctly, improper technique or overexposure can lead to skin damage or inadequate curing. Learning the right methods protects both your health and your investment in quality nail care.
8 Step-by-Step Guide: How to Use UV Lamp for Nails
Step 1: Prepare Your Nails Properly
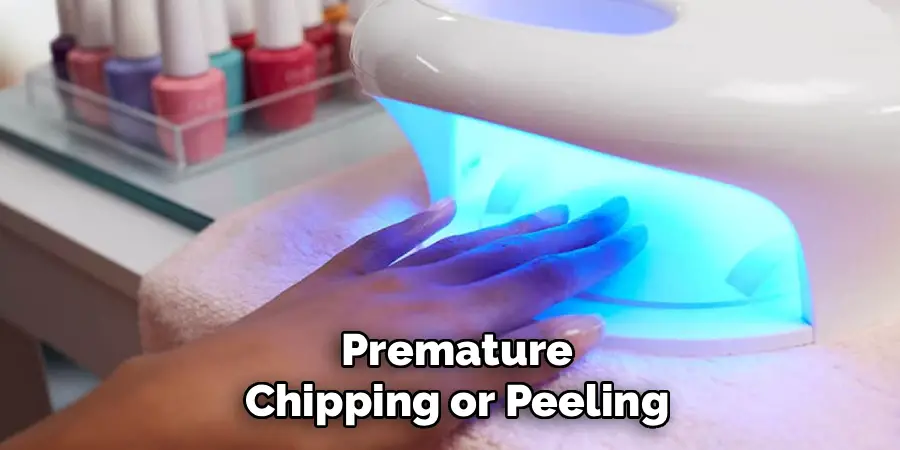
Begin by removing any existing polish and pushing back your cuticles gently. File your nails to your desired length and shape, then buff the surface lightly to create better adhesion for the gel polish. Clean each nail with rubbing alcohol or a nail dehydrator to remove oils and debris that could interfere with proper curing. This preparation phase is crucial because any residue on the nail surface can prevent the gel from adhering correctly, leading to premature chipping or peeling.
Step 2: Apply Base Coat Evenly
Select a high-quality gel base coat and apply a thin, even layer to each nail, avoiding the cuticle area and sidewalls. The base coat serves as an anchor for your color polish and helps prevent staining of your natural nails. Be careful not to apply the base coat too thickly, as this can lead to uneven curing and a bumpy final result. Take your time with this step, as a smooth base coat application sets the foundation for your entire manicure.
Step 3: Cure the Base Coat Under UV Light
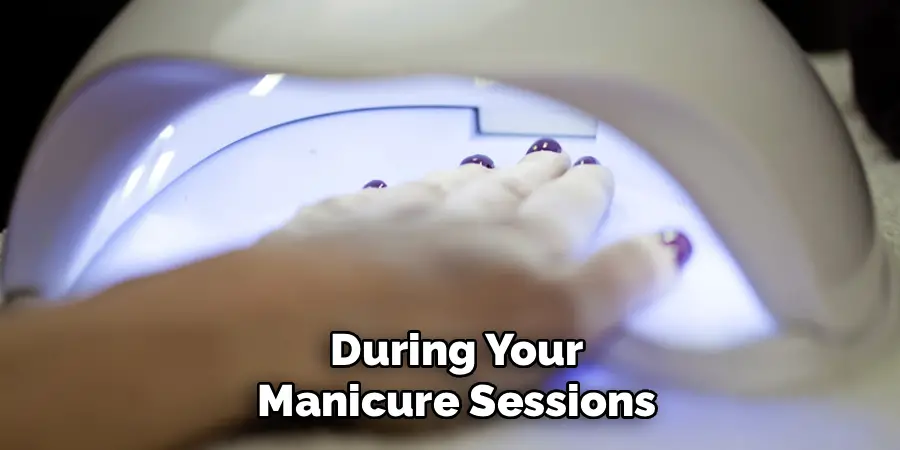
Place your hand in the UV lamp and cure the base coat according to your lamp’s specifications, typically 30-60 seconds for most standard UV lamps. Keep your fingers still and flat during the curing process to ensure even light exposure. Some people experience a slight warming sensation during curing, which is normal. After curing, the base coat should feel firm but may still have a slightly tacky residue layer, which is completely normal and helps the next coat adhere properly.
Step 4: Apply Your First Color Coat
Choose your desired gel polish color and apply the first coat in thin, smooth strokes from cuticle to tip. Work quickly but carefully, as gel polish doesn’t air-dry and you have time to perfect your application before curing. Avoid getting polish on your skin or cuticles, as this can cause lifting later. If you do get polish on your skin, clean it immediately with a small brush dipped in rubbing alcohol before proceeding to the curing step.
Step 5: Cure the First Color Coat
Return your hand to the UV lamp and cure the first color coat for the recommended time, usually 30-60 seconds depending on your specific lamp and polish brand. The curing time may vary based on the opacity and formulation of your chosen color, with darker colors sometimes requiring longer exposure. After curing, the polish should feel set but may still appear slightly dull or have a tacky residue. This is expected and will be addressed in subsequent steps.
Step 6: Apply and Cure Additional Color Coats
Most gel polishes require two to three coats for full opacity and even coverage. Apply your second color coat using the same technique as the first, then cure it under the UV lamp. If needed, apply a third coat following the same process. Each layer should be thin to prevent thick, uneven areas that might not cure properly. Building color gradually with multiple thin coats creates a more professional-looking finish than trying to achieve full coverage with fewer thick coats.
Step 7: Apply and Cure the Top Coat
Apply a thin layer of gel top coat over your cured color coats, sealing the edges of your nails for maximum durability. The top coat provides the glossy finish and additional protection that makes gel manicures so appealing. Be sure to cap the free edge of each nail with top coat to prevent chipping. Cure the top coat under your UV lamp for the full recommended time, as this final curing step is critical for achieving maximum hardness and shine.
Step 8: Remove Sticky Residue and Finish
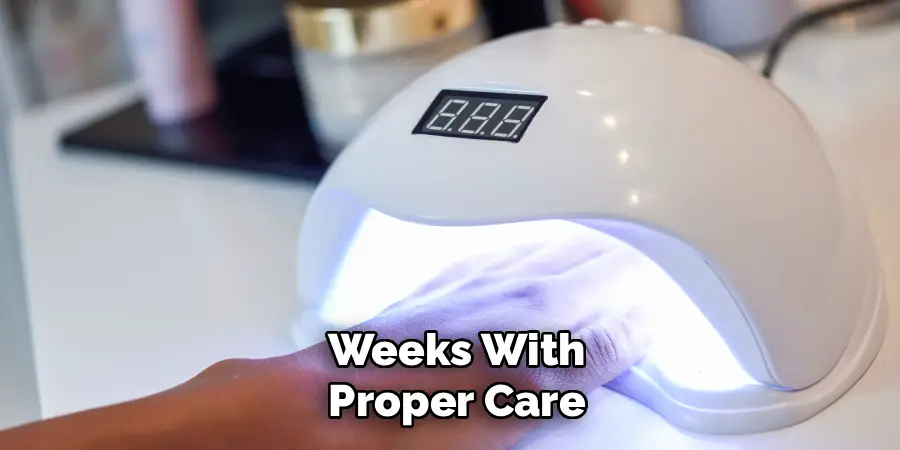
After the final cure, you may notice a sticky residue layer on your nails. This is normal and should be removed using rubbing alcohol and a lint-free wipe or cotton pad. Gently wipe each nail to reveal the glossy, finished surface underneath. Apply cuticle oil around your nail beds to moisturize the skin and complete your manicure. Your gel nails are now ready to enjoy and should maintain their beautiful appearance for weeks with proper care.
Frequently Asked Questions
How Long Should I Cure Gel Polish Under A UV Lamp?
Curing times typically range from 30-120 seconds depending on your lamp’s wattage and the specific gel polish formula. Higher wattage lamps cure faster, while lower wattage units require longer exposure times. Always follow your polish manufacturer’s recommendations, as some brands require specific timing for optimal results. Under-curing leads to soft, easily damaged nails, while over-curing can cause brittleness or skin irritation.
Is It Safe To Use A UV Lamp Regularly?
UV lamps are generally safe when used properly and in moderation. The exposure time during typical nail sessions is relatively brief compared to other UV sources. However, some people choose to apply broad-spectrum sunscreen to their hands before curing as an extra precaution. If you have concerns about UV exposure, consider LED lamps as an alternative, as they emit less broad-spectrum UV light.
What’s The Difference Between UV And LED Nail Lamps?
UV lamps use fluorescent bulbs that emit broad-spectrum UV light, while LED lamps use light-emitting diodes that produce more targeted wavelengths. LED lamps typically cure faster (10-30 seconds vs. 30-120 seconds), last longer, and consume less energy. However, not all gel polishes are compatible with LED lamps, so check your polish specifications before choosing a lamp type.
Why Didn’t My Gel Polish Cure Completely?
Incomplete curing usually results from insufficient exposure time, low lamp wattage, old bulbs, or applying coats too thickly. Ensure your lamp meets the manufacturer’s recommended specifications for your gel polish. Replace UV bulbs regularly as they lose effectiveness over time. If polish remains tacky after proper curing time, try curing for additional 30-second intervals until fully set.
How Do I Maintain My UV Lamp For Best Results?
Clean your lamp regularly with rubbing alcohol to remove polish residue and maintain optimal light transmission. Replace UV bulbs every 6-12 months or according to manufacturer recommendations, as they gradually lose intensity. Store your lamp in a dry location and avoid dropping or jarring it, as this can damage internal components. Keep spare bulbs on hand to avoid interruptions during your manicure sessions.
Conclusion
Mastering how to use uv lamp for nails transforms your at-home manicure routine from basic to professional-grade. The process requires patience and practice, but the results speak for themselves in terms of durability, appearance, and overall satisfaction.
Start with simple, solid colors as you build confidence with the curing process, then gradually explore more advanced techniques like nail art or French manicures. Your newfound skills will save money on salon visits while giving you complete creative control over your nail aesthetic.

