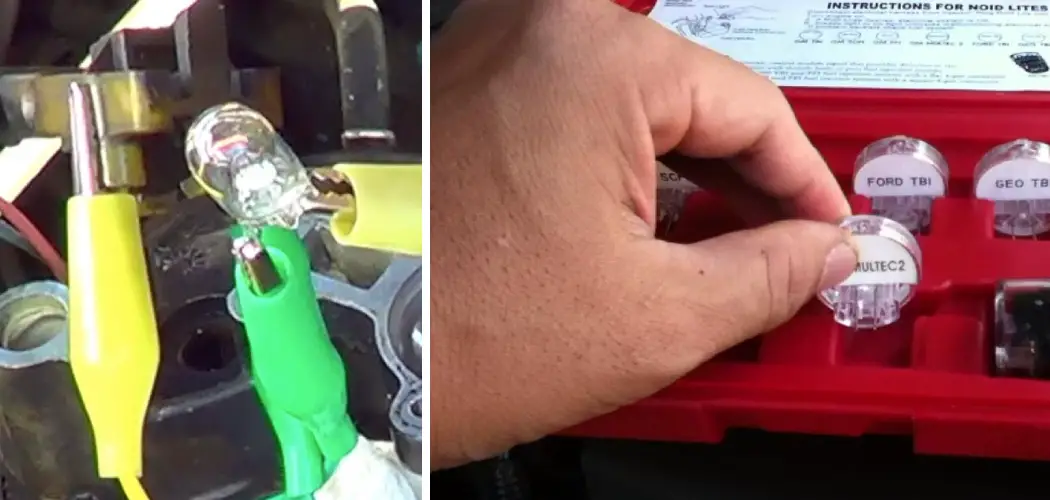
A Noid light is a diagnostic tool that mechanics and vehicle enthusiasts use to assess the electrical functionality of a vehicle’s fuel injector system. Specifically, it helps determine whether the fuel injectors are receiving the correct electrical signal from the Engine Control Unit (ECU). When the ECU sends an electrical pulse to the fuel injectors, this pulse opens the injectors, allowing fuel to enter the engine’s combustion chamber.
If the injector does not receive this pulse, the engine may experience misfires, reduced fuel efficiency, and decreased performance. By connecting a Noid light to the injector wiring harness, users can see if the light blinks, indicating that the injectors are receiving the proper signal. Understanding how to use Noid light is crucial for diagnosing fuel injector issues early, preventing potential engine problems, and helping maintain optimal vehicle performance.
Tools and Materials Needed
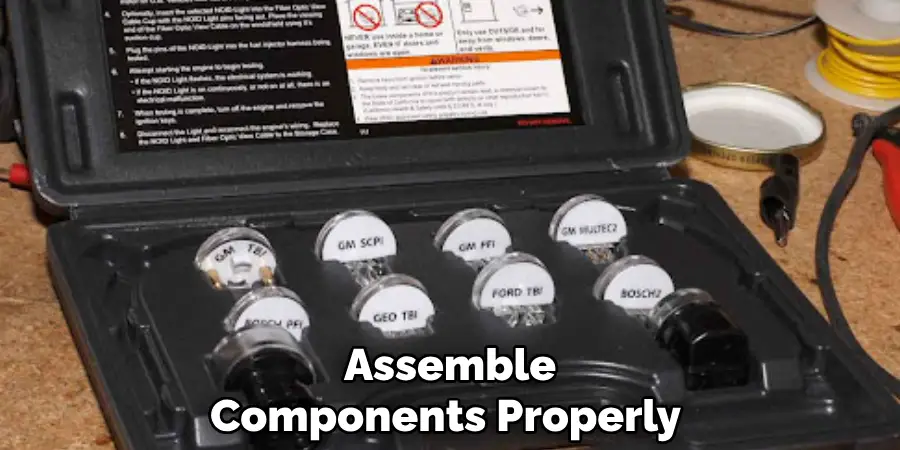
Noid Light Kit
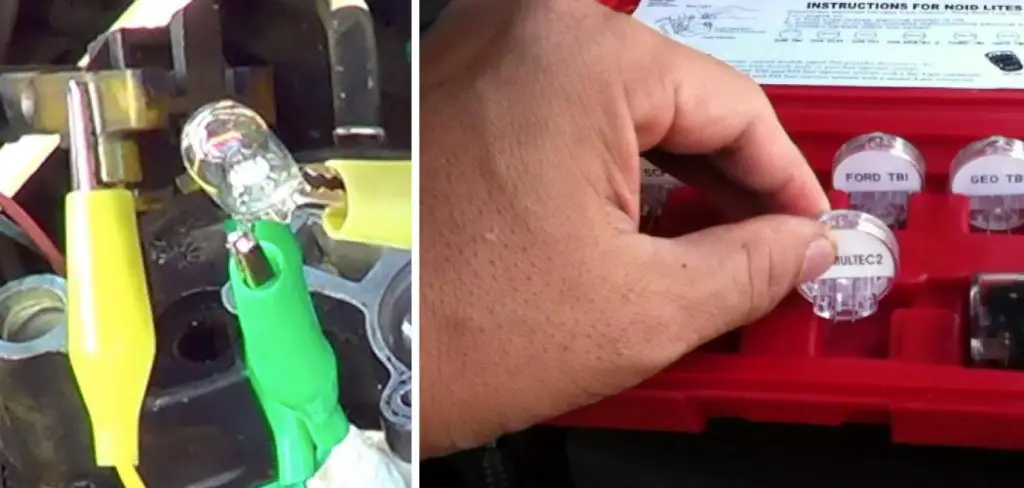
A Noid light kit is essential for diagnosing fuel injector signal issues and typically includes various sizes of Noid lights to match different injector harness connectors. These connectors can vary across vehicle manufacturers, such as GM, Ford, and Bosch, requiring specific adapters to ensure compatibility. When purchasing a Noid light kit, consider getting one that includes multiple adapters to cover a range of vehicle makes and models, especially if you’re uncertain about your connector type. This versatility will equip you to test various vehicles without needing separate kits.
Basic Tools
In addition to the Noid light kit, you’ll need some basic tools to access the fuel injector harness. Depending on your vehicle’s design, a screwdriver or socket wrench may be required to carefully remove any covers or components blocking access to the harness. It’s also advisable to wear protective gloves for safety, particularly when working in the potentially hazardous environment of an engine bay.
Safety Precautions
Working in a Safe Environment
Before beginning any diagnostic work with a Noid light, ensure the vehicle is parked on a level surface with the parking brake engaged. This will prevent any accidental movement of the vehicle while you are working. D disconnecting the negative terminal of the battery before starting work is crucial. This step will help avoid electrical shocks or short circuits, which could occur if live wires are accidentally touched or tools come into contact with electrical connections under the hood.
Wearing Protective Gear
Always prioritize your safety by wearing protective gloves and eye protection. Gloves can shield your hands from potential sharp edges and hot surfaces, while eye protection safeguards against debris or unexpected fluid sprays that may occur during the diagnostic process. When working under the hood, being cautious and prepared for any potential hazards is imperative.
Handling Electrical Components Carefully
When handling electrical components, particularly the injector harness, exercise extreme care. Avoid pulling on the wires directly, as this can damage the connectors or the wiring itself, leading to further issues. Damaged wiring can result in poor electrical connections, causing inaccurate diagnostic results or additional vehicle problems. Treating electrical components carefully, you maintain the integrity of the vehicle’s electrical system and ensure accurate diagnostics using the Noid light.
How to Use Noid Light: Locating the Fuel Injector Connector
Accessing the Engine Bay
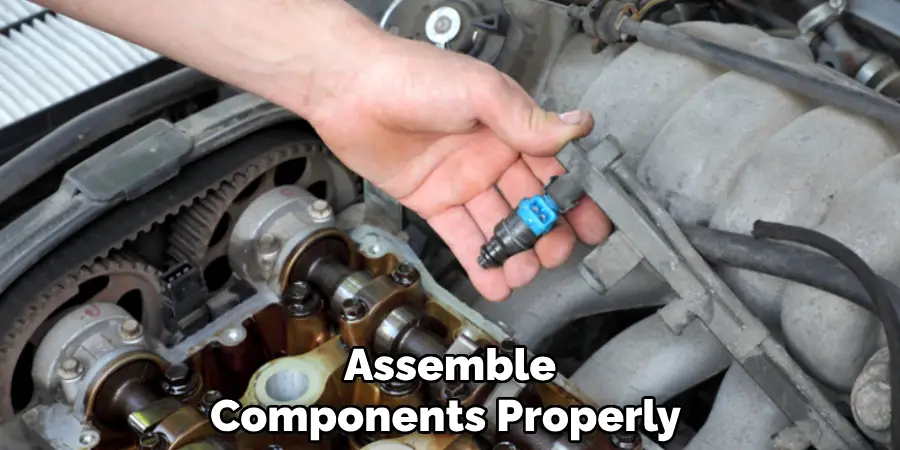
To begin diagnosing with a Noid light, the first step is to access the engine bay. Start by carefully popping the hood of your vehicle. If you’re unfamiliar with this process, refer to your vehicle’s owner’s manual for guidance on releasing the hood latch. Once the hood is open, secure it with the prop rod to ensure a safe and stable working environment. The fuel injectors are typically located near the intake manifold or along the fuel rail. These components are readily identifiable as they are connected directly to the engine’s air intake system or fuel delivery system.
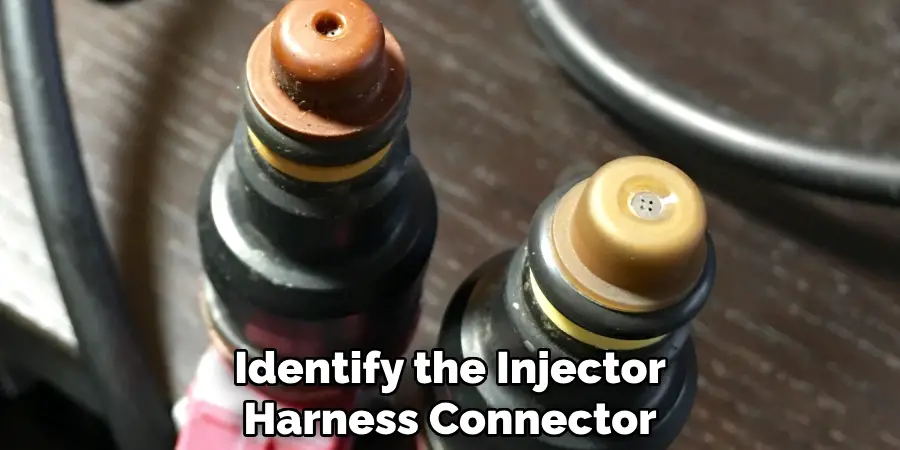
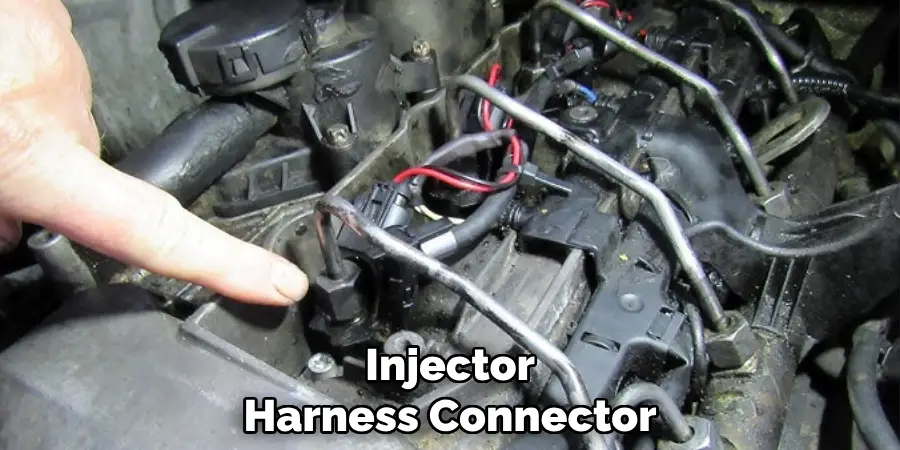
Identifying the Injector Harness Connector
The next step is to identify the injector harness connector, which forms the critical link in delivering the electrical signal from the ECU to each fuel injector. This connector is usually a wiring assembly that branches out to each individual injector from a central harness. Consult your vehicle’s manual if you’re unsure of the exact layout or location of the injectors and harness connections. The manual often provides diagrams and component locations specific to your vehicle’s make and model, helping you identify the wiring harness accurately.
Disconnecting the Injector Harness
Once you have located the injector harness, proceed to carefully disconnect it from the fuel injector. Begin by identifying any clips or bolts securing the harness in place; these may require a screwdriver or wrench to remove. Handling these components gently is crucial to prevent damage to the wires or connectors. Slowly and cautiously pull the harness free from the injector, ensuring that it does not tug on the wires themselves. This precaution helps maintain the integrity of the connectors and ensures accurate readings when diagnosing with the Noid light.
How to Use Noid Light: Connecting the Noid Light
Selecting the Correct Noid Light for Your Vehicle
Choosing the appropriate Noid light adapter is crucial for accurately diagnosing fuel injector signal issues. Begin by inspecting the shape and size of your vehicle’s injector harness connector. Most Noid light kits include multiple adapters tailored for various manufacturers like GM, Ford, and Bosch. Match the adapter with the harness connector, ensuring the pins align perfectly with the socket.
A secure and proper fit is necessary for the Noid light to correctly measure and display the electrical pulses. You might find it helpful to gently test the fit without fully inserting the adapter initially, confirming it feels snug and will adequately test the signal.
Inserting the Noid Light into the Harness Connector
After selecting the correct Noid light adapter, proceed to insert it into the injector harness connector. Start by aligning the adapter’s pins with the connector’s socket and gently push it in until it clicks or feels firmly seated. It’s important to ensure the Noid light is securely connected, as a loose or insecure fit can lead to inaccurate readings or the light disconnecting during testing. Take a moment to tug gently on the connector, confirming it remains stable and won’t inadvertently fall out while you conduct the tests.
Testing One Injector at a Time
Testing the fuel injectors individually is crucial to avoid confusion and maintain an accurate diagnosis. Move the Noid light systematically from one injector connector to another, ensuring that only one connector is disconnected at any time. This focused approach allows for precisely isolating each injector circuit’s performance, making it easier to identify any issues without mixing signals. Create a checklist of all injectors in sequence, marking each as you test it, helping maintain a clear record, and ensuring no connector is left unchecked during the process. This methodical testing aids in diagnosing the specific injector circuit accurately if pulsing issues arise.
Testing for Electrical Signal
Reconnecting the Battery and Turning the Key
Once you have connected the Noid light to the injector harness, it’s time to reconnect the battery’s negative terminal. Carefully attach the terminal, ensuring it is secure to reestablish electrical flow. With the battery reconnected, insert the ignition key and turn it to the “ON” position—do not start the engine.
This position allows the ECU to activate and send the electrical signals to the fuel injectors without initiating the vehicle’s operation. Observing the Noid light at this stage is crucial; a flashing light indicates that the injector is receiving the correct electrical signal. This pulsing light represents the electrical impulse sent at regular intervals, essential for proper injector function.
Interpreting the Results
Flashing Light
If the Noid light flashes when you turn the ignition to “ON,” this indicates that the electrical signal to the injector is operating correctly. The flashing confirms the injector is receiving a proper signal from the ECU. Upon observing this, proceed to the next injector, disconnect the Noid light from the current harness, and connect it to the next one in line. Repeat this process for each fuel injector to verify that every signal is reaching its intended target, ensuring complete and accurate diagnostics.
No Flashing Light
Alternatively, if the Noid light does not flash, this suggests a fault with the electrical signal. First, double-check the connection of the Noid light to ensure it is firmly seated within the harness. If the connection is solid but still no signal is detected, explore potential issues such as a malfunctioning ECU, tangled wiring, or a disrupted injector circuit. Each of these elements can impede signal transmission, requiring further investigation or professional assistance to address the root cause.
Testing in Idle Mode
An optional step to enhance diagnostic clarity is to start the engine while the Noid light remains connected. Observe the pattern of flashes in idle mode; consistent flashing signifies that the injectors continuously receive an appropriate signal during vehicle operation, not just when the ignition is on. This additional test can confirm the signal’s reliability and the injector’s functionality within real-time conditions, offering an extra layer of assurance in your diagnostic efforts.
Conclusion
In conclusion, understanding how to use noid light is a valuable skill for diagnosing fuel injector electrical issues efficiently. The process begins by safely disconnecting the battery, removing the injector harness, and selecting the appropriate Noid light adapter. Once inserted into the harness connector, reconnect the battery and turn the ignition to “ON” to observe the Noid light’s response.
A flashing light confirms the injector is receiving the correct signal, ensuring proper electrical function. Further investigation into potential ECU or wiring faults is necessary if the light does not flash. Utilizing the Noid light can save both time and effort by pinpointing electrical signal problems and facilitating targeted repairs. However, if the test indicates a deeper electrical fault or reveals mechanical issues with the injectors, it is advisable to seek professional assistance to rectify the problem effectively.

