Are you looking for a festive way to decorate your home or yard?
Net lights are a convenient and versatile option for decorating indoor and outdoor spaces, offering a quick and efficient way to create a stunning display of twinkling lights. Designed with interconnected strings of evenly spaced lights, they are perfect for wrapping bushes, hedges, trees, fences, or even walls.
Their simple setup makes them especially popular during the holiday season, but they can also be used for events, celebrations, or ambient lighting throughout the year. Also, suppose you want to add festive flair to your home or garden. In that case, net lights come in various colors, styles, and sizes to suit any occasion or personal preference.

By following a few easy steps on how to use net lights, you can transform your space into a beautiful, illuminated wonderland in no time.
What Are the Benefits of Using Net Lights?
There are many benefits to using net lights for your holiday or event decor. Here are just a few reasons why you should consider incorporating them into your lighting setup:
- Quick and Easy Setup: One of the most significant advantages of net lights is how easy they are to set up. Unlike traditional string lights, net lights come in a mesh design that can easily be draped over bushes, trees, or other objects without worrying about tangling cords or positioning individual bulbs.
- Time-Saving Solution: Net lights significantly reduce the time it takes to decorate your space. Since they cover a larger area with just one piece, you won’t have to spend hours trying to perfectly space out string lights or untangle them as you go.
- Versatile Design: Net lights are also incredibly versatile in their design. They come in various sizes and shapes, such as square or diamond patterns, allowing you to choose the best fit your needs. You can even connect multiple net lights for larger areas or mix and match different patterns for a unique look.
- Indoor and Outdoor Use: Net lights aren’t just limited to outdoor use. Their durable construction can also be used inside your home to add a festive touch to any room.
What Will You Need?
To set up net lights, you will need the following materials:
- Net lights of your desired size and pattern
- Extension cords (if needed)
- Outdoor stakes or clips (if using outdoors)
- Timer (optional)
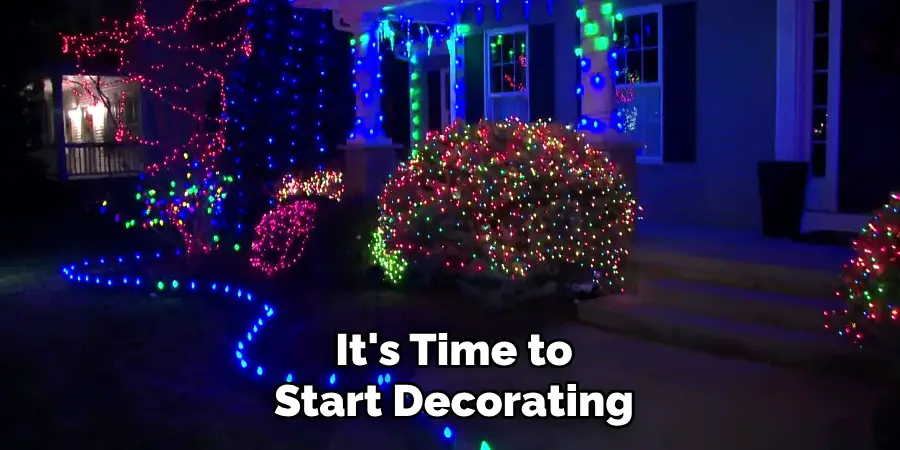
Once you have gathered all of your materials, it’s time to start decorating!
10 Easy Steps on How to Use Net Lights
Step 1. Choose Your Location
When deciding where to place your net lights, consider areas that will allow them to shine and create the most visual impact. Ideal locations include shrubs, hedges, fences, or walls. If using the net lights indoors, you might drape them over a curtain, stretch them across a wall, or use them to accent furniture. Ensure that the chosen surface or area can safely accommodate the lights and is near a power source or extension cord to make setup easier. Planning your location ahead of time will help you achieve a balanced and beautiful display.
Step 2. Test the Lights
Before you begin hanging your net lights, it’s crucial to test them to ensure they are in good working condition. Unpack the lights and plug them into a power source to check for any faulty or non-functioning bulbs. Inspect the wiring for any visible damage or wear, as damaged wires can pose safety hazards. If you notice any issues, replace the bulbs or repair the wiring as needed before continuing with the installation. Testing your lights beforehand saves time and ensures your display will shine brightly without interruptions.
Step 3. Unfold the Net Lights
Carefully remove the net lights from their packaging and lay them flat on the ground. Gently unfold the net to avoid tangling or damaging the wires. Spread the lights evenly, ensuring the grid pattern is intact and knots-free. Take time during this step, as a properly unfolded net will make the installation much smoother. Inspect the lights again to confirm they are ready to be placed on your desired surface.
Step 4. Secure the Lights Outdoors
To secure the lights outdoors, identify the placement area, such as bushes, fences, or walls. Carefully drape the net lights over the surface, ensuring they are spread evenly and the grid pattern remains intact. Use zip ties, clips, or garden stakes to fasten the net securely, especially in windy or exposed areas. Avoid pulling the lights too tightly, which may damage the wires or disrupt the design.
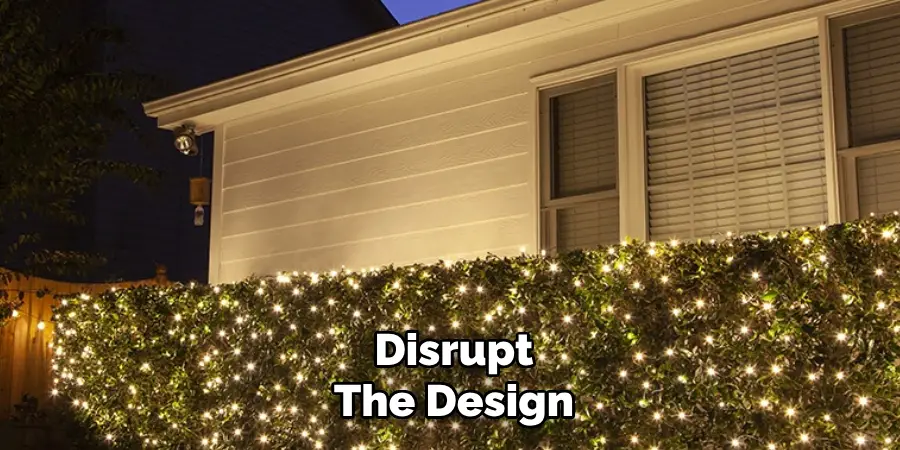
Once secured, double-check that the lights are stable and that no wires are pinched or twisted. This ensures both safety and a visually appealing display.
Step 5. Place Over the Surface
Lastly, when positioning the net lights, take a moment to step back and examine the overall placement to ensure consistency and aesthetic appeal. Check for uneven areas where the lights appear bunched up or sparsely distributed. Adjust the net gently to remedy such issues, aiming for a balanced appearance that aligns with your design vision. If you decorate trees or bushes, ensure the lights wrap around the structure evenly, covering all visible angles for a cohesive, luminous effect. For flat surfaces, like fences or walls, confirm that the grid pattern remains straight and symmetrical, enhancing the overall presentation. Test the lights after fully installing to verify that all sections function properly.
Step 6. Connect Extension Cords
Carefully connect your extension cords to ensure your holiday lighting display functions seamlessly. Begin by assessing the distance between your power source and the installed lights, measuring to determine the appropriate length of extension cords required. Use outdoor-rated, weatherproof extension cords for safety and durability, especially in wet or snowy conditions. Securely connect the cords to the light strands, ensuring the plugs fit tightly to avoid exposure to moisture. Use cord covers or clips to keep extension cords off the ground and organized, reducing the risk of tripping hazards or damage. Finally, check all connections by turning on the lights to verify proper functionality before proceeding to the next step.
Step 7. Fasten Inside Decorations
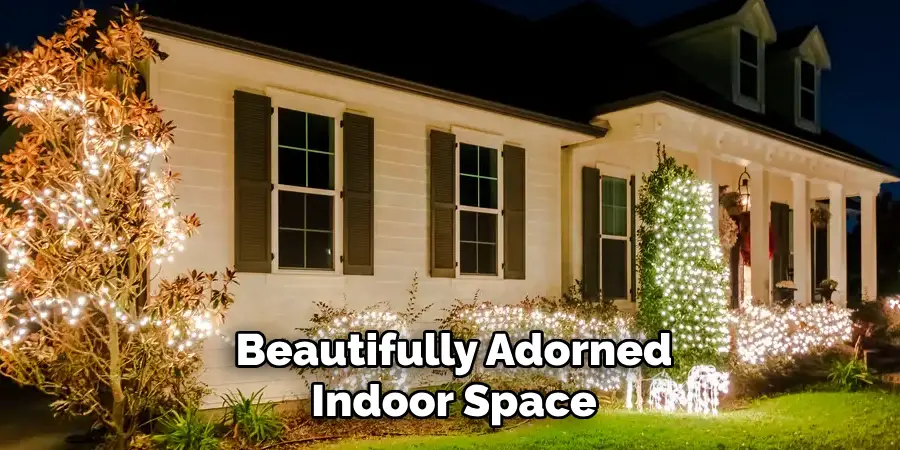
Begin by organizing your indoor decorations and identifying the areas you want to enhance. Use hooks, adhesive strips, or removable clips to securely fasten decorations to walls, doors, or furniture without causing damage. For lightweight items, consider using double-sided tape or decorative adhesive putty. Be mindful of placement to ensure decorations are easily visible and evenly spaced, creating a harmonious and festive ambiance. Additionally, keep safety in mind by ensuring decorations do not obstruct walkways, doorways, or heating vents. Once everything is positioned to your liking, admire your beautifully adorned indoor space.
Step 8. Set Up the Timer
Setting up a timer for your decorations can be incredibly convenient and energy-efficient to maintain the perfect ambiance. Timers allow you to automate when your lights or electronic decorations turn on and off, ensuring they operate only during your desired hours. Choose a timer that is compatible with the type of decorations you’ve installed, whether they are string lights, LED displays, or other electronics. Program the timer to align with your schedule, such as turning on in the evening and off late at night. This saves energy and spares you the hassle of manually managing your decorations daily.
Step 9. Plug in Your Lights
Once you have ensured that all your decorations and timers are appropriately set up, plug in your lights to bring your display to life. Carefully check each connection to confirm everything is secure and functioning as intended. Take a moment to admire your work, ensuring all decorations are lit evenly and achieve the desired effect. If necessary, make minor adjustments to perfect the overall look. Plugging in your lights is the final step to transforming your space into a festive, illuminated masterpiece!
Step 10. Enjoy Your Display
With all your hard work completed, it’s time to step back and enjoy the fruits of your labor. Invite friends and family to share in the joy of your display, whether it’s a cozy gathering or a neighborhood showcase. Take photos to capture the magic and create lasting memories. Relax, bask in the glow of your creation, and take pride in the festive atmosphere you’ve brought to life. This is your moment to celebrate and enjoy the beauty you’ve crafted!
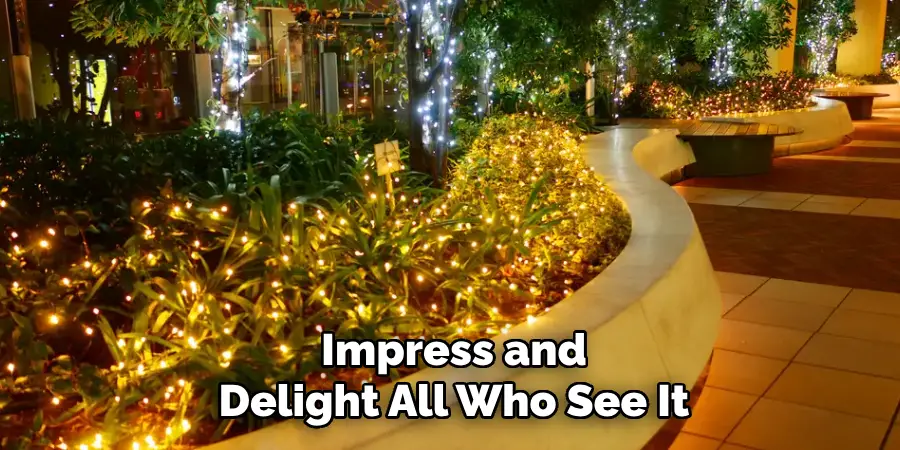
By following these steps, you can create a stunning holiday display that will impress and delight all who see it.
Conclusion
How to use net lights is an easy and effective way to elevate your holiday décor. These versatile lights are perfect for wrapping bushes, trees, and other outdoor structures, creating a uniform and professional appearance with minimal effort.
Carefully planning your display, choosing the right colors, and securely installing the lights can achieve a stunning and cohesive look. Net lights save time while delivering maximum impact, making them a favorite for beginners and seasoned decorators.
With creativity and attention to detail, net lights can transform any space into a festive and magical wonderland.

