LED strip lights have rapidly gained popularity as versatile and energy-efficient lighting solutions for homes, offices, and various decor projects. Their ability to transform spaces with vibrant colors and customizable settings has made them a favorite choice among DIY enthusiasts and interior designers alike. Accompanying these LED strip lights are remotes that provide users with control over brightness, color modes, and other exciting features.
Among these features, the DIY (Do-It-Yourself) buttons or settings stand out as they allow for personalized lighting effects tailored to individual preferences. This article aims to provide a clear and detailed guide on how to use DIY on LED remote, helping you bring your creative lighting ideas to life with ease and precision. Whether you’re looking to set the mood for a cozy evening or energize a space with dynamic colors, mastering the DIY functions will open up endless possibilities.
Understanding the LED Remote and DIY Function
Parts of a Standard LED Remote
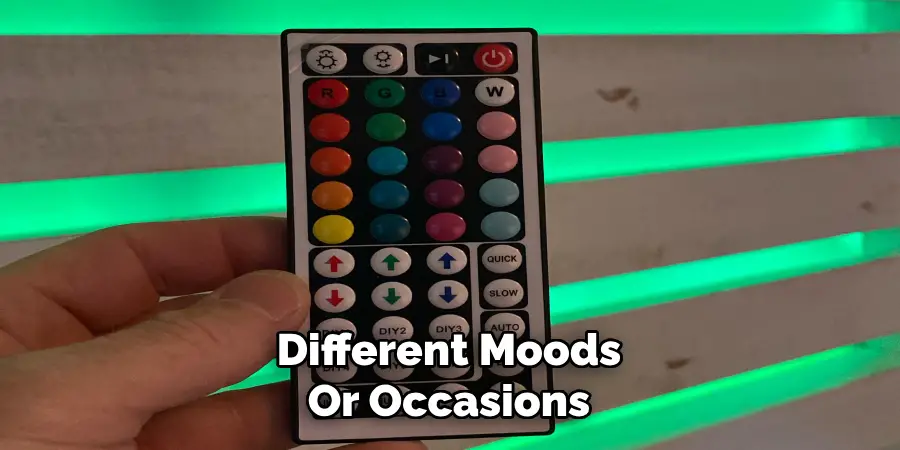
A typical LED remote is equipped with several essential components that make controlling your lights convenient and versatile. Firstly, the power button enables you to switch the lights on or off effortlessly. Next, there are preset color buttons that allow quick access to popular, predefined colors. Many remotes also include brightness adjustment buttons to seamlessly increase or decrease the intensity of the lights to suit your needs. The DIY buttons, perhaps the most versatile, enable users to design and personalize their own color combinations. Additionally, some remotes may have custom controls for effects, such as fading, strobing, or flashing.
What DIY Means on a Remote
The term “DIY” on an LED remote stands for “Do-It-Yourself,” referring to a set of programmable buttons that allow users to create and save their own custom lighting effects. By adjusting the values for red, green, and blue (RGB), users can create unique hues and bring their distinct lighting visions to life.
Types of LED Remotes
LED remotes generally fall into two categories based on technology. IR (Infrared) remotes require a direct line of sight to function as they communicate via infrared signals. Meanwhile, RF (Radio Frequency) remotes can transmit signals over greater distances and do not need to be directly pointed at the receiver, offering enhanced convenience and usability.
Getting Started: Setting Up Your LED Lights and Remote
Setting up your LED lights and remote is a straightforward process that allows you to maximize their functionality from the start.
Connecting Your LED Strip Lights
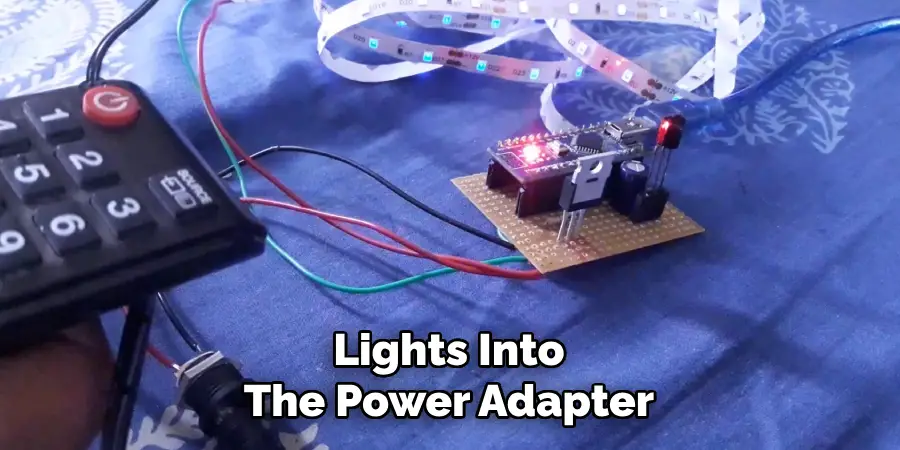
Begin by plugging your LED strip lights into the power adapter, ensuring the power source is stable and accessible. Next, connect the controller to the LED strip; this small device is essential for bridging the connection between the remote and the lights. Double-check that all connections are secure and properly aligned—orientation mismatches can cause functionality issues. Once everything is linked, plug the power adapter into an outlet to activate the lights.
Testing the Remote
After powering on the lights, grab your remote to verify its functionality. Use the buttons to adjust brightness levels, switch between colors, and explore various lighting modes, including flashing and fading patterns. Make sure to point the remote directly at the receiver if it’s an IR model, or test the signal range for RF remotes. If the lights respond correctly, the setup is successful.
Prepping for DIY Mode
Before making custom adjustments in DIY mode, it’s a good idea to reset your LED lights to a simple base color, such as white or red. This clean starting point makes it easier to customize colors and effects to your liking. Follow your remote’s instructions to reset or manually transition to a neutral state.
How to Use DIY on LED Remote: Access DIY Mode on the LED Remote
Accessing DIY mode on your LED remote allows you to customize colors according to your preferences fully. Here’s a step-by-step guide to help you make the most out of this feature:
Pressing a DIY Button
To enter DIY mode, select one of the DIY buttons on the remote, such as DIY1 or DIY2. Each button represents a separate slot for a custom color. Pressing a DIY button activates editing mode, allowing you to adjust the red, green, and blue levels to create your personalized shade.
Adjusting Red, Green, and Blue Levels
Once in DIY mode, use the color buttons on the remote to fine-tune the levels of red, green, and blue. Typically, “up” buttons increase the intensity of a particular color, while “down” buttons reduce it. Adjust these levels until you create the exact shade you prefer. For instance, increasing red and green while minimizing blue might produce a vibrant yellow.
Saving Your Custom Color
To save your custom color, simply hold down the DIY button you’re working on until the lights flash or respond, indicating that the color has been stored. This ensures that your customized setting will stay available on that specific DIY button for future use. Be sure to test the saved setting to confirm it was recorded correctly.
Difference Between DIY1, DIY2, etc.
Each DIY button functions as its own customizable slot. This means you can save a unique color for DIY1, another for DIY2, and so on. The difference lies in the versatility they provide, as each button allows you to quickly access a variety of custom colors for different moods or occasions. Experiment with all the DIY buttons to make full use of your remote’s functionality!
Fine-Tuning Your DIY Colors
Understanding RGB Values
Creating custom colors with DIY settings relies on adjusting the intensity of red, green, and blue light, which combine to produce a wide range of hues. Each RGB component ranges from 0 (no light) to 255 (maximum brightness). For example, increasing the red and green values while keeping blue low will create shades of yellow. Lowering red while maintaining high green and blue values can produce shades of turquoise. Experimenting with these sliders allows you to craft colors tailored to your unique preferences.
Examples of Popular DIY Color Combos
To create pastel colors, reduce the intensity of all RGB channels slightly. For a soft pastel pink, try setting red to 255, green to 182, and blue to 193. Neon shades, on the other hand, require higher intensities; for a glowing neon blue, set blue to its maximum (255), green to 128, and red to 0. For cozy warm whites, use high red and green values with a bit of blue, such as 255, 223, and 196. If you prefer cooler tones, higher blue and green levels (e.g., 173, 216, 230) will evoke calming cool blues.
Troubleshooting Color Adjustments
If your lights flash unexpectedly or fail to respond while fine-tuning, double-check the remote’s signal and ensure the light strip’s sensor is unobstructed. Also, confirm that no other nearby remotes or devices are interfering. If the displayed color appears incorrect, reset the lamp to its default settings and recalibrate carefully, paying close attention to the proportions of RGB values.
Tips for Matching Colors to Your Room or Mood
Blend DIY colors with the preset lighting modes to create a seamless ambiance. For a relaxing atmosphere, combine more fabulous, muted shades with a gentle fade mode. Bold neon hues pair well with strobe effects for an exciting party vibe, while pastel tones are perfect for quiet reading or intimate gatherings. By aligning the DIY colors with your room’s decor or intended mood, you can take your lighting customization to the next level.
Advanced DIY Features on Some LED Remotes
Dynamic DIY Modes
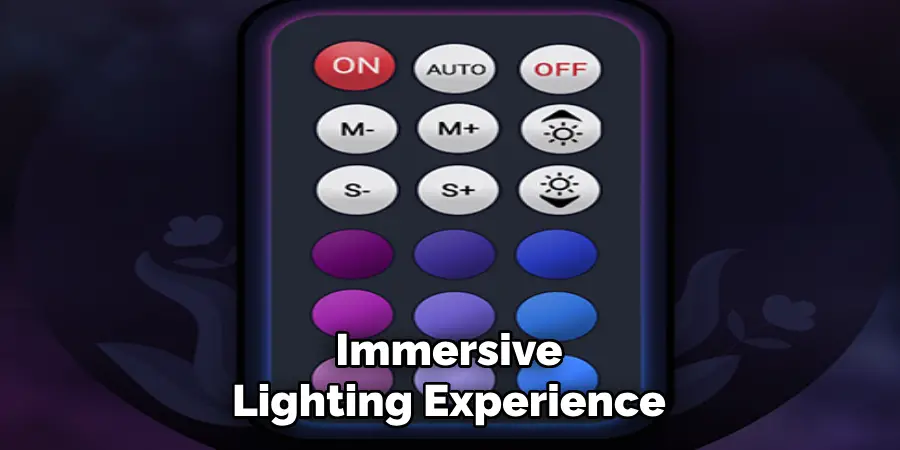
Some advanced LED remotes go beyond basic static color customization by offering dynamic DIY modes. These modes include flashing, fading, or pulsing effects that can be tailored to your preferred DIY color choices. For instance, you can program a gentle fade through a range of pastel tones for a calming effect or set vibrant, bold hues to flash for an energetic and engaging atmosphere. Dynamic modes allow for an enhanced, immersive lighting experience that adds flair to any setting.
Memory Functions
One of the most convenient features available in some LED remotes is the memory function. This allows your custom settings to be saved, so you don’t have to reconfigure your favorite colors or effects each time you turn the lights back on. Whether it’s a specific DIY color or a carefully curated dynamic mode, the memory function ensures that your lighting remains as you last customized it, providing ease of use and consistent ambiance.
Brightness and Speed Controls
Brightness and speed controls allow you to fine-tune the intensity and pacing of your DIY settings. You can dim the lights for a cozy atmosphere or increase the brightness for more vibrant lighting. Similarly, adjust the speed of fade or flash effects to match the mood—slower speeds for relaxation and faster speeds for lively events. These controls enable maximum personalization, making your DIY lighting uniquely yours.
Common Problems and How to Fix Them
Even with customizable DIY lighting setups, occasional issues may arise. Here are some common problems and their solutions:
DIY Color Not Saving
If your custom color settings aren’t saving, it could be due to a low battery in the controller, a poor connection between components, or an improper button sequence while programming. Check the power supply, resecure any loose connections, and carefully follow the programming instructions to resolve this issue.
LEDs Displaying Wrong Colors
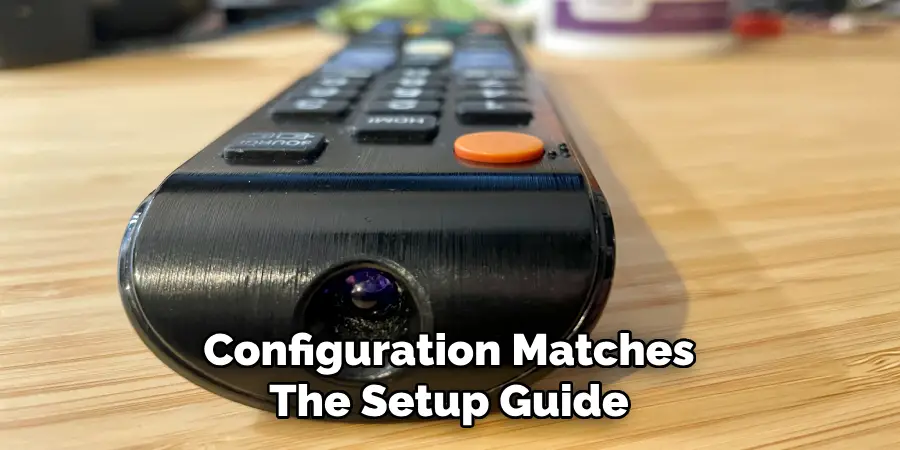
Misaligned or incorrect wiring is often the culprit when LEDs display the wrong colors. Alternatively, improper placement of the controller or interference from other devices can cause similar issues. Ensure all connections are securely in place and verify the wiring configuration matches the setup guide.
Remote Not Responding
A non-responsive remote can disrupt your lighting experience. Start by replacing the remote’s batteries and ensuring the IR sensor on the controller aligns properly with the remote. If the issue persists, consider resetting the controller to restore functionality.
Tips for Getting the Most Out of DIY Mode
DIY mode lets you personalize your lighting to fit your style and needs. Here are some tips to make the most out of it:
- Experiment with Small Changes
Make slight RGB adjustments to discover unique shades that suit your space. Slight tweaks in brightness or color intensity can yield stunning results.
- Keep a Color Chart
Document your favorite DIY settings for quick re-creation. By keeping a record, you’ll save time and always have access to the perfect color combinations you’ve designed.
- Use in Themed Decor
Set DIY colors to match holidays, parties, or even your daily mood. Whether it’s a festive red-and-green for the holidays or a calming blue for a relaxed evening, DIY mode helps you create the perfect ambiance.
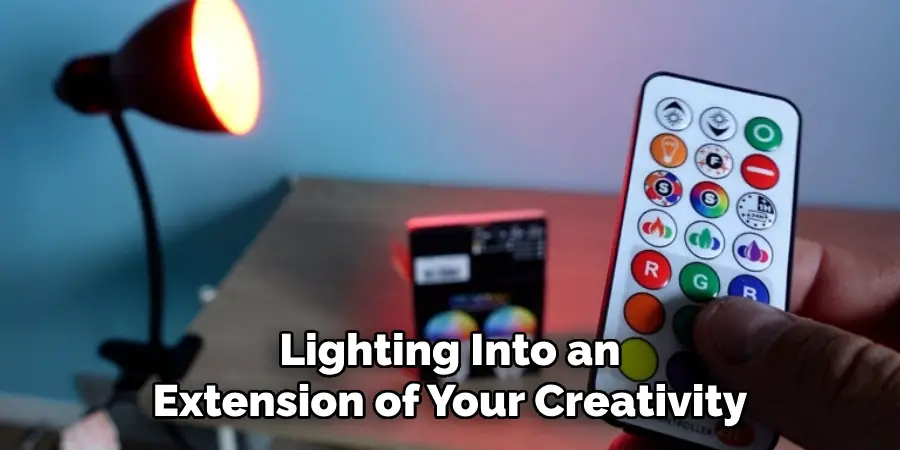
By exploring and customizing these options, you’ll transform your lighting into an extension of your creativity.
Conclusion
DIY mode takes the LED lighting experience to the next level by offering endless customization possibilities. It empowers you to tailor colors and patterns to suit any occasion, mood, or personal preference, making your space truly unique. Experimenting with “how to use DIY on LED remote” will unlock a world of creative potential, allowing you to craft lighting scenes that reflect your style. Remember to troubleshoot patiently if needed and explore different combinations fearlessly. Have fun and enjoy transforming your surroundings with personalized lighting that expresses your creativity.

