Holiday lights are a quintessential part of festive celebrations, transforming homes and spaces with their warm, cheerful glow. However, dealing with broken or non-working light strands can quickly turn into a frustrating experience. The culprit is often a single faulty bulb or fuse, but pinpointing the issue manually can be time-consuming. Fortunately, a Christmas light bulb tester is a simple yet invaluable tool designed to make troubleshooting holiday lights quick and hassle-free.
By using this device, you can easily identify problematic bulbs or blown fuses without needing to test each one individually. This guide aims to teach you how to use christmas light bulb tester effectively, helping you save time and restore your light strands with ease. With this knowledge, you’ll be well-equipped to enjoy stress-free decorating and keep your holiday lights shining brightly for seasons to come.
Understanding How a Christmas Light Bulb Tester Works
A Christmas light bulb tester is an essential tool designed to make diagnosing and fixing faulty holiday lights quick and straightforward. These testers work by sending a small electrical signal through the bulb to determine whether it’s functioning properly. Some advanced models can test entire light strands, fuses, and sockets, making them versatile for various troubleshooting needs. Understanding how the tester works is key to using it effectively.
Functionality Overview
The primary function of a light bulb tester is to check the bulb’s continuity. By detecting interruptions in the electrical flow, it pinpoints any faulty bulbs or sections of the strand. Additionally, testers who can examine entire strands or fuses can quickly identify broader issues, saving significant time and effort.
Types of Testers
There are two main types of Christmas light bulb testers:
- Contact Testers: These require removing bulbs to test each one individually. They offer precise results and are ideal for pinpointing specific faulty bulbs.
- Non-Contact Testers: These detect voltage through wire insulation, making them useful for identifying bad sections of a strand without disconnecting bulbs.
Features to Look For
When choosing a tester, consider these features:
- Audible Tone or Light Indicator: Provides immediate feedback when a faulty bulb is detected.
- Fuse Testing Capability: Helps diagnose issues beyond the bulbs, ensuring the whole strand functions properly.
- Built-In Bulb Remover or Socket Tester: Simplifies troubleshooting by incorporating tools for bulb replacement or testing sockets directly.
Gathering Your Materials
What You’ll Need
To effectively test and repair your Christmas lights, gather the following materials before getting started:
- Christmas Light Bulb Tester: Ensure the tester is compatible with your light type, whether they are incandescent or LED.
- Faulty String of Lights: The light strand you plan to troubleshoot and repair.
- Replacement Bulbs and Fuses: Have extras on hand to quickly resolve issues with burned-out components.
- Flat Surface and Good Lighting: Create a well-lit workspace where you can spread out your lights for easier handling.
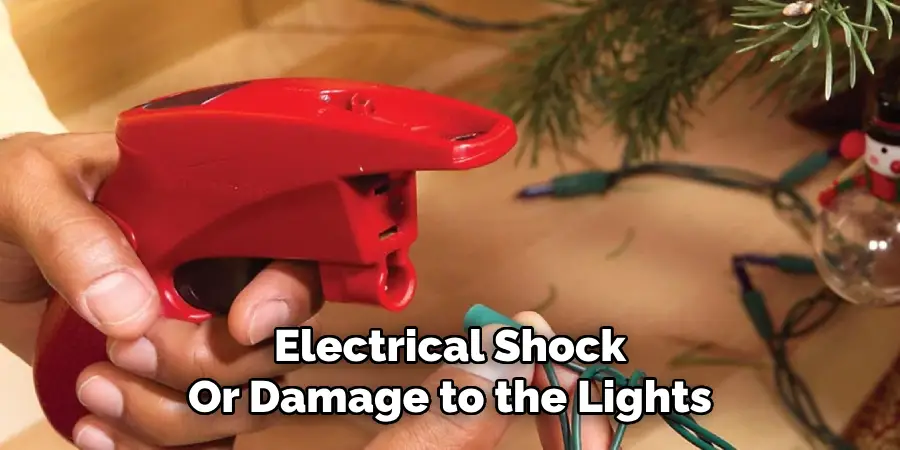
Safety Tip
Always prioritize safety during the testing and repair process. Unplug the light string from any power source before beginning any test or repair activities to avoid the risk of electrical shock or damage to the lights.
How to Use Christmas Light Bulb Tester: Testing Individual Bulbs
Testing individual bulbs is a crucial step in troubleshooting and ensuring your light string functions perfectly. Follow these easy steps to identify and resolve faulty bulbs:
Step 1: Remove the Suspected Bulb
Locate the suspected bulb and gently twist or pull it from its socket. Be careful not to use excessive force, as this may damage the socket or the bulb. If necessary, use a small tool to pry it loose carefully, but avoid bending the wires or connectors.
Step 2: Insert into Tester
Once the bulb is removed, place it into the designated slot of your bulb tester. Make sure the bulb is securely positioned, or press it carefully to the tester’s contact point, depending on the type of tester you are using.
Step 3: Read the Results
Activate the tester and observe the results. If the tester lights up or makes a sound, the bulb is functioning and does not need to be replaced. However, if there is no response, the bulb is likely dead and will need to be replaced.
Step 4: Replace Faulty Bulbs
Choose a replacement bulb that matches the exact voltage and shape of the faulty one. Insert the new bulb firmly into the empty socket, ensuring it is properly aligned and seated for optimal contact. Reassemble the light string and continue testing other bulbs as needed.
By following these steps, you’ll maintain the integrity and functionality of your light string, ensuring bright and consistent illumination for all your decorative needs.
Testing Light Strands
Testing your light strands is an essential part of ensuring they function properly and safely. Follow these steps to identify and resolve any issues within the strand.
Step 1: Plug in the Light Strand
Begin by plugging the light strand into a reliable power source. Some light strand testers may require the strand to be partially energized to detect faults effectively. Always handle the strand carefully during this process to avoid damage or accidents.
Step 2: Run Non-Contact Tester Along the Wire
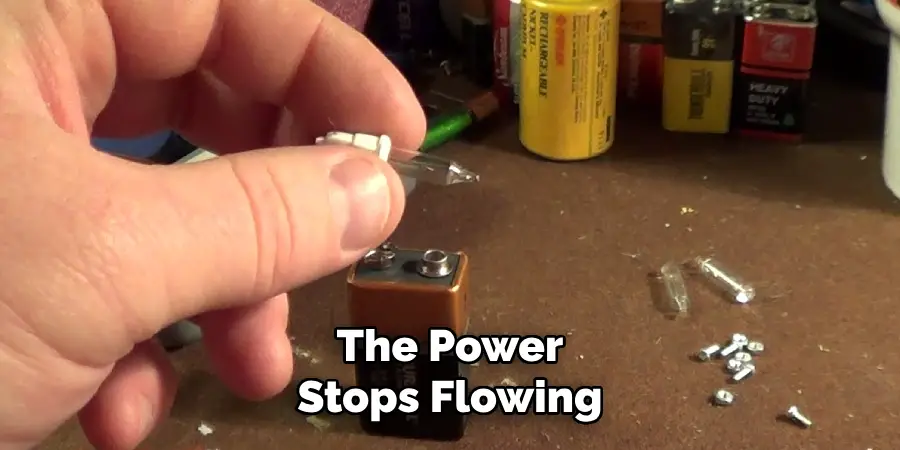
Using a non-contact voltage tester, run the device along the length of the wire to identify where the power stops flowing. This tool is handy for pinpointing breaks or disruptions in the electrical circuit without needing to handle bare wires or open connections.
Step 3: Isolate the Section with the Issue
Once the non-contact tester highlights an area with no electrical flow, focus your attention on that specific section of the strand. Carefully examine the bulbs, sockets, and any inline fuses for visible signs of damage, such as burns, cracks, or misalignments.
Step 4: Replace or Repair as Needed
If the issue is with individual bulbs, remove and replace them with ones of the same voltage and type. For damaged sockets or faulty wiring, repair or replace these components as needed, always prioritizing safety by unplugging the strand during repairs. Once completed, test the strand again to ensure functionality.
By following these steps, you can efficiently troubleshoot light strands, ensuring they remain in excellent working order for all your decorative needs.
Testing and Replacing Fuses
Step 1: Open the Plug Panel
Most light strands have a small panel located within the plug that houses two tiny fuses. Begin by unplugging the light strand and carefully slide or pry open this panel using a small flathead screwdriver or a similar tool. Ensure the panel is fully exposed before proceeding.
Step 2: Test the Fuses
To determine if the fuses are functioning properly, you can use a multimeter with a fuse test function, if available, or perform a visual inspection. Intact fuses typically have an unbroken metal filament visible inside, while blown fuses will show a broken or darkened filament.
Step 3: Replace Blown Fuses
If you identify a blown fuse, remove it and replace it with a new fuse of the same amp rating. Light strands typically include spare fuses, so check the original packaging. For best results and to maintain consistent performance, it’s advisable to replace both fuses at the same time, even if only one appears to be faulty.
Tip
Be sure to verify the strand’s functionality after replacing the fuses by plugging it back in. Properly working fuses ensure the safety and longevity of your light strand.
Testing and Replacing Fuses
Step 1: Open the Plug Panel
Most light strands include a small panel located within the plug that houses two tiny fuses. To access these, gently slide or pop open the panel using a flathead screwdriver or similar tool. Be sure to handle the plug carefully to avoid damaging the housing or connectors.
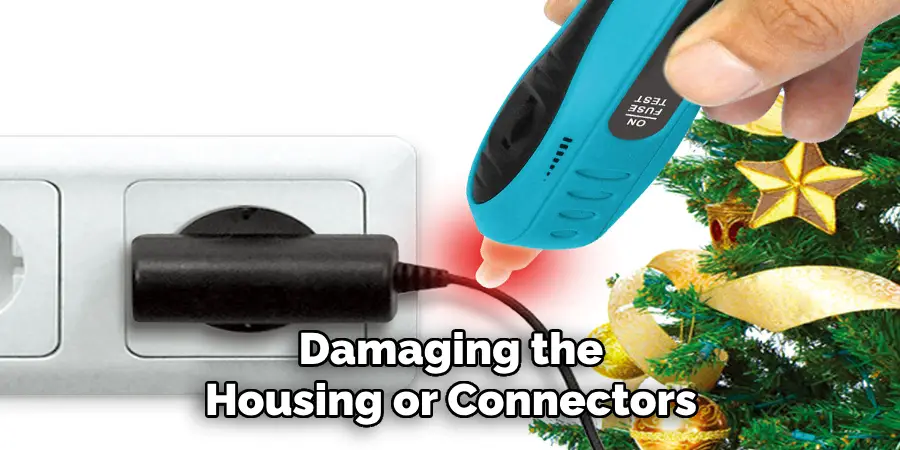
Step 2: Test the Fuses
Once you’ve opened the panel, remove the fuses and check their condition. If you have a fuse tester with a fuse test function, this is the most reliable method to determine if they’re functioning properly. Alternatively, perform a visual inspection by examining the fuse wire inside the glass or plastic casing; a break in the wire or signs of burn marks indicate the fuse is blown.
Step 3: Replace Blown Fuses
If one or both fuses are blown, replace them with new ones that match the exact amp rating of the originals. Most light strands come with replacement fuses, typically located in the original packaging. For consistent performance and safety, it’s recommended to replace both fuses at the same time, even if only one is damaged.
Tip
Always ensure the fuses are seated correctly before closing the plug panel, and test the light strand by plugging it back in. Proper replacement ensures reliable operation and prevents potential electrical hazards.
Troubleshooting Tips
Tester Not Responding
If your tester isn’t responding, first check its batteries. Ensure they are properly installed and have sufficient charge. If the issue persists, try replacing the batteries with a fresh set to verify functionality.
Tester Shows All Bulbs Are Dead
When the tester indicates that all bulbs are dead, it’s likely not an issue with the individual bulbs but rather a problem with the power supply or the strand’s fuse. Inspect the plug and replace the fuse if necessary to restore functionality.
Bulbs Work in Tester but Not in Strand
If your tester confirms the bulbs are functional, but they do not light up in the strand, scrutinize the socket connections. Look for loose sockets or misalignment, and check for any visible damage to the internal wiring of the strand.
Still Not Working After Replacement
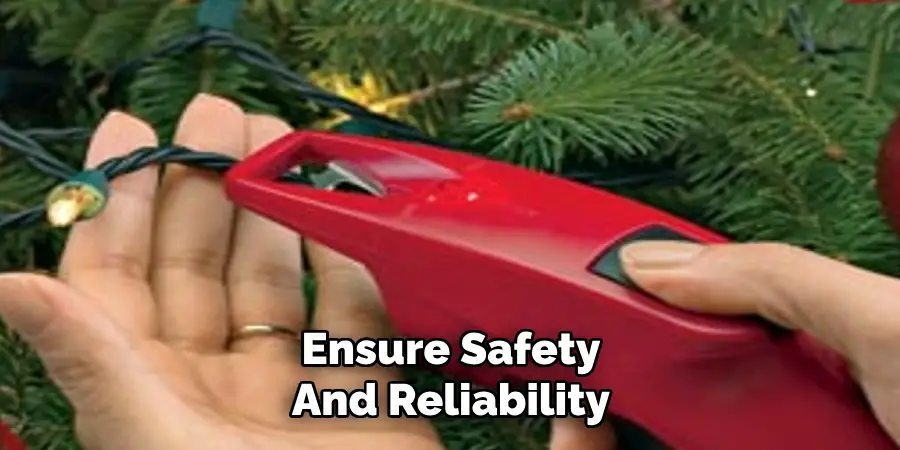
If, after replacing the problematic parts, the lights still don’t work, inspect the strand for corroded contacts or other signs of wear and tear. Corrosion can impede connectivity and requires cleaning or repair. Should multiple issues persist, it might be best to consider replacing the light strand entirely to ensure safety and reliability.
Conclusion
A Christmas light bulb tester is an essential tool for quickly diagnosing and restoring non-working light strands, saving both time and frustration. By understanding how to use christmas light bulb tester and combining it with a little patience, you can effectively troubleshoot and repair your lights instead of discarding entire strands.
Remember to address common issues like loose sockets or corroded contacts carefully. For added convenience, store your tester along with spare bulbs and fuses alongside your holiday decorations. This preparation ensures you’re ready to tackle any lighting challenges and keep your festive displays shining brightly year after year.

