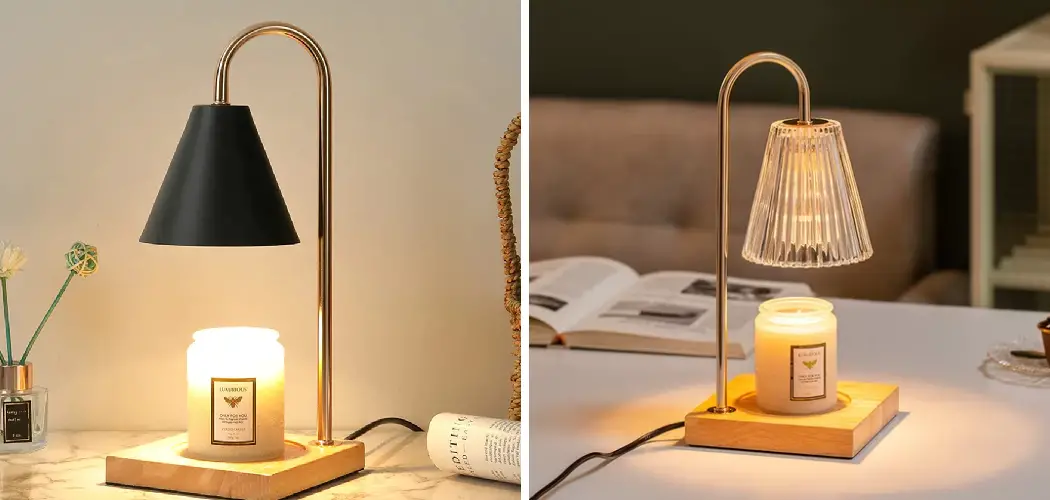
Candle warmer lamps offer a modern, flameless way to enjoy the soothing fragrances of your favorite candles. By gently melting the wax using heat from a light bulb, these innovative devices eliminate the need for open flames, making them an ideal choice for a safe and hassle-free experience.
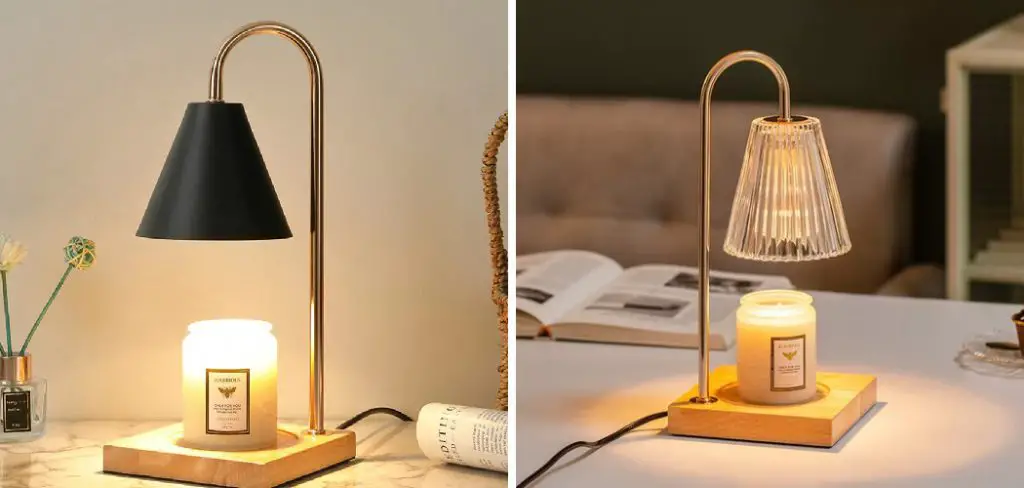
Not only do they extend the life of your candles by melting them evenly, but they also provide a cleaner and smoke-free alternative to traditional burning. Whether you’re seeking a cozy atmosphere or a calming scent, a candle warmer lamp is a versatile addition to any space.
This article serves as a step-by-step guide on how to use candle warmer lamp, including essential tips for ensuring optimal performance, safety, and the longevity of your device. With this guide, you’ll discover how to create the perfect ambiance while enjoying the many benefits of a candle warmer lamp.
Understanding How a Candle Warmer Lamp Works
A candle warmer lamp is an innovative device that provides a safe and flameless way to enjoy your favorite candle scents. Unlike traditional burning methods that utilize an open flame, a candle warmer lamp uses heat to melt the wax and release the fragrance into your space.
How Candle Warmers Melt Wax
The heat source of the lamp is typically positioned above the candle, warming its surface and causing the wax to melt slowly. This gradual melting process ensures an even release of fragrance without burning the wick, which preserves the candle’s longevity and eliminates the risks associated with an open flame. The result is a consistent aroma and a cleaner, smoke-free experience.
Types of Candle Warmer Lamps
- Plate-Style Warmers: These warmers feature a heated plate on which the candle jar sits. The plate generates heat to melt the wax from the bottom up, releasing the fragrance over time.
- Lamp-Style Warmers: These models use a heat source, such as a lightbulb, positioned above the candle. The heat melts the wax from the top down, creating a faster fragrance release.
Why Choose a Candle Warmer Lamp?
Candle warmer lamps offer a safe and convenient solution for enjoying candles. Since they eliminate the need for an open flame, they reduce fire hazards, making them ideal for homes with children or pets. Additionally, they are highly effective at releasing the fragrance while prolonging the life of your candle, offering both practicality and ambiance in any setting.
Materials and Tools Needed
Essential Items
- Candle warmer lamp: Choose between lamp-style or plate-style warmers, depending on your preference and space availability.
- A scented or unscented candle: Ensure it is housed in a heat-safe container made of glass or ceramic to prevent any accidents during use.
- Optional: Wax melts or wax cubes can be used as an alternative to traditional candles if preferred.
Tools and Safety Items
- Light bulbs for the warmer: Check your candle warmer’s specifications to ensure you use compatible bulbs for optimal performance and safety.
- A wick trimmer: If you are starting with a wick-based candle, trimming the wick ensures a clean and efficient melt when using the warmer for the first time.
These materials and tools will ensure a seamless and enjoyable experience with your candle warmer lamp, enhancing both its functionality and your satisfaction.
How to Use Candle Warmer Lamp: Setting Up Your Candle Warmer Lamp
Setting up your candle warmer lamp properly is essential for efficient operation and safety. Follow these steps to get started:
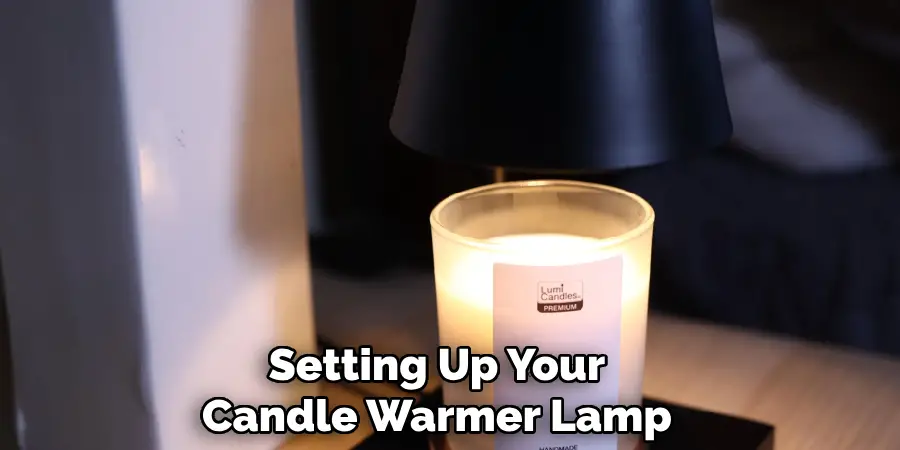
Step 1: Choosing the Right Location
Place the candle warmer lamp on a stable, flat surface in your desired location. Ensure the area is away from direct drafts, such as open windows, air vents, and flammable materials. The lamp should also be positioned near an electrical outlet or battery-operated if it is designed to function without cords.
Step 2: Inserting the Candle or Wax
If you are using a jar candle, place it securely on the candle warmer plate or directly under the lamp at the recommended distance. For wax melts or cubes, add them directly to the warmer plate, ensuring you do not overfill it to avoid spilling or uneven melting.
Step 3: Ensuring Proper Placement
Before turning on the lamp, double-check that the candle or wax is perfectly centered under the lamp or on the warmer plate. Proper alignment ensures the heat is evenly distributed across the surface, leading to uniform melting and optimal fragrance release.
These steps will help you achieve the best results from your candle warmer lamp, maximizing performance and enjoyment.
Using the Candle Warmer Lamp
Step 1: Turning the Lamp On
To begin using your candle warmer lamp, locate the switch or button to activate the device. Flip the switch or press the button to turn it on. Once powered, the lamp will begin to heat up, allowing the wax to melt. This initial step is straightforward and sets the stage for enjoying your candle’s or wax melt’s rich fragrance.
Step 2: Adjusting Heat for Optimal Fragrance Release
Most candle warmer lamps operate at a fixed temperature, ensuring a consistent melting process. However, if your lamp features a dimming function, use it to adjust the brightness and control the amount of heat applied to the wax.
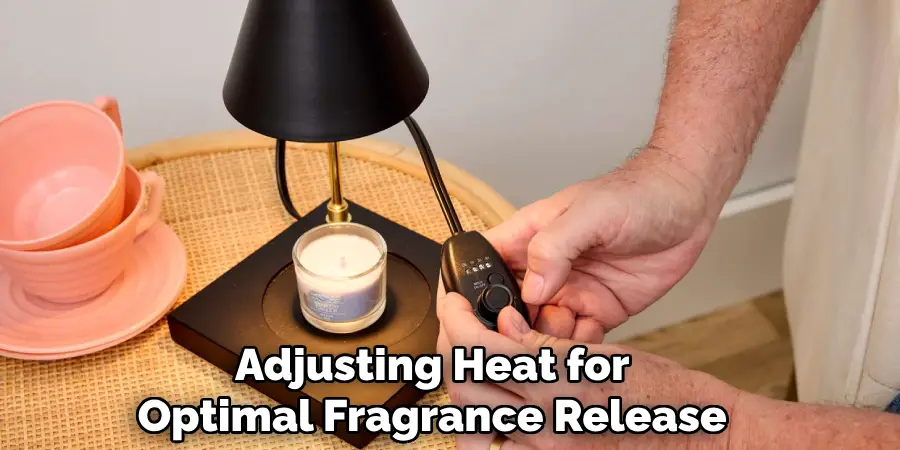
A lower brightness may result in a slower melt, allowing for a softer fragrance release, while a higher brightness can amplify the scent throw more quickly. For the best results, allow the candle to melt for around 1-2 hours, as this timeframe typically provides an optimal balance for fragrance diffusion.
Step 3: Monitoring the Candle
While your lamp is in use, closely monitor the progress of the candle’s or wax’s melt. Ensure that the candle’s wax remains contained within the jar or holder to prevent spills. If you are using wax melts, periodically check for any residue left on the warmer plate and clean as needed to maintain its performance. Careful observation will ensure both the safety and the longevity of your candle warmer lamp.
Caring for Your Candle Warmer Lamp
Proper care and maintenance of your candle warmer lamp will extend its lifespan and ensure optimal performance. Follow these simple steps to keep your lamp in excellent condition:
Cleaning the Warmer Plate
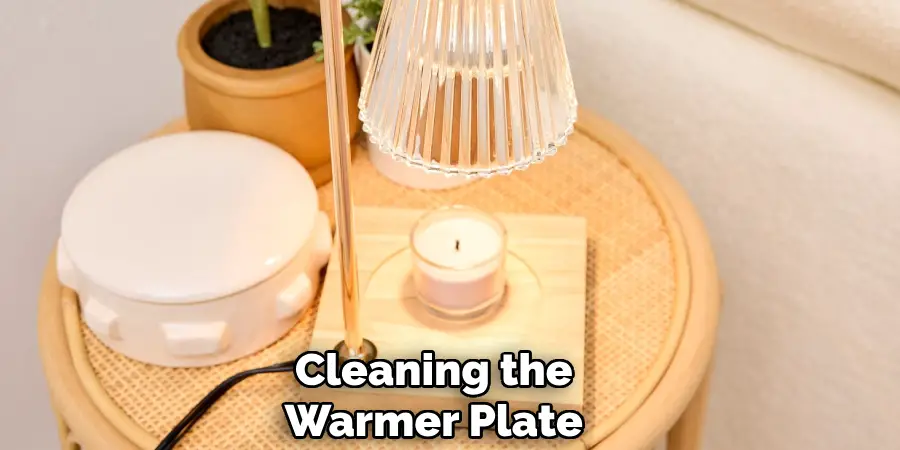
Regularly clean the plate or lamp area to prevent wax build-up. Use a soft cloth and gentle soap to remove the residue, and do not use abrasive materials that could damage the surface. For stubborn wax buildup, consider using a wax removal product or a small amount of rubbing alcohol. Always ensure the plate is completely dry before using the lamp again.
Changing the Bulb
When the bulb burns out, replace it with one that matches the correct wattage specified by the manufacturer. Using an incorrect bulb can affect the lamp’s performance and may pose a safety risk. Always allow the lamp to cool completely before handling the bulb to avoid burns.
General Maintenance
Before each use, inspect the lamp’s cord and electrical components to ensure they are in good condition. Damaged cords or parts should be repaired or replaced to maintain safety. Proper general maintenance will help your candle warmer lamp provide reliable and enjoyable use for years to come.
Tips for Maximizing Candle Warmer Lamp Use
Choosing the Right Candle
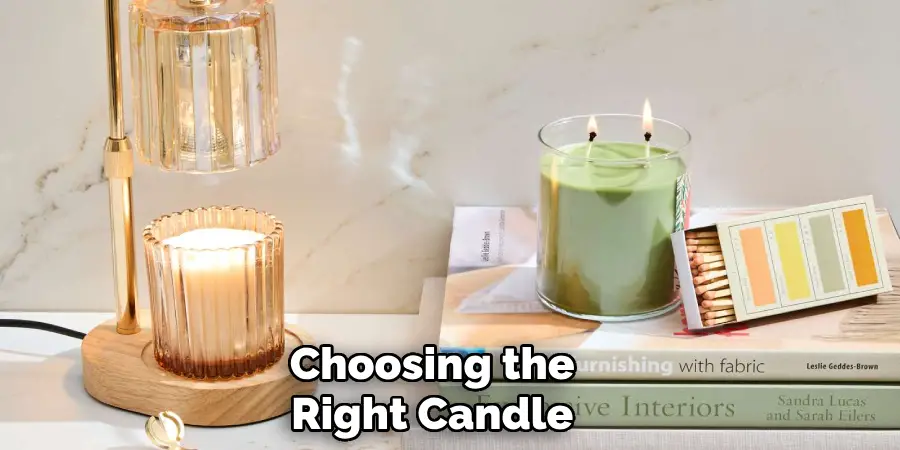
To ensure the best performance from your candle warmer lamp, select candles that are specifically designed for use with warmers. Jar-style candles are ideal because they evenly distribute heat and release fragrance effectively. Avoid using candles made with thick or dense wax, as these can take a much longer time to melt, reducing the efficiency and enjoyment of your lamp.
Wax Melts as an Alternative
Try using wax melts instead of traditional candles for a cleaner and more efficient scent experience. Wax melts are designed to liquefy quickly and release fragrance without a wick. These are great for frequent use since they produce no soot or residue, and you can easily swap out different scents to suit your mood without wasting leftover wax.
Adjusting Light for Ambience
If your candle warmer lamp has a dimmable feature, make the most of it to create a personalized atmosphere. Lower the light intensity for a soft, relaxing glow in the evening, or brighten it for an energizing daytime ambiance. A dimmable lamp can enhance both the fragrance experience and the cozy, inviting atmosphere of any space.
Troubleshooting Common Issues
Candle Not Melting
If your candle is not melting, ensure that the lamp is correctly positioned at the correct distance from the candle surface. The bulb should be functioning and match the specified wattage for your candle warmer lamp. Additionally, confirm that the lamp is securely plugged in and receiving power.
Weak Fragrance
A weak fragrance may indicate the need for a higher-quality candle or wax melt with richer essential oils. Alternatively, you can add a new wax melt to refresh and intensify the scent. Also, verify that the lamp’s heat output is sufficient for the size and type of candle you are using.
Excess Wax Build-Up
Over time, wax can build up on the warming plate or lamp, reducing its efficiency. Regularly clean the surface to remove any leftover wax to maintain optimal performance. This simple step ensures that the lamp heats evenly and maximizes the fragrance release.
Conclusion
A candle warmer lamp is a safer, flameless, and longer-lasting way to enjoy the delightful fragrance of your favorite candles. Eliminating the need for an open flame reduces fire risks while still providing a cozy ambiance. To ensure optimal performance, always monitor the lamp during use and follow proper care routines, such as cleaning excess wax regularly.
Exploring different types of candles or wax melts can help you personalize the atmosphere in your home. For more information on creating a soothing environment, understanding how to use candle warmer lamp effectively is key to enhancing your experience.

