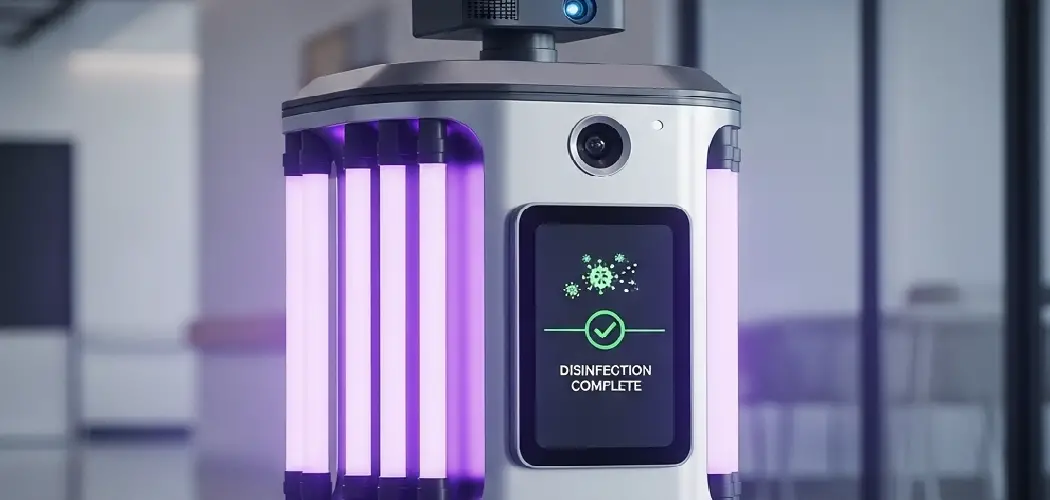
UV disinfection technology has become increasingly popular for maintaining clean and sterile environments in homes, offices, and healthcare facilities. Understanding how to use a UV disinfection lamp properly is essential for anyone looking to harness the powerful germicidal properties of ultraviolet light to eliminate harmful bacteria, viruses, and other pathogens from surfaces and air.
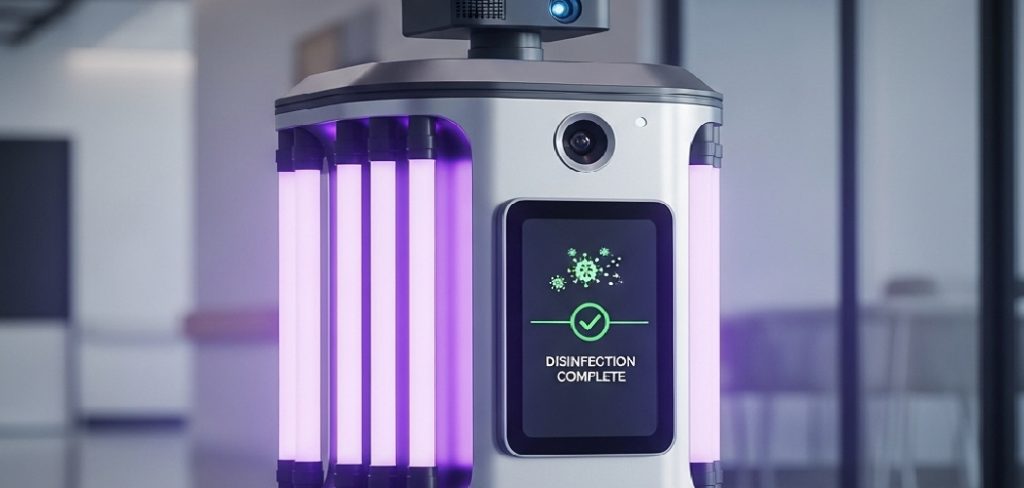
These specialized lamps emit UV-C radiation at wavelengths that effectively destroy the genetic material of microorganisms, rendering them unable to reproduce or cause infections. While the technology is highly effective, proper usage requires attention to safety protocols and correct operating procedures to achieve optimal results without risking exposure to harmful radiation.
This comprehensive guide will walk you through every aspect of UV lamp operation, from initial setup to maintenance considerations. Whether you’re using a portable unit for home sanitization or implementing a larger system for commercial purposes, following these detailed steps ensures safe and effective disinfection while maximizing the lifespan of your equipment.
Why Understanding UV Disinfection Lamp Usage Matters
The growing awareness of airborne and surface-transmitted pathogens has made UV disinfection an invaluable tool for maintaining healthy environments. Unlike chemical disinfectants that may leave residues or require extensive ventilation, UV-C light provides a clean, chemical-free sterilization method that leaves no harmful byproducts when used correctly.
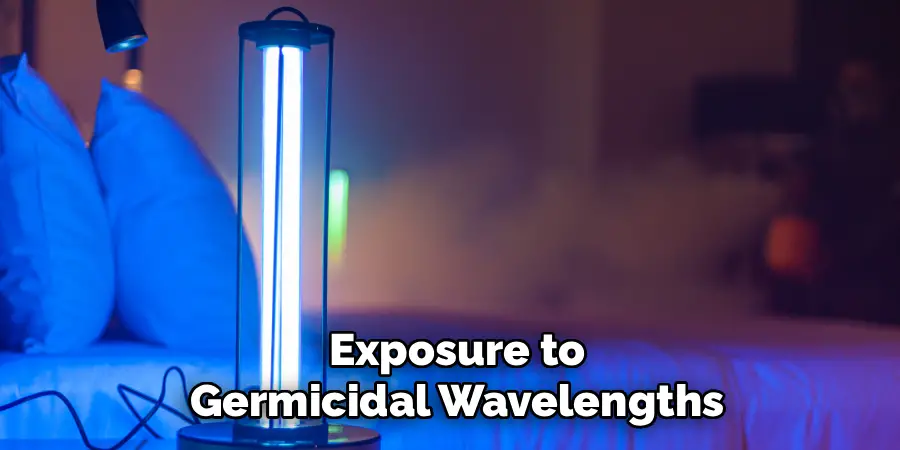
Proper lamp usage ensures maximum effectiveness while preventing damage to materials that may be sensitive to UV radiation. Understanding the correct procedures also protects users from potential eye and skin damage that can result from improper exposure to germicidal wavelengths.
8 Step-by-Step Guide: How to Use a UV Disinfection Lamp
Step 1: Prepare the Room for Disinfection
Begin by removing all people, pets, and plants from the area to be disinfected, as UV-C radiation can cause harm to living organisms. Clear surfaces of any items that could block the lamp’s light path, ensuring maximum coverage during the disinfection process. Close blinds or curtains to contain the UV light within the designated space and prevent accidental exposure to individuals in adjacent areas. Check that the room temperature falls within the manufacturer’s recommended operating range, typically between 60-80°F, as extreme temperatures can affect lamp performance and effectiveness.
Step 2: Position the UV Lamp Strategically
Place the UV disinfection lamp in a central location that provides optimal coverage of the targeted surfaces and air space. Ensure the lamp is positioned on a stable, level surface away from reflective materials that could redirect harmful radiation. The lamp should be elevated if possible to maximize air circulation and light distribution throughout the room. Consider the manufacturer’s recommended distance specifications, typically 3-8 feet from target surfaces, to achieve proper UV-C intensity for effective pathogen elimination while maintaining safe operating parameters for the equipment.
Step 3: Verify Safety Precautions and Equipment Function
Double-check that all safety protocols are in place before activating the lamp, including posting warning signs outside the treatment area and ensuring all entry points are secure. Inspect the UV lamp for any visible damage, cracks, or dust accumulation that could affect performance or create safety hazards. Test any remote control or timer functions to ensure proper operation and confirm that emergency shut-off procedures are readily accessible. Verify that the lamp’s UV-C output indicator, if present, shows normal operating levels and that all electrical connections are secure and properly grounded.
Step 4: Set the Appropriate Exposure Time
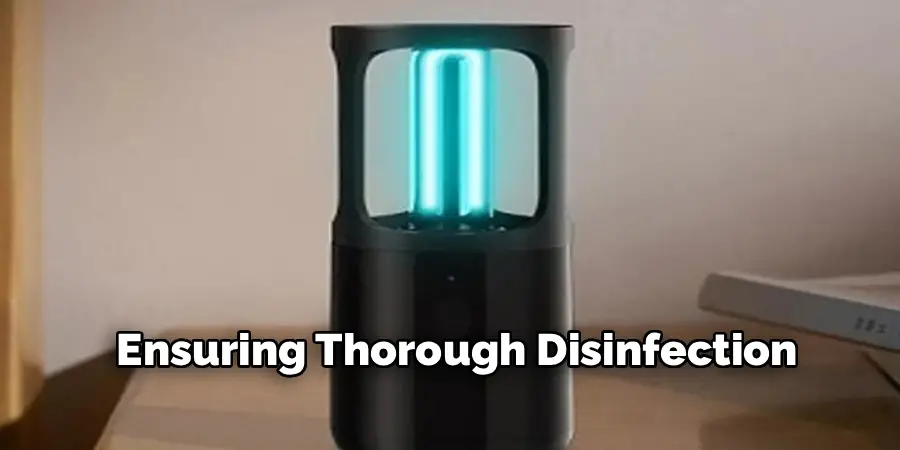
Calculate the required exposure duration based on the room size, lamp wattage, and target pathogen elimination level according to manufacturer specifications. Most residential applications require 15-45 minutes of exposure time, while commercial or healthcare settings may need longer periods for complete sterilization. Consider factors such as air circulation patterns, surface materials, and contamination levels when determining optimal timing. Program any available timer functions to automatically shut off the lamp after the predetermined exposure period, preventing over-exposure that could damage materials or waste energy while ensuring thorough disinfection.
Step 5: Activate the UV Disinfection Process
Turn on the lamp using the designated controls, whether manual switches, remote controls, or smartphone applications depending on your specific model. Many modern units feature delayed start functions that provide 10-30 seconds for safe exit from the treatment area before UV-C emission begins. Monitor the initial startup through any available indicators such as LED status lights or audible confirmation signals. Once activation is confirmed, immediately exit the room and secure all entry points to prevent accidental exposure during the active disinfection cycle.
Step 6: Monitor the Disinfection Cycle
Observe the lamp’s operation from outside the treatment area using any available monitoring systems or indicator lights that show active operation status. Avoid entering the room or opening doors during the treatment cycle, as this can reduce effectiveness and create safety hazards. Listen for any unusual sounds that might indicate equipment malfunction and be prepared to shut off the system remotely if necessary. Keep track of the elapsed time to ensure the full recommended exposure period is completed before re-entering the space or allowing others access to the treated area.
Step 7: Complete the Disinfection Process Safely
Allow the recommended cool-down period after the lamp shuts off, typically 10-15 minutes, before entering the treated area to prevent exposure to residual UV radiation and allow equipment to reach safe handling temperatures. Open windows or activate ventilation systems to refresh the air, though UV-C disinfection produces no harmful chemical residues. Check that all surfaces appear normal with no signs of UV damage such as discoloration or material degradation. Inspect the lamp itself for any signs of overheating or component stress before moving or storing the equipment for future use.
Step 8: Perform Post-Disinfection Maintenance
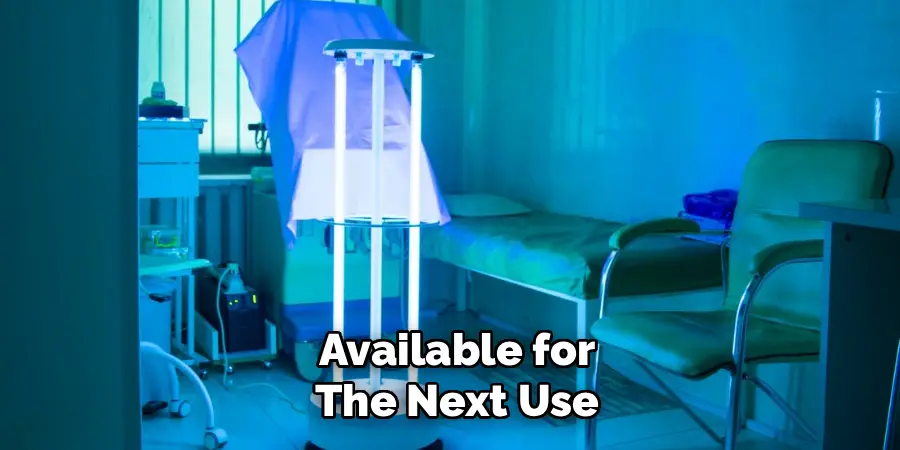
Clean the UV lamp housing and reflective surfaces with appropriate cleaning materials to remove any dust or debris that may have accumulated during operation, taking care not to touch the UV bulb directly with bare hands. Document the usage time and date for maintenance tracking purposes, as UV lamps have limited lifespans and require periodic replacement. Check and clean any air filters or ventilation components associated with the lamp system. Store the equipment in a safe, dry location away from potential damage and ensure all accessories such as remote controls or safety equipment are properly maintained and readily available for the next use.
Frequently Asked Questions
How Long Should I Run A UV Disinfection Lamp?
Treatment time depends on room size, lamp power, and desired disinfection level. Most residential applications require 15-30 minutes for effective surface sterilization. Larger rooms or higher contamination levels may need 45-60 minutes. Always follow manufacturer guidelines for your specific model and intended use. Consider factors like air circulation and surface materials when determining optimal exposure times.
Is It Safe To Be In The Same Room As An Operating UV Lamp?
No, never remain in a room with an active UV disinfection lamp. UV-C radiation can cause severe eye damage and skin burns within minutes of exposure. Always exit the area before activation and wait for the complete cycle plus cool-down period before re-entering. Use remote controls or timer functions to operate the lamp safely from outside the treatment zone.
Can UV Lamps Damage My Furniture Or Electronics?
Extended UV exposure can fade colors, degrade plastics, and damage sensitive materials over time. However, typical disinfection cycles pose minimal risk to most household items. Cover valuable artwork, photographs, or delicate fabrics if concerned. Electronics generally withstand brief UV exposure, but consult manufacturer recommendations for expensive or sensitive equipment before treatment.
How Often Should I Replace The UV Bulb?
Most UV-C lamps require replacement every 8,000-10,000 hours of operation, though effectiveness may decline after 6,000 hours. Track usage time and monitor any decrease in disinfection effectiveness. Some units include bulb life indicators or reminder systems. Regular replacement ensures optimal germicidal performance and prevents reduced effectiveness that could compromise disinfection results.
What Types Of Germs Can UV Disinfection Lamps Eliminate?
UV-C light effectively destroys bacteria, viruses, mold spores, and many other microorganisms by damaging their DNA structure. This includes common pathogens like E. coli, MRSA, influenza, and coronaviruses. However, some resistant organisms may require longer exposure times or higher intensity levels. UV disinfection works best as part of a comprehensive cleaning and sanitization protocol rather than a standalone solution.
Conclusion
Mastering How to use a UV disinfection lamp provides you with a powerful tool for maintaining clean, healthy environments in your home or workplace. The technology offers chemical-free sterilization that effectively eliminates harmful pathogens while leaving no residues or requiring extensive cleanup procedures.
Start with shorter treatment cycles and gradually adjust based on your specific needs and room characteristics. With proper technique and consistent application, UV disinfection becomes an invaluable addition to your health and safety protocols, providing peace of mind through scientifically proven pathogen elimination technology.

