Are you looking for a way to check the current in your wires without having to call an electrician? Are you an automotive electrician or a do-it-yourselfer trying to diagnose a short in your vehicle’s wiring?
If so, then using a test light is one of the simplest and most effective methods for troubleshooting wires for power. A test light is a handy tool that can be used for quickly checking electrical power in all types of wiring, from residential wiring systems automotive setups, commercial applications, and more.
In this blog post, we’ll give you an overview of how to use a test light on wires and explore the fundamentals that will make your next project go off without a hitch! So, let us dive in and look at what exactly makes this electronic diagnostic tool so useful when it comes to managing electrical issues like shorts, open circuits, and more.
Why Do You Need to Use a Test Light on Wires?
1. Quicker Diagnose
The main reason to use a test light on wires is to quickly diagnose electrical issues in the wiring of any system. By illuminating the wire with a low-voltage current, you can determine whether or not there is power being sent through it. Test lights are great for diagnosing shorts and open circuits in automotive wiring systems, residential wiring, commercial applications, and more.
2. Easy to Use
Test lights are very easy to use and require no special skills or knowledge to operate properly. All you need is a basic understanding of how electricity works and the ability to follow simple instructions. With just a few clicks, you can easily check for current in your wires and determine if there is an issue with the wiring.
3. Safe to Use
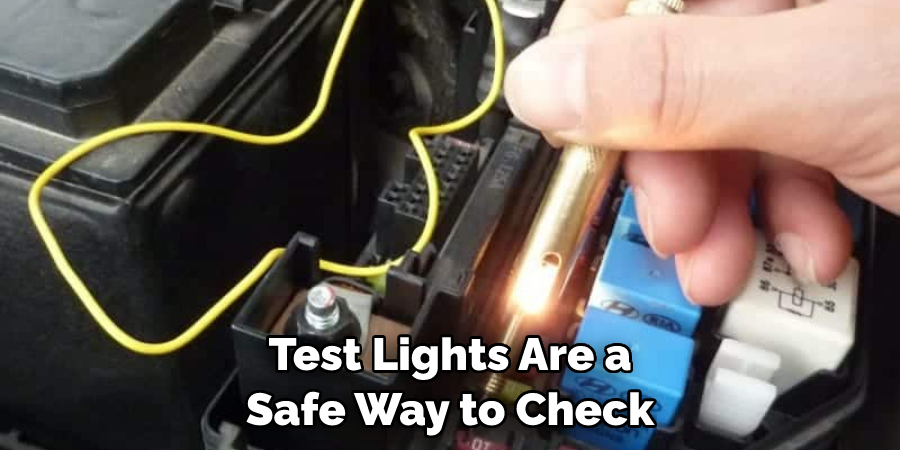
Test lights are a safe way to check for electricity in wires because they use low-voltage currents. This means that there is no risk of electrocution when using the device, making it much safer than other methods of checking electrical wires.
The Benefits of Using Test Light on Wires
1. Portable
Test lights are small and lightweight, making them highly portable. This makes them great for testing wires in hard-to-reach places or narrow spaces where a standard multimeter may not fit. Test lights can easily be stored in toolboxes, glove compartments, or even pockets so that they’re always there when you need them.
2. Quick Results
Test lights provide quick and easy results, making it easier to identify electrical issues quickly without having to do any calculations. This is great for DIYers or electricians who are trying to diagnose and resolve wiring problems quickly and efficiently.
3. Cost-Effective
Test lights are relatively inexpensive compared to other types of electronic diagnostic tools. This makes them a great option for those who are looking to save money while still getting the job done right.
Required Items
Before attempting to use a test light on wires, it is important to have the right tools.
- A digital multimeter
- A basic electrical tester
- Protective gear
10 Steps on How to Use a Test Light on Wires
Step 1: Protective Wear
Put on protective gear, such as safety glasses and gloves. Protective wear will always be necessary when dealing with electricity, so make sure to wear the appropriate safety gear. You must always be aware of safety risks and take the necessary precautions.
Step 2: Shut Off the Power
Shut off the power to the area you are working on. This is a critical step for safety, as you don’t want to be electrocuted or cause any damage to your equipment. The power should be shut off before you begin any testing.

Step 3: Connect the Right Wires
Connect the correct wires from the tester to the circuit you are testing. Make sure that all connections are secure and that there is no chance of them coming undone or being exposed to electricity.
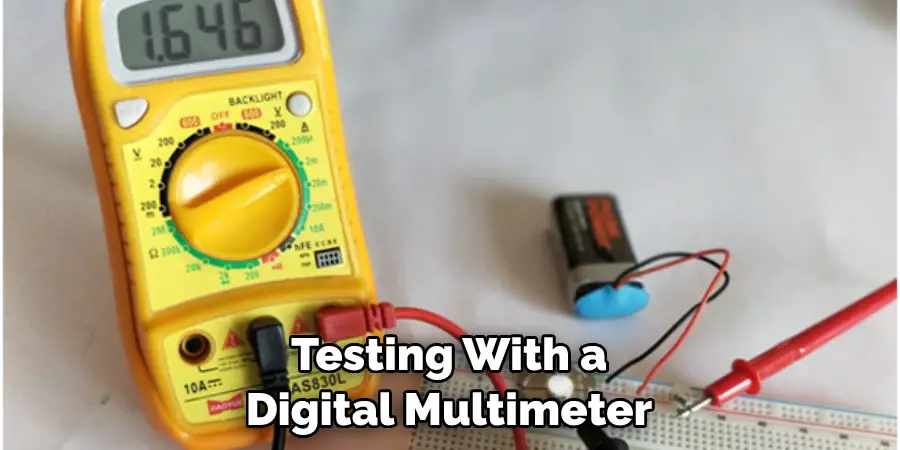
Step 4: Set the Digital Multimeter
Set the digital multimeter to measure DC voltage. This will allow you to accurately test for power in wires without any interference from other sources. Digital multimeter settings will vary, so be sure to read the manual of your device before attempting this step.
Step 5: Connect the Test Light
Connect the test light to the circuit you’re testing. Make sure that all connections are secure and that there is no chance of them coming undone or being exposed to electricity. Connecting the test is a simple process, but it’s to ensure that all connections are secure before proceeding.
Step 6: Turn on the Power
Turn on the power to the circuit you are testing. This will allow the test light to work properly and provide an accurate reading of whether or not there is electricity in the wires. Make sure that all connections are secure and that the power is on before proceeding.
Step 7: Test Results
Check the test light for results. If the light is lit, then there is electricity in the wires. However, if it does not light up, then there is no electricity present and you’ll need to troubleshoot further.
Step 8: Setting the Dial
Set the dial on the test light to the desired voltage you want to check for. This will ensure that it is set for an accurate reading and that it is not checking for too much or too little electricity in the wires.
Step 9: Check the Results
Check the results of your testing with a digital multimeter. This will tell you how much electricity is present in the wires and allow you to diagnose any potential issues. The result should be the same as what you set on the dial of your test light.
Step 10: Disconnect Power
Once you have finished testing, disconnect the power from the circuit. This is an important safety step that must be done in order to avoid any accidents or damage to your equipment. Make sure all connections are secure before moving on to another project.
Using a test light on wires is an effective way to diagnose and resolve wiring problems quickly and efficiently. Always make sure to take the necessary safety precautions and use the right tools for the job. With these steps on how to use a test light on wires, you should have no problem using a test light correctly on wires.
8 Safety Measures to Follow When Using a Test Light on Wires
Using a test light is an important way to diagnose electrical issues in your car or other vehicle. However, it’s essential to take safety precautions when using this tool, as you’ll be dealing with and potentially dangerous wires. Keep these tips in mind for the safe use of a test light on wires:
1. Make sure the engine is off, and the ignition key is removed before you start working. The key is removed to prevent electrical shorts and to make sure no one turns on the engine while you’re working.
2. Wear safety glasses, a face cover, and gloves when using a test light. This will help protect your eyes from sparks that may fly off of the wires as well as any other debris you may encounter. Safety wear is also suggested to protect your skin from contact with the metal and wires.
3. Read the instructions for your test light carefully before using it. This will provide important information about how to connect the tool and which settings to use, among other things.
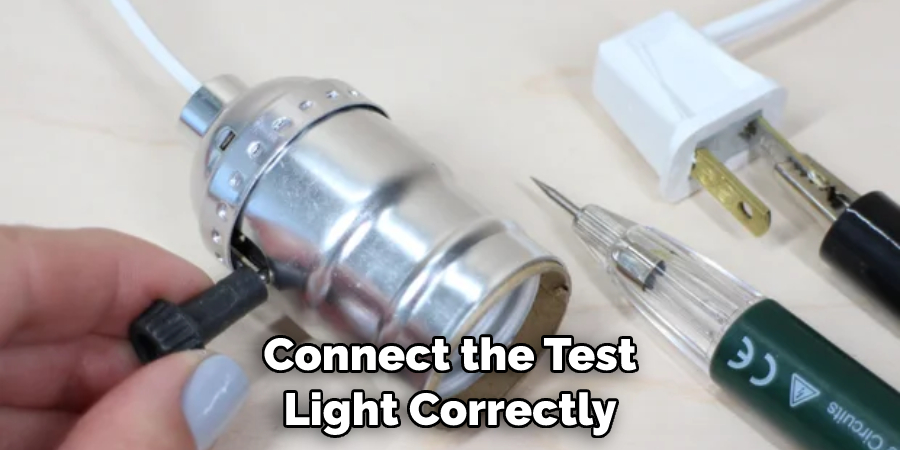
4. Connect the test light correctly according to the instructions provided with it. This is key to using it correctly and safely. The key is to ensure that the positive terminal of the test light is connected to a power source and the negative to the ground.
5. Choose an appropriate setting for your test light. Many models come with different settings, so make sure you select one that’s best suited for your task. The test light should be set to the highest current setting possible within the voltage range of your vehicle.
6. Make sure you turn off your test light before disconnecting it from any wires. This is important for safety purposes and will also help protect your tool from damage over time.
7. Always keep one hand behind your back when working with a test light. This prevents accidental contact with a live wire, as you don’t want to be shocked or electrocuted. On your back is the safest place for your free hand.
8. Finally, always disconnect and store your test light after each use. Put it away in a safe place where you won’t forget about it, or leave it on an engine part that can be damaged by heat, like the exhaust manifold.
By remembering these safety measures when using a test light on wires, you can avoid any potential electrical hazards and get safe, accurate results for your diagnostic work. Keep tips in mind for the successful and-free use of this important tool.
Frequently Asked Questions
How Long Will It Take to Finish the Project?
This will depend on how complex the wiring is, what type of test light you are using, and how familiar you are with the process. Generally, it should take no more than an hour or two to complete a project that involves testing wires with a test light. Also, make sure to read and follow any safety instructions that are included with the test light.
What Types of Wires Can Be Tested With a Test Light?
A test light can be used to test most types of wires, including copper, aluminum, and PVC-coated wires. Most test lights are designed for use in automotive wiring but can also be used for other types of wiring. Make sure to consult the instruction manual of your test light before attempting to use it.
How Do I Know Whether a Wire Is Positive or Negative?
It is important to determine whether a wire is positive or negative before using a test light on it. To do this, use a voltmeter or multimeter to test the voltage of the wire. A positive wire will have a higher voltage than a negative wire. Additionally, if you are unsure, it is best to consult an electrician or car mechanic before beginning the project.

Conclusion
In conclusion, understanding how to use a test light on wires is key to being able to identify and solve electrical issues. If you have access to test light, it’s simple and straightforward to use for testing circuits and wiring. With the right knowledge, using a test light correctly can save you time and money when dealing with any electrical problems in your vehicle or home.
By following these instructions, you should be able to safely and easily use the tool without risking damage and fix any problems with your electrical system. Never forget safety first when dealing with electricity, though – remember that even with something as simple as a test light, it’s always good practice to take proper precautions. Being safe while troubleshooting electric current is essential; start using your test light soon and stay safe!

