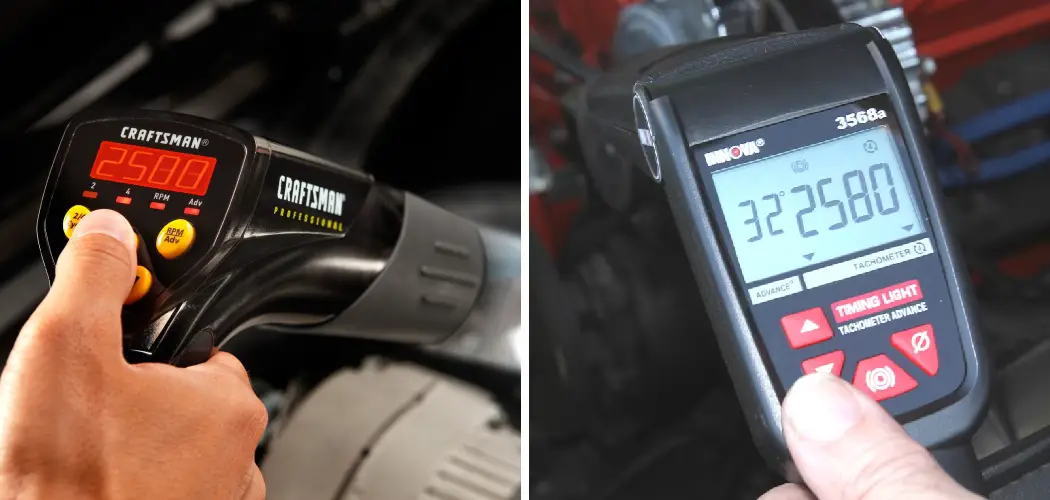
Are you the proud owner of a car or bike that expresses your unique style and personality? If so, you know how important it is to keep it running properly. Staying on top of regular maintenance tasks, such as tune-ups, can ensure your vehicle runs longer and more efficiently. One essential tool for any automotive enthusiast is a digital timing light – but what exactly does this device do?
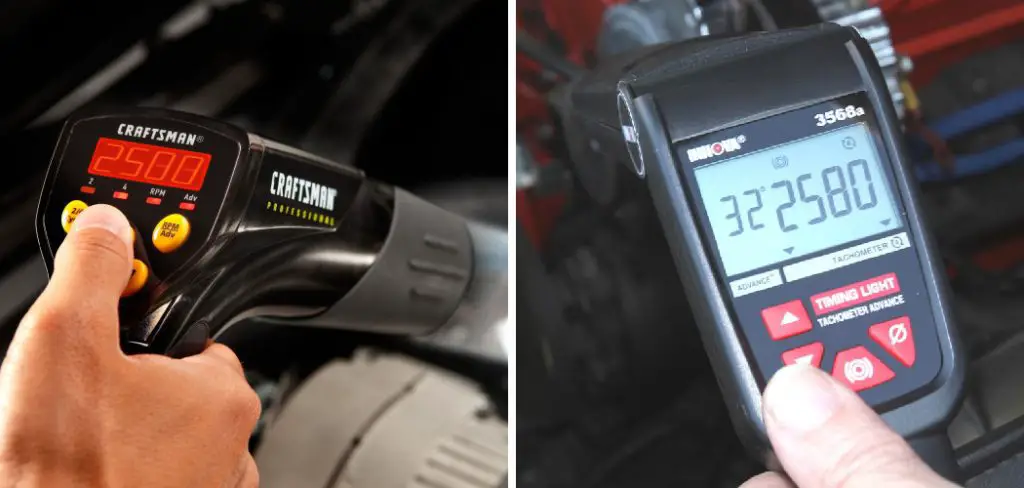
In this blog post, we’ll explain how to use a digital timing light to ensure your engine’s ignition system is operating at optimal levels. From understanding the anatomy of the device to setting up and performing an actual test, our comprehensive guide will ensure you understand every step involved in using this equipment.
With proper knowledge gained from reading through our article, confidently diagnose any issues with precision and ease!
What Will You Need?
Before you jump into using the digital timing light, make sure you have all the necessary components ready. For our blog post, we’ll assume that your vehicle is equipped with a standard 12-volt electrical system and a distributor-less ignition system.
You will need:
- A Digital Timing Light: This device hooks up to your engine’s spark plug wire and displays the timing information on a digital display.
- A 12-volt Battery: Any car or truck battery will do; make sure it is able to deliver enough current for the timing light.
- Socket Wrench Set: This set of tools, which includes various sizes of sockets, is necessary for removing/installing distributor and spark plug components.
- Safety Goggles: To protect your eyes from any debris that might fly up while working on your engine.
- Owners Manual: Most manufacturers provide an owner manual for their vehicles; this is crucial for understanding timing specifications and other important information.
Now that you have all the necessary components let’s move on to understanding the anatomy of a digital timing light.
8 Easy Steps on How to Use a Digital Timing Light
Step 1: Connect the Timing Light to the Battery
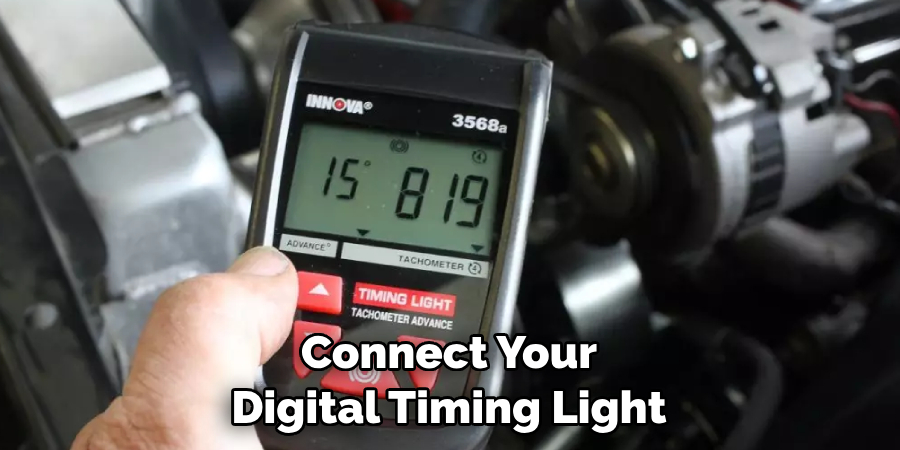
First, connect your digital timing light to the vehicle’s battery. The timing light comes with two leads, typically color-coded. The black lead should be connected to the negative terminal on the battery, while the red lead hooks up to the positive terminal. Ensure the connections are secure for accurate readings.
Step 2: Attach the Sensor Clamp
After securing the connection to the battery, locate the number one spark plug wire. This is typically the first in the sequence of spark plug wires and is often located at the front of the engine. After identifying the correct wire, attach the sensor clamp of your digital timing light to it. Make sure the clamp is fastened securely to ensure a good connection and accurate reading.
Step 3: Prepare the Engine
Before starting the engine, make sure all wires are clear of moving parts and that it is safe to start. Adjust the idle speed to the manufacturer’s specification, typically found in the vehicle’s owner’s manual if needed. Now, start the engine and let it run for a few minutes to reach its operating temperature. This will ensure the accuracy of the timing light’s readings.
Step 4: Aim the Timing Light
Now that the engine is running aim the timing light at the timing marks on the engine’s crankshaft pulley or flywheel (the exact location may vary depending on your vehicle model – consult the owner’s manual for specifics). Squeeze the trigger on the timing light to activate the light beam. You’ll see a strobe effect that “freezes” the action, allowing you to read the timing mark position.
Step 5: Read the Timing Mark
The light will illuminate the timing marks on your engine’s crankshaft pulley. The position of these marks in relation to a fixed point on your engine (usually a pointer on the crankcase) will tell you the timing advance or delay.
The marks may include a line, notch, or dot on the pulley and scale marked with degrees on the engine. Your engine’s timing is advanced if the mark appears before the zero or TDC (Top Dead Center) mark. If it appears after, the timing is retarded.
Step 6: Adjust the Timing if Necessary
If your timing is advanced or retarded, you may need to adjust it. To adjust, you’ll need to loosen the distributor hold-down bolt and rotate the distributor. Rotating the distributor clockwise retards the timing, and rotating it counterclockwise advances the timing.
Make small adjustments, recheck the timing, and continue adjusting until the timing mark aligns with the specifications in your owner’s manual. Once the correct timing is achieved, tighten the hold-down bolt to secure the distributor in its new position.
Step 7: Disconnect and Store the Timing Light
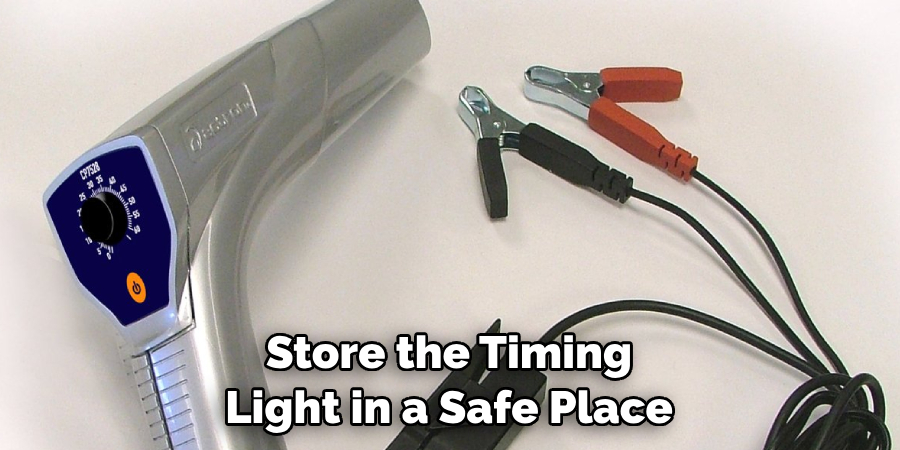
You can turn off the engine after achieving the correct timing and securing the distributor. Disconnect the timing light by first removing the sensor clamp from the spark plug wire and then disconnecting the battery leads. Store the timing light in a safe place for future use. Always ensure the vehicle is turned off and the timing light is safely disconnected before storage.
Step 8: Verify the Adjustment
Once you’ve disconnected the timing light and stored it safely, restart your engine to verify the adjustment. Listen for any unusual noises and ensure that the engine is running smoothly. If you notice any knocking or pinging sounds, this may indicate that further adjustments are necessary.
Keep in mind that precise timing can fluctuate depending on factors such as fuel quality and outdoor temperature. It might be necessary to make slight further adjustments for optimal engine performance.
By following these eight easy steps, you can confidently use a digital timing light and diagnose any issues with your vehicle. With this knowledge gained from our article, you’ll be able to identify the timing marks quickly and adjust them precisely for maximum engine performance.
5 Additional Tips and Tricks
- Understand Your Timing Light: Before you start using a digital timing light, understand its functions and features. Most models come with an instruction manual that you should read thoroughly.
- Ensure Proper Connection: Always ensure the timing light is correctly connected to the battery and the ignition system. Incorrect connections can lead to inaccurate readings.
- Check for Interference: If your digital timing light gives erratic readings, it may be due to electrical interference. Always check for any potential sources of interference before taking readings.
- Regular Maintenance: Just like any other tool, regular maintenance of your digital timing light is essential for its longevity and accurate performance. Make sure to clean it regularly and check for any signs of damage.
- Safety First: When using a digital timing light, remember working with a vehicle’s electrical system. Take all necessary safety precautions, such as wearing protective eyewear glass and ensuring the car is in a stable position.

With these tips and tricks in mind, you should be ready to use your digital timing light like a pro.
5 Things You Should Avoid
- Avoid Disconnecting While Running: Never disconnect the timing light while the engine is running. It can result in electrical shock or short circuit. Always turn off the engine before making any changes.
- Avoid Using a Damaged Light: If the timing light is damaged or the wires are frayed, avoid using it. Damaged equipment can lead to inaccurate readings and potential safety hazards.
- Avoid Working in a Damp Location: Moisture can interfere with the electrical components of the timing light. So, avoid using the timing light in damp locations.
- Avoid Rushing the Process: Don’t rush timing your engine. It requires precision and patience. Hasty adjustments could lead to misaligned timing and engine malfunctions.
- Avoid Ignoring the Manufacturer’s Instructions: Each timing light is different, and the manufacturer’s instructions provide valuable information on correctly using it. Ignoring these instructions can lead to misuse and potential damage to the device.
By following these tips and avoiding the pitfalls, your car should be running smoothly in no time. With a bit of practice, you’ll become an expert at using your digital timing light.
What Are the Benefits of a Digital Timing Light?
The most obvious benefit is its accuracy and convenience. Digital timing lights allow users to make precise adjustments with minimal effort. They also provide greater control over the car’s ignition system, which can help improve engine performance and fuel economy. Additionally, they are much easier to use than manual timing lights, making them ideal for inexperienced mechanics.
Finally, digital timing lights provide a safe and reliable way to measure engine speed. They take the guesswork out of the process and help ensure your car runs optimally.
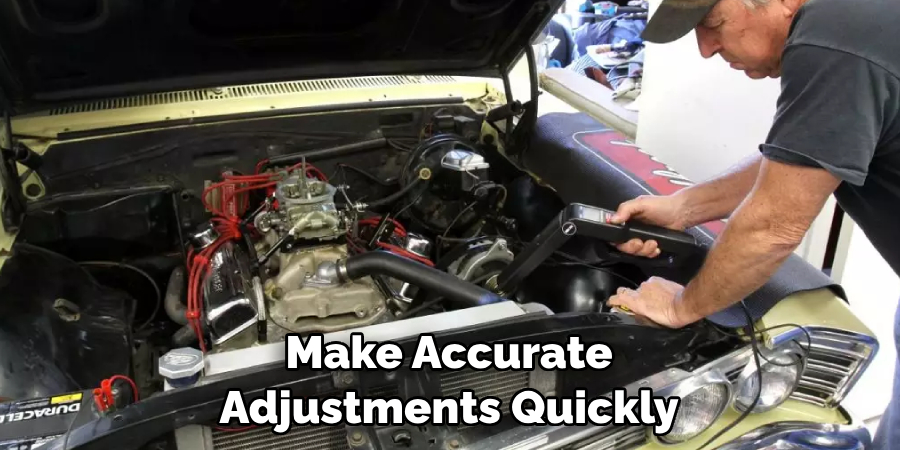
Using a digital timing light can also save time and money in the long run. With precise readings, you’ll be able to make accurate adjustments quickly and efficiently, avoiding costly repairs down the line.
Conclusion
We have explored how to use a digital timing light. From inspection of the spark plug wire routing to proper engine timing, there are a few basic steps you can take to make sure your timing light is in top condition.
Doing these steps correctly and regularly checking for any signs of wear or tear can help ensure your equipment is always working when needed. Don’t forget the importance of the pin gap on the digital timing light tip—properly adjusting this will allow for its correct operation and extended life.
So, now that you know all about using a digital timing light confidently be sure to share this critical information with fellow automotive fans so that they, too, may benefit from better performance and safety. Every vehicle deserves a happy owner and good service, so get out there and show off your newfound knowledge!
You Can Also Check This Out to Keep Fog Lights on with High Beams

