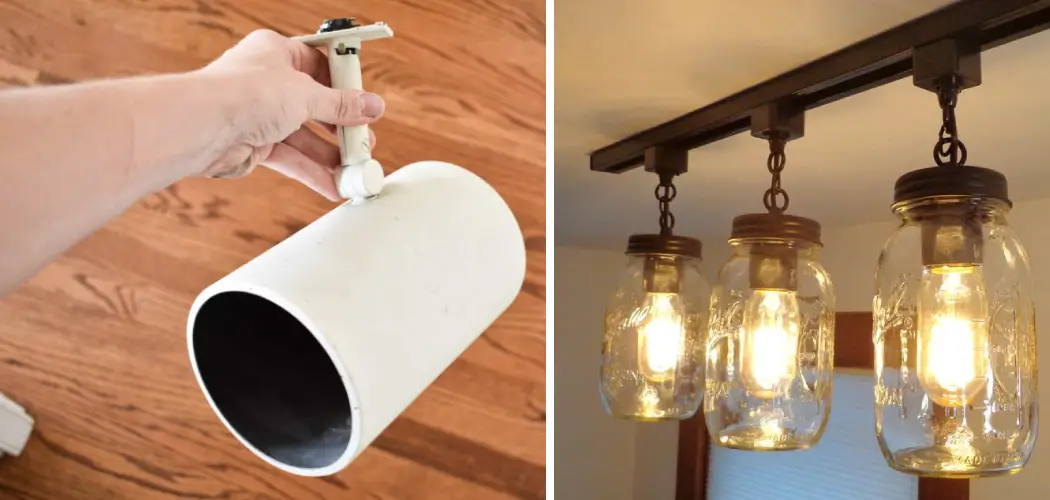
Are you tired of your home’s same old track lighting? Updating your track lighting is a great way to refresh your space and add a modern touch.
Updating track lighting can significantly enhance the ambiance and functionality of a space. As a versatile lighting solution, track lighting offers aesthetic appeal and practical benefits, making it a popular choice for many homeowners. Whether you’re looking to replace old fixtures, improve lighting efficiency, or simply refresh your décor, updating your track lighting is a straightforward project that can drastically change the look and feel of a room.
In this guide on how to update track lighting, we’ll cover the essential steps and considerations to help you successfully update your track lighting system, ensuring you achieve the desired illumination and style.
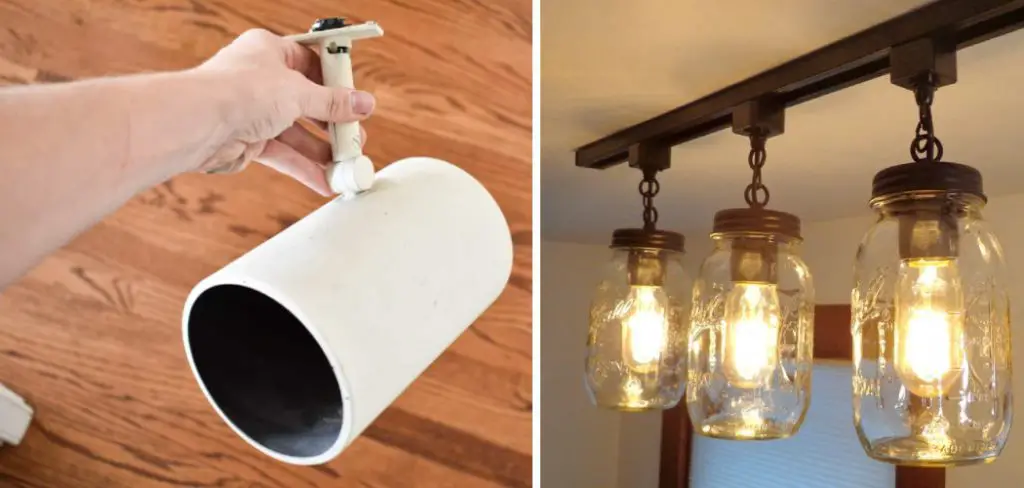
What Will You Need?
Before you begin updating your track lighting, it’s essential to make sure you have all the necessary tools and materials. Here is a list of items you’ll need:
- New track lighting fixtures
- Phillips screwdriver
- Wire strippers
- Electrical tape
- Voltage tester
- Ladder or step stool (if required)
It is crucial to use quality lighting components and follow safety precautions when handling electricity, especially when working with electrical connections.
9 Easy Steps on How to Update Track Lighting
Step 1: Remove Old Track Lighting
Before removing your old track lighting, ensure that the power to the fixture is turned off. Locate the circuit breaker that controls the lighting fixture and switch it off for safety. Verifying that the power is disconnected is vital by using a voltage tester to check the wires. Once you’ve confirmed that no electricity is flowing, you can safely proceed with the removal process.
Begin by carefully detaching the old lighting fixtures from the track. You may need to unscrew or unclip them, depending on the model. Keep a firm grip on the fixture to prevent it from falling as you disconnect it. Then, detach the track itself from the ceiling or wall, using the Phillips screwdriver to remove the screws that secure it in place.
Take care to set aside all removable parts and screws, as you may need them for the installation of your new track. Once the track and fixtures are removed, this is an excellent opportunity to inspect the wiring and the area for any damage or wear that might need attention before you move on to installing the new lighting.
Step 2: Prepare the Area for New Lighting Installation
With the old track lighting removed, it’s essential to prepare the area for the installation of your new lighting system. Start by inspecting the mounting surface to ensure it is clean and debris-free. If necessary, patch any holes or imperfections left behind by the previous installation to create a smooth, sturdy surface for mounting. Next, take a moment to review the wiring.
Use wire strippers to trim any damaged or excess wire carefully, ensuring a neat and accessible connection point. Double-check for any exposed wires or potential hazards, applying electrical tape to secure any vulnerable areas. Ensure the mounting surface can support the new track lighting system, and make any adjustments as needed, such as tightening screws or using spacers. This diligence helps ensure a seamless and secure installation process, laying the groundwork for a successful track lighting upgrade.
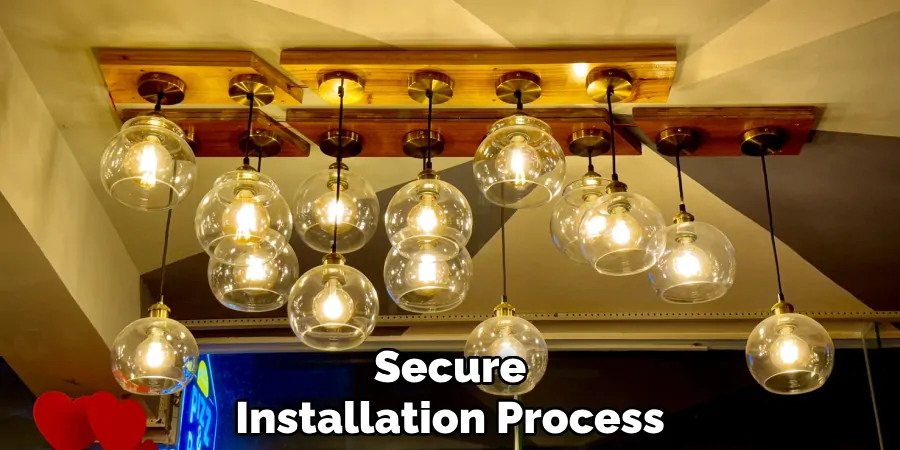
Step 3: Install the New Track
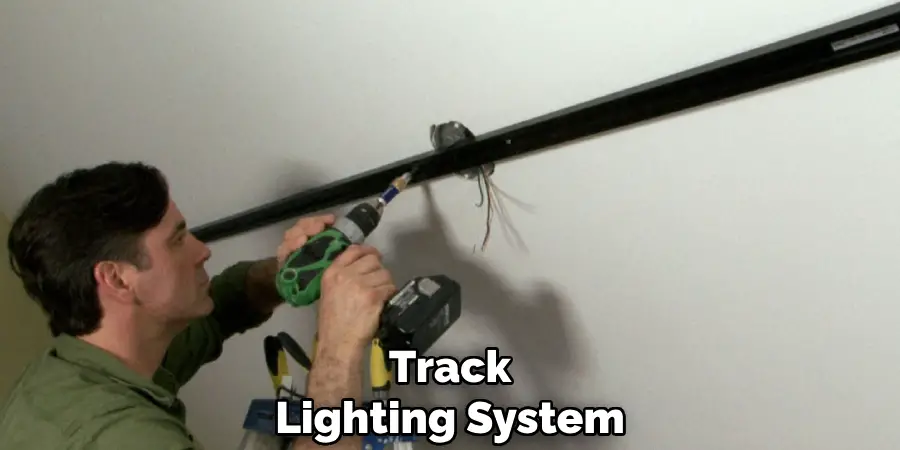
Begin by positioning the new track on the ceiling or wall and aligning it with the prepared mounting surface. Ensure that the track follows the desired layout and provides optimal lighting coverage for the area. While holding the track in place, mark the locations for the mounting screws.
Pre-drill holes at the marked points will facilitate a more straightforward installation. With a Phillips screwdriver, attach the track to the surface using the screws provided with your new lighting kit. Make sure the track is securely fastened to avoid any movement or instability. Periodically check the alignment as you secure each section of the track to maintain a straight installation.
Step 4: Connect the Wiring
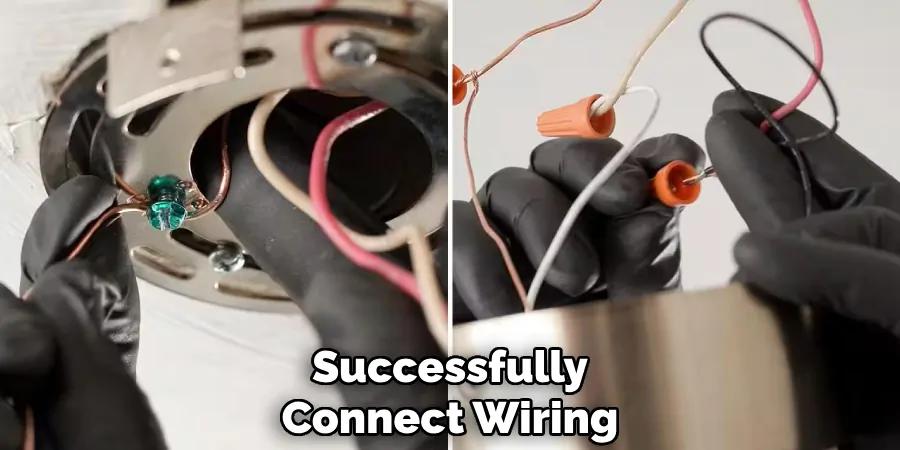
Once the new track is securely installed, it’s time to connect the wiring. Start by gently pulling the wires from the ceiling or wall through the slot in the track’s base. Make sure to keep the wires organized to prevent tangling. Using the wire strippers, strip approximately 1/2 inch of insulation from the ends of each wire, ensuring a clean and solid connection.
Match the wires from the ceiling (or wall) with the corresponding wires on the new track—commonly black to black (live wires) and white to white (neutral wires). Connect the matching wires by twisting them together and securing the connection with a wire nut. For added safety, wrap electrical tape around the base of the wire nut to keep it securely in place. If your new track has a ground wire (usually green or bare copper), connect it to the grounding screw or wire in the junction box.
Step 5: Secure the Electrical Connections
After successfully connecting the wiring, ensuring all electrical connections are secure and safely insulated is crucial. Carefully tug each connection to verify the wires are tightly twisted together, and the wire nut is firmly in place.
Double-check that electrical tape is neatly wrapped around each wire nut to provide additional insulation and protection against potential shorts. Take a moment to inspect the grounded connection, confirming it is tightly attached to the grounding screw or wire. Properly securing these connections ensures the safety of your track lighting installation and improves its long-term reliability.
Step 6: Attach New Lighting Fixtures
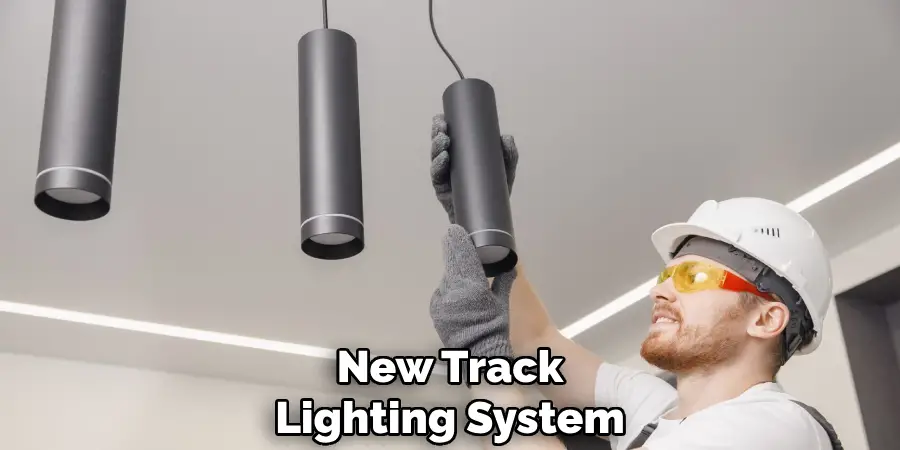
With the electrical connections secured, you can now attach the new lighting fixtures to the installed track. Begin by selecting your desired fixtures and positioning them along the track according to your lighting plan. Most track lighting systems feature a simple clip-in or twist-lock mechanism for easy mounting.
Carefully align the fixture’s connector with the track, then gently push or twist it into place until you hear or feel it securely locked. Ensure each fixture is firmly attached and can be smoothly repositioned along the track. Adjust the angle and direction of each fixture to ensure balanced lighting coverage across your space.
Step 7: Test the Lighting System
It’s time to test the new lighting system with all the lighting fixtures attached to the track. Begin by turning the power back on at the circuit breaker and using a light switch to activate the lights. Observe each fixture to ensure they illuminate correctly, paying attention to any flickering or issues that might indicate a loose connection or faulty bulb.
If any issues arise, immediately turn off the power and double-check all connections and fixture attachments to identify any problems. Once verified and operating perfectly, adjust the fixtures once more if needed to optimize the lighting effect in the room. This final step ensures that your new track lighting system is safely installed and functioning as intended, ready to illuminate your space effectively.
Step 8: Final Clean-Up and Maintenance Tips
With the track lighting system successfully installed and tested, it’s time to clean the work area. Carefully remove any remaining tools, packaging materials, and debris to leave the space tidy and free from obstacles. Additionally, gather any excess wire or pieces that might have been trimmed during the process for proper disposal or storage.
Once the area is clean, take a moment to review regular maintenance tips for your new lighting system. To ensure longevity and optimal performance, periodically dust the fixtures and track them with a soft cloth to prevent the buildup of dirt and grime. Inspect the fixtures regularly for any signs of wear or damage, and replace bulbs that become dim or non-functional. By adhering to these maintenance practices, you can enjoy the full benefits of your new track lighting system for years to come.
Step 9: Enjoy Your New Lighting
With the installation and clean-up complete, it’s time to enjoy your new track lighting system. Admire how the fixtures enhance the ambiance of your space, providing both functionality and aesthetic appeal.
The versatility of track lighting allows you to adjust the fixtures whenever needed, making it simple to adapt the lighting to different occasions or room layouts. Whether you’re highlighting artwork, illuminating a workspace, or creating a cozy atmosphere, your newly installed track lighting system is equipped to meet various needs with style. Take pride in a job well done and your improved lighting environment.
By following these step-by-step instructions, you can easily and safely install track lighting in any home room. This guide has provided all the necessary information for a successful installation, from selecting the right track and fixtures to connecting the wiring and testing the system.
Conclusion
How to update track lighting in your home is a rewarding and manageable project that can drastically enhance the ambiance and functionality of your space. You can select the right components that suit your style and lighting needs through careful planning and attention to detail.
This guide has walked you through dismantling old fixtures, securing new wiring, and installing modern and efficient lighting solutions. By ensuring secure electrical connections and proper fixture alignment, you improve your home’s safety and appearance. Regular maintenance keeps your updated system performing optimally, allowing you to enjoy the benefits of adaptable and stylish lighting for years.
Overall, updating track lighting is a worthwhile endeavor that elevates a room’s visual appeal and provides practical illumination enhancements.

