Are you tired of looking at your outdated drop ceiling lighting fixtures? Are you searching for an easy, economical way to modernize your home or office space? Update your old lighting with ease and minimal stress by following these simple steps.

With just a few supplies and a bit of time, you can transform the look of any room in no time! Read on for all the details about how to update drop ceiling lighting fixtures so that your space looks fresh and updated.
Step-by-Step Guidelines on How to Update Drop Ceiling Lighting
Step 1: Assess the Current Situation
Take a look at your drop ceiling and note any existing fixtures that you might want to update. Think about whether they should be replaced outright or you can salvage them with a few cosmetic changes. It can also help to take pictures of each fixture and make a list of the supplies you will need. But remember, safety first! Turn off the power to the room before beginning any work involving electricity.
Step 2: Choose the Right Fixtures
Make sure to identify fixtures that are compatible with the ceiling grid and can be used in drop ceilings. Choose fixtures with the right brightness, color temperature, and wattage to ensure that you get the best performance from your lights. You may want to consider LED lights or a dimmable option, which can be great for creating different moods in your space. Make sure to also select fixtures that match the style of your room.
Step 3: Gather the Necessary Supplies
Gather all of the necessary supplies including a ladder, screwdrivers, light bulbs, pliers, wire cutters, and electrical tape. Make sure to have extra bulbs on hand in case any are broken during installation. If you’re dealing with a complicated installation, consider hiring an electrician to help. But if you’re confident in your abilities, go for it! You can do it! Don’t hesitate.

Step 4: Remove Old Fixture & Wiring
Using a ladder or step stool, carefully remove the old fixture from the ceiling grid. Unscrew the screws holding it in place and disconnect the wiring for safe removal. Carefully remove all of the wirings so that you can use them for your new fixtures. If you’re replacing the fixtures with totally new ones, make sure to remove all of the old wiring and discard them in a safe manner. But if you’re salvaging the existing fixtures, you can use the same wiring.
Step 5: Install the New Fixtures
Using the wiring from your old fixtures, begin connecting and installing your new fixtures in the ceiling grid. Make sure to use wire nuts or electrical tape to secure all of your connections safely. It’s important to make sure that all of your connections are secure and tight before flipping the switch on. Then, attach your new fixtures to the ceiling grid with screws and tighten them down. But remember, don’t over-tighten the screws!
Step 6: Secure the Fixture Into The Place
Once you have connected everything and made sure that it is secure, begin screwing the fixture into place. Ensure that all screws are tight so that there is no risk of movement or accident. That’s it! You can now turn the power back on and enjoy your newly updated drop ceiling lighting. Always remember to be safe when working with electricity. Take the necessary precautions and be sure to only attempt something if you are comfortable with it.
Step 7: Test out All Lights & Connections
Once you have installed all of your new lights, turn on each one individually to make sure they are functioning properly. Pay attention to any flickering, buzzing sounds, or dim lighting as these are all signs of a loose connection. It’s always better to be safe than sorry, so take the time to check all of your connections. That’s all there is to it! You now have the perfect drop ceiling lighting.
Step 8: Clean Up & Dispose Properly
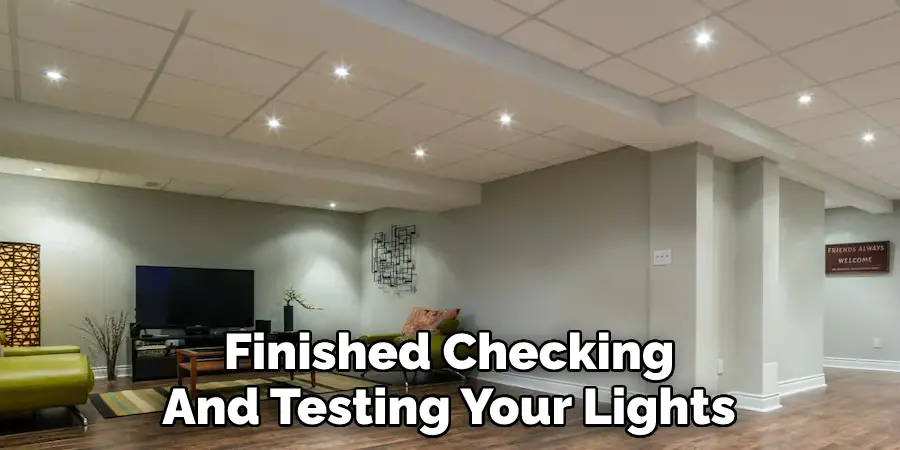
Once you have finished checking and testing your lights, dispose of all materials properly. Make sure to gather up any screws or extra wiring and place it in the appropriate garbage bin. It’s important to ensure that all materials are disposed of properly, so be sure to check the local regulations and guidelines. If you’ve hired a professional, be sure to ask if they can help with the disposal and cleanup. But if you’ve done the work yourself, remember to be safe and dispose of all materials properly.

Step 9: Enjoy Your Newly Updated Lights!
Finally, enjoy the fruits of your labor! Sit back and bask in the beauty of your newly updated drop ceiling lighting fixtures. You deserve it after all that hard work! Remember that updating your lighting fixtures can have a huge impact on the overall look and feel of your space. It’s an easy and inexpensive way to transform a room, so don’t be afraid to get creative and have some fun with it! So take the time to learn how to update drop ceiling lighting and enjoy your new look!
These simple steps should help you update your drop ceiling lighting fixtures easily and economically so that you can transform any room into something special. With just a little bit of effort, you can achieve the look you want without breaking the bank.
Do You Need to Use Professionals?
No, you can update drop ceiling lighting yourself without the help of any professionals. Just ensure that you are comfortable with the task and take all of the necessary safety precautions. If you’re still not sure, it may be a good idea to consult a professional electrician who will be able to give you specific advice and point out any potential hazards. But overall, updating drop ceiling lighting is a relatively easy task that anyone can do with the right tools and knowledge.
How Much Will It Cost?
The cost of updating drop ceiling lighting will depend on the type and number of fixtures that you will be using. Generally speaking, it’s not too expensive and you should be able to find a good quality product for a reasonable price. Just remember that the cost of installation can quickly add up, so it’s important to budget for this as well.
Frequently Asked Questions
Q: Are There Any Safety Tips I Should Keep in Mind?
A: Yes, be sure to take all of the necessary safety precautions when updating drop ceiling lighting. Make sure that you turn off the power at the breaker box before doing any work and use appropriate tools for each step. If you’re still not sure about something, it’s always best to consult a professional.

Q: Is There Anything Else I Should Know Before Starting?
A: Yes, make sure that you have all of the necessary tools and materials before starting. Read through the instructions carefully and double-check to make sure that you understand each step. It’s also a good idea to measure your space beforehand so that you know exactly what type of light fixtures you need and how to install them properly.
Q: Why Should I Update Drop Ceiling Lighting?
A: Updating drop ceiling lighting is an easy and inexpensive way to transform any room. It can have a huge impact on the overall look and feel of your space, so don’t be afraid to get creative and have some fun with it! So take the time to learn how to update drop ceiling lighting and enjoy your new look!
Q: How Long Does It Take?
A: The amount of time it takes to update drop ceiling lighting will depend on the size and complexity of the project. However, most projects can be completed within a few hours. But, it’s always best to allow yourself enough time so that you don’t rush the job and make mistakes.
Q: What Kind of Fixtures Should I Use?
A: The type of fixtures you choose will depend on your personal preferences and the existing décor in your space. It’s important to choose lighting that complements the overall style and design of your room. However, some of the most popular types of fixtures used for drop ceiling lighting include recessed lights, pendant lights, and track lights.

By taking the time to learn about how to update drop ceiling lighting, you can easily transform any room into something special.
Conclusion
Updating your drop ceiling lighting doesn’t have to be a daunting task, especially with the proper information and tools. Whether you’re a beginner DIY-er tackling their first home improvement project or an experienced homemaker looking for an easy way to update your home décor, replacing old drop ceiling lighting is an achievable goal that can add both aesthetic charm and heightened functionality.
With the help of this article on how to update drop ceiling lighting
and the tools, and supplies you should have no trouble creating an attractive overhead illumination that meets all of your design preferences. And once it’s done, you can sit back and enjoy the final result knowing that you conquered this task as efficiently as possible with stunning results.

