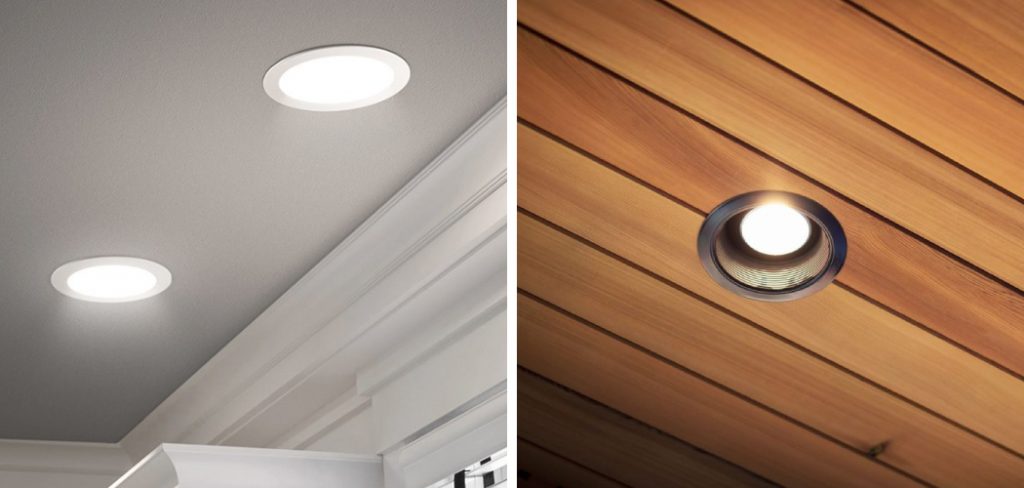
Are you looking to change the look and feel of your home or office space without breaking the bank? Consider updating your can lights! While most people may overlook these little fixtures, they can significantly affect how your space looks and feels. In this blog post, we’ll discuss how to update can lights with a few easy and affordable steps. Keep reading to learn how!

Can You Update the Can Lights?
In modern times, updating your home’s lighting fixtures can make a big difference in the overall aesthetic. Can or recessed lights have been a popular choice for many years due to their discreet design and ability to blend in seamlessly with the ceiling. However, can the lights still be updated if you want to refresh your space?
One option is to switch out the light bulb for a more energy-efficient LED bulb to save on electricity costs. Another option is to install trim kits in various styles and finishes to add a pop of personality to your lighting fixtures. With a little creativity and some simple changes, updating your can lights can be a fun and easy DIY project with a big impact.
Brightening Up Your Space: A Guide on How to Update Can Lights
1. Choose the Right Bulbs
The first step in updating your can lights is to choose the right bulbs. This can be a little tricky, as so many options are available in the market. However, we recommend using LED bulbs as they’re energy-efficient, long-lasting and come in different colors and shapes. LED bulbs are also cost-effective, as they consume less electricity and produce less heat, so you’ll save money on your electricity bills and maintenance costs.
2. Switch Up the Trim
Switching up the trim is another easy and affordable way to update your can lights. The trim is the visible part of the fixture that sits on the ceiling and comes in different colors, shapes, and finishes. You can wear a sleek and modern look with a brushed nickel trim or jazz things up with colorful and patterned trim. Whatever you choose, ensure it matches your existing décor and adds a wow factor to your space.
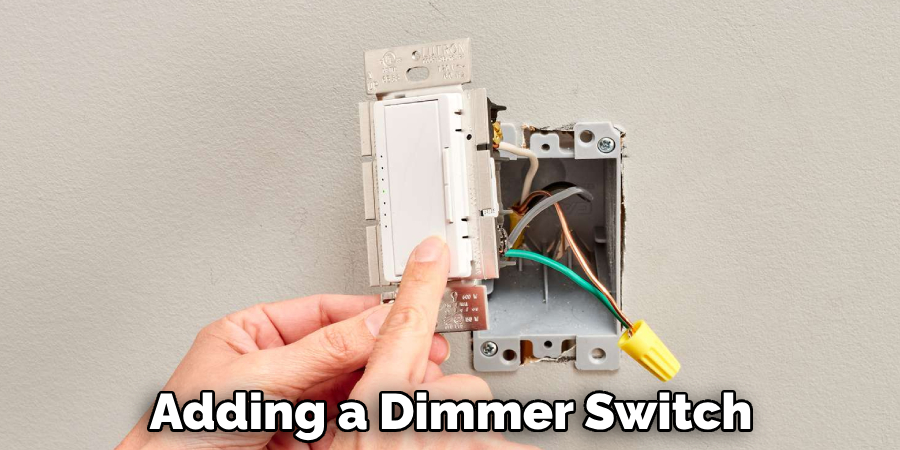
3. Add a Dimmer Switch
If you want to add more functionality to your can lights, consider adding a dimmer switch. A dimmer switch lets you control the brightness of your lights, which is perfect for creating mood lighting or adjusting the light levels in the room. A dimmer switch also extends the lifespan of your bulbs, as they’re not always at full brightness, which means you’ll save money on replacement bulbs too.

4. Install a Reflective Cover
If you want to increase the light in your space, consider installing a reflective cover on your can lights. A reflective cover is a simple accessory that sits inside the fixture and reflects light around the room. They’re easy to install, affordable, and can make a big difference in your space’s looks and feels. Plus, they’re great for rooms with low ceilings or spaces that need extra brightness.
5. Hire a Professional
If you’re uncomfortable with updating your can lights or want to ensure the job is done safely and correctly, consider hiring a professional. A professional will have the tools, experience, and know-how to update your can lights efficiently and cost-effectively. Plus, they can offer advice on which bulbs, trims, and accessories to choose based on your unique needs and preferences.
6. Take Safety Precautions
When working with electricity, taking safety precautions is important to avoid potential risks. Switch off the power before starting work and invest in safety equipment like insulated gloves and rubber-soled shoes. Additionally, watch for exposed wiring or frayed cords, which could indicate a bigger issue.
7. Keep It Clean
Once you’ve finished updating your can lights, keep them clean and free of dust and debris. This will ensure that they operate safely and efficiently and extend their lifespan. You can use a damp cloth or vacuum attachment to remove the dust from the fixtures regularly, plus check for any signs of wear and tear that could indicate a problem.

Following these simple steps will help you update your can lights quickly and safely, transforming the look of your space in no time! With the right bulbs, trim, and accessories, you’ll be able to create a cozy ambiance that reflects your style while saving money on electricity costs.
5 Considerations Things When You Need to Update Can Lights
1. The Type of Light Bulb You Need
When updating your can lights, one of the first things you must consider is the type of light bulb you need. There are various light bulbs on the market, each with benefits and drawbacks. You’ll need to decide which type of light bulb is best for your needs.
2. The Size of The Light Bulb
Another thing to consider when updating your can lights is the size of the light bulb. Make sure to choose a light bulb that is the appropriate size for your needs. Choosing a light bulb that is too small or too large can cause problems.
3. The Wattage of The Light Bulb
The wattage of the light bulb is another important consideration when updating your can lights. You’ll need to choose a light bulb with the appropriate wattage. If you choose a light bulb with too high of a wattage, it could cause problems.
4. The Color Temperature of The Light Bulb
The light bulb’s color temperature is another thing you’ll need to consider when updating your can lights. The color temperature refers to how “warm” or “cool” a lightbulb appears. Warm white bulbs have a yellowish hue, while cool white bulbs have a bluish hue. You’ll need to decide which color temperature is best for your needs.
5. The Price of The Light Bulb
Finally, you’ll also need to consider the price of the light bulb when updating your can lights. Light bulbs come in various price ranges, so you must choose one that fits your budget.
Benefits of Update Can Lights
The update can lights are becoming more popular in homes and businesses due to their numerous benefits. One of these benefits is energy efficiency. These lights use a fraction of the electricity that traditional lighting systems use, making them an excellent option for those who want to reduce their energy bills and save the environment. Another benefit is that they are dimmable, allowing users to adjust the lighting in a room to suit their needs.

This feature makes update can lights perfect for task-based activities, such as reading or cooking, where bright light is necessary. Additionally, these lights have a sleek and modern design, adding a contemporary touch to any room. With their energy efficiency, dimmable capabilities, and stylish design, update can lights are a smart choice for anyone looking to improve their lighting system.
5 Common Mistakes People Make When Trying to Update Can Lights
1. Not Checking for A Compatible Trim
One of the most common mistakes people make when updating their can lights is not checking to see if they have a compatible trim. Can lights come in various sizes, and not all trims will fit all sizes? Be sure to measure your existing can light and compare it to the trim you’re considering before purchasing.
2. Not Checking for A Compatible Housing
Another common mistake is not checking to see if the new trim you’re considering is compatible with your existing housing. Can lights come with either screw-in or push-in housing, and not all trims will work with both types? Be sure to check the specifications of the trim you’re considering before making a purchase.
3. Not Removing the Old Trim
Many people try installing a new trim without removing the old one. This can be difficult, as the old trim may be stuck on tight. Be sure to remove the old trim before installing the new one.
4. Not Installing the New Trim Correctly
Another common mistake is not installing the new trim correctly. Trim installed upside down or backward can cause problems with the light, such as flickering or dimming. Be sure to follow the instructions with the new trim carefully to avoid this problem.
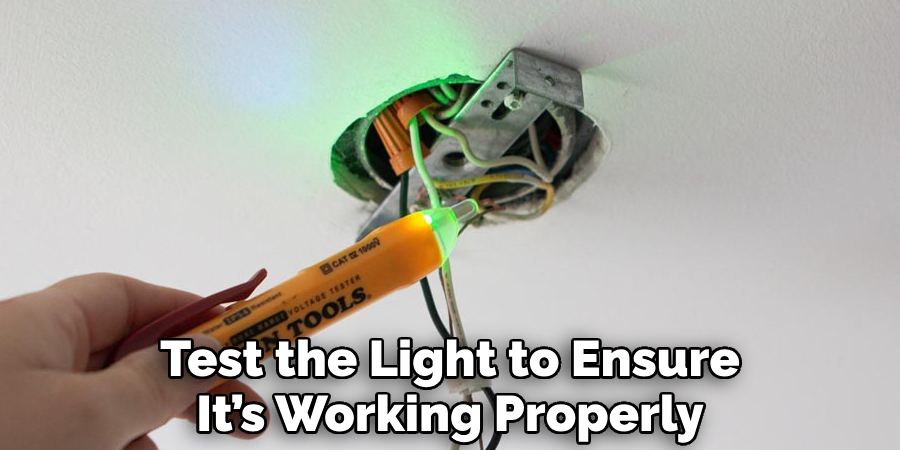
5. Not Testing the Light
After you’ve installed the new trim, test the light to ensure it’s working properly. Turn on the power and flip the switch to see if the light comes on. If it doesn’t, check to see if the bulbs are screwed in correctly or if any other issues could be causing the problem.

Updating your can lights is an easy and affordable way to update the look of any room in your home. However, before purchasing, it’s important to consider the type of light bulb you need, the size, wattage, color temperature, and price. Additionally, check for a compatible trim and housing and test the light after installation to ensure it’s working properly. These simple steps will help you get the most out of your new can lights.
Conclusion
Updating your can lights doesn’t have to be complicated or costly. With a few easy and affordable steps, you can brighten up your space and make it more functional and inviting. Remember to choose the right bulbs, switch up the trim, add a dimmer switch, install a reflective cover, and hire a professional if necessary. By doing so, you’ll be well on your way to creating the perfect ambiance in your home or office. Thanks for reading our post about how to update can lights.

