When it comes to ensuring safety in commercial and residential buildings, the functionality of emergency lighting is crucial. These lights guide power outages and other emergencies, making their reliability non-negotiable.
However, like all electrical systems, emergency lights can fail, which may lead to unsafe conditions during critical moments. Troubleshooting emergency light failure is a vital skill that facility managers, safety officers, and maintenance personnel should possess.
In this guide on how to troubleshoot emergency light failure, we will walk through the step-by-step process of diagnosing common issues with emergency lighting systems, provide solutions to rectify these problems and share best practices to maintain their optimal performance.
By understanding how to troubleshoot emergency lights effectively, you can ensure a swift response to any failures, thereby maintaining continuous safety for occupants.
What are the Causes of Emergency Light Failure?
There are various reasons why emergency lights may fail, ranging from minor issues like loose connections to more significant problems such as battery failure. Here are some common causes of emergency light failure that you should be aware of:
- Power Outage: During a power outage, the main electrical supply to the building is cut off, and the emergency lighting system automatically turns on. If the emergency lights do not turn on during a power outage, it could indicate a problem with the backup power source or wiring.
- Battery Failure: Since emergency lights rely on battery power, any issues with the batteries can lead to failure. Old, damaged, or incorrectly wired batteries can prevent the lights from functioning correctly.
- Poor Maintenance: Like all electrical systems, emergency lights require regular maintenance to ensure their proper functioning. Failure to routine inspections and testing can lead to issues that may cause the lights to fail during an emergency.
- Damaged Wiring or Components: Over time, the wiring and components of emergency lighting systems can become damaged due to wear and tear or external factors such as water damage or pests. Damaged wiring or components can disrupt the power supply to the lights, resulting in failure.
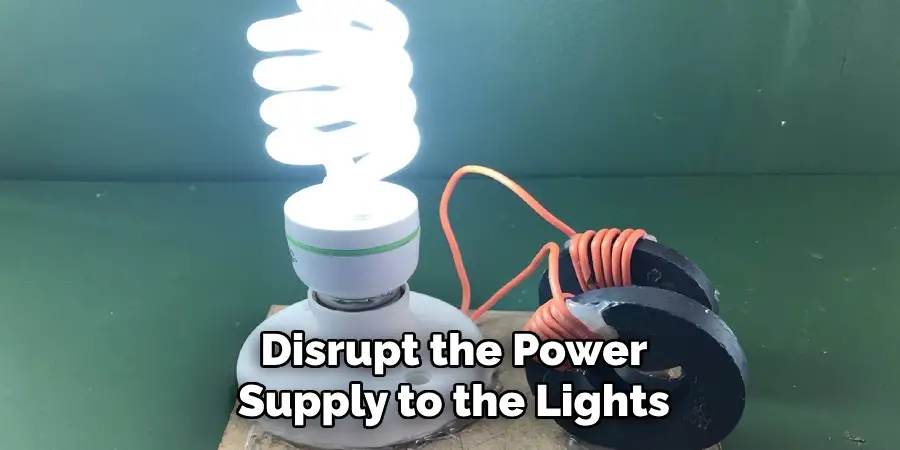
Once you have determined the possible cause(s) of emergency light failure, you can begin troubleshooting to identify and fix the issue.
What Will You Need?
Before you begin troubleshooting, make sure to have the following tools and equipment handy:
- Voltage tester or multimeter
- Replacement batteries (if needed)
- Screwdriver set
- Wire cutters/strippers
- Cleaning supplies (e.g. alcohol wipes)
Once you have these items, you can begin the troubleshooting process.
10 Easy Steps on How to Troubleshoot Emergency Light Failure
Step 1. Check Power Supply
Before delving into complex diagnostics, start with the basics by checking the emergency light’s power supply:
- Inspect the Circuit Breaker: Verify that the breaker is in the “on” position and has not tripped. If it has tripped, reset it and monitor the light to see if it operates.
- Test the Outlet: Utilize a voltage tester or multimeter to check that the outlet providing power to the emergency light is functional. If there’s no electricity coming from the outlet, investigate further to pinpoint the cause within the building’s electrical system.
- Assess the Charger Board: On models with a charger board, ensure it’s receiving power and functioning as intended. A malfunctioning charger board could prevent the system from switching to battery power during an outage.
Addressing power supply issues first can often resolve emergency light failure without needing more in-depth repairs or replacements.
Step 2. Examine Battery Condition
After confirming the power supply is active and in good condition, the next step is to inspect the battery, as it is the critical component that powers the emergency lights when the main supply fails:
- Check for Visible Damage: Look for any signs of damage, corrosion, or leakage on the battery. These are clear indicators that the battery needs replacement.
- Test Battery Voltage: Use a multimeter to measure the battery’s voltage. If the voltage is significantly below what it should be, the battery may be unable to hold a charge and require replacement.
- Evaluate Battery Age: Consider the age of the battery; most have a lifespan of 2-5 years. If the battery is nearing the end of its life, replacing it may prevent future failures.
Proper examination of the battery can often rectify issues with emergency lighting systems and is a critical checkpoint in the troubleshooting sequence.
Step 3. Look for Loose Connections
Even if the power supply and batteries are in good working order, loose connections can disrupt the flow of electricity to the emergency lights:
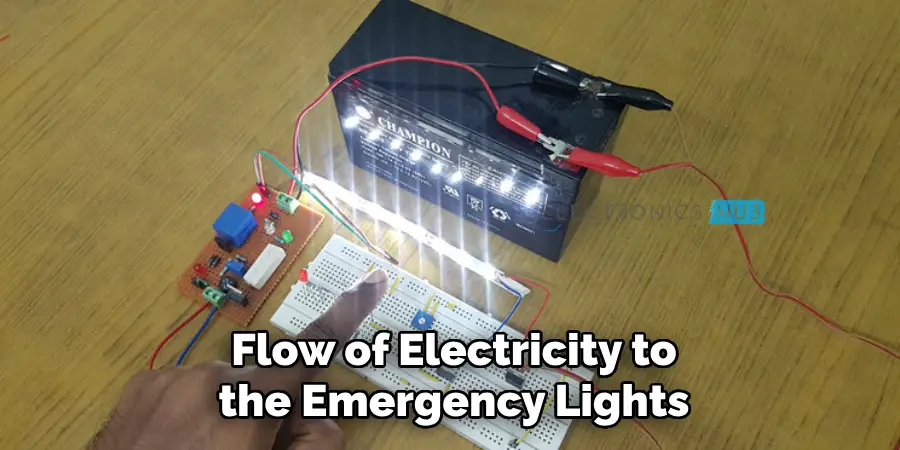
- Tighten Wire Terminals: Inspect all wire terminals to ensure they are tight and secure. A loose wire can cause intermittent or complete failure of the lighting system.
- Inspect Connection Points: Examine the connection points between the battery, charger board, and lights. Ensure that all connections are solid and there is no visible damage to the connectors.
- Verify Correct Wiring: Double-check that the configuration adheres to the manufacturer’s specifications. Incorrect wiring can lead to malfunctioning of the emergency lights.
Adhering to these checks helps ensure that electrical connections are correct and secure, reducing the risk of emergency light failure due to connection issues.
Step 4. Inspect the Light Bulbs and Lenses
Once you’ve ruled out issues with the power supply and ensured that all electrical connections are secure, turn your attention to inspecting the light bulbs and lenses:
- Test the Bulbs: If the emergency lights still aren’t functioning, the bulbs may be burnt out or defective. Replace the bulbs and test the lights again.
- Clean the Lenses: Dirty or opaque lenses can diminish the effectiveness of emergency lights. Clean the lenses with an appropriate cleaning solution and a soft cloth to ensure maximum light output.
- Check for LED Panel Issues: In LED emergency lights, panel issues can occur. Look for any dim or non-functioning LEDs and consider panel replacement if necessary.
Evaluating the condition of the bulbs and lenses is essential, as these components are critical to the proper functioning of the emergency lights.
Step 5. Test the Emergency Light Function
With all physical inspections complete, it’s crucial to test the functionality of the emergency lighting system:
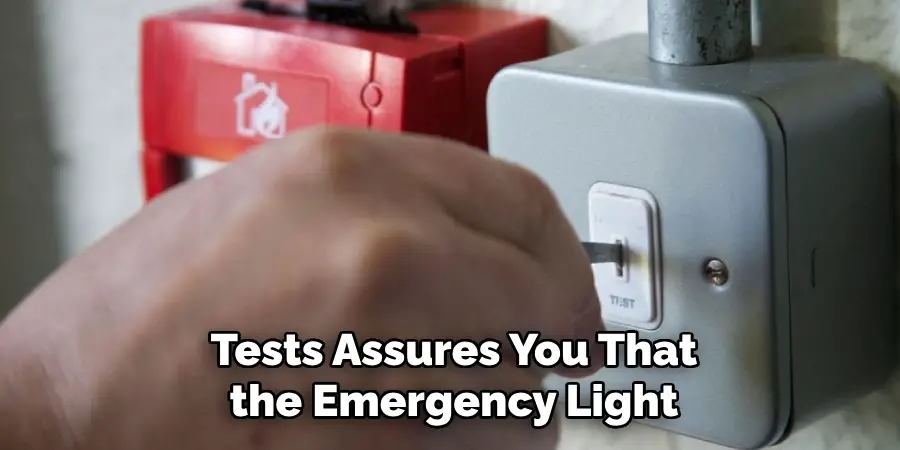
- Conduct a ‘Push-to-Test’: Most emergency lights have a ‘push-to-test’ button. By pressing this button, you can simulate a power failure and observe if the lights switch to battery mode as intended.
- Perform a Full Function Test: To ensure the system is operational thoroughly, a full function test may be necessary, which involves cutting power to the unit to see if the lights activate and remain lit for the required duration.
- Check the Charging Indicator: Confirm that the charging indicator functions after restoring power. It should illuminate, showing that the batteries are charging for the subsequent use.
Performing these tests assures you that the emergency light unit will perform reliably in an actual power outage scenario.
Step 6. Assess the Charging Circuit
If the emergency lights pass the functionality test but fail to stay on for the required duration, it’s time to examine the charging circuit:
- Inspect the Charger Board: Look for signs of wear, burn marks, or swollen capacitors on the charger board, which could signify a need for repair or replacement.
- Measure Charging Voltage: Utilize a multimeter to measure the charging voltage at the battery terminals. A voltage reading below the specified level indicates a problem with the charging circuit.
- Check for Faulty Components: Identify and replace faulty components within the charging circuit. This may include transformers, resistors, or other electronic elements that are vital for maintaining proper charging functionality.
Determining the integrity of the charging circuit is fundamental to ensuring that the emergency lights are always ready for operation.
Step 7. Review Environmental Factors
Beyond the emergency light unit itself, environmental factors can influence the performance and longevity of the system:
- Analyze Ambient Temperature: Extreme temperatures can impact battery performance and life. Ensure the units are not exposed to temperatures outside of the manufacturer’s recommended range.
- Evaluate Installation Location: The location should be free of obstructions, moisture, and excessive dust that could compromise the unit’s functionality.
- Consider Humidity and Ventilation: High humidity can lead to corrosion, and poor ventilation may affect the operating temperature. Assess the installation environment to mitigate these risks.
Considering the surrounding environment where the emergency lighting is installed plays a crucial role in long-term reliability and effectiveness.
Step 8. Schedule Regular Maintenance and Testing
To guarantee the ongoing reliability of the emergency lighting system, setting up a schedule for routine maintenance and testing is necessary:
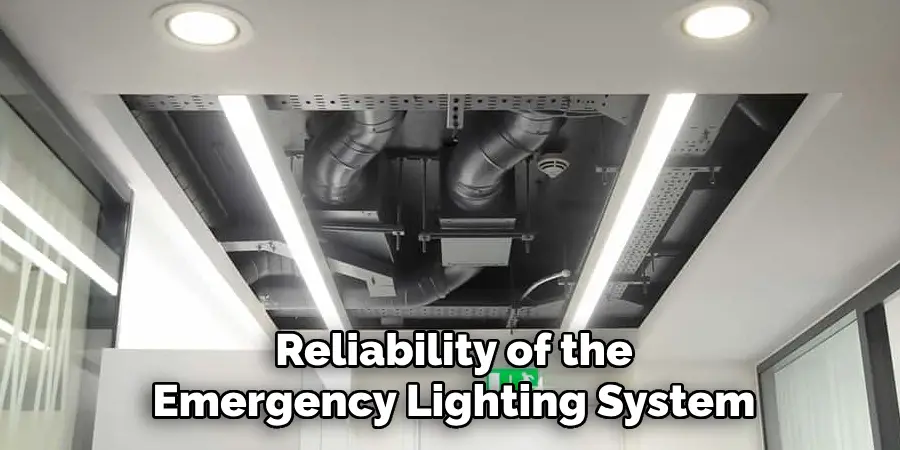
- Create a Maintenance Plan: Establish a maintenance routine that includes the inspection of batteries, light bulbs, and charger circuits, along with any other components specific to the system.
- Keep a Testing Log: Document each test performed, noting the date, any irregularities or faults detected, and the steps taken to rectify them.
- Adhere to Regulatory Compliance: Ensure testing frequency and maintenance procedures comply with local safety regulations and standards.
By implementing a structured plan and maintaining thorough records, you can ensure the integrity and readiness of the emergency lighting system, providing peace of mind that safety requirements are consistently met.
Step 9. Document Repairs and Replacements
Maintaining accurate records of repairs and replacements is just as important as the maintenance itself for an emergency lighting system:
- Log All Service Actions: Keep a detailed log of all servicing actions, including replacing parts and repairs made, with dates and the names of service personnel.
- Update Inventory Records: When parts are replaced, update inventory records to keep track of spare parts and anticipate future needs.
- Review Warranty Information: For any new parts installed, document warranty periods and service terms to avoid future confusion or take advantage of warranties when applicable.
Documentation is a critical aspect of emergency lighting system management, ensuring that any changes to the system are tracked and that there is accountability for the work carried out.
Step 10. Update Emergency Lighting Training Procedures
Proper training is essential to ensure that all personnel understand how to operate and maintain the emergency lighting systems effectively:
- Review Training Materials: Regularly update training documents to reflect any changes in equipment or procedures.
- Conduct Training Sessions: Hold periodic training sessions to instruct new staff and refresh the knowledge of existing employees.
- Simulate Emergency Scenarios: Practical exercises simulating power outages can help staff familiarize themselves with the emergency procedures and the role of the lighting systems during an incident.
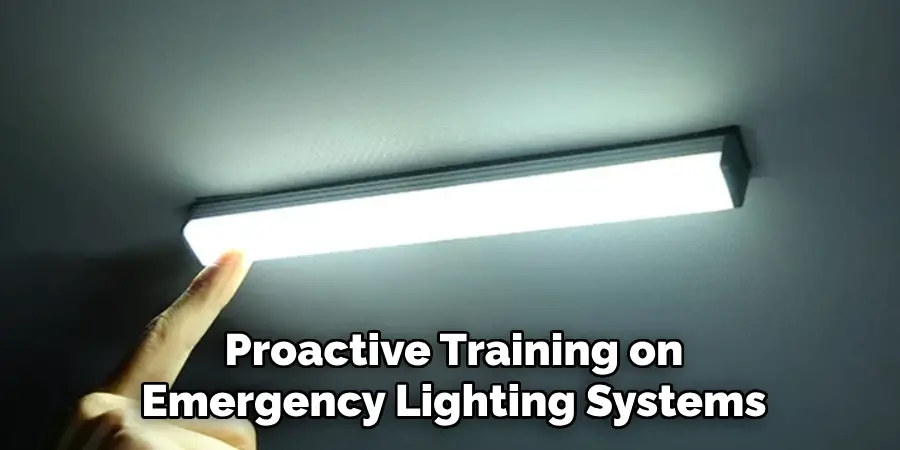
Proactive training on emergency lighting systems enhances the facility’s safety measures and ensures a swift and efficient response during actual emergencies.
By following these steps, facility managers can ensure that the emergency lighting system is reliable, compliant with safety regulations, and ready to be activated during a power outage.
5 Additional Tips and Tricks
- Check the Voltage Ratings: Ensure that the voltage rating of the batteries matches the requirements of the emergency light unit. Incorrect voltage can lead to inadequate lighting or failure to operate.
- Regular Cleaning: Dust and debris can obscure the light or interfere with the electrical components. Clean the emergency lights regularly to maintain their functionality and brightness.
- Bulb Replacement: If the emergency light is dim or not working, consider replacing the bulbs. LED bulbs last longer and are more reliable than traditional halogen bulbs.
- Inspect Wiring Connections: Loose wiring can cause intermittent failures. Check all wiring connections to ensure they are tight and free from corrosion.
- Test Regularly: Perform regular tests on your emergency lights to ensure they function correctly during an emergency. This can often highlight issues that can be rectified before they result in complete failure.
With these additional tips and tricks, you can ensure that your emergency lights are always in optimal working condition, providing reliable lighting during critical situations.
5 Things You Should Avoid
- Ignoring Manufacturer Instructions: Avoid disregarding the manufacturer’s guidelines for maintenance and troubleshooting. These instructions are specific to your emergency light model; ignoring them can lead to improper handling, which may exacerbate the issue.
- Using Incompatible Parts: Ensuring that replacement batteries, bulbs, and other components are compatible with your emergency lighting is crucial. Using unsuitable parts can cause damage and void warranties.
- Skipping Test Cycles: Pay attention to the importance of regular test cycles to check for faults. Inconsistent testing can lead to unnoticed malfunctions and failures when the lights are needed most.
- Delaying Repairs: Postponing necessary repairs after identifying a fault can lead to complete system failure. Immediate attention to identified issues will ensure your emergency lighting is reliable.
- DIY Electrical Work without Expertise: If you are not trained in electrical systems, avoid attempting to fix complex wiring issues yourself. This can be dangerous and cause further damage to the unit or lead to unsafe conditions.
By avoiding these common mistakes, you can ensure that your emergency lights are appropriately maintained and ready to provide the necessary lighting during emergencies.
How Do You Test an Emergency Light if It is Working?
To test an emergency light, you can follow these simple steps:
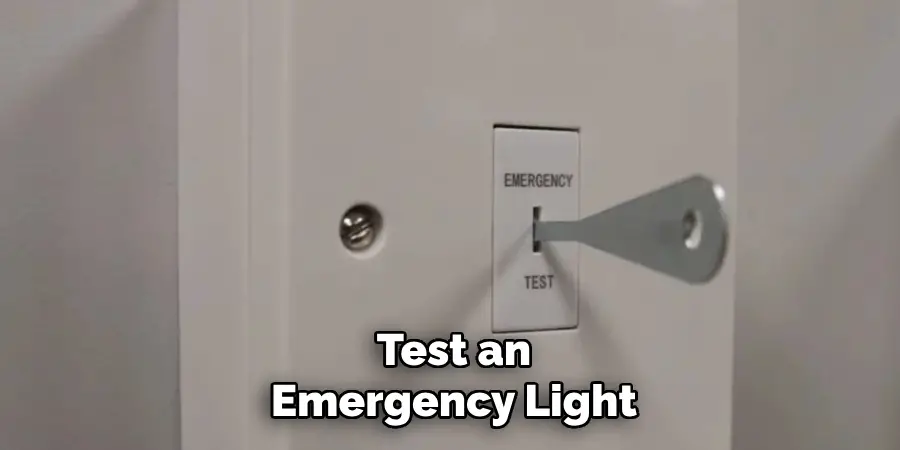
- Turn off the power supply to the emergency light unit.
- Press and hold the “test” button on the unit for a few seconds.
- The emergency lights should turn on and remain illuminated.
- If they do not turn on or there is any lighting issue, refer to the manufacturer’s instructions for troubleshooting steps.
It is recommended that this test be performed at least once a month. It is also important to keep a record of these tests and any repairs or maintenance performed on the emergency lights.
In case of any issues with your emergency lights, it is best to contact a certified technician or electrician for assistance.
What are the Use Cases for Emergency Lights?
Emergency lights have various use cases, including:
- Power Outages: During power outages or blackouts, emergency lights provide crucial lighting to help people navigate and evacuate safely.
- Natural Disasters: In a natural disaster, such as an earthquake or hurricane, emergency lights can illuminate when there is no electricity.
- Fire Emergencies: In situations with a fire, emergency lights can guide people to safety by illuminating escape routes and exits.
- Emergency Evacuations: During an emergency evacuation, such as a building fire or gas leak, emergency lights can help people quickly and safely evacuate the premises.
- Medical Emergencies: In hospitals and medical facilities, emergency lights are essential for lighting in case of power outages or other emergencies.
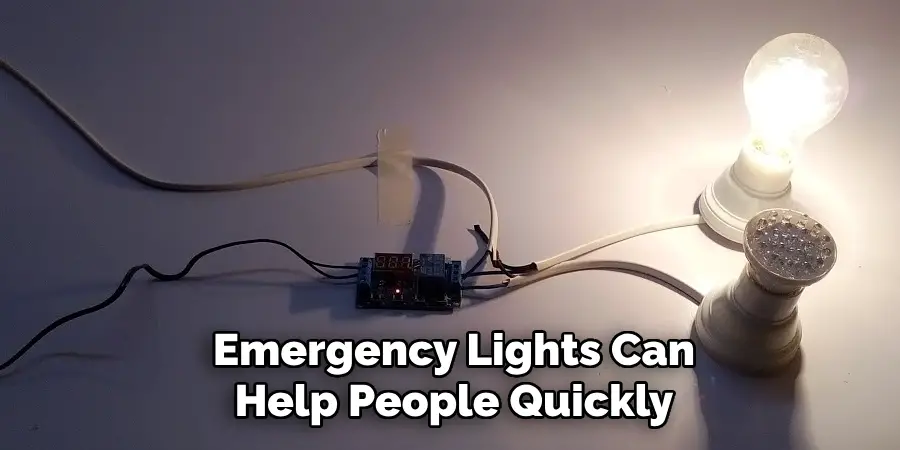
Overall, emergency lights play a crucial role in ensuring the safety and well-being of individuals during emergencies, making them an essential feature in any building or facility.
Conclusion
In summary, successful troubleshooting of emergency light failure hinges on a methodical approach that includes regular maintenance, adherence to manufacturer instructions, and routine testing. Addressing problems promptly and using compatible parts is vital to ensure functionality.
Moreover, consulting professionals when repairs extend beyond one’s expertise is critical for safety and reliability. By implementing these strategies, failures can be prevented, and the longevity and effectiveness of emergency lights can be significantly enhanced, reinforcing their role as a critical safety provision in emergencies.
Hopefully, the article on how to troubleshoot emergency light failure has provided you with valuable insights and knowledge on how to maintain and handle these essential devices properly. Remember, a well-maintained and functional emergency light can make all the difference in a critical situation. Stay safe!

