Testing if a light fixture has power is an essential step when troubleshooting electrical issues or performing maintenance. Ensuring that power is reaching the fixture can help identify whether the problem lies with the wiring, the bulb, or the fixture itself. This process involves basic tools and safety precautions, making it accessible even for those with limited electrical knowledge. By following the correct steps on how to test if a light fixture has power, you can safely determine the source of the issue and take the appropriate action.
Why a Light Fixture Might Not Work
There are several reasons why a light fixture may fail to work, and identifying the root cause is crucial for resolving the issue. One common reason is a burned-out bulb, which can be replaced quickly. Another possibility is a tripped circuit breaker or a blown fuse, which interrupts the power supply to the fixture.
Faulty wiring, such as loose or damaged connections, can also prevent the fixture from functioning properly. Additionally, the light fixture itself might be defective due to wear and tear or manufacturing issues. Lastly, external factors like a power outage or a malfunctioning wall switch could be the culprits. Diagnosing the problem requires a step-by-step approach and adherence to safety procedures.
Why Testing Is Important
Testing whether a light fixture has power is a critical step in troubleshooting electrical issues. It ensures your safety by helping identify live wires or components before handling them, reducing the risk of electrical shock or injury. Additionally, testing prevents unnecessary replacements or repairs; for example, verifying power can confirm whether the problem lies with the fixture or elsewhere in the electrical system.
This step also saves time and money by narrowing down the cause of the issue to a specific component, allowing for efficient resolution. Ultimately, testing helps maintain a safe and functional electrical setup while avoiding potential hazards and costly mistakes.
10 Methods on How to Test if a Light Fixture Has Power
1. Check the Light Bulb
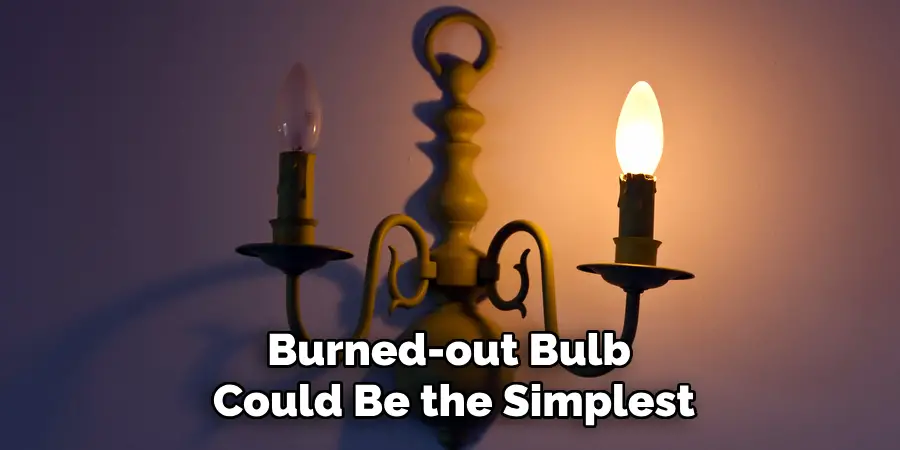
This might sound obvious, but before testing anything else, check the light bulb. A burned-out bulb could be the simplest explanation for a non-working light fixture. Replace it with a new one and see if the fixture illuminates.
Pro Tip:
Use a bulb you know is functional. Many light bulbs can appear fine visually but may still be defective.
2. Inspect the Circuit Breaker
Sometimes, the problem isn’t with the fixture but with the circuit. Check your home’s electrical panel for any tripped circuit breakers. If the circuit breaker controlling the fixture is in the “off” position, switch it back to “on.”
Practical Example:
If the breaker trips again immediately after resetting, it could indicate a circuit issue and might require professional help.
3. Use a Non-Contact Voltage Tester
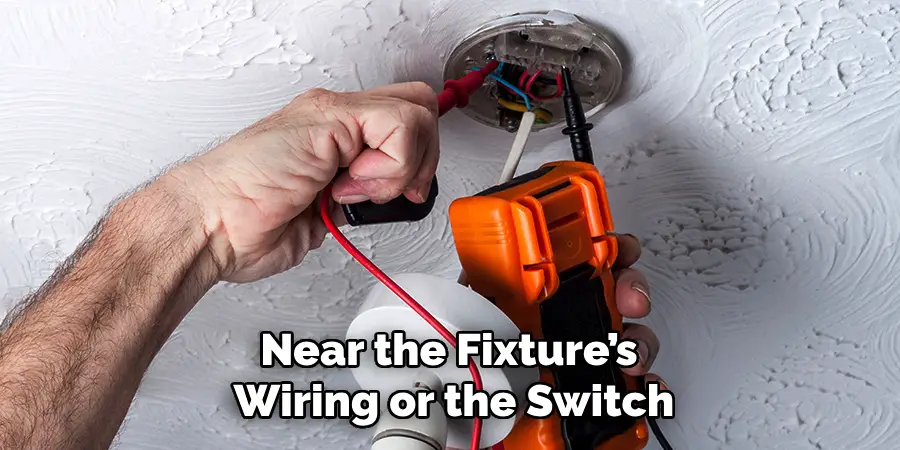
A non-contact voltage tester is one of the simplest tools for checking if a fixture has power. Hold the tester near the fixture’s wiring or the switch; if it beeps or lights up, there’s live electricity present.
Why It Works:
This method is safe because you don’t have to touch any live wires directly.
4. Test the Wall Switch
The problem may lie in the switch controlling the fixture. Toggle the switch several times to see if it works. If the light doesn’t turn on, the switch could be faulty, or there may be no power going to the fixture.
Quick Fix:
Use a multimeter to check for continuity in the switch when it’s in the “on” position.
5. Multimeter Test for Voltage
A multimeter is a versatile tool that allows you to measure the voltage reaching your fixture. Set it to AC voltage mode and attach the probes to the fixture’s wiring. A reading close to 120V (or 240V in some countries) indicates power.
Safety Reminder:
Ensure the power is on when performing this test and avoid touching exposed wires to stay safe.
6. Check the Wiring Connections
Loose or disconnected wires can prevent the fixture from receiving electricity. Turn off the power at the circuit breaker and carefully inspect the wiring in the fixture. Reattach any loose wires using wire connectors.
Important Note:
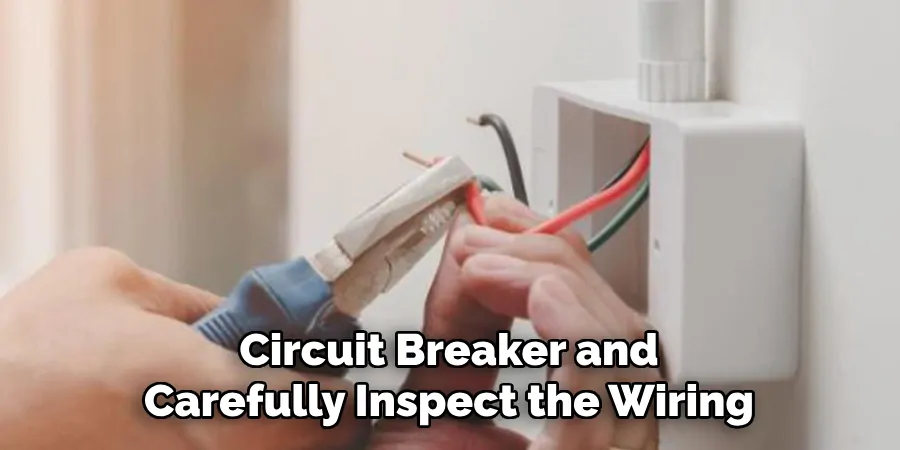
Always ensure the power is off before inspecting or adjusting wiring to avoid electrical shock.
7. Use a Plug-in Circuit Tester
If the light fixture has an outlet nearby, use a plug-in circuit tester to verify whether the circuit is functioning. This tool gives a visual signal (typically lights) to indicate if the power is present.
Fast and Simple:
This is a quick option for those who aren’t comfortable working with wiring.
8. Test Using a Light Fixture Multimeter
This specialized tool is designed specifically for light fixtures. Remove the bulb and test the socket by placing the probes in the socket contacts. If you get a voltage reading, the fixture is receiving power.
Where to Find One:
Many hardware stores stock light fixture multimeters specifically for this purpose.
9. Inspect the Fuse Box (Older Homes)
If your home uses a fuse box rather than a circuit breaker, inspect the fuses. A blown fuse could disrupt power to the light fixture. Replace the blown fuse with a new one if necessary.
Pro Tip:
Keep spare fuses handy to avoid delays in addressing the problem.
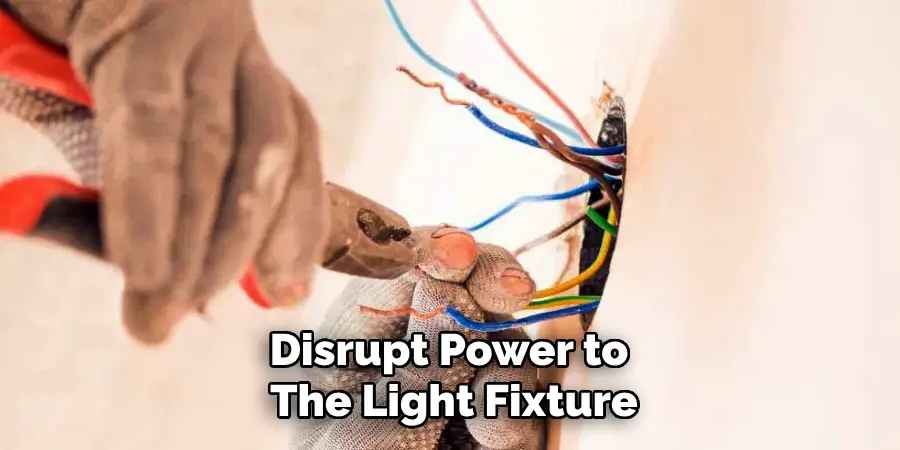
10. Examine for Physical Damage
Look at the fixture for sings of damage like exposed wires, melted plastic, or scorch marks. These could indicate an internal issue or a short circuit.
When to Seek Help:
If you spot something irregular, it’s best to call an electrician, as damaged fixtures can be unsafe to handle.
Maintenance and Upkeep
Proper maintenance and upkeep of light fixtures can prevent many common issues and extend their lifespan. Start by regularly cleaning the fixture to remove dust, dirt, and debris, which can accumulate over time and affect its performance. Use a soft cloth and mild cleaning solution, ensuring the power is turned off before cleaning.
Periodically check the wiring and connections to ensure everything is secure and free from damage. Replace light bulbs as they burn out with the correct wattage to avoid overloading the fixture. For outdoor fixtures, inspect them for corrosion or weather-related wear and tear, and apply appropriate sealants if needed. Lastly, schedule routine inspections for fixtures in hard-to-reach areas or older electrical systems to identify potential problems early. Consistent maintenance not only ensures safe operation but also keeps your fixtures functioning efficiently and looking their best.
Troubleshooting Common Issues
Even with regular maintenance, light fixtures can develop problems that may require troubleshooting. Here are some common issues and steps to resolve them:
1. Light Flickering
Flickering lights can be caused by several factors, such as a loose bulb, faulty wiring, or fluctuations in voltage. Start by tightening the bulb to ensure it’s securely connected. If the flickering persists, check the wiring connections in the fixture (with the power off). For persistent issues, you may need to consult an electrician to address possible voltage instability.
2. Light Not Turning On
If a fixture doesn’t turn on, first verify that the bulb is functional by testing it in another socket. Check the circuit breaker to ensure it hasn’t tripped, and inspect the switch for proper operation. If all of these components seem to be working, use a multimeter to test for electrical current reaching the fixture. A lack of power may indicate a wiring issue.
3. Bulbs Burning Out Quickly
Frequent bulb burnout can result from using bulbs with the wrong wattage, excessive voltage, or poor ventilation in enclosed fixtures. Ensure the bulb matches the fixture’s recommended wattage and consider switching to energy-efficient LED bulbs for longer lifespan. Additionally, inspect the fixture for signs of overheating or replace it if necessary.
4. Buzzing or Humming Sounds
Buzzing sounds are typically caused by dimmer switches that aren’t compatible with the bulb type or by a loose transformer in low-voltage fixtures. Replace the dimmer with a compatible one and tighten any loose components. If the noise continues, switching to LED bulbs or consulting an electrician may resolve the problem.
5. Fixture Overheating
Excessive heat can point to incorrect bulb types or inadequate ventilation. Always use the recommended bulb wattage and avoid covering the fixture with objects that could block airflow. If the fixture continues to overheat, it may need to be replaced with a better-suited model for the space.
6. Discoloration or Melted Parts
Discoloration, burn marks, or melted components in a fixture can indicate a serious issue, such as a short circuit or improper installation. Turn off the power immediately and examine the damage. Damaged fixtures should be repaired or replaced, preferably by a professional, as they pose a fire hazard.
Conclusion
Proper care and timely troubleshooting of light fixtures are essential for maintaining a safe and efficient home environment. By identifying and addressing common issues—such as flickering lights, overheating, or buzzing sounds—you can prevent minor problems from escalating into costly repairs or safety hazards. Now that you know how to test if a light fixture has power, try it yourself today and feel good about completing such a big DIY job!

