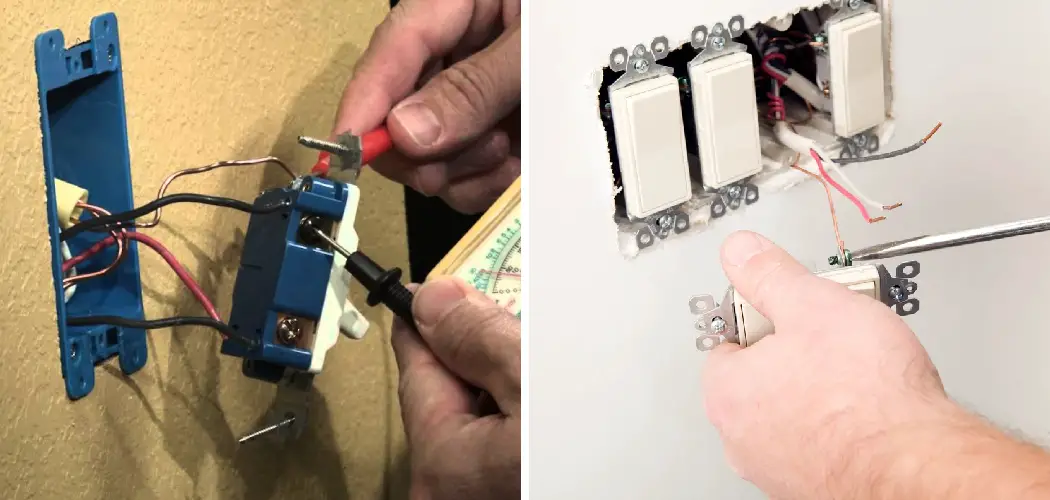
Are you trying to test a three-way switch and don’t know where to start? Don’t worry; we’ve got you covered. In this guide, we’ll take you through how to test a three way switch.
Testing a three-way switch is crucial for both professional electricians and DIY enthusiasts to ensure proper functionality and safety in a home’s electrical system. These switches are unique because they allow you to control a single light source from two separate locations, offering convenience and efficiency in lighting design. In the following sections, we will guide you through a step-by-step process to test a three-way switch accurately, ensuring it operates correctly and safely.
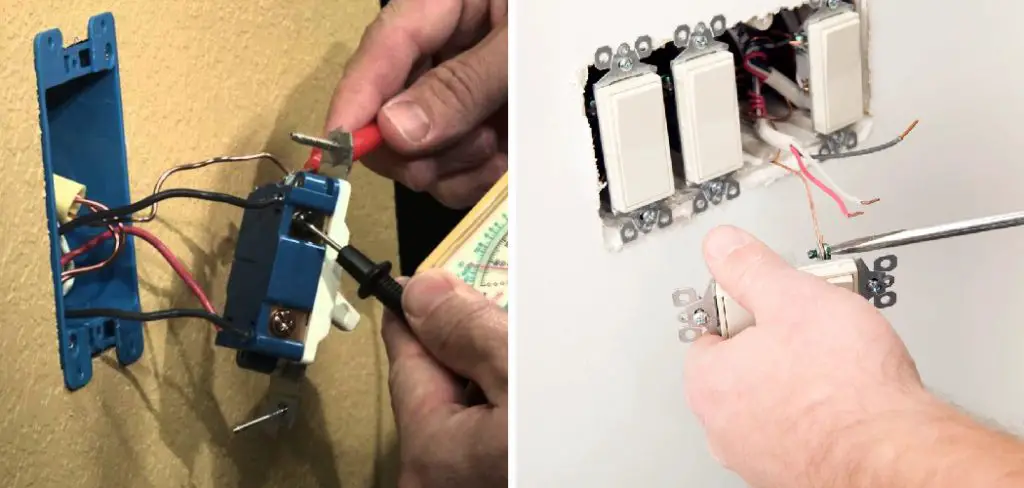
Whether you’re troubleshooting a potential issue or performing routine maintenance, understanding how to test a three-way switch is essential to electrical work.
What Are the Uses of Three-way Switches?
Before we dive into the testing process, it’s essential to understand the practical uses of three-way switches. As mentioned earlier, these switches are commonly used to control a single light source from two locations. This feature is handy in larger rooms with multiple entrances or long hallways where one might want to turn on or off a light from either end.
Moreover, three-way switches are also used for staircase lighting, where you can turn on the lights at both ends of the stairs and easily switch them off once you’re at the bottom or top. They can also be utilized in rooms with multiple light sources to control which lights are turned on from a particular location.
Types of Three-Way Switches
There are two types of three-way switches: traditional and intelligent.
- Traditional Three-way Switches: These are the most common type of three-way switches and have been used for decades. They operate with simple mechanical toggling between on and off positions.
- Smart Three-way Switches: With the rise of home automation, intelligent three-way switches have also gained popularity. These switches can be controlled remotely through a smartphone or voice assistant, making them more convenient to use.
These different types of three-way switches may have slightly different testing methods, so it’s crucial to identify which type you are working with before beginning the testing process.
What Will You Need?
Before starting the testing process, gather the necessary materials to ensure a smooth and accurate test. You will need:
- A voltage tester or multimeter
- A screwdriver (flathead and Phillips)
- Electrical tape
- Protective gloves and eyewear
Once you have these materials, you can begin the testing process.
10 Easy Steps on How to Test a Three Way Switch
Step 1: Turn Off the Power
Safety should be your utmost concern when working with electrical circuits. To begin testing a three-way switch, the initial step is to turn off the power to the circuit at your home’s circuit breaker or fuse box. Once you have located the correct circuit breaker, flip it to the “Off” position or remove the fuse.
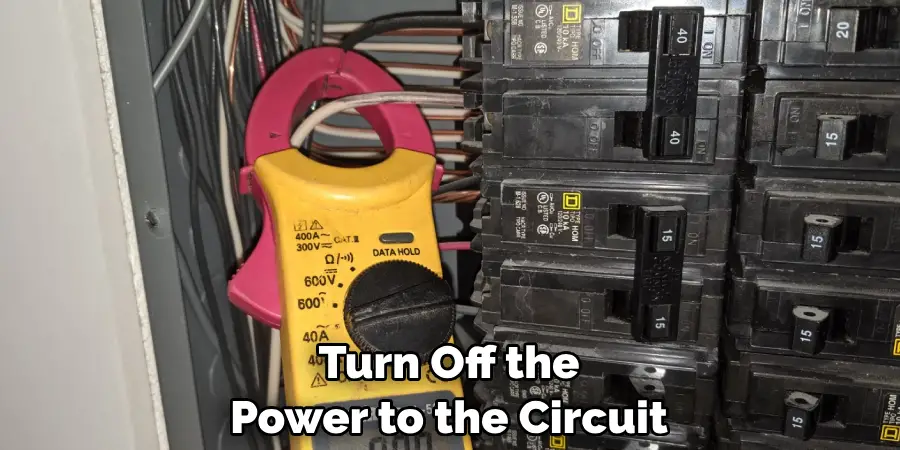
After disconnecting the power, use a voltage tester or multimeter to confirm that there is no electricity flowing to the switches. Testing both switches is imperative, as three-way switch circuits can be complex. Only proceed once you are sure that the power is completely off.
Step 2: Remove the Switch Plates
With the power safely turned off, you need to remove the switch plates of the three-way switches next. Using the appropriate screwdriver, unscrew the switch plates and carefully set them aside. Be sure to keep track of the screws to avoid misplacing them.
Underneath the switch plates, you will find the screw terminals where the wires are connected to the switches. It’s critical to observe and note the wiring setup before disconnecting anything. This step is essential for both safety and for the accurate reconnection of the switch after testing.
Step 3: Identify the Common Terminal
Once the plates are removed, you can identify the wires connected to the switch and locate the common terminal, which is typically a different color than the other terminals. The common terminal is usually black or marked with a label on a traditional three-way switch.
Refer to the manufacturer’s instructions for smart switches to determine the common terminal. Carefully disconnect the wire from the common terminal, ensuring you remember or mark which wire it is—doing so is crucial for the proper reinstallation of the switch after testing.
Step 4: Verify the Remaining Terminals
After identifying and disconnecting the standard terminal wire, your next task is to verify the other terminals, which are known as the traveler terminals. These connections enable the switch to control the light from two different locations. Use your voltage tester or multimeter to test for continuity between the traveler terminals and the common terminal.
With the power still turned off, touch one probe to the joint terminal screw and the other to each traveler terminal screw. The tester should not light up or indicate continuity—the absence of continuity confirms the switch is in the correct position for testing.
Step 5: Test for Continuity
With the traveler terminals verified, the continuity test is next. Continuity tests ensure a complete path for current to flow from one terminal to another. For this step, turn the switch to the other position. Place one probe of the voltage tester or multimeter on the common terminal and the other probe on one of the traveler terminals.
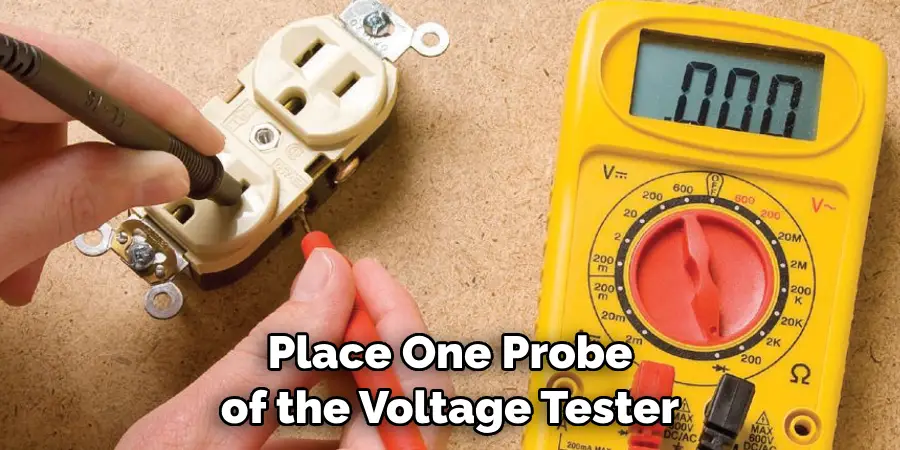
A properly functioning switch should show continuity in one position and no continuity when switched to the opposite position. Repeat this test with the other traveler terminal to confirm proper operation. If the continuity test results are as expected, the switch is likely functioning well. If not, the controller may be defective and require replacement.
Step 6: Repeat the Process on the Second Switch
The symmetry in function between the pair of three-way switches is essential for the circuit to work correctly. Now, move to the second three-way switch in the circuit and repeat the steps you have performed on the first switch. Remove the switch plate, identify the common terminal, verify the traveler terminals, and perform the continuity test when the switch is toggled to both positions.
Consistent results across both switches will ensure that both parts of the three-way circuit are operational and capable of controlling the light source accurately. Any discrepancies arising during testing must be addressed before the circuit can be considered safe and fully functional.
Step 7: Check for Wiring Issues
If your continuity tests have shown inconsistent results or indicated a problem, it’s important to check for any wiring issues. This involves carefully inspecting the wires themselves for any visible damage, such as frayed insulation, corrosion at the terminals, or loose connections.
Examine the wire nuts for tightness and the quality of the wire wrapping around the terminal screws. If you come across a damaged wire, it will need to be replaced or properly reconnected. For loose connections, simply tightening the terminal screws or wire nuts may resolve the issue. Remember, work on any wiring should only be carried out with the power off to avoid the risk of electric shock.
Step 8: Reattach the Wires to the Common Terminal
After any necessary troubleshooting and repairs are made, it’s time to reattach the wires to the standard terminals of each switch. Ensure you connect the correct wire to the common terminal, as previously identified and noted. Firmly secure the wire around the terminal screw and tighten it to ensure a reliable connection.
It’s crucial to not over-tighten and strip the screw, as this can lead to future connectivity issues. Double-check to ensure the traveler wires remain connected to their respective terminals and that all connections are secure before proceeding to the next step.
Step 9: Restore the Power and Test the Circuit
Once you have reconnected the wires to the standard terminals and ensured that all other connections are secure, you need to restore power to the circuit. Do this by turning on the circuit breaker or reinstalling the fuse in your home’s electrical panel. Be cautious and have someone else nearby when you restore the power for additional safety.
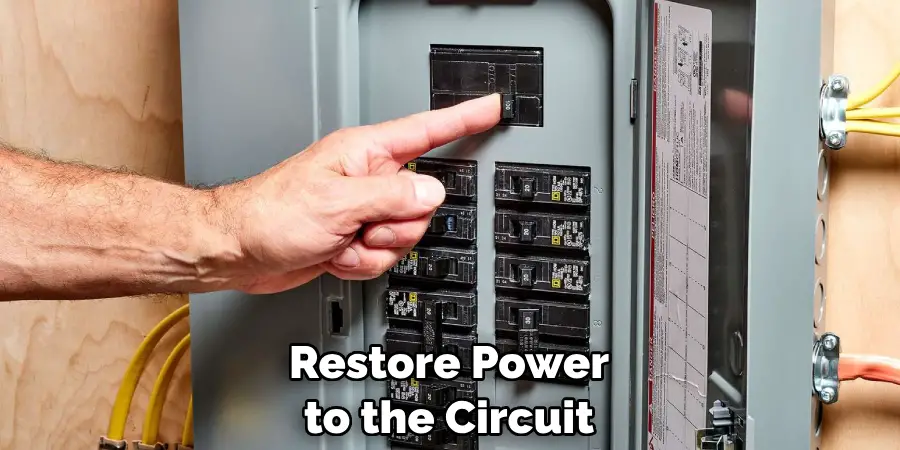
Check the operation of the three-way switches by toggling each one and confirming that they can turn the light on and off from both locations. The continuity test and repair process is complete if the switches and lights operate as they should. If there is still an issue, turn off the power and reinspect the connections and wiring.
Step 10: Secure the Switches and Replace the Cover Plates
With the circuit tested and functioning correctly, it is time to secure the switches back into their electrical boxes carefully. Gently push all the wires back into the box and align the switch so that it is level. Using a screwdriver, attach the screws at the top and bottom of the switch to hold it in place.
Do not over tighten, to avoid damaging the switch or electrical box. Once the switches are secured, replace the cover plates, ensuring they fit flush against the wall. Tighten the plate screws snugly but be mindful not to crack the plate. Your three-way switches are now fully installed and ready for use.
By following these steps, you can confidently install and troubleshoot three-way switches in your home’s electrical system. Always work safely with the power off and consult a licensed electrician if you encounter any issues or are unsure about performing any of these steps.
5 Additional Tips and Tricks
- Use a Circuit Tester: Employ a circuit tester or multimeter to check for continuity between the common terminal and the traveler terminals. This can confirm whether the switch functions correctly, as the readings should change when the switch toggles positions.
- Test the Wiring Connections: Ensure the power is off and carefully unscrew the switch from the electrical box. Inspect the wire connections for any signs of loose strands or corrosion, as these can affect the switch’s performance.
- Label the Wires: Label them according to their connection points before disconnecting the wires. This helps to reinstall the switch correctly and troubleshoot any issues that may arise during testing.
- Check the Grounding: Verify that the switch is properly grounded. In three-way switch configurations, grounding is vital for safety and proper operation.
- Examine Other Switches in the Circuit: Sometimes, the issue lies not with the switch being tested but with the other switch in the circuit. Test all switches controlling the light to ensure proper function throughout the system.
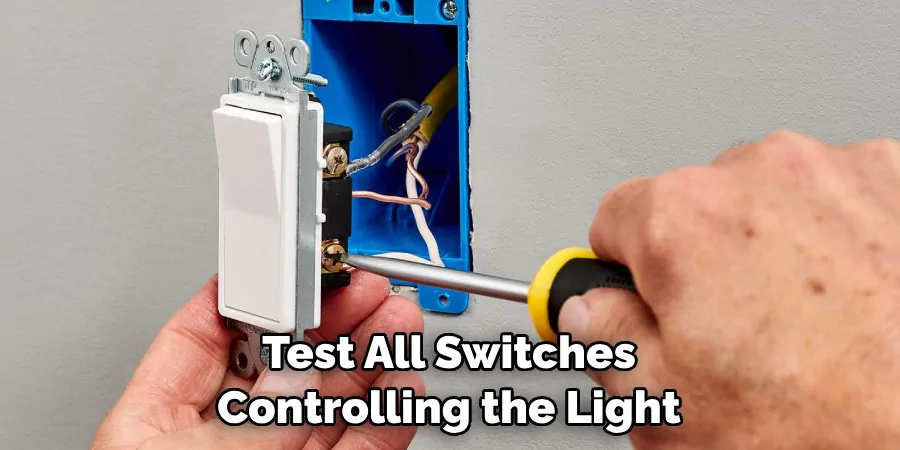
With these additional tips and tricks, you can ensure your three-way switch works correctly and efficiently.
5 Things You Should Avoid
- Ignoring Safety Protocols: Only begin testing after first ensuring that the power is completely shut off to the switch. Handling electrical wiring without this step can lead to severe injury or electrical shock.
- Using Damaged Tools: Avoid using any testing equipment or tools that are damaged or in poor condition. Faulty equipment can give inaccurate readings or potentially cause harm.
- Forgetting to Document Wire Positions: Do not disconnect wires without documenting where each wire was connected. Failing to label or take pictures of the wiring can lead to confusion and improper reassembly.
- Overlooking the Wire Condition: Don’t overlook the wires’ condition. Corroded, frayed, or damaged wires can be dangerous and may need replacement rather than just reconnection.
- Testing Alone: If possible, avoid testing electrical circuits alone. Having a partner can provide an extra set of eyes for safety checks and be invaluable should an emergency arise.
- Skipping the Continuity Test: Always perform a continuity test to ensure the proper function of the switch. Skipping this step can lead to overlooking potential issues and result in faulty installation.
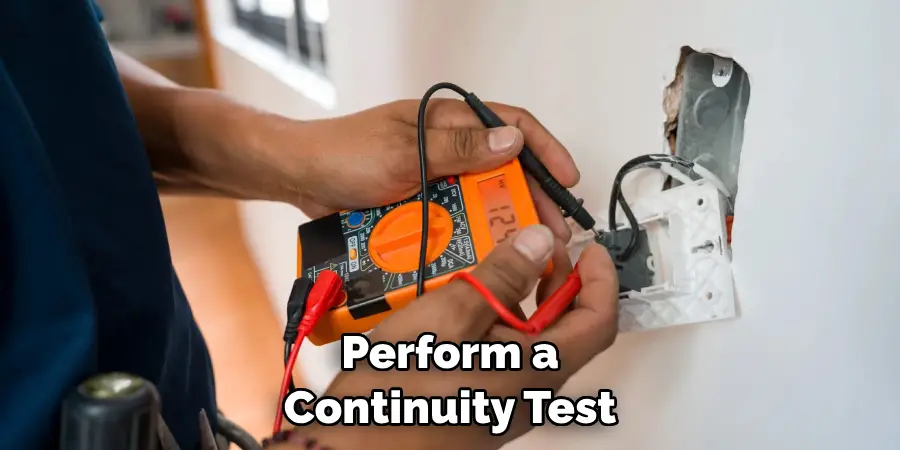
By avoiding these mistakes, you can confidently complete your three-way switch testing and effectively.
What Happens if 3-way Switch is Wired Wrong?
If a three-way switch is wired incorrectly, it can result in various issues, such as the lights not turning on or off correctly, flickering lights, or even potential electrical hazards. A common mistake when wiring a three-way switch is swapping the traveler wires with the standard wire, which can cause confusion and improper function.
Another consequence of wiring a three-way switch incorrectly is reverse polarity, which can lead to potential electrical shock if touched. It is crucial to follow proper wiring procedures and double-check all connections to avoid these issues.
In some cases, wiring a three-way switch wrong may not cause immediate problems but can result in long-term damage to the switch or light fixture. This can lead to costly repairs or replacements in the future.
To avoid these potential consequences, it is essential to understand the proper wiring techniques and follow all safety protocols when installing or testing a three-way switch. If you need more clarification, it is best to consult a professional electrician for assistance. So, be cautious while dealing with electrical appliances. Stay safe!
What is the Difference Between Continuity and Ohms?
Continuity and ohms are two terms commonly used when testing electrical circuits. While they are related, they have distinct differences.
Continuity: Continuity refers to the ability of an electrical circuit to conduct electricity without interruption or obstruction. When a course has continuity, it means there is a complete path for electricity to flow through.
Ohms: Ohms, on the other hand, is a unit of measurement for electrical resistance. It measures how much an electrical circuit or component resists the flow of electricity. A higher ohm reading indicates more resistance in the circuit.
To put it simply, continuity is about whether electricity can flow through a circuit, while ohms measure how easily it can flow. In testing a three-way switch, we use continuity to check if the switch is functioning correctly, while ohms can help determine any issues with the wiring or connections.
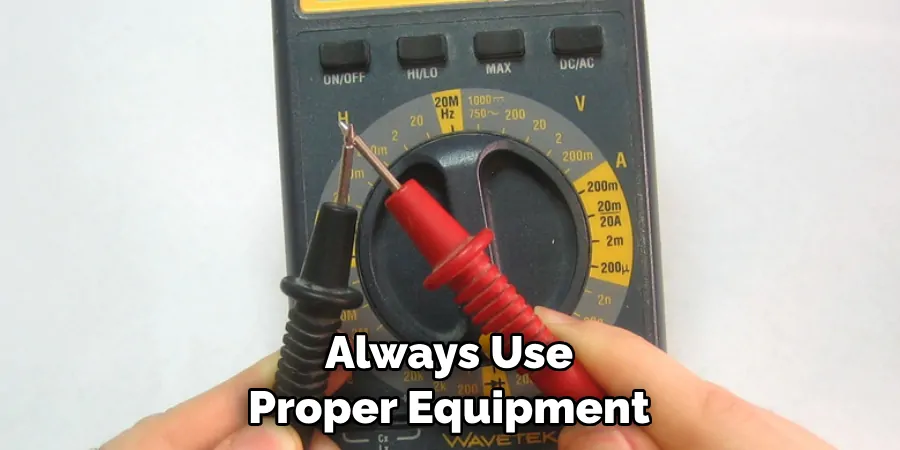
So, understanding the difference between these two terms is critical when testing electrical circuits. Always use proper equipment and safety precautions when working with electricity to avoid accidents and ensure accurate results.
How Do You Know if Your 3-way Switch is Master?
Determining if a three-way switch is the master or slave can be confusing, especially for those unfamiliar with electrical wiring. Typically, the first switch in a three-way circuit is considered the master, while the second switch is the slave.
The easiest way to identify which switch is the master is by looking at its wiring connections. The master switch will have three wires: one black “Common” wire and two brass-colored “Traveler” wires.
On the other hand, the slave switch will only have two wires connected to it: one black “Common” wire and one brass-colored “Traveler” wire.
Another way to identify the master is by flipping both switches. The switch that controls the light even when the other switch is in the off position is the master switch.
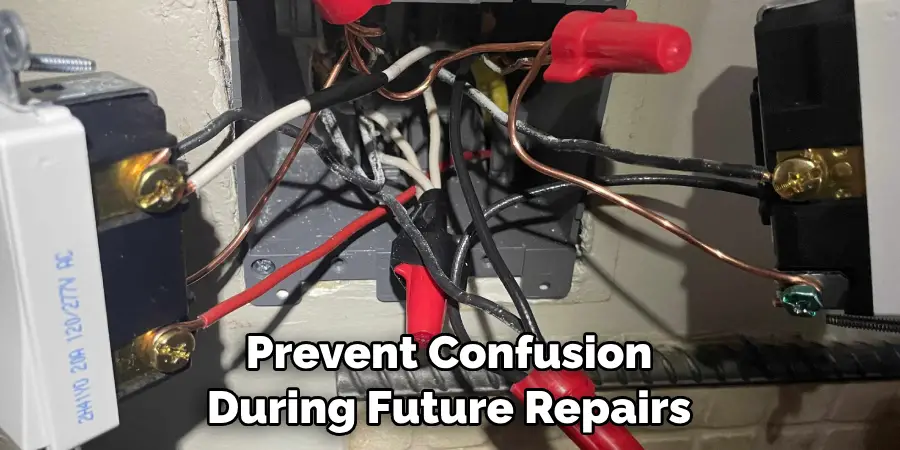
Knowing which switch is the master and slave can be helpful when troubleshooting or replacing a three-way switch. It can also help prevent confusion during future repairs or installations.
Conclusion
In summary, testing a three-way switch requires meticulous attention to safety, a methodical approach, and an understanding of electrical principles. Following the outlined steps ensures that the switch is not only in good working order but also that the entire circuit it belongs to functions as intended. Avoiding common pitfalls such as ignoring safety protocols, using damaged tools, and mislabeling wires is crucial in maintaining both safety and functionality.
Whether you’re a DIY enthusiast or a seasoned electrician, respecting these guidelines will help you successfully troubleshoot and resolve issues with three-way switches. Ultimately, when in doubt, always consult a professional electrician to handle electrical work to ensure a safe environment.
Hopefully, this guide on how to test a three way switch has provided you with the necessary knowledge and precautions to test a three-way switch effectively. Remember, safety first, and happy testing! Good luck! So, be cautious while dealing with electrical appliances.

