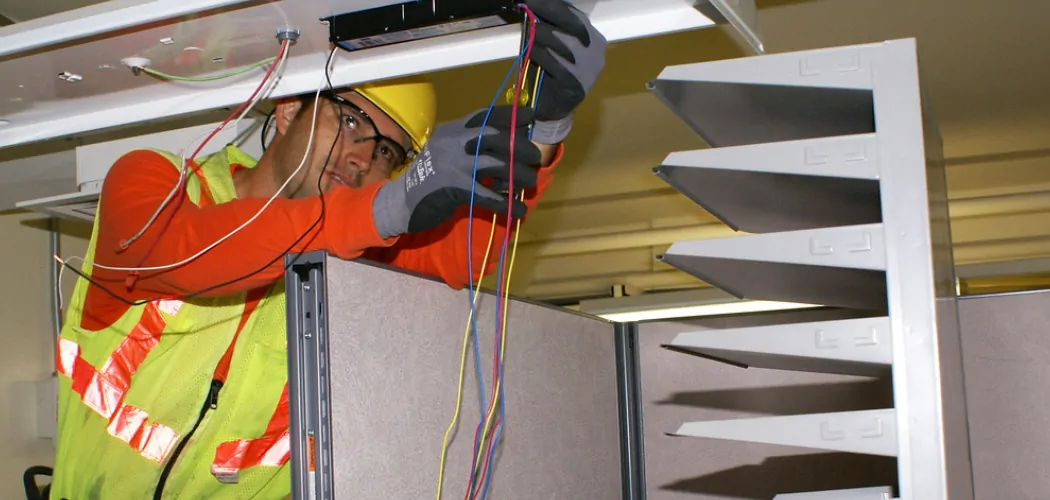
Installing a new light fixture can enhance the ambiance of any room and improve the overall aesthetic of your home. However, before installing, it is crucial to test the fixture to ensure it functions correctly and safely. Testing a light fixture prior to installation can save time, prevent potential electrical issues, and ensure a smooth installation process. This guide will walk you through how to test a light fixture before installing, helping you avoid any unexpected complications. With the right tools and a bit of preparation, you can confidently proceed with your installation project.
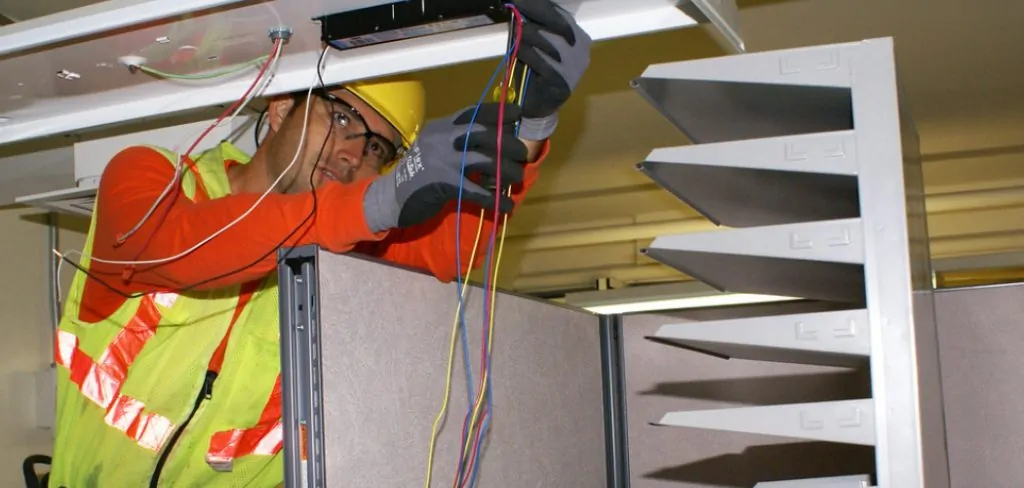
Why Testing a Light Fixture Before Installation is Important
Testing a light fixture before installation is essential for several reasons. Firstly, it allows you to verify that the fixture is in good working condition and that there are no defects or damages that could hinder its performance. By identifying any issues early, you can avoid the frustration and inconvenience of discovering a malfunction after installation, which would require additional work to remove and possibly return the item.
Secondly, testing for electrical compatibility ensures that the fixture is compatible with your home’s wiring, reducing the risk of electrical hazards such as short circuits or overloads. This pre-installation step also provides an opportunity to check for proper grounding, which is crucial for safety. Lastly, verifying the functionality of the fixture helps you ensure that the aesthetic and functional aspects align with your expectations, contributing to a seamless integration into the room’s design. Overall, testing before installation promotes both safety and satisfaction with your lighting project.
Tools and Materials Needed
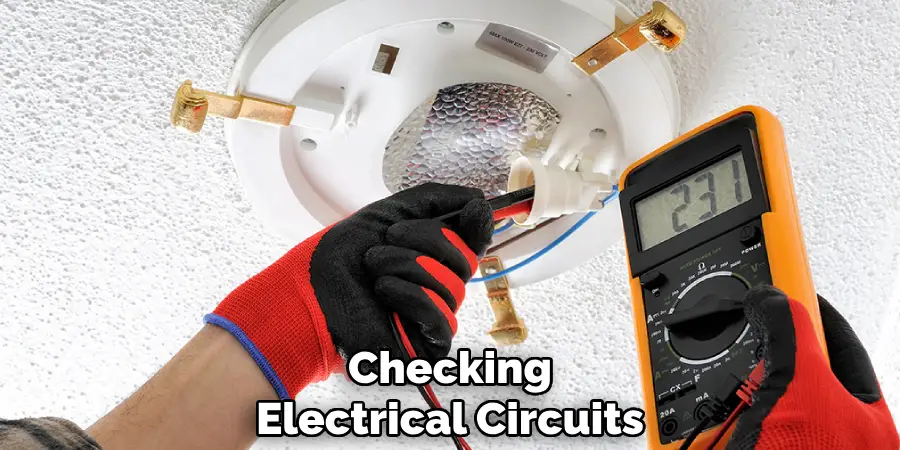
Before you begin testing your light fixture, gather the necessary tools and materials to ensure a smooth process. You will need a multimeter, which is essential for checking the electrical circuits and ensuring the fixture is receiving adequate power. A screwdriver set is also necessary to access the fixture’s internal components and secure any connections. Wire strippers and electrical tape are needed to prepare and protect the wiring.
Additionally, having extra light bulbs on hand is important for testing the fixture’s functionality. Finally, ensure you have a voltage tester to verify that power is safely disconnected before starting any testing or installation procedures. By having these tools and materials ready, you can efficiently and effectively test your light fixture before installation.
10 Methods How to Test a Light Fixture before Installing
1. Visually Inspect the Fixture
Before delving into electrical testing, start by conducting a thorough visual inspection of the light fixture. Check for any visible damage, such as cracks, exposed wiring, or missing components.
Make sure that the socket is intact and free of debris, and verify that all parts, including screws, mounting hardware, and the light cover or shade, are present. This inspection helps you catch any obvious issues that could affect the performance of the fixture and saves time by addressing them early.
2. Examine the Wiring
Carefully inspect the wiring attached to the light fixture. Ensure that the wires are in good condition, with no fraying, exposed strands, or cuts in the insulation. The wires should also be firmly attached to the fixture, with no loose or poorly connected sections. Look for the proper color coding: typically, the black (or red) wire is the hot wire, the white wire is neutral, and the green or bare copper wire is for grounding. Verifying the integrity of the wiring is crucial for safe and effective operation.
3. Check the Light Bulb Compatibility
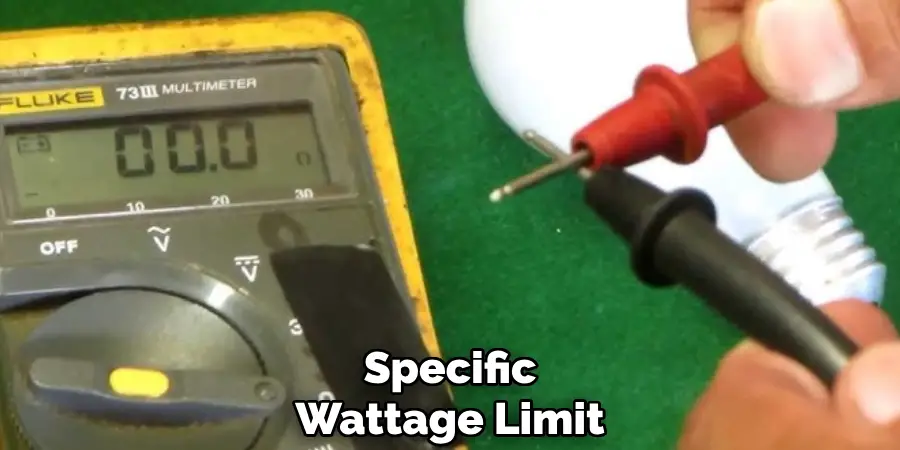
Ensure that the light bulb you intend to use is compatible with the fixture. Each fixture has a specific wattage limit, usually listed on a label inside or near the socket. Using a bulb with a higher wattage than the fixture allows can cause overheating and potential damage. For LED or compact fluorescent bulbs, check that they are compatible with the fixture’s socket type, whether it’s an E26 screw base or something more specialized. By matching the right bulb to the fixture, you avoid performance issues and extend the life of both the bulb and the fixture.
4. Use a Voltage Tester to Check the Power Source
Before connecting the light fixture to the power supply for testing, use a voltage tester to confirm that the power source is functioning correctly. Turn off the breaker controlling the circuit and use the tester to verify that the wires you’ll be connecting to the fixture are not live. Once confirmed, turn the breaker back on and test the hot wire to ensure it’s supplying the proper voltage (typically 120 volts for most residential fixtures). This step ensures that you’re working with a reliable power source, which is essential for accurate testing.
5. Perform a Continuity Test
Using a multimeter, you can perform a continuity test to ensure that the internal wiring of the light fixture is intact. Set the multimeter to the continuity setting (usually represented by a sound wave symbol). With the fixture disconnected from the power supply, touch one lead of the multimeter to the hot wire and the other to the neutral wire. If the multimeter beeps or shows continuity, it means the circuit within the fixture is complete and the wiring is good. This test helps identify any broken internal connections that could cause the fixture to malfunction.
6. Test the Socket
Another important component to check is the socket where the light bulb will be installed. Use a multimeter to test the socket for continuity, ensuring that it will properly conduct electricity to the bulb. Set the multimeter to measure resistance (ohms), and place one probe inside the center contact of the socket while the other touches the metal shell. If the multimeter displays a low resistance, the socket is working properly. If there is no reading or high resistance, the socket may be faulty, requiring repair or replacement before installation.
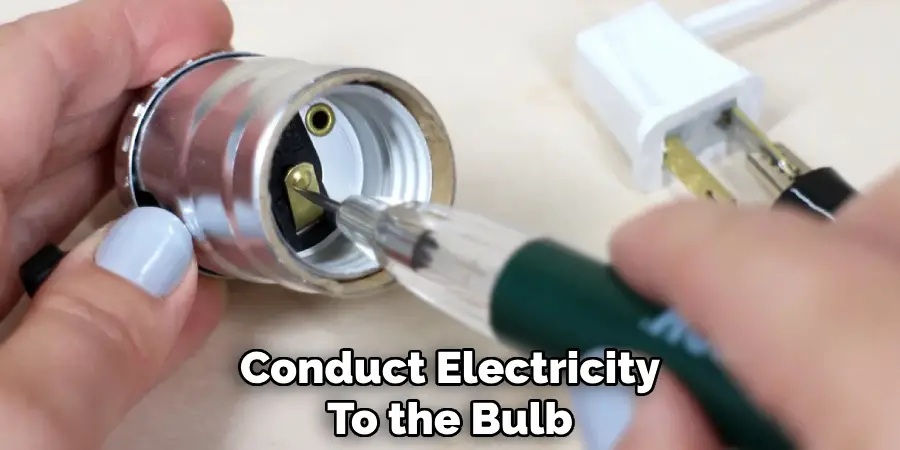
7. Plug the Fixture into a Test Cord
If the light fixture is not hardwired but uses a plug-in cord, you can easily test it by plugging it into a working outlet. Simply insert the bulb and turn on the switch. If the bulb lights up, the fixture is working properly. For hardwired fixtures, you can create a test cord by attaching a standard extension cord to the fixture’s wiring. Ensure the connections are safe and secure before plugging the cord into an outlet. This method allows you to test the fixture’s basic functionality without needing to wire it into a ceiling or wall.
8. Simulate the Electrical Connection
For hardwired fixtures, you can simulate the actual electrical connection by temporarily wiring the fixture to a power source. With the power turned off at the breaker, use wire nuts to connect the fixture’s wires to a power supply, matching black to black (hot), white to white (neutral), and green/bare to ground. Once connected, restore power and turn the fixture on. If the bulb illuminates, the fixture is functioning correctly. Be cautious and ensure all connections are properly insulated to avoid electrical hazards during this test.
9. Test the Switch or Dimmer
If your light fixture is controlled by a switch or dimmer, it’s important to test this component as well. First, verify that the switch is compatible with the fixture, especially if you’re using dimmable LED bulbs or a special type of fixture. With the power off, wire the switch or dimmer to the fixture, then restore power and test the functionality. If the fixture responds correctly to the switch or dimmer, it’s ready for installation. Testing the switch or dimmer beforehand ensures smooth operation once everything is installed.
10. Check for Flickering or Intermittent Lighting
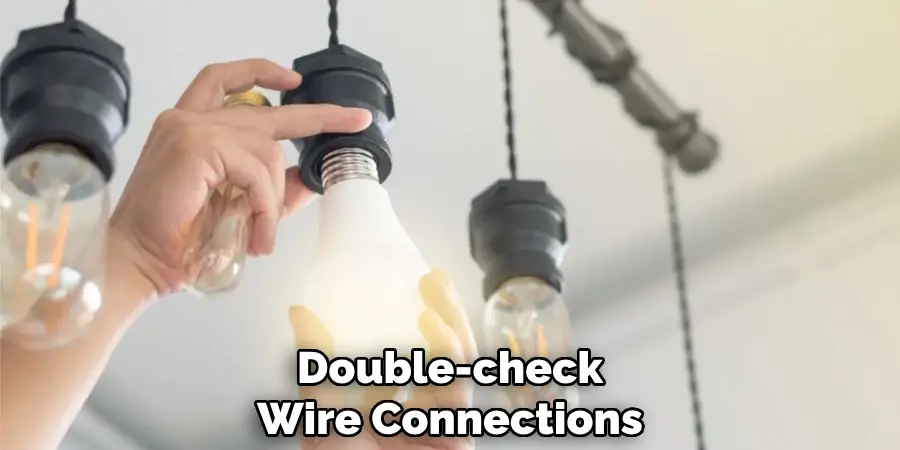
When you power on the light fixture during your testing, observe it for a few minutes to check for any flickering or intermittent lighting. If the light flickers, it could be a sign of loose wiring, a faulty bulb, or a poor connection within the fixture. Double-check all wire connections, and ensure that the bulb is securely seated in the socket. If the flickering persists, it may indicate a deeper issue with the fixture that needs to be addressed before installation. Identifying this problem early prevents future headaches and potential safety hazards.
Common Mistakes to Avoid
When testing and installing a light fixture, several common mistakes can lead to problems down the line. Firstly, neglecting to turn off the power at the breaker before starting any wiring work is a major safety hazard and can result in electric shock. Additionally, using the wrong gauge or type of wire for connections can cause circuit overloads or insufficient power delivery. Always ensure you match the fixture’s requirements with the correct type of bulb, as a mismatched bulb can cause overheating or damage. Poorly supported fixtures and insecure connections can lead to physical damage or electrical shorting.
Conclusion
Testing a light fixture thoroughly before installation is an essential step to ensure safety, functionality, and longevity. By following these detailed testing procedures, you can confidently assess each component—from wiring integrity and bulb compatibility to socket conditions and electrical connections. Addressing any issues identified during these tests can save time and prevent complications once the fixture is installed. Thanks for reading, and we hope this has given you some inspiration on how to test a light fixture before installing!

