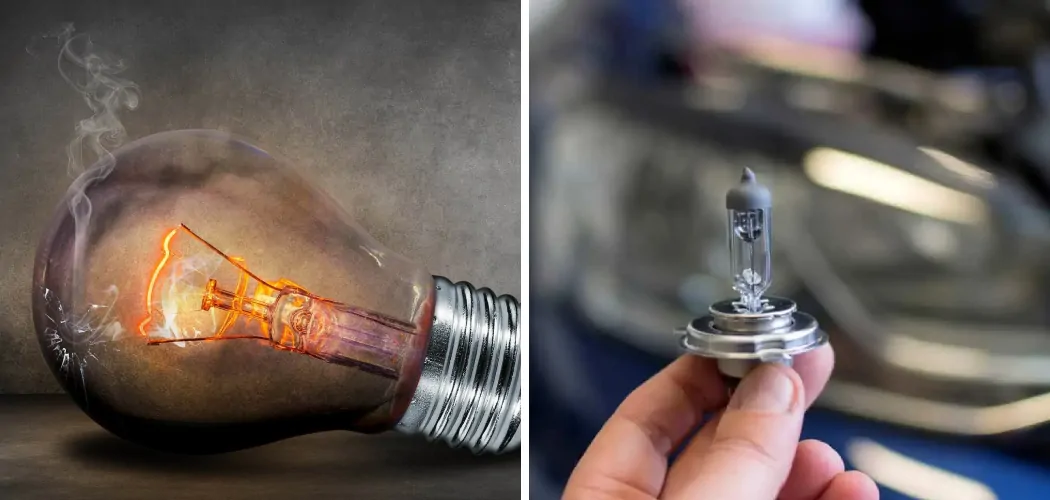
Welcome to our blog on how to tell if halogen bulb is blown, where we delve into the world of home maintenance and tackle the most common household problems head-on. Today, we’re shedding some light on a commonly misunderstood issue – figuring out if your halogen bulb is blown.
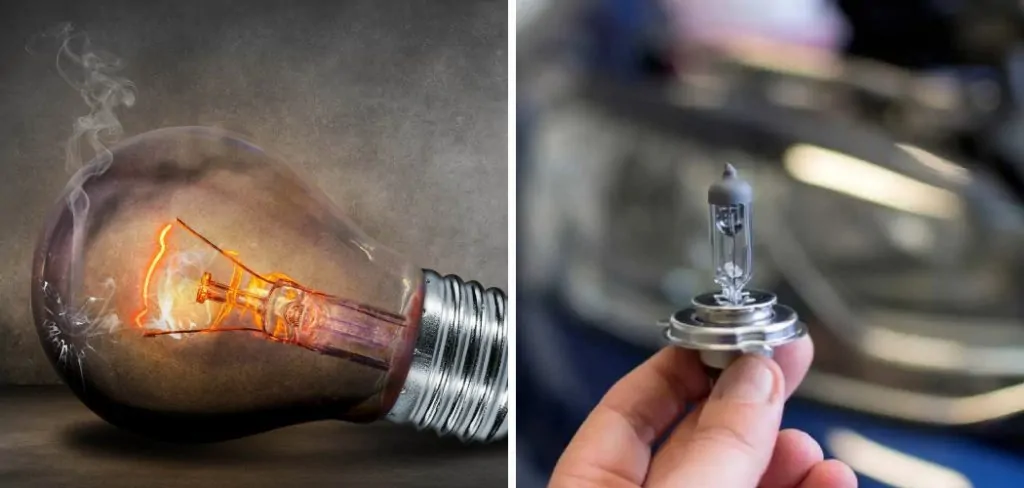
Whether you’re a seasoned DIY enthusiast or a complete novice in the realm of home improvement, it can be frustrating when one of your halogen bulbs goes out, leaving you in the dark.
But fear not! In this comprehensive guide, we’ll walk you through the signs to look for, the steps to take to confirm your suspicion, and provide you with practical tips on how to replace a blown halogen bulb. So, grab a cup of coffee, sit back, and let’s shed some light on this illuminating topic together!
Why Do Halogen Bulbs Blow?
Before we dive into the indicators of a blown halogen bulb, let’s first understand why they can blow in the first place. Unlike incandescent bulbs that have a thin filament inside, halogen bulbs contain pressurized gas around a tungsten filament.
When electricity passes through this filament, it heats up and produces light. However, halogen bulbs are more sensitive to sudden temperature changes and vibrations, which can cause the filament to break or burn out. Additionally, touching the bulb with bare hands can leave residue on the glass, causing it to overheat and blow earlier than expected.
Necessary Materials
- Halogen Bulb
- Socket Wrench (if Applicable)
- Replacement Bulb (Ensure It’s Compatible With Your Fixture)
- Ladder or Step Stool (if Needed)
11 Step-by-step Guidelines on How to Tell if Halogen Bulb is Blown
Step 1: Turn Off the Power
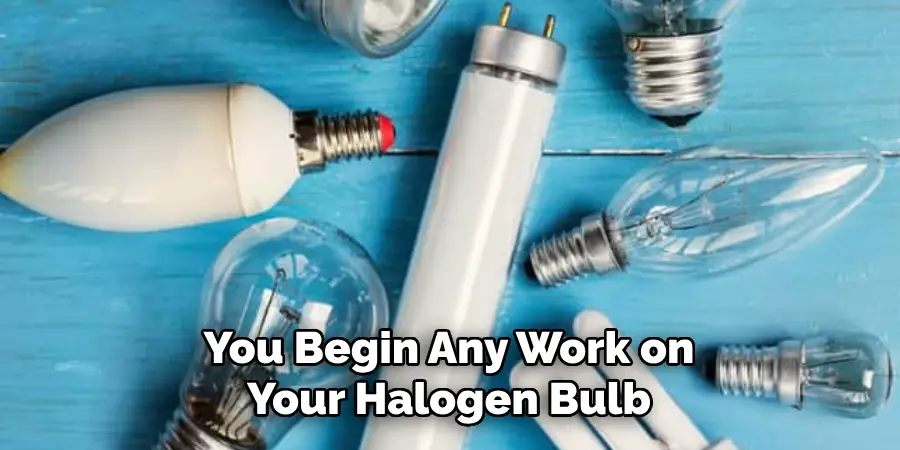
Before you begin any work on your halogen bulb, make sure to turn off the power source from the switch or circuit breaker. This step is crucial for your safety and to avoid damaging the new bulb during installation. You can also unplug the lamp or fixture from the wall socket. But if your halogen bulb is part of a ceiling fixture, you’ll need to turn off the power from the breaker box.
Step 2: Let It Cool Down
Halogen bulbs can get extremely hot when in use. So, let it cool down for at least 15 minutes before attempting to remove it. Trying to touch or remove the bulb while it’s still hot can result in burns or even shattering the glass. It’s best to use a cloth or gloves when handling the bulb. But be careful not to touch the glass as oils from your skin can cause damage.
Step 3: Inspect the Bulb
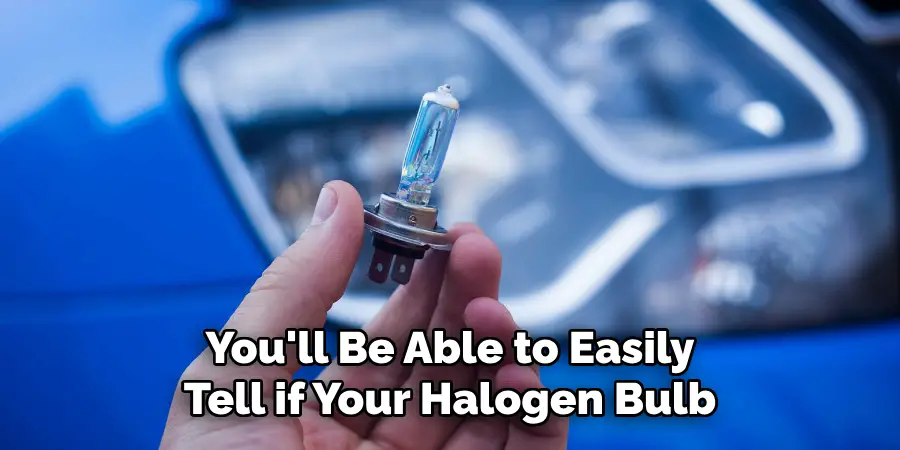
Look closely at the bulb and its components. If you see any dark spots or a broken filament, it’s likely that your halogen bulb is blown. You may also notice a discolored or cloudy appearance of the glass if there’s been a previous touch attempt. However, if the bulb looks intact and there are no visible signs of damage, you may want to proceed to the next step for further confirmation.
Step 4: Check the Light Switch and Fixture
Sometimes, a blown bulb can be caused by an issue with the light switch or fixture. So, try changing the switch or inserting the bulb into a different fixture to see if it lights up. If it does, then you’ll know that your previous fixture is faulty. It’s also a good idea to check the wattage of your bulb and ensure that it matches the specifications of your fixture.
Step 5: Try Another Bulb
If you have another halogen bulb on hand, try replacing the blown one with it. If the new bulb lights up, then your previous bulb was indeed blown. However, if the new bulb doesn’t work either, there may be an electrical issue with your fixture or circuit. It’s best to seek professional help in this case. It’s important to note that halogen bulbs have a shorter lifespan compared to other types of bulbs. The average lifespan of a halogen bulb is around 2,000 hours, so if you’re using it frequently, it may need to be replaced more often.
Step 6: Use a Multimeter (Optional)
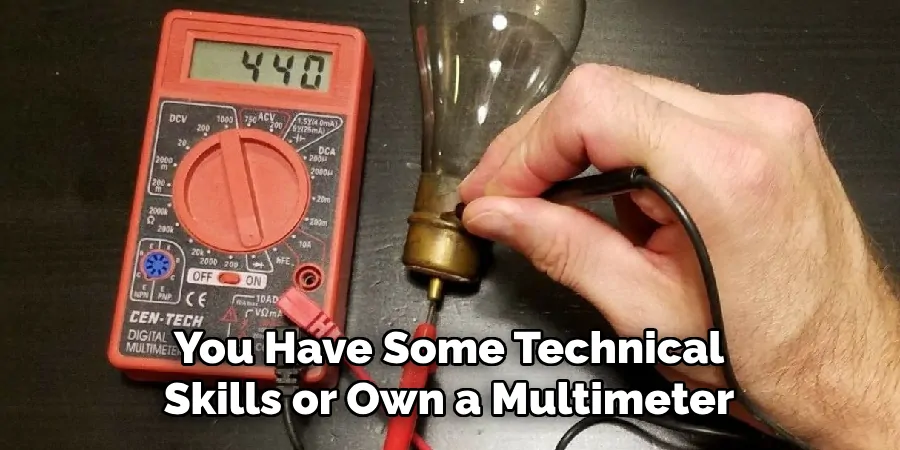
If you have some technical skills or own a multimeter, you can use it to test the continuity of your halogen bulb. Set the multimeter on the lowest ohm setting and touch the probes to the metal base and the tip of the bulb. If there’s no continuity, then your halogen bulb is blown. It’s best to consult the user manual of your multimeter for specific instructions.
Step 7: Look for Bubbles
If you notice small bubbles on the surface of the glass, it’s a sign that the halogen bulb is blown. These bubbles indicate that the pressurized gas inside has leaked out due to a broken seal or filament. You may also smell a faint burning odor if this is the case. This is a sure sign that your bulb needs to be replaced.
Step 8: Shake the Bulb
Another way to confirm if the filament is broken is by gently shaking the bulb. If you hear a rattling noise, it means that the filament inside has detached from its base, causing your halogen bulb to blow. You’ll need to replace it with a new one. It’s best to dispose of the broken bulb properly and handle it with care, as the filament may still be hot. If you’re unsure of how to dispose of your halogen bulb, consult your local waste management guidelines.
Step 9: Test with a Voltage Detector (Optional)
For those with more advanced electrical knowledge, you can also use a voltage detector to confirm if the bulb is receiving electricity. Place the detector near the base of the bulb and turn on the switch. If there’s no light or sound coming from the detector, it means that there’s no voltage reaching the bulb, indicating a blown state.
Step 10: Replace with a New Bulb
Once you’ve confirmed that your halogen bulb is indeed blown, you can proceed to replace it with a new one. Make sure to purchase a bulb that is compatible with your fixture and has the same wattage as the previous one. It’s recommended to wear gloves or use a cloth when handling the new bulb to avoid any residue from your skin.
Step 11: Turn on the Power
Finally, turn on the power and test the new bulb to see if it lights up. If it does, then you’ve successfully replaced your blown halogen bulb! Remember to dispose of the old bulb properly and handle it with care to avoid any accidents or injuries. Always follow the necessary safety precautions when dealing with electricity to avoid any mishaps. It’s also a good idea to periodically check your bulbs for any signs of damage or wear, and replace them as needed.
Following these steps on how to tell if halogen bulb is blown, you’ll be able to easily tell if your halogen bulb is blown and replace it without any hassle. Remember to always prioritize safety and consult a professional if you’re unsure about dealing with electrical tasks. With the right knowledge and precautions, maintaining your lighting fixtures will become an effortless task. So, keep these guidelines in mind and enjoy a well-lit home!
Additional Tips on Maintaining Your Halogen Bulbs
- Avoid Touching the Glass of Your Halogen Bulb With Bare Hands to Prevent Residue Buildup From Decreasing Its Lifespan.
- Keep Spare Bulbs on Hand in Case of Any Unexpected Blown Bulbs.
- Regularly Dust and Clean Your Halogen Bulbs to Ensure Maximum Lifespan.
- Always Use the Correct Wattage for Your Fixtures to Avoid Overheating and Potential Safety Hazards.
- Consider Switching to LED or CFL Bulbs for Longer Lifespan, Energy Efficiency, and Environmental Benefits.
- Properly dispose of your old halogen bulbs following local waste management guidelines.
- Avoid using sharp or pointed objects when replacing a halogen bulb to prevent damaging the filament.
- If you notice any flickering or dimming of your halogen bulbs, it may be a sign that they are reaching the end of their lifespan and need to be replaced soon.
- Check the packaging of your halogen bulb for any specific instructions or warnings, such as not using it in enclosed fixtures.
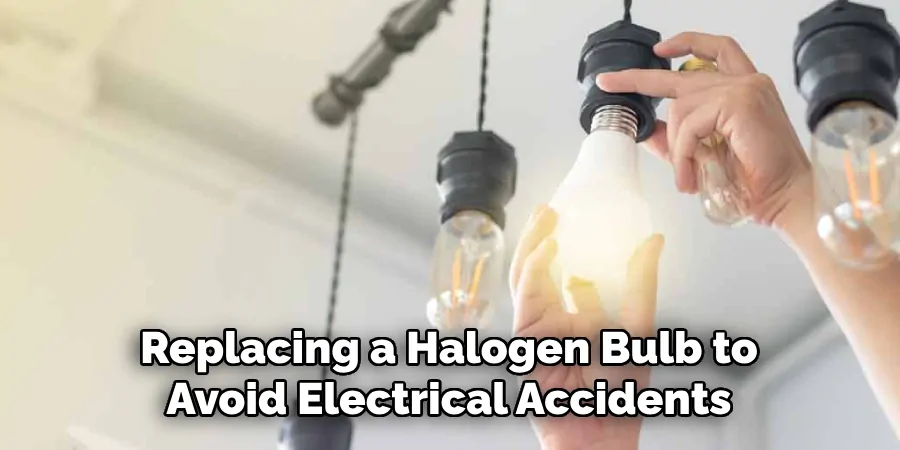
- Always turn off the power before replacing a halogen bulb to avoid electrical accidents.
Conclusion
In summary on how to tell if halogen bulb is blown, determining whether a halogen bulb is blown or not requires careful observation and some skill to identify the telltale signs. Most noticeably, a blown halogen bulb will appear blackened or grey on its end cap. Other signs of a broken bulb include discoloration of the filament and an inability to light up when installed.
It’s important to remember that halogen bulbs are highly sensitive and require specific care — for instance, touching them only with clean hands and avoiding contact with dust — in order to prevent any damages from occurring.
Now that you know how to tell if your halogen bulb is blown, you no longer have to guess when confronting this common problem at home. Change out your bulbs as soon as possible and keep the tips we’ve discussed in mind for future reference!

