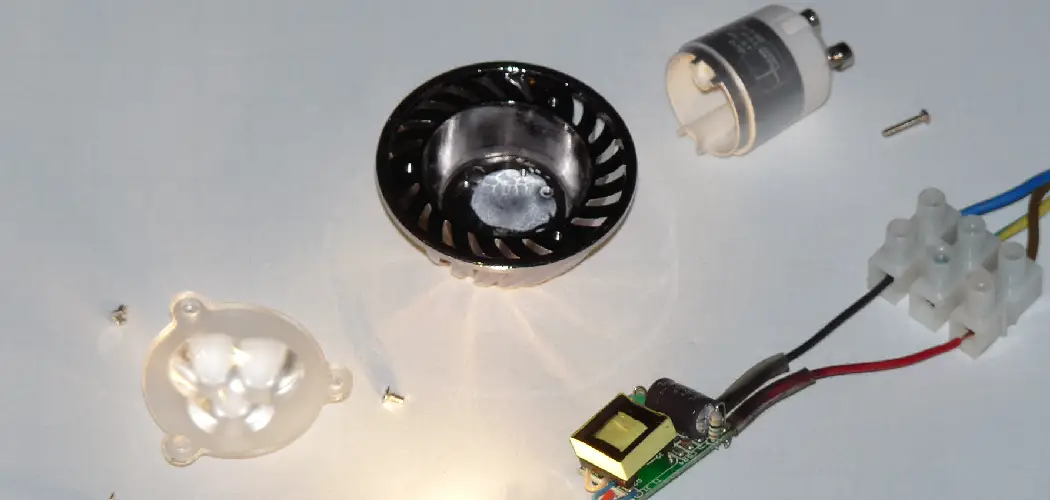
Understanding how to take apart a lamp socket can be a valuable skill for anyone looking to repair, replace, or upgrade their lighting fixtures. There are various scenarios where this knowledge may prove essential. For instance, flickering lights might indicate a loose connection that requires fixing, while a damaged or outdated socket might need replacement. Another common reason is rewiring, such as converting a two-prong setup into a safer three-prong configuration or modernizing the socket style to complement a new décor.
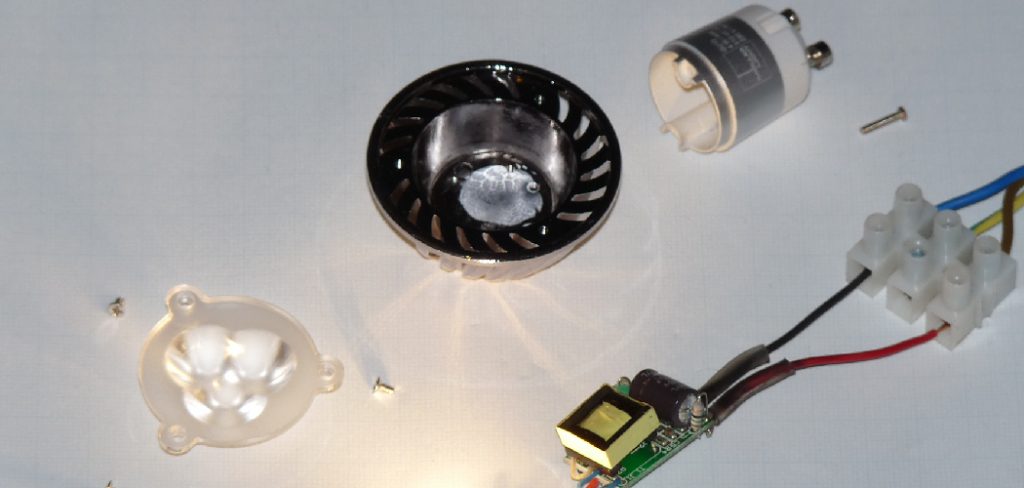
This guide is designed to provide straightforward, step-by-step instructions for safely and effectively disassembling a standard lamp socket. Whether you’re a DIY enthusiast looking to take on a new project or simply addressing a necessary repair, learning this process can save you money and extend the life of your lamp. Following these steps will give you confidence in tackling basic lighting maintenance around your home.
Safety First: Preparing for the Job
Before beginning any work on a lamp socket, it is crucial to prioritize safety. Taking the right precautions will protect you from electrical hazards and ensure that the repair process goes smoothly.
Unplug the Lamp
Always start by unplugging the lamp from the power outlet. This step is non-negotiable when dealing with any electrical repairs and eliminates the risk of electric shock.
Safety Gear
Equip yourself with the proper safety gear. Use insulated tools specifically designed for electrical work to avoid accidental current transmission, and wear gloves to protect your hands from cuts and abrasions.
Work Area
Set up your workspace on a flat, stable surface with plenty of light so you can see every detail clearly. To prevent losing small screws or components during disassembly, have a tray or container handy to keep them organized.
Test the Lamp
If you suspect the lamp socket is faulty, do not attempt to test it while it is plugged in. Instead, proceed cautiously and inspect or test the socket once completely disconnected and safe to handle.
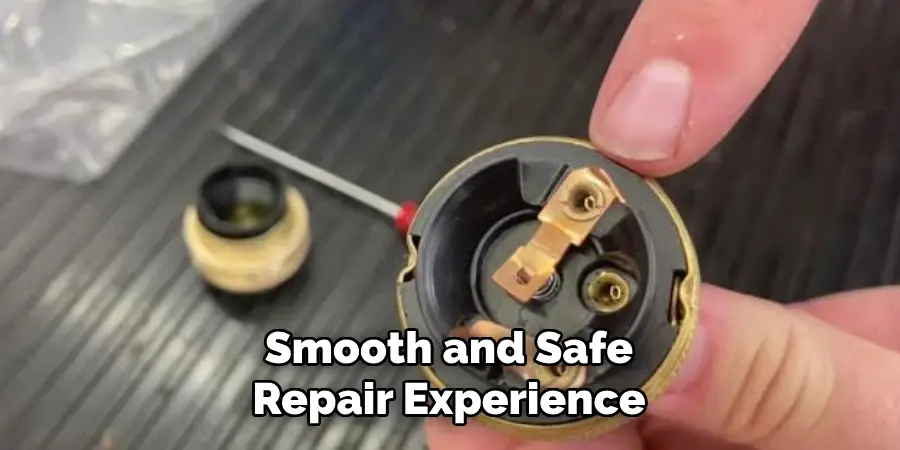
Following these preparatory steps will ensure a smooth and safe repair experience.
Tools and Materials Needed
Before starting your lamp repair, gather all the necessary tools and materials to ensure the process goes smoothly. Here’s what you’ll need:
- Flathead screwdriver – Useful for loosening or tightening flathead screws during disassembly or reassembly.
- Phillips screwdriver – Essential for handling screws with a cross-head design.
- Needle-nose pliers – Ideal for gripping, bending, or manipulating small wires and components.
- Wire cutters/strippers – Necessary for cutting wiring and stripping insulation safely.
- Replacement socket (if needed) – A new socket may be required if the original is damaged or faulty.
- Voltage tester (optional but recommended) – This helps ensure no electricity is running to the lamp before testing or repairing it.
- Small tray to hold screws and parts – Prevents losing small components and keeps your workspace organized.
Having these tools and materials ready will make the repair process more efficient and safe.
Understanding the Parts of a Lamp Socket
A lamp socket consists of several components that connect the lamp to the electrical supply. Understanding these parts can help with repairs or replacements.
Basic Components
- Outer shell – This is the metal or plastic housing that encases the socket, providing protection and structure.
- Socket cap – The bottom piece that connects the socket to the base of the lamp, often secured with screws.
- Socket shell – A middle sleeve that covers and protects the interior parts of the socket.
- Socket interior – This part houses the electrical contacts that connect directly to the bulb.
- Wire terminals – Found inside the socket, these include brass and silver screws to connect the hot (live) wire and the neutral wire, respectively.
Two Types of Sockets
- Push-through sockets – These include a small protruding knob that you push to turn the lamp on or off.
- Turn-knob or rotary sockets – Operate by twisting a knob to control the lamp’s power.
Knowing the type of socket your lamp has will aid in correct disassembly, repair, or replacement, ensuring proper functionality and safety.
Step-by-Step: How to Take Apart a Lamp Socket
Step 1: Remove the Bulb
Start by unscrewing the light bulb from the socket and carefully setting it aside in a safe location. This ensures that the bulb is not damaged during the process and reduces the risk of accidental breakage or injury.
Step 2: Loosen the Socket Shell
Grip the metal or plastic shell of the socket firmly. Depending on the socket type, some shells pull straight up while others require a slight twist to detach. If the shell is stuck, use a flathead screwdriver to gently pry it loose, being careful not to damage the surrounding components.
Step 3: Exposing the Socket Interior
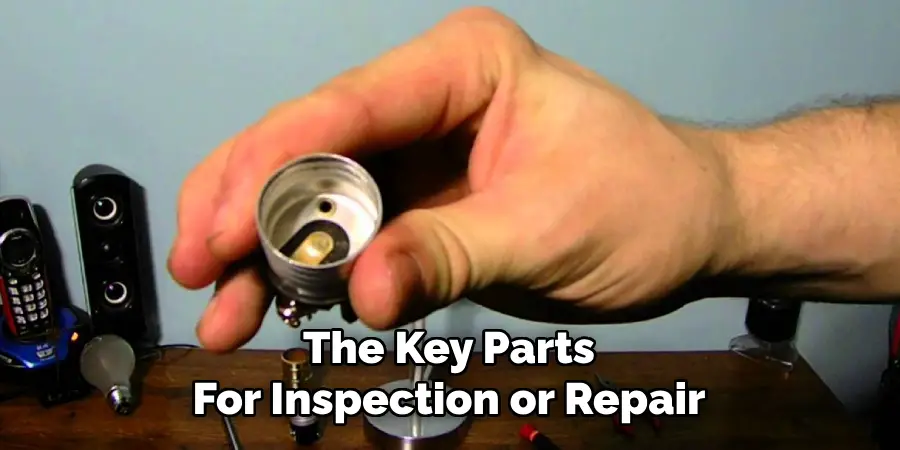
Once the shell is removed, you will see the internal components of the socket, including the wires connected to the terminals. This step allows access to the key parts for inspection or repair.
Step 4: Remove the Socket Interior
With the interior now exposed, gently lift it out of the socket cap. If it resists, lightly wiggle it back and forth to loosen it. Be cautious during this step to avoid excessive force that could damage the socket or the wiring.
Step 5: Disconnect the Wires
Before disconnecting the wires, take note of their connections for reassembly. Consider taking a picture for easy reference. Use a screwdriver to loosen the brass and silver screws and carefully remove the wires. Pay special attention to gently handling the wires to prevent insulation damage.
Following these steps will help ensure a safe and efficient process for disassembling a lamp socket, whether you’re repairing or replacing its components.
Inspecting or Replacing the Socket
Inspect for Damage
Before proceeding with reassembly, carefully examine the lamp socket for any signs of damage. Look for burn marks, which may indicate overheating, or loose connections, which could lead to improper function or electrical hazards. Additionally, check for corrosion on the metal components, as this can interfere with the flow of electricity. Identifying potential issues early ensures a safer and longer-lasting repair.
If Replacing the Socket
If the socket is damaged beyond repair, replacing it is the next step. To do this, match the new socket to the old one’s style. Consider factors like size, type, and wattage rating when shopping for a replacement. Using the old socket as a reference can be extremely helpful to ensure compatibility with the lamp. Confirm that the new socket meets safety standards and follows electrical codes.
Clean Components
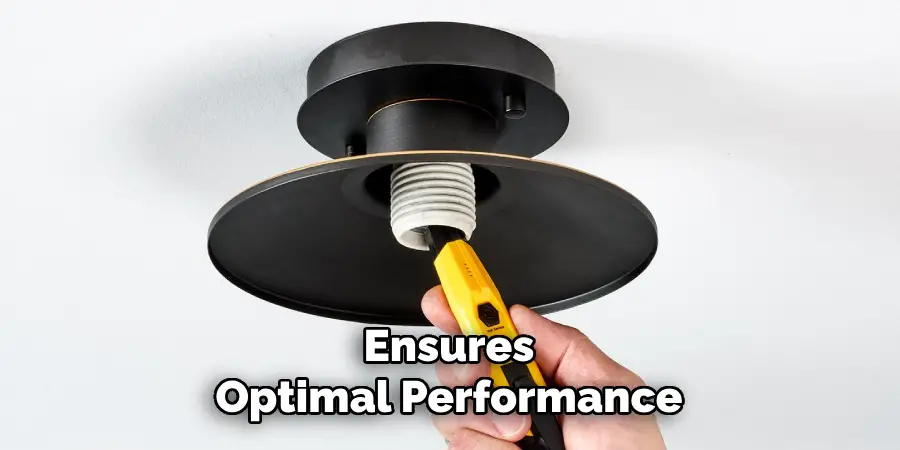
Those opting to reuse the existing socket should take the time to clean it thoroughly. Remove any dust, grime, or debris that may have accumulated over time. Use a soft cloth or a gentle cleaning solution to ensure the components are in good condition before reassembly. Proper cleaning improves the socket’s appearance and ensures optimal performance.
Reassembling the Lamp Socket
Now that the components are clean and ready, follow these steps to reassemble the lamp socket efficiently and safely:
Step 1: Reconnect the Wires
Begin by reconnecting the wires to their designated screws. Wrap the neutral wire around the silver screw and the hot wire around the brass screw. Ensure the wires are securely fastened and make the connection firm by tightening the screws properly. A solid connection is crucial for the safe functioning of the lamp.
Step 2: Insert the Interior Back into the Cap
Next, carefully push the socket interior back into the cap. Apply gentle pressure and guide it until it clicks or locks back into place. Ensure the interior sits snugly and aligns correctly with the cap to avoid loose fittings.
Step 3: Replace the Socket Shell
Slide the socket shell back over the interior. Press down firmly or twist the shell—depending on the design—until it fits securely in place. This step restores the foundational structure of the socket while protecting its internal components.
Step 4: Screw the Bulb Back in and Test
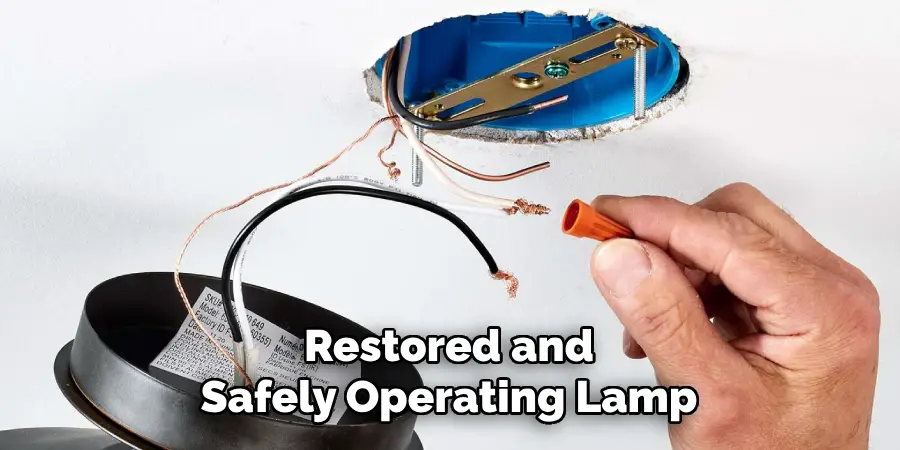
Finally, screw the bulb back into the socket. Plug the lamp into a nearby outlet and test the switch to confirm proper functionality. If everything is correctly assembled, the lamp should light up without any issues. Enjoy your fully restored and safely operating lamp!
Conclusion
Understanding how to take apart a lamp socket is a straightforward and rewarding process when you follow proper safety measures and outlined steps. Whether you are repairing a damaged component or upgrading your lamp, this skill empowers you to take greater control of your home’s lighting solutions. Always ensure that the parts you use are compatible with your lamp, and double-check wire placements during reassembly to guarantee a safe and functional setup. With patience and attention to detail, you can confidently restore or modify your lamp, bringing both practicality and satisfaction to your DIY project.

