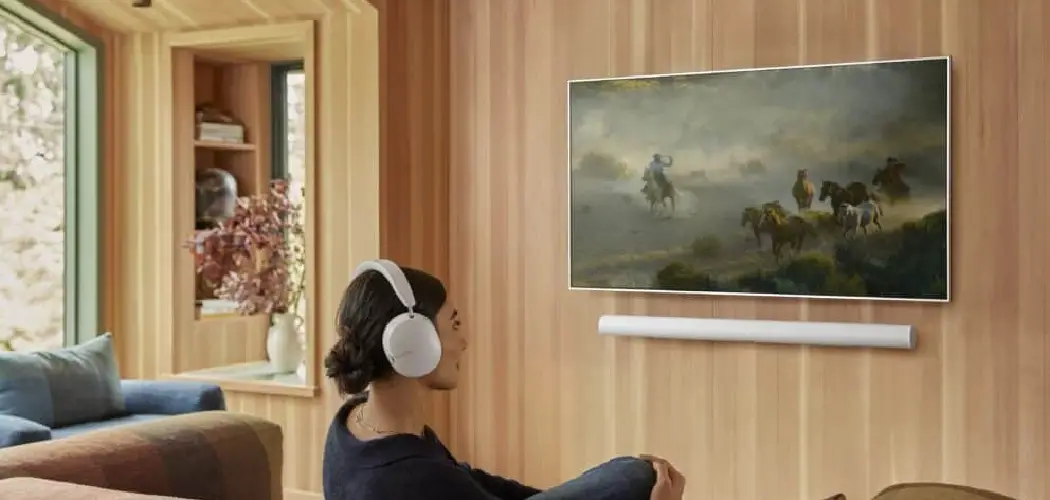
Creating an immersive home theater experience goes beyond just having a great TV and sound system. Smart lighting that responds to what’s happening on your screen can transform your living room into a truly cinematic environment. Learning how to sync lights to tv opens up a world of ambient lighting possibilities that enhance everything from movie nights to gaming sessions.
The technology behind synchronized lighting has become incredibly accessible and affordable. Modern smart lighting systems can analyze your TV’s colors in real-time and mirror those hues around your room, creating a stunning visual effect that extends your screen’s content into your physical space.
This comprehensive guide will walk you through the entire process, from selecting the right equipment to fine-tuning your setup for optimal performance. Whether you’re a tech novice or someone looking to upgrade your entertainment space, you’ll find practical steps that anyone can follow to achieve professional-looking results.
Why Syncing Lights to Your TV Matters
Smart lighting synchronization represents one of the most dramatic upgrades you can make to your home entertainment setup. The technology creates an immersive viewing experience that reduces eye strain by eliminating harsh contrasts between your bright screen and dark surroundings. This ambient lighting approach helps your eyes adjust more comfortably during long viewing sessions.
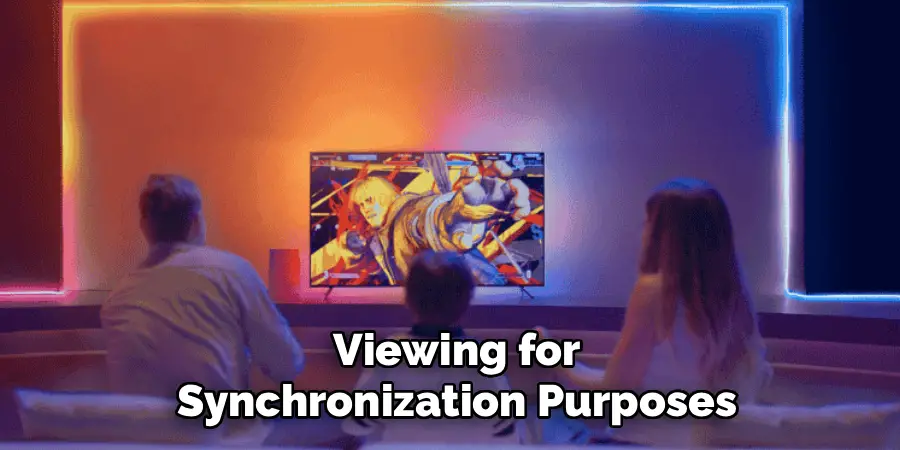
Beyond comfort benefits, synchronized lighting adds a premium feel to any room. The dynamic color changes create an engaging atmosphere that makes movies more thrilling, sports more exciting, and gaming sessions more immersive. Friends and family will notice the difference immediately, often asking how you achieved such a professional setup.
8 Step-by-Step Guide: How to Sync Lights to TV
Step 1: Choose Compatible Smart Lights
The foundation of any successful lighting synchronization system starts with selecting the right smart lights. Popular options include Philips Hue, LIFX, Govee, and Nanoleaf products, each offering different features and price points. Consider your budget, room size, and desired lighting effects when making your selection.
Look for lights that specifically advertise screen synchronization capabilities, as not all smart bulbs support this feature. Color-changing LED strips work particularly well for bias lighting behind your TV, while smart bulbs in floor lamps and ceiling fixtures provide broader room illumination. Ensure your chosen lighting system supports the connection method you prefer, whether that’s Wi-Fi, Bluetooth, or a dedicated hub system.
Step 2: Set Up Your Smart Lighting System
Install your smart lights according to the manufacturer’s instructions, ensuring they’re positioned for optimal effect. For bias lighting, place LED strips directly behind your TV, keeping them hidden from direct view while allowing the light to reflect off the wall behind your screen.
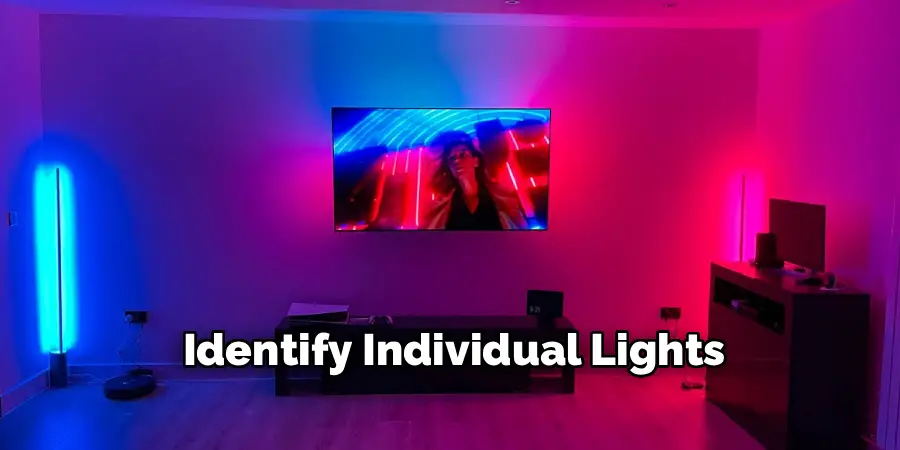
Download and configure the primary app for your lighting system, creating user accounts and connecting each light to your Wi-Fi network. This initial setup process varies by manufacturer but typically involves scanning QR codes or using your phone’s camera to identify individual lights. Take time to organize lights into groups based on their location and intended function.
Step 3: Install Screen Synchronization Software
Most lighting synchronization requires specialized software that analyzes your TV’s display content and translates those colors to your smart lights. Popular options include Philips Hue Sync, LIFX’s desktop app, or third-party solutions like Prismatik for more advanced users who want greater customization options.
The software installation process varies depending on your chosen solution and TV setup. Some systems work directly with smart TVs through built-in apps, while others require connection through streaming devices, gaming consoles, or dedicated capture devices. Follow the manufacturer’s setup wizard carefully, as incorrect configuration can result in poor synchronization performance.
Step 4: Configure Your TV Connection
Establishing a reliable connection between your TV and synchronization system is crucial for smooth operation. The connection method depends on your specific setup, but common approaches include HDMI capture, Wi-Fi streaming, or direct smart TV integration through manufacturer apps.
For HDMI-based systems, connect a capture device between your streaming device and TV, allowing the synchronization software to analyze the signal in real-time. This method typically provides the most responsive and accurate color matching but requires additional hardware investment. Ensure your HDMI capture device supports the resolution and refresh rate of your content.
Step 5: Calibrate Color Accuracy and Timing
Proper calibration ensures your synchronized lights accurately represent the colors appearing on your screen while maintaining appropriate brightness levels for comfortable viewing. Start with the default settings provided by your synchronization software, then make gradual adjustments based on your room’s characteristics and personal preferences.
Adjust the color saturation and brightness levels to prevent overwhelming your viewing experience while still providing noticeable ambient effects. Most systems allow you to set different profiles for various content types, such as movies, sports, or gaming. Take advantage of these profiles to optimize the experience for your most common viewing scenarios.
Step 6: Create Custom Lighting Zones
Advanced synchronization systems allow you to divide your room into multiple lighting zones that respond to different areas of your screen. This feature creates more sophisticated effects, such as having lights behind your TV mirror the screen’s edges while room lights reflect the overall scene ambiance.
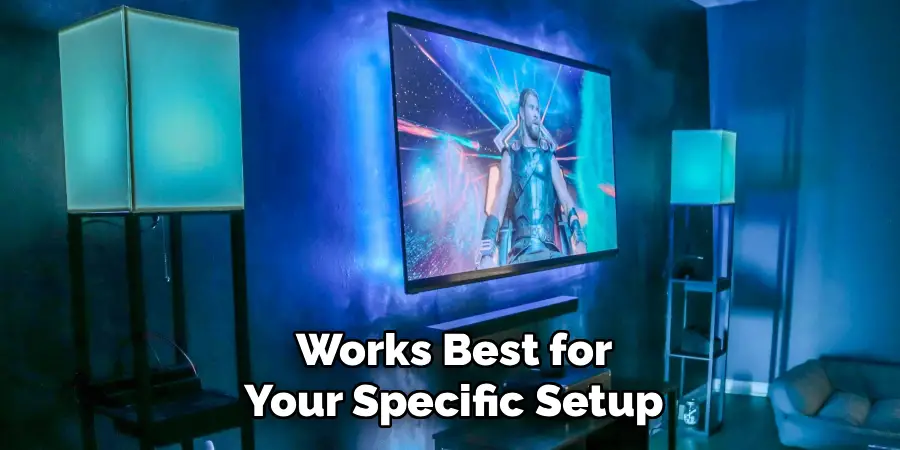
Map your physical lights to corresponding screen regions through the synchronization software’s zone configuration tool. Consider your room layout and furniture placement when creating zones, ensuring the lighting effects complement your space rather than creating distracting hotspots or shadows. Experiment with different zone configurations to find what works best for your specific setup.
Step 7: Test With Different Content Types
Comprehensive testing with various content types ensures your synchronized lighting system performs well across all your viewing preferences. Start with colorful animated content or nature documentaries that showcase a wide range of hues and dynamic scenes, then test with darker content like horror movies or dramatic films.
Gaming presents unique challenges for lighting synchronization due to rapid scene changes and user interface elements. Test your favorite games to ensure the lighting responds appropriately without becoming distracting during gameplay. Some systems allow you to adjust sensitivity settings specifically for gaming to reduce unnecessary flickering or rapid color changes.
Step 8: Fine-Tune for Optimal Performance
After initial setup and testing, spend time fine-tuning your system for optimal performance and personal preference. Adjust brightness levels for different times of day, ensuring comfortable viewing whether you’re watching during bright afternoon hours or late-night sessions.
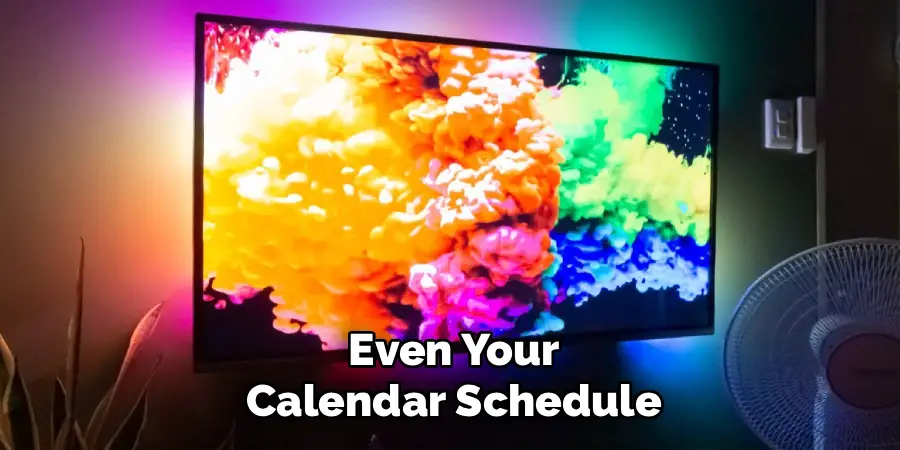
Create automated schedules that adjust lighting intensity and color temperature based on the time of day or your typical viewing patterns. Many systems integrate with smart home platforms, allowing you to create complex automation rules that consider factors like occupancy sensors, ambient light levels, or even your calendar schedule.
Troubleshooting Tips for Smart Lighting Systems
Check Your Connections: Ensure all smart bulbs or lighting fixtures are properly connected to power and your Wi-Fi network. Loose connections or unstable network signals can disrupt performance.
Restart Devices: Sometimes, a simple reboot can resolve connectivity or functionality issues. Turn off the light, unplug any hubs or bridges, and restart your router if needed before trying again.
Update Firmware: Outdated firmware can cause compatibility or performance problems. Check the manufacturer’s app or website for the latest updates and follow instructions to install them.
Revisit Automation Settings: If your schedules or automations are not working as expected, ensure they are set up correctly within your smart lighting app. Verify time zones, triggers, and associated rules.
Verify App Permissions: Make sure the app controlling your smart lights has all necessary permissions enabled on your device, such as location access or background data usage.
Reset and Reconnect: If issues persist, consider resetting your smart bulb, hub, or system to factory settings and reconnecting them. Refer to the user manual for the proper reset procedure.
Test Network Strength: Weak Wi-Fi signals can lead to unresponsiveness. Place devices closer to your router, or consider using a Wi-Fi extender if connectivity problems frequently arise.
By following these troubleshooting tips, you can address common issues and restore your smart lighting system to optimal performance.
Frequently Asked Questions
What Equipment Do I Need To Start Syncing Lights?
You’ll need compatible smart lights, a synchronization app or software, and a reliable Wi-Fi connection. For basic setups, smart bulbs and the manufacturer’s app suffice. Advanced configurations might require HDMI capture devices or dedicated hubs for optimal performance and broader compatibility.
Will Synchronized Lighting Work With Streaming Services?
Most modern synchronization systems work with popular streaming platforms like Netflix, Hulu, and YouTube. However, some services use content protection that may limit functionality. Smart TV apps generally offer better compatibility than browser-based viewing for synchronization purposes.
How Much Does A Complete Setup Cost?
Basic setups start around $100-200 for a few smart bulbs and LED strips. Premium systems with advanced features and multiple zones can cost $500-1000. Consider starting small and expanding your system over time as you discover what works best for your space.
Does Light Synchronization Affect TV Performance?
Properly configured systems shouldn’t impact TV performance. HDMI capture methods add minimal delay, while Wi-Fi-based systems operate independently of your TV’s processing. Avoid overloading your network bandwidth during peak usage times to maintain smooth operation.
Can I Use Multiple Lighting Brands Together?
While possible through third-party software solutions, mixing brands often complicates setup and may reduce performance. Sticking with one ecosystem generally provides better integration, reliability, and feature support. Choose your primary brand based on your specific needs and expand within that ecosystem.
Conclusion
Successfully learning how to sync lights to tv creates a transformative entertainment experience that elevates every viewing session. The technology has evolved to be remarkably user-friendly while offering sophisticated customization options for those who want to fine-tune their setup.
Start with a basic configuration and expand your system over time as you discover new ways to enhance your entertainment space. The investment in synchronized lighting technology provides years of improved viewing experiences while adding a unique, premium feel to your home theater setup.

