Stringing lights on bushes is a simple yet effective way to add a festive glow to your outdoor space during the holiday season or for any special occasion. With the right approach, you can create an even and professional-looking display that transforms your yard into a beautiful, illuminated landscape.
This guide on how to string lights on bushes will walk you through the steps necessary to achieve stunning results, whether you’re a beginner or looking to improve your technique.
Why String Lights on Bushes?
Before we dive into the details of how to string lights on bushes, it’s important to understand why this is a popular decorating choice. First and foremost, stringing lights on bushes adds depth and dimension to your outdoor space by incorporating different levels of lighting. This creates a more visually appealing display compared to simply lining lights along the roof or ground.
Additionally, bushes provide a natural framework for lights, making it easier to achieve a symmetrical and evenly distributed look. And let’s not forget the cozy and festive atmosphere that string lights on bushes bring – perfect for gatherings, parties, or simply enjoying your outdoor space during the winter months.
Materials Needed
Outdoor String Lights:
Choose LED lights as they are energy-efficient and have a longer lifespan compared to traditional incandescent bulbs. Opt for lights with a warm white hue to create a cozy and inviting ambiance.
Extension Cords and Power Sources:
Make sure you have enough extension cords to reach all the bushes you want to string lights on. It’s also important to have power sources nearby, whether it’s an outlet or a surge protector, for added safety.
Zip Ties or Clips:
These will be used to secure the lights to the bushes and keep them in place. Opt for clear or green-colored ties/clips to blend in with the bushes.
Ladder:
A ladder will come in handy if you have tall bushes that need to be reached. Make sure it is sturdy and safely positioned before climbing on it.
10 Step-by-step Guides on How to String Lights on Bushes
Step 1: Plan Your Design
Before you start stringing lights on your bushes, take a moment to plan your design. Decide which bushes you want to decorate and visualize how you’d like them to look once illuminated. Consider factors such as the spacing between the lights, the color scheme you want to achieve, and whether you prefer a uniform or more whimsical arrangement.
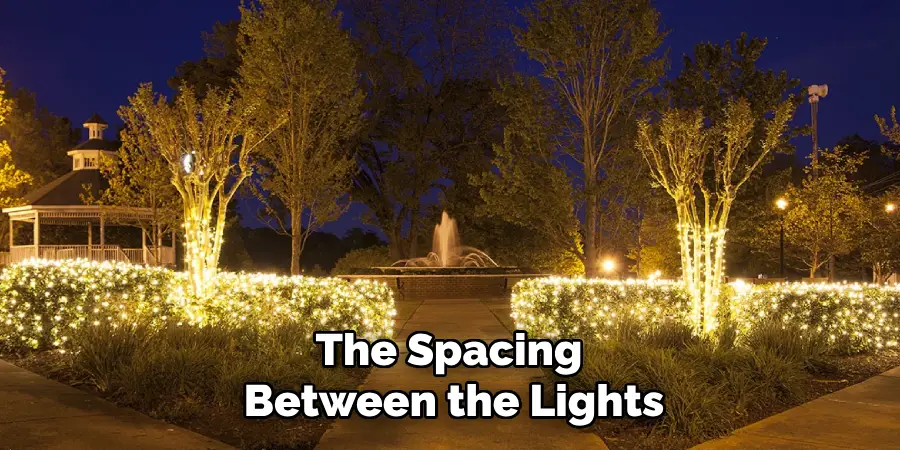
This step is crucial for ensuring that you have enough lights and materials for the project. Sketching out your design or walking around the area to visualize the final look can help you refine your plan and make the decorating process more seamless.
Step 2: Test the Lights
Before you start stringing the lights on your bushes, make sure they are in working condition. Plug them in and check for any burnt-out bulbs or faulty connections. It’s better to replace them before starting rather than having to backtrack later.
You can also test the lights by wrapping them around a small, portable object such as a broomstick or bucket. This will give you an idea of how they will look when wrapped around the bushes.
Step 3: Start from the Bottom
Begin stringing the lights at the base of the bush and work your way upward. This approach ensures better control over the spacing and coverage as you move along. Wrap the lights securely around the branches, making sure they are evenly distributed and not too tight to avoid damaging the foliage.
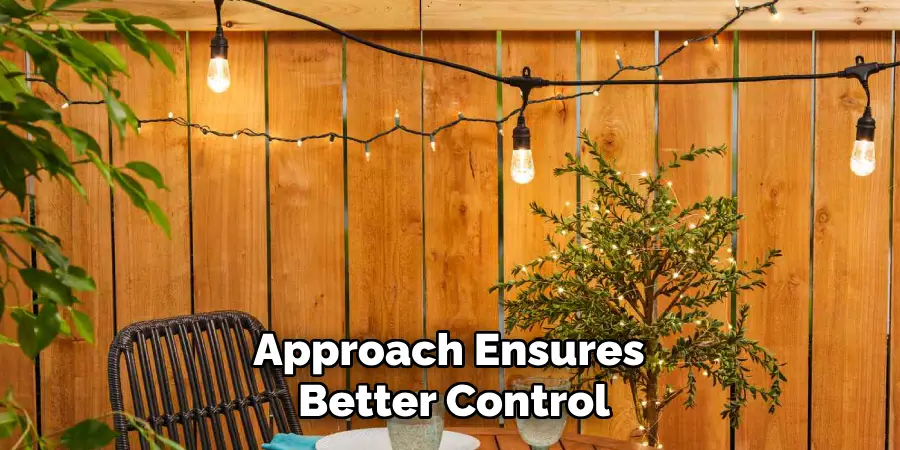
If the bush is particularly wide, work in sections to maintain consistency across the entire shrub. Starting from the bottom also helps ensure the power cord remains easily accessible for connecting to your power source.
Step 4: Secure the Lights
Use zip ties or clips to secure the lights to the branches. This will prevent them from slipping down the bush and maintain a clean, organized look.
Try not to tie them too tightly as this can damage the branches or cause bulbs to break. Additionally, make sure to hide any excess cord by wrapping it around the branches or tucking it behind leaves.
Step 5: Create Symmetry
If you have multiple bushes that you’re stringing lights on, it’s important to create symmetry between them for a cohesive look. You can do this by following a similar pattern in terms of spacing and coverage on each bush. Alternatively, you can also connect the lights from one bush to the next, creating a seamless flow of light.
It’s also a good idea to step back and assess the overall look as you go along, making adjustments where necessary.
Step 6: Focus on Key Features
When stringing lights on bushes, it’s important to highlight key features of your landscaping to make your display stand out. Identify any unique shapes, textures, or clusters within the bushes and emphasize them by wrapping lights more densely around those areas. For example, if the bush has a prominent branch or distinctive top, you can add more lights to draw attention to it.
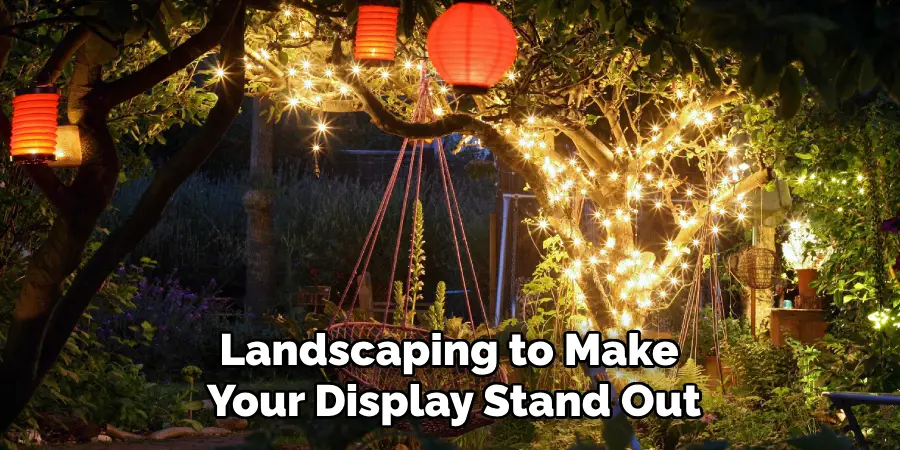
Focusing on these features not only enhances your decorations but also adds depth and visual interest to your overall lighting arrangement. Just be sure to maintain balance so the highlighted areas don’t overpower the rest of the display. Stepping back periodically to view your progress from a distance can help ensure even and intentional lighting distribution.
Step 7: Add Layers
To create a truly enchanting and multidimensional display, consider adding layers of lights to your bushes. For instance, you can wrap larger bulbs or icicle lights around the outer branches while using smaller fairy lights closer to the interior for a twinkling effect. This creates an illusion of depth and dimension that adds interest and charm to your arrangement.
You can also experiment with different colored lights or variations in brightness to add variety and personality to your display.
Step 8: Incorporate Other Elements
Don’t limit yourself to just stringing lights on bushes – consider incorporating other elements into your display for a more magical effect. You can hang ornaments, ribbons, or other decorative pieces from the branches or add in some faux snow or greenery for a winter wonderland look. Just make sure these additional elements are safely secured to avoid any accidents.
It’s also a good idea to stick to a color scheme or theme when adding other elements so they complement rather than clash with the lights and bushes.
Step 9: Connect to Power Source
Once all your bushes are decorated with lights, it’s time to connect them to a power source. Follow the cord and plug it into an outlet or extension cord that is suitable for outdoor use. If you’re using a surge protector, make sure it’s rated for the wattage of your lights and waterproof.
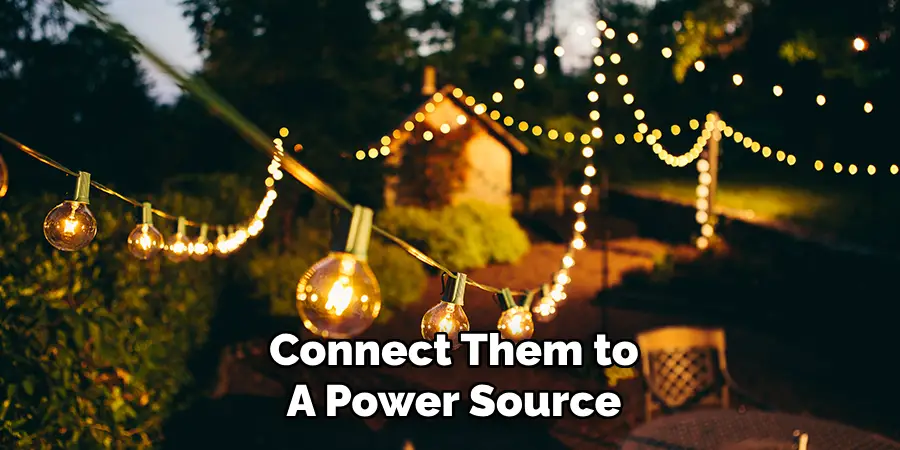
It’s also important to take safety precautions when connecting lights to power sources. Avoid overloading circuits and keep cords away from water or wet surfaces to prevent electrical hazards.
Step 10: Enjoy Your Beautifully Lit Bushes
After all your hard work, it’s time to step back and enjoy the beautiful result of your efforts. Turn on the lights and bask in the warm, inviting glow of your decorated bushes. You can also add a timer or remote control for added convenience, so you don’t have to manually switch them on every night.
With these ten easy steps on how to string lights on bushes, you’ll be able to string lights on your bushes like a pro! Just remember to plan, test, start from the bottom, secure the lights, create symmetry and layers, incorporate other elements, connect to the power source safely, and voila – stunningly lit bushes that will make your home the envy of the neighborhood. Happy decorating!
Frequently Asked Questions
Q: Can I Use Regular Indoor Lights for My Outdoor Bushes?
A: No, it’s important to use lights specifically designed for outdoor use since they are weather-resistant and have proper insulation to prevent electrical hazards. It’s also a good idea to check the manufacturer’s specifications to ensure they are suitable for your intended use.
Q: Can I Leave Lights on My Bushes All Night?
A: It’s recommended to turn off your lights before going to bed, both for safety reasons and energy conservation. You can use a timer or remote control to automatically turn them off after a certain period, so you don’t have to worry about forgetting.
Q: How Do I Store Lights After the Holiday Season?
A: To ensure longevity, it’s best to store lights in a cool, dry place away from direct sunlight. You can use storage bins or reels specifically designed for storing lights or wrap them around pieces of cardboard to keep them tangle-free. Labeling the bins or reels can also make it easier to find specific lights for next year’s decorating.
Q: Can I Use LED Lights on My Bushes?
A: Yes, LED lights are a great option for outdoor use as they are energy-efficient, last longer, and produce less heat than traditional incandescent bulbs. Plus, they come in various colors and sizes, making them versatile for any festive display. Just make sure to get LEDs specifically designed for outdoor use.
Conclusion
Decorating bushes with lights is a wonderful way to bring charm and warmth to your outdoor space, especially during the holiday season. By following the steps on how to string lights on bushes outlined above, you can create a dazzling display that highlights your landscaping while reflecting your unique style.
Remember to prioritize safety, use the right kind of lights for outdoor conditions, and take the time to plan and execute your vision with care. With some creativity and attention to detail, your beautifully lit bushes will transform your yard into a magical wonderland that you and your neighbors can enjoy throughout the season. Happy decorating!

