Recessed can lights, commonly known as downlights, are gaining popularity among homeowners and designers for their ability to provide clean, modern, and discreet lighting solutions. These lights integrate seamlessly into ceilings, offering a minimalist aesthetic that complements various interior designs. However, understanding how to space can lights is crucial for achieving balanced illumination.
Proper spacing prevents the creation of harsh shadows and avoids overly bright spots that can disrupt the ambiance of a room. The optimal arrangement of can lights depends on multiple factors, including the room’s size, the ceiling’s height, the type of bulb used, and the intended lighting goals—be it task, ambient, or accent lighting. By assessing these elements carefully, homeowners can ensure that their lighting setup enhances a space’s functionality and visual appeal, providing a well-lit environment tailored to their specific needs.

Tools and Materials Needed
When preparing to space and install can light, having the right tools and materials on hand is essential to ensure a successful project. A tape measure is crucial for obtaining accurate measurements of the distances between lights and walls, ensuring even distribution throughout the room. Graph paper or a room layout tool can aid in creating a scaled diagram to visualize the spacing plan before installation.
A ladder or measuring stick will be necessary to assess ceiling height. To mark installation points on the ceiling and walls, a pencil or chalk can be used safely and wiped off easily if adjustments are needed. Finally, gather your can lights and bulbs, whether they are LED or Halogen. Make sure these lights and trims match the desired style and are appropriately sized for the specific room and intended lighting purposes, ensuring cohesive and effective illumination.
Determining the Purpose of the Lighting
When planning the layout of can lights, it is essential to consider the primary purpose of the lighting—be it ambient, task, or accent lighting. Each purpose influences the spacing and arrangement of the lights, ensuring the intended atmosphere and functionality are achieved.
Ambient Lighting:
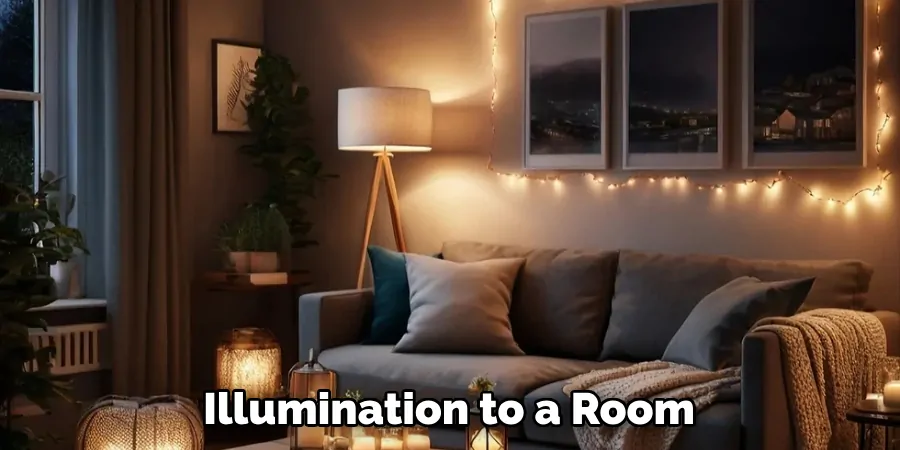
This general lighting provides overall illumination to a room, eliminating dark spots and creating a welcoming environment. Can lights used for ambient lighting are typically spaced evenly throughout the space to ensure uniform brightness. The recommended spacing for ambient lighting is generally between 4 and 6 feet apart, contingent upon the ceiling height and size of the room. This arrangement guarantees that light is distributed evenly, enhancing visibility and comfort.
Task Lighting:
Task lighting focuses on specific areas where cooking, reading, or working are performed. In spaces requiring task lighting, can lights should be positioned closer together, approximately 3 to 4 feet apart. This proximity ensures that bright, directed light effectively illuminates the area, supporting productivity and reducing eye strain during tasks.
Accent Lighting:
Accent lighting emphasizes particular features, such as artworks, architectural details, or indoor plants. The spacing of can lights for accent purposes depends on the elements being highlighted but can often be farther apart. This technique draws attention to focal points in the room, enhancing aesthetics and adding character without overpowering the overall lighting scheme.
How to Space Can Lights: Measuring and Calculating Light Spacing
Step 1: Measure Room Dimensions
Using a tape measure, begin by accurately measuring the room’s length and width. Record these measurements to calculate the total area of the space needing illumination. Understanding these dimensions is crucial because a larger room will require more can lights to ensure even lighting coverage. Consider creating a scaled drawing or using a room layout tool to visualize the spacing of the lights before installation, ensuring no area is left underlit or overly bright.
Step 2: Determine Ceiling Height
The height of your ceiling significantly influences the spacing of can lights. For 8-foot ceilings, lights should generally be spaced about 4 feet apart to achieve balanced lighting. For ceilings that range from 9 to 10 feet, you can space your lights 5 to 6 feet apart. Higher ceilings, measuring 11 feet or more, allow for can lights to be spaced up to 7 feet apart, ensuring adequate illumination across the entire room without creating overly bright spots or shadows.
Step 3: Calculate Light Placement (Rule of Thumb)
To determine precise light placement, apply the “Half-the-Ceiling Height Rule.” This guideline suggests that for an 8-foot ceiling, lights should be spaced roughly 4 feet apart, which is half of the ceiling’s height. Similarly, with a 10-foot ceiling, spacing lights 5 feet apart is optimal. Consider an example calculation: in a room with a 9-foot ceiling and dimensions of 12 by 16 feet, the lights should be spaced approximately 4.5 to 5 feet apart to ensure even illumination and a cohesive lighting arrangement.
Step 4: Consider Wall Distance
When planning the placement of your can lights, it’s important to maintain an appropriate distance from the walls. Position the lights about 2 to 3 feet away from the walls to avoid casting shadows or creating dark corners. This spacing helps distribute light evenly throughout the room, enhancing the overall aesthetic while preventing dimly lit areas.
Spacing Tips for Different Room Types
Living Room:
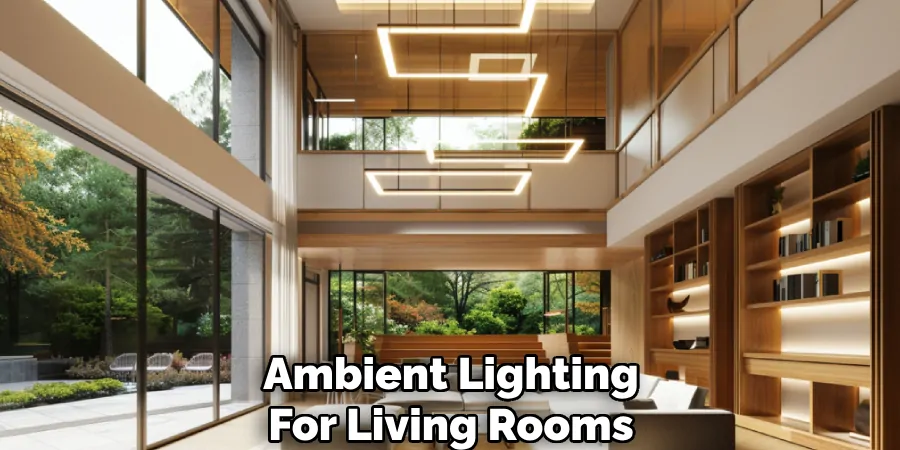
When designing ambient lighting for living rooms, it’s generally recommended to place can lights 5 to 6 feet apart. This arrangement considers typical ceiling heights and ensures the space is well-lit without being harsh. Additional can lights can be installed closer together for areas that benefit from focused lighting, such as seating arrangements. These can be strategically positioned to provide accent lighting around key features, such as a fireplace, artwork, or an entertainment setup, enhancing the room’s ambiance and drawing attention to its focal points.
Kitchen:
Task lighting is crucial in kitchens, where precision is necessary over countertops and islands. To achieve this, can lights should be spaced 3 to 4 feet apart, providing the focused illumination necessary for food preparation and cooking tasks. Installing additional lights directly over high-use areas such as sinks and stoves is beneficial to eliminate shadows and ensure a consistently bright workspace. This setup enhances functionality and contributes to a stylish and modern kitchen design.
Bathroom:
In bathrooms, the goal is to create bright, even lighting conducive to grooming and everyday tasks. Can lights spaced 4 to 5 feet apart generally achieve this, ensuring that the entire room is uniformly lit. Consider installing task lighting over vanities or shower areas for more personalized lighting needs. This additional lighting clarifies activities such as shaving or applying makeup, creating a practical and serene environment.
Hallway:
Hallway lighting should prioritize even illumination along the entire length to guide wayfinding effectively. Consequently, can lights should be spaced closer together, around 4 feet apart. This arrangement ensures no section of the hallway is left dim, creating a seamless flow of light that enhances safety and visibility. Additionally, spaced lighting along long hallways can accentuate architectural features, adding to the aesthetic appeal.
Bedroom:
Ambient lighting in bedrooms often involves spacing can lights approximately 5 feet apart. This distribution supports a relaxing setting suitable for rest. Bedrooms can also benefit from accent lighting over reading areas or task lighting near desks or dressing tables. These focused lights accommodate specific activities while contributing to the overall comfort and functionality of the space, tailoring the environment to personal preferences and enhancing the bedroom’s versatility.
Avoiding Common Lighting Mistakes
Over-Spaced Lights
Placing lights too far apart can result in dim areas and uneven lighting, detracting from the room’s ambiance and functionality. This spacing mistake leads to shadows and underlit regions, creating an unwelcoming environment. To combat this issue, ensure lights slightly overlap in their coverage, which helps to fill in dark patches and distribute illumination evenly. Always adhere to standard guidelines based on ceiling height and room dimensions to prevent gaps in light coverage.

Under-Spaced Lights
Conversely, placing can lights too close together can result in an intensely bright and harsh environment, making a space uncomfortable to inhabit. This excessive illumination can lead to glare and detract from a room’s aesthetic appeal. To maintain a balanced lighting scheme, follow recommendations for ceiling height and room size to achieve an optimal configuration, avoiding clusters that produce overpowering brightness.
Ignoring Furniture Layout
It’s crucial to consider how furniture layout interacts with lighting placement. Properly adjusted light positions ensure illumination effectively highlights key areas, like above couches, dining tables, or kitchen islands. This tailored approach optimizes lighting utility and enhances the room’s visual flow.
Incorrect Placement near Walls
Avoid placing can lights too close to walls, generally staying at least two to three feet away. When lights are within one foot of the wall, they can cast unwanted shadows and highlight wall imperfections, reducing overall lighting quality. Maintain proper perimeter distance to ensure a smooth wash of light across the entire space.
Installing Dimmer Switches for Better Control
Step 1: Choose LED-Compatible Dimmers
Installing dimmer switches provides enhanced control over the light intensity in any room, which is particularly beneficial for ambient or accent lighting setups. Dimmers allow you to adjust the brightness according to preference and activity, creating a comfortable and inviting atmosphere. When selecting dimmer switches, ensure they are compatible with LED can lights, as traditional dimmers may not work efficiently with LED technology. Look for dimmers specifically labeled for LED use to avoid flickering and ensure a smooth dimming range.
Step 2: Install Dimmer Switches in Zones
Consider setting up separate lighting zones within a room to maximize flexibility and tailor lighting to specific needs. This involves installing multiple dimmer switches, each managing different sections or types of lighting—such as one for general ambient lighting and another for task-specific illumination. Zoning allows you to create diverse lighting moods, from bright and energizing to soft and relaxed, enhancing the room’s functionality and ambiance based on usage.
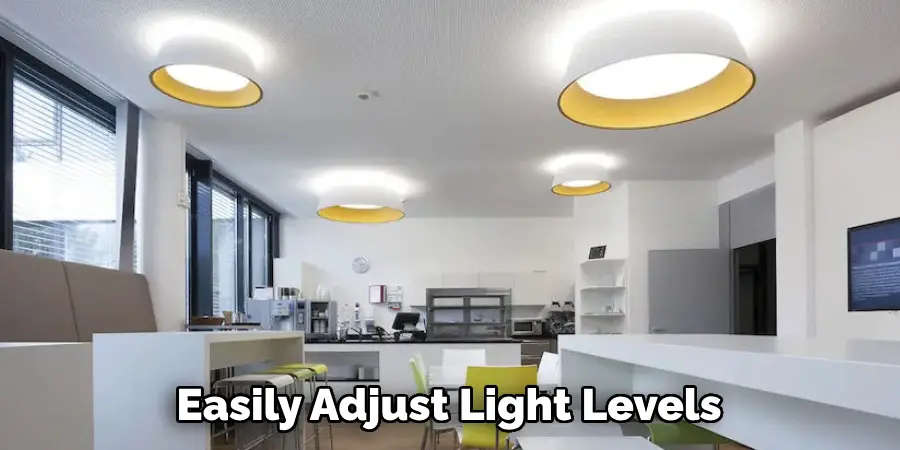
Step 3: Adjusting Light Levels Based on Time of Day
Utilizing dimmers, you can easily adjust light levels to align with different times of day, enhancing comfort and energy efficiency. For instance, dimming lights in the evening can foster a cozier and more relaxing environment, perfect for unwinding. In contrast, maintaining brighter task lighting during daylight hours supports productivity and focus. This dynamic light adjustment helps create a harmonious balance and elevates the room’s adaptability to your lifestyle needs.
Conclusion
Achieving balanced, efficient lighting is crucial to enhancing any room’s functionality and aesthetics, highlighting the importance of correctly spacing lights. Understanding how to space can lights effectively can dramatically improve illumination, eliminate shadows, and prevent overly bright environments. Accurate measurements and adherence to general guidelines based on room size and ceiling height are key to creating a well-lit space.
Before finalizing any installation, testing the layout by using a scaled diagram or temporarily placing fixtures is advisable. This allows for adjustments, ensuring optimal light distribution and overall satisfaction with the end result. By taking the time to consider all these factors, homeowners can design lighting plans that meet their specific needs, fostering an inviting and comfortable atmosphere throughout the space.

