It’s that time of year again when we dust off our Christmas lights, ready to turn our homes into twinkling wonderlands. But ever notice how these lights always come in one giant length—like they’re designed for a redwood instead of your cute little spruces or modest apartment balconies?
Learning how to shorten Xmas lights can be a real lifesaver for those of us looking to avoid the chaos of excess wiring and to fit these luminous strands perfectly into smaller spaces or custom displays. However, before you go snipping away, it’s crucial to consider the type of lights you have. While some are open to a bit of tinkering, others might not play so nice and could lead to a Griswold-level disaster. Safety always comes first, so let’s delve into how to shorten Xmas lights efficiently and securely.
Types of Christmas Lights and Shortening Options
Understanding the ins and outs of your Christmas lights can save you a tangled mess when it comes to holiday decorating. First up, let’s talk about incandescent vs. LED lights. Incandescents, those old-school, warm-glowing bulbs, are cherished for their nostalgic look but aren’t exactly the most energy-efficient. Plus, shortening them is a tad risky as they heat up quite a bit. On the flip side, LED lights are cooler—literally and figuratively. They last longer, use less energy, and are generally safer to tamper with if you feel the urge to customize.
Now, let’s move on to the knotty topic of series vs. parallel wiring. Series-wired lights are as big a fan of teamwork as your holiday family photo—they work in unison, meaning a single cut can darken the whole circuit. In contrast, parallel-wired lights are more like an individualistic holiday buffet, where each bulb stands independently. This makes them a whole lot easier to modify without inadvertently staging a blackout.
But remember, sometimes it’s best to leave them untrimmed. Attempting to shorten lights with complex wiring or meddling in a way that says sayonara to your warranty? That’s a recipe for potential disaster, but it’s better left on the shelf with last year’s fruitcake.
Tools and Safety Precautions
Necessary Tools
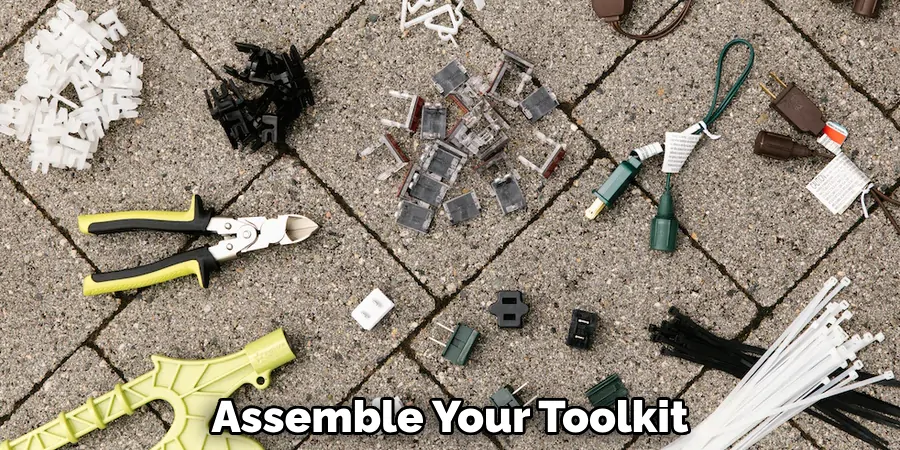
You’ll want to assemble your toolkit before you begin your holiday light surgery. Essential items include wire cutters for precise snipping, electrical tape to wrap things up snugly, and wire caps to keep everything in check and circuit-friendly. Having these tools handy can make the process smoother and safer.
Safety Equipment
Now, let’s talk defense—or, as we like to call it, the “ouch” prevention strategy! Gloves are a no-brainer to protect your hands from sharp wire ends, and protective eyewear is key in case things get a bit more sparkly than planned.
Basic Safety Tips
Prepare to channel your inner safety guru: always double-check that those lights are completely unplugged before any modifications begin. Seriously, no one wants a light-up surprise while cutting. Avoid live wires like you avoid stepping on a LEGO, and stick to electrical guidelines for a joyful, hazard-free holiday decorating session.
How to Shorten Xmas Lights: Shortening by Removing Bulbs (Series-Wired Lights)
Step 1: Identify the End of the Desired Length
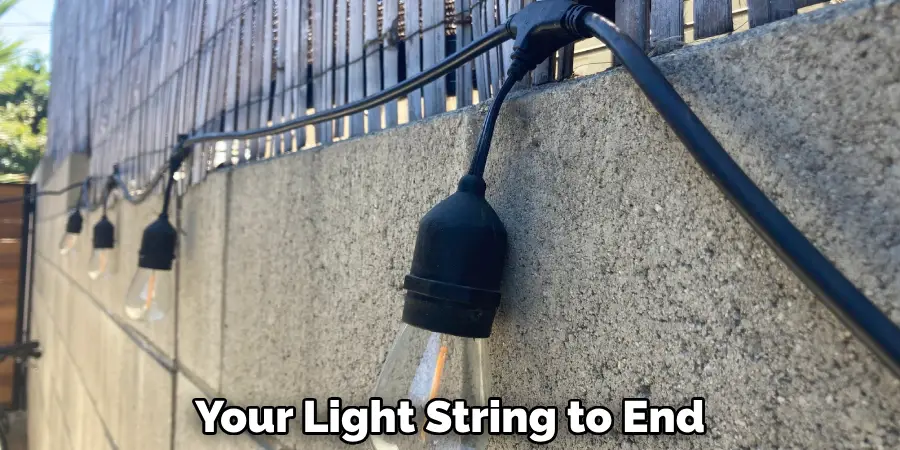
First things first, identify where you want your light string to end. Choose a spot that aligns perfectly with your decorating plans—or at least gets those glowing beauties not to spill over onto the neighbor’s fence. Count the bulbs from this endpoint back to where you start your string, ensuring you’ve selected the right spot without any stealthy tangles hiding in plain sight.
Step 2: Remove Excess Bulbs Carefully
Next, with your sleuthing work done, it’s time to get hands-on with removing those extra bulbs. Start by gently twisting and popping them out of their sockets. The key here: gentle like trying to change a crabby toddler’s outfit—firm yet delicate. This step requires a bit of finesse so you don’t accidentally disrupt the circuit and inadvertently dim your holiday spirit.
Step 3: Cap or Insulate Loose Wires
Now, onto the finishing touches! With your extra bulbs in a jar labeled “maybe next year,” focus on securing those leftover wire ends. Whether it’s with electrical tape or wire caps, your goal here is safety. By insulating any exposed wires, you’re preventing short circuits and keeping the holiday buzz only in your eggnog, not your outlets.
Testing the Lights
Finally, the moment of truth. Plug your modified lights back in and hold your breath for a second. If you’ve followed the steps right, cue the drum roll—it should light up as planned. If not, double-check your connections, ensuring that every bulb still in place is snug and secure. Congratulations, you’ve officially trimmed your series-wired lights without so much as a yuletide hiccup!
How to Shorten Xmas Lights: Cutting and Reconnecting Wires (Parallel-Wired LED Lights)
Step 1: Locate the Cut Point
Ready to play the lighting engineer? For parallel-wired LED lights, the trick to success lies in picking your battles wisely—specifically, where you cut. Examine your light string and identify a section that’s between two segments. This ensures the integrity of your circuit remains intact and avoids turning your festive lights into a reenactment of the blackout of ’65. Look for visible spacers or connectors, which are usually safe spots for a snip.
Step 2: Make a Clean Cut
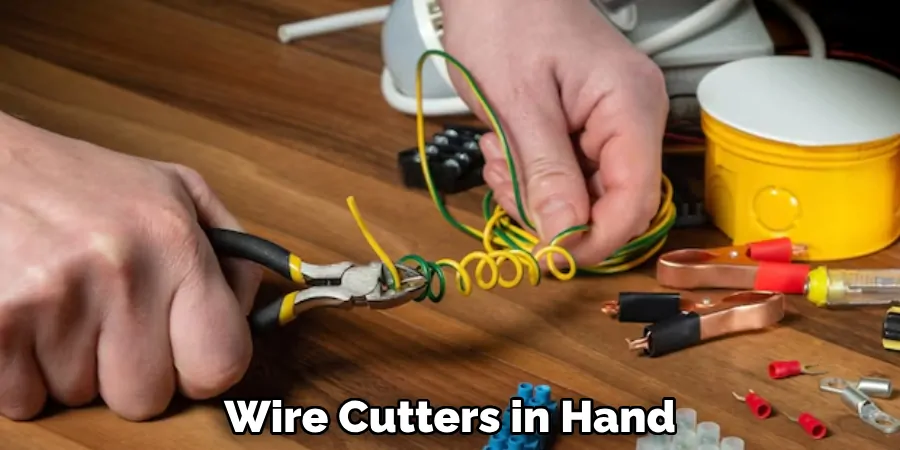
With your trusty wire cutters in hand, channel your inner ninja, and make a clean, precise cut at your chosen point. The aim here is smooth and steady, like slicing through a good cheesecake. Avoid those messy, frayed ends that scream “DIY disaster,” and stick to a gentle hand for that perfect cut. This prevents any rogue wire strand from staging a rebellion or causing shorts.
Step 3: Strip and Rejoin Wires (if necessary)
If your lighting design has a light show planned with reconnections, then it’s time to strip your wires. Carefully remove about a quarter-inch of insulation from each wire end using wire strippers. Take extra care not to nick the wire itself. Re-reconnect the wires using electrical caps for those feeling adventurous with their designs. Nest each pair of stripped wires into a cap, twist to secure like sealing the last bite of holiday pie, and voilà!
Step 4: Insulate and Protect Connections
Your wire connections need to be bundled up warmer than a kid at a snowball fight! Use electrical tape or, for added panache, heat-shrink tubing to insulate your joined sections. This fortifies your connections against moisture and ensures they throw a sparkling promenade rather than a sizzling malfunction.
Testing for Safety
You’re almost at the finish line! Plug in your revamped light string and give it a test run. Hold your breath (and your hat) for a dazzling glow. If you encounter a dark spot or two, re-evaluate your connections, ensuring everything’s snug as a bug in a Christmas rug. With everything sparking to life as imagined, your parallel-wired LED lights are now officially tamper-proof and merrily shortened for their holiday debut. Congratulations—you did it!
Alternative Option: Using Christmas Light Clips or Cable Ties
Why Use Clips or Ties Instead of Cutting
So, you’re itching to avoid anything involving wire cutters or the risk of changing your lights into an impromptu fireworks show? Say hello to the ultimate light-lengthening hacks: Christmas light clips and cable ties! These nifty little helpers let you adjust the length of your light strings without so much as nicking a wire. This means you can skip the snip and avoid voiding warranties on your light strands, all while keeping your light display looking top-notch.
Best Situations for Tying vs. Cutting
Clips and ties are perfect for anyone who’s fond of flexibility or deals with complex wiring setups that resemble your grandma’s knitting stash. If you’re creating a temporary installation or wish you had another set of hands to help, tying is your buddy in illuminating the path forward—no permanent changes needed. You can even tailor the setup to fit any new decorating whims that might strike next year.
Tips for Securing and Hiding Extra Length
When it comes to dealing with extra wire, keep your secrets hidden better than the last cookie in the jar. Use clips to gather and secure excessive wire lengths behind decorations or furniture, ensuring everything neatly blends with your holiday decor theme. Keeping wires out of sight amplifies the aesthetic appeal and reduces tripping hazards—your guests will thank you for maintaining the magic without the mishap.
Safety and Maintenance Tips for Modified Lights
Regular Inspection for Damage
Before you start decking the halls, giving those modified light strings a thorough check-up is crucial. Look for any frays or loose connections, especially where modifications were made. Consider it your pre-season health check, ensuring everything is in tip-top shape before the lights enter. Storage can be tough on wires, so a quick once-over can save you from surprises and keep your holiday spirit bright and undimmed!
Proper Storage Techniques
When the festivities wind down, store your lights with care. Coil them gently, like a soft-serve swirl, to prevent kinks or pressure on insulated sections. Using a storage reel or wrapping the lights around a sturdy piece of cardboard can enhance longevity, protecting those vital caps and tape from wear and tear. It’s all about keeping them cozy until next year’s glow-up!
Avoiding Overloading Circuits
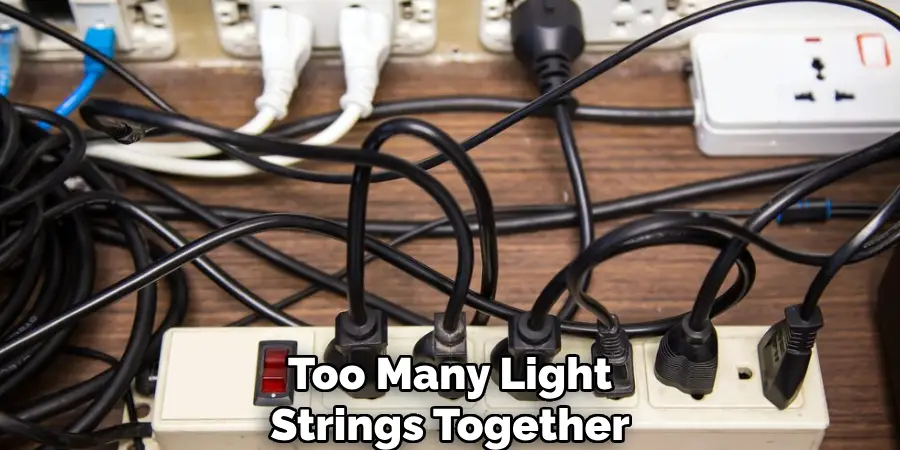
While it may be tempting to create an electrifying wonderland, resist the siren call to chain too many light strings together. Overloading a circuit is a fast track to a holiday hazard. Stick to manufacturer guidelines and consider spreading strands across multiple outlets. A steady, sensible approach protects your home, keeps your modifications intact, and ensures the only sparks flying are from holiday cheer, not overburdened circuits!
Conclusion
Shortening Christmas lights doesn’t have to feel like disarming a bomb. With our step-by-step guide on how to shorten xmas lights, you can safely adjust your light strings by cutting and reconnecting wires, insulating your connections with care. Test everything before display to ensure safety. However, if cutting gives you the jitters, using clips or ties is a hassle-free alternative for achieving your ideal setup. Whether you’re shortening, clipping, or tying, these tips allow you to customize your holiday lighting display just right—minus the fireworks, plus all the festive cheer!

