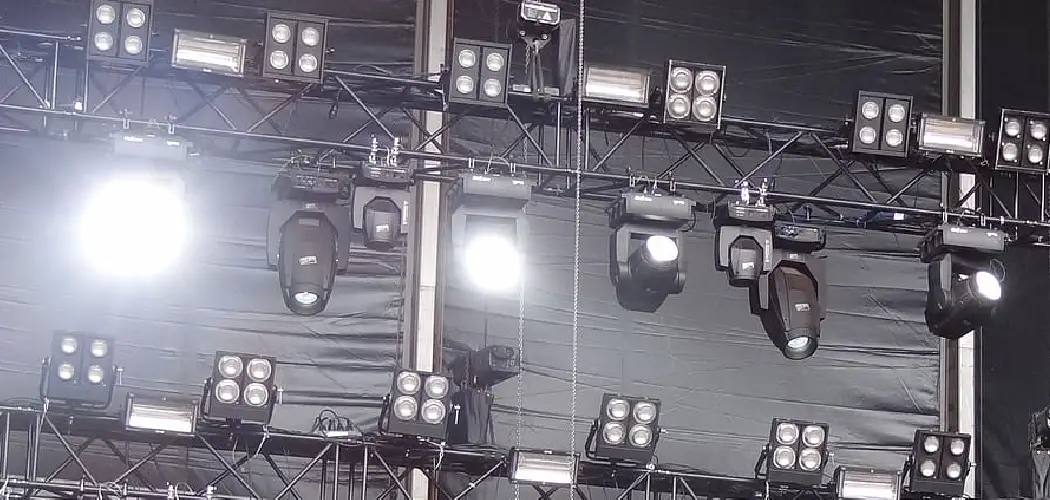
Proper stage lighting is essential for creating the right atmosphere and enhancing the audience’s experience during a performance. Whether you’re setting up for a concert, play, or presentation, understanding the basics of stage lighting can help you highlight key areas, set the mood, and ensure all elements of the production are visually appealing. This guide will take you through the fundamental steps for how to set up stage lighting.
Understanding the Basics of Stage Lighting
Stage lighting serves more than just an aesthetic purpose—it plays a critical role in directing focus, conveying emotion, and enhancing the overall impact of a performance. To get started, it’s important to understand the key components of stage lighting design. These include intensity, color, distribution, and movement. Intensity determines how bright or dim the lighting appears, while color can dramatically alter the mood or tone of a scene.
Distribution refers to where light is positioned and how it falls on the stage, helping to highlight specific areas or performers. Finally, movement involves changes in lighting, such as fading, shifting focus, or dynamic effects, to match the pacing and emotion of a performance. Mastering these elements lays the foundation for effective stage lighting.
Types of Stage Lighting Fixtures
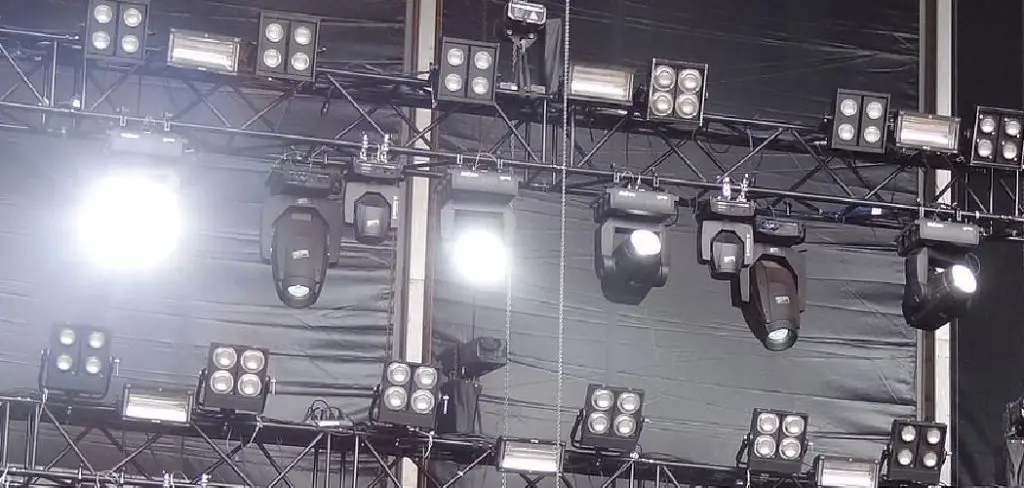
Stage lighting relies on various types of fixtures, each serving a specific purpose to create dynamic and visually engaging scenes.
- Spotlights – These are highly focused lights used to highlight individual performers or specific areas of the stage. They provide intense brightness and are perfect for drawing attention to key moments in a performance.
- Fresnel Lights – Fresnel lights produce a soft, diffused light ideal for creating a warm wash over broader areas of the stage. They are easily adjustable, making them versatile for general lighting or blending effects.
- Ellipsoidal Reflector Spotlights (ERS) – Commonly known as “Lekos,” these fixtures offer precision control with sharp edges or gobo patterns, making them perfect for highlighting details or creating well-defined shapes on the stage.
- Parabolic Aluminized Reflector (PAR) Cans – PAR cans are simple yet effective fixtures that emit a strong, unfocused beam of light. They are often used for colored washes or creating bold, dramatic effects.
- LED Fixtures – LED lights are versatile and energy-efficient, offering a wide range of colors and minimal heat output. They are increasingly popular for their ability to create vibrant effects and flexibility in programming.
- Moving Lights – These fixtures are capable of changing position, color, and pattern during a performance. Moving lights bring dynamism to a production and are often used for concerts or elaborate stage shows.
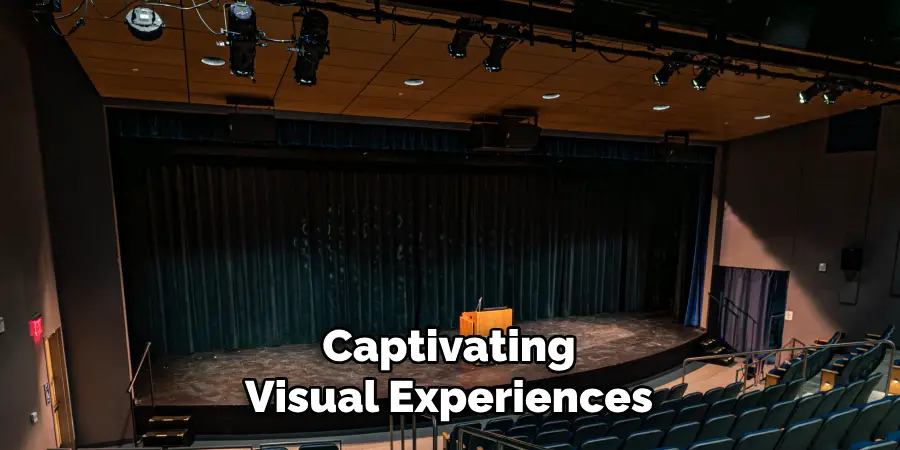
Each type of fixture adds unique capabilities to a lighting designer’s toolkit, enabling them to craft intricate and captivating visual experiences.
10 Methods How to Set up Stage Lighting
1. Understand the Purpose and Mood of the Production
Before hanging a single light, take time to understand the tone, themes, and emotional arc of the performance. Whether the show is a lively musical, an intense drama, or a simple spoken-word event, the lighting should reflect and enhance the storytelling. Meet with the director or event coordinator to discuss key scenes, emotional beats, and any required lighting transitions. This conceptual groundwork helps form a lighting plan that supports the narrative and adds dimension to the performance.
2. Design a Basic Lighting Plot
A lighting plot is essentially your blueprint. It outlines where lights will be placed, what type they are, their angles, colors, and purposes. Divide your stage into lighting zones—downstage, midstage, upstage, and left/right sides—to ensure consistent coverage. A well-structured lighting plot helps organize the technical setup and simplifies communication with your lighting crew. Even for small productions, sketching out a diagram (on paper or software) helps avoid confusion and saves time during installation.
3. Choose the Right Lighting Instruments
The next step is selecting fixtures based on your plot. Fresnels are ideal for soft washes and general lighting, while ellipsoidal reflector spotlights (ERS or Lekos) are better for sharp, focused beams. PAR cans provide wide washes and can color large areas easily. Intelligent moving lights and LEDs offer versatility, with programmable color changes and effects. Match your instrument choices to the needs of your plot and the nature of the performance, balancing between versatility and budget constraints.
4. Install Lighting Fixtures Safely and Securely
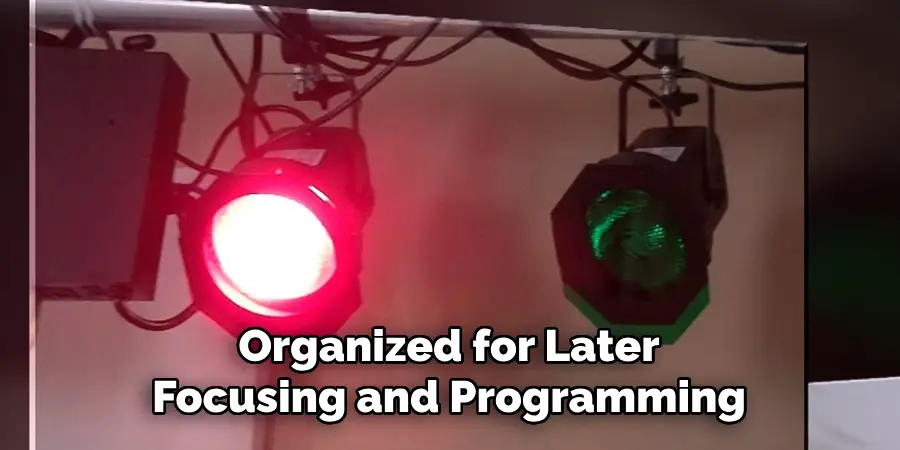
Mounting your lights is a crucial physical task that must be done with safety at the forefront. Use proper rigging equipment—such as clamps, safety cables, and secure lighting bars—to hang each fixture. Test the stability of each light after installation to ensure it won’t move or fall. If working from a height, always use ladders or lifts responsibly, and wear appropriate safety gear. Label each light according to its role and position to keep everything organized for later focusing and programming.
5. Position Lights at Effective Angles
To achieve flattering and functional illumination, lights must be aimed with intention. Front lighting, positioned at a 45-degree downward angle, helps illuminate actors’ faces without creating harsh shadows. Side lighting can sculpt bodies and enhance movement—especially useful in dance. Backlighting adds depth and separates performers from the background. If you’re working with a grid or truss system, take advantage of varying heights and angles to layer your lighting design for maximum visual interest.
6. Use Color Gels and Filters to Set Mood
Color is an incredibly effective tool in stage lighting. By using gels (colored plastic filters) or LED programming, you can warm up a scene, evoke tension, suggest time of day, or reinforce a character’s emotional state. For example, blue tones may suggest night or melancholy, while amber and red can evoke warmth or intensity. Experiment with layering colors across zones to blend hues naturally and avoid over-saturation. Always preview your colors onstage to see how they interact with costumes and set pieces.
7. Balance Lighting Levels Across the Stage
One of the hallmarks of professional stage lighting is consistent coverage. No matter where an actor stands, they should be well-lit without harsh glares or dim patches. Achieve this by adjusting each light’s intensity (using dimmers or control boards) and balancing the wash. During setup, walk the stage from multiple angles and watch for unwanted shadows, hotspots, or dark corners. It’s especially important to balance front light with side or top light to preserve dimensionality and avoid a flat, washed-out look.
8. Program Cues Into the Lighting Console
Once everything is positioned and balanced, the next task is programming. Use your lighting console to assign lights to different channels and create “cues”—specific lighting setups triggered during the show. A cue might involve fading up front lights for a monologue or transitioning to a red wash for a dramatic climax. Number and label each cue clearly in the script or cue sheet, and rehearse them thoroughly. If your console supports memory storage, save your cue list to avoid losing data between sessions.

9. Conduct a Full Technical Rehearsal
Technical rehearsals are essential for ironing out issues and syncing lights with onstage action. Run through the entire performance while testing lighting cues in real time. Observe how the lights look in combination with costumes, sets, and actor movement. Make note of any awkward transitions, timing mismatches, or visual distractions. Use this opportunity to adjust cue timing and light levels for maximum clarity and impact. It’s often helpful to have one person running the board and another watching the show from the audience’s perspective.
10. Maintain Flexibility and Troubleshoot On the Fly
Even with the best planning, live performances are unpredictable. A blown bulb, flickering LED, or misaligned fixture can throw things off. That’s why it’s important to be prepared with spare parts, basic tools, and a flexible mindset. Keep backup gels, cables, and lights on hand, and ensure the lighting crew knows how to quickly troubleshoot common problems. Also, be ready to adapt to last-minute changes from the director—whether it’s a cue shift, added prop, or new blocking. A smooth, responsive lighting team can elevate a production and keep everything on track.
Maintenance and Upkeep
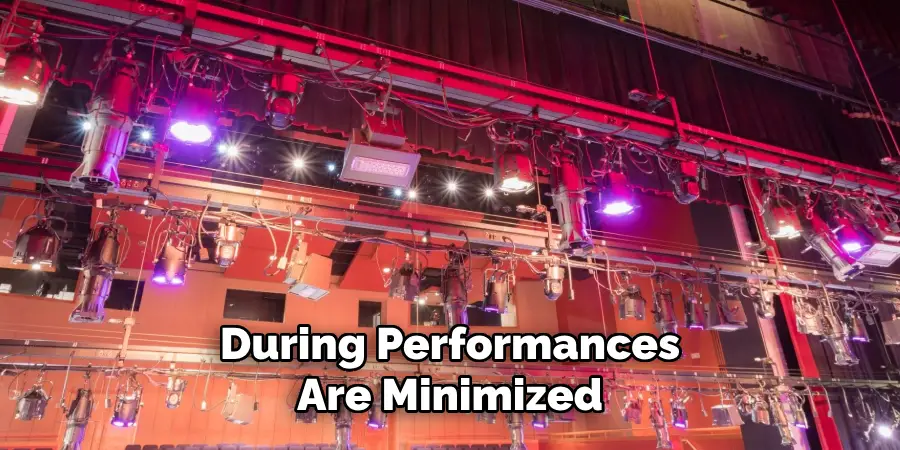
Proper maintenance and upkeep of lighting equipment are crucial for ensuring reliability and performance throughout a production. Regularly inspect all fixtures, cables, and connectors for wear and tear, and address any signs of damage immediately. Cleaning lenses and bulbs on a consistent schedule helps to maintain brightness and clarity, while organizing cables and accessories can prevent tangles and accidental damage. Additionally, performing routine tests on dimming systems and control boards ensures all components are functioning as intended. By dedicating time to proper maintenance, the longevity of the equipment is extended, and unnecessary interruptions during performances are minimized.
Conclusion
Setting up stage lighting is a process that combines creativity, precision, and teamwork. With the right approach, you can transform an ordinary performance into something visually compelling and emotionally resonant. Whether you’re illuminating a one-person monologue or a full-scale musical, these ten methods help ensure your stage is lit with clarity, purpose, and flair. Thanks for reading our blog post on how to set up stage lighting! We hope you found it helpful and informative.

