Setting up a Christmas light timer is a simple and efficient way to manage your holiday decorations while saving energy and effort. With a timer, you can ensure your lights turn on and off automatically, creating a festive atmosphere without needing constant supervision. This guide will walk you through the steps of how to set up a christmas light timer, helping you enjoy a hassle-free holiday season.
Importance of Using a Christmas Light Timer
Using a Christmas light timer comes with numerous benefits that enhance your holiday experience. First and foremost, it helps conserve energy by ensuring your lights are not running longer than necessary. This can lead to noticeable savings on your electricity bill during the holiday season. Additionally, timers eliminate the need to manually switch your lights on and off each day, adding convenience to your routine and allowing you to focus on other holiday preparations.
Timers also improve safety by reducing the chances of lights being left on unattended for extended periods, minimizing fire risks. Lastly, they contribute to creating a consistent and reliable festive display, as your lights will always illuminate at the same time each evening, adding to the overall magic of the season.
Choosing the Right Christmas Light Timer
Selecting the right Christmas light timer is essential for ensuring your holiday lights operate smoothly and reliably. There are several options available, each suited to specific needs and preferences.
Analog vs. Digital Timers
Analog timers are simple, manual devices that use dials and pins to set on/off intervals. They are often budget-friendly and easy to operate, making them a great option for those who prefer straightforward solutions. On the other hand, digital timers offer more precision and flexibility. With digital interfaces, you can program multiple schedules and even utilize advanced features like countdown settings or randomization modes, which add an extra layer of convenience and customization.
Indoor vs. Outdoor Timers
When choosing a timer, it’s important to consider where your lights will be placed. Indoor timers are designed for use in controlled environments and may not withstand exposure to extreme weather. Outdoor timers, however, are built with durable, weather-resistant materials to handle rain, snow, and freezing temperatures. They often have protective covers to shield the controls and ensure reliable operation throughout the holiday season.
Smart Timers and Wi-Fi-Controlled Options
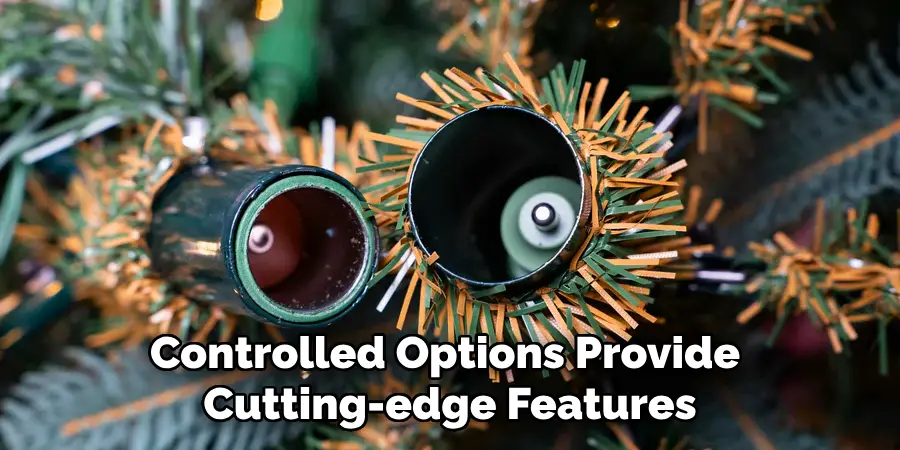
For those looking to modernize their holiday light setup, smart timers or Wi-Fi-controlled options provide cutting-edge features. These timers can be connected to a mobile app, allowing you to manage your lights remotely from your smartphone or tablet. Some models integrate with voice assistants like Alexa or Google Assistant, enabling hands-free control. Additionally, smart timers often come with customizable schedules, energy monitoring tools, and enhanced security features, making them a versatile and innovative choice for tech-savvy users.
10 Methods How to Set up a Christmas Light Timer
1. Setting Up a Mechanical Plug-in Timer
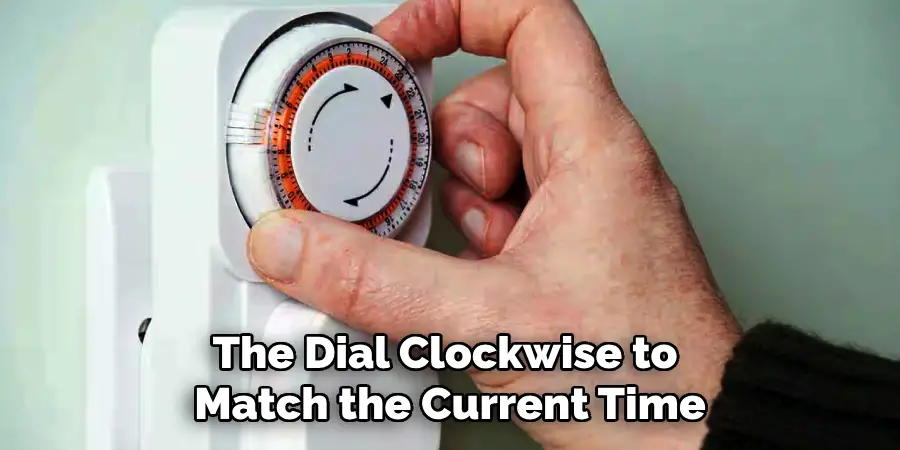
Mechanical plug-in timers are simple, reliable, and affordable. To set one up, start by locating the dial on the front of the timer. This dial typically has 24-hour markings to indicate the time of day. Plug the timer into an outlet and turn the dial clockwise to match the current time. Then, use the small pins or tabs around the dial to set your desired on and off times by pushing them down or pulling them up, depending on the model. Once programmed, plug your Christmas lights into the timer, ensuring the switch is set to “Timer” mode rather than “Always On.” This setup will allow your lights to turn on and off automatically at the designated times.
2. Using a Digital Plug-in Timer
A digital plug-in timer offers more precision and flexibility compared to a mechanical timer. Begin by plugging the timer into an outlet and pressing the reset button to clear any previous settings. Set the current time using the hour and minute buttons, ensuring the AM/PM setting is correct. Next, program your desired on and off times by pressing the “Program” or “Set” button and inputting the schedule. Some models allow for multiple programs or different settings for each day of the week. Once programmed, plug in your Christmas lights and ensure the timer is in automatic mode. Digital timers often feature battery backups, so check the battery status periodically to prevent loss of programming.
3. Installing a Smart Plug Timer
Smart plug timers integrate with home automation systems, allowing control through smartphone apps or voice commands. To set one up, first plug the smart plug into an electrical outlet and download the compatible app on your smartphone. Follow the app’s instructions to connect the plug to your Wi-Fi network. Once connected, use the app to set up schedules for your Christmas lights, customizing on and off times or creating automation based on sunrise and sunset. Smart plugs also allow for remote operation, so you can control your lights from anywhere. For added convenience, integrate your smart plug with voice assistants like Alexa or Google Assistant to turn lights on and off with simple voice commands.
4. Setting Up an Outdoor Heavy-Duty Timer
If your Christmas lights are placed outdoors, you’ll need a weatherproof, heavy-duty timer designed to withstand harsh conditions. These timers usually have a built-in cover to protect against moisture and dust. To install one, start by plugging it into a grounded outdoor outlet. Some models feature mechanical dials, while others use digital programming. Follow the appropriate setup instructions based on the timer type, ensuring the power rating matches your light display’s wattage. Many outdoor timers also include photocells, allowing the lights to turn on at dusk and off at dawn automatically. If using a manual on/off setting, ensure that it aligns with your desired lighting schedule.
5. Programming a Smart Power Strip with a Timer
A smart power strip with a timer function is a great way to control multiple Christmas light sets at once. These devices function like digital or smart timers but offer multiple outlets for simultaneous operation. To set up, plug the power strip into an electrical outlet and connect your Christmas lights. Use the built-in buttons or an associated mobile app to program on/off times for individual outlets. Some smart power strips allow for grouping devices, enabling all connected lights to follow the same schedule.
6. Using a Photocell Light Timer
Photocell timers automatically turn on Christmas lights at dusk and turn them off at a set duration or dawn, making them ideal for outdoor use. To set up, plug the photocell timer into an outdoor-rated power source. Position the built-in light sensor where it can accurately detect natural light changes. Choose a setting such as “Dusk to Dawn” or “Dusk + X Hours” (e.g., 4, 6, or 8 hours). Once configured, plug your Christmas lights into the timer. The timer will then activate when the ambient light decreases, eliminating the need for manual adjustments.
7. Configuring a Countdown Timer for Christmas Lights
Countdown timers allow you to specify how long your Christmas lights remain on after activation. These timers are useful for homeowners who prefer a consistent runtime regardless of external lighting conditions. To set up, plug the timer into an outlet and select a preset duration (e.g., 2, 4, 6, or 8 hours) using the dial or buttons. After plugging in your Christmas lights, activate the timer by turning it on.
8. Using a Bluetooth-Enabled Timer
Bluetooth timers offer similar functionality to Wi-Fi smart plugs but do not require an internet connection. To use a Bluetooth-enabled timer, start by plugging it into a power source. Download the companion app and pair the timer with your smartphone via Bluetooth. Use the app to set on/off schedules or manually control your Christmas lights within range. Unlike Wi-Fi-based smart plugs, Bluetooth timers require proximity for adjustments but still provide automation and customization benefits.
9. Setting Up a Solar-Powered Timer for Outdoor Lights
For energy-efficient holiday displays, a solar-powered timer is an excellent choice. These timers charge during the day and activate lights in the evening. To install, position the solar panel where it receives maximum sunlight exposure. Most solar timers have a built-in light sensor to detect dusk and dawn. Configure the timer by selecting a runtime option (e.g., 4, 6, or 8 hours) if available. Ensure the connected Christmas lights are compatible with the voltage and wattage capacity of the solar timer.
10. Using a Programmable Outlet Switch
Programmable outlet switches combine features of digital timers and power strips, offering customized scheduling options. To set up, plug the switch into a standard wall outlet and connect your Christmas lights. Use the buttons or touchscreen display to program multiple on/off cycles based on your preferences. Some models allow weekday and weekend scheduling variations. Once programmed, verify that the lights respond correctly to the set times.
Conclusion
Setting up a Christmas light timer ensures your holiday decorations operate smoothly and efficiently, reducing energy waste while adding convenience. Whether you choose a basic mechanical timer, a high-tech smart plug, or an eco-friendly solar timer, each method offers a unique way to automate your festive lighting. By selecting the most suitable timer for your needs, you can enjoy a beautifully illuminated home without the hassle of manual operation.

