Are you looking for a way to add style and ambiance to your outdoor space, while also saving time and energy? Installing landscape lights with a timer can be an ideal solution that gives you the perfect balance of convenience and aesthetics.
With automatic timing capabilities, it’s possible to set up your lighting system so that your outdoor areas are illuminated just when you need them – without overusing electricity or having to manually switch on and off the lights every night.

In this blog post, we’ll give you step-by-step instructions on how to set timer on landscape lights for optimal use. Read on as we walk through the process together!
Step-by-Step Guidelines on How to Set Timer on Landscape Lights
Step 1: Purchase a Compatible Timer
The first step is to purchase a compatible timer for your landscape lighting system. Make sure that the timer you select is rated to handle the wattage load of the total number of lights in your system. Also, some timers may require a separate power source and outlet because they do not automatically draw power from the lights.
Step 2: Connect The Timer to Your Landscape Lights
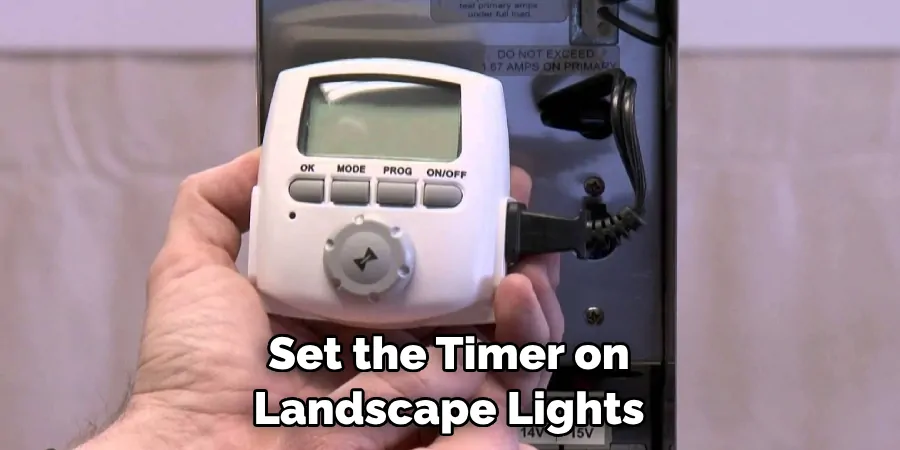
Once you have the right timer, it’s time to connect it to your landscape lights. The process is relatively simple and will depend on how your lights are wired. If there is a dedicated power source for your lighting system, then you can simply plug the timer into that outlet. Otherwise, you’ll need to disconnect the wires at one end of the lighting system and then connect them to the timer.
Step 3: Set The Timing Options
Now that your timer is connected, it’s time to set the timing options. This will determine when your lights come on and off each day. Most timers have simple programming or preset schedules so you can easily customize when you want your landscape lights to be lit. During setting up, you’ll also need to decide how long the lights should stay on after they are initially activated.
Step 4: Test Your Timer
Once you have all of the settings programmed into your timer, it’s time to test it out. Turn on the power and see if your landscape lights come on when they should. If everything is working correctly, you can enjoy a worry-free lighting system that does its job every day without any manual intervention!
Now that you know how to set the timer on landscape lights, it’s time to put this knowledge into action. With a little effort and some basic tools, you can enjoy the convenience of automatic landscape lighting without sacrificing style or energy efficiency. Good luck!

Additional Tips and Tricks to Set Timer on Landscape Lights
1. When setting the timer on your landscape lights, make sure you familiarize yourself with any special features that are available. Some timers have the ability to use multiple settings for different times of the day or for different types of lighting. Knowing how to use these extra features can help you get the most out of your timer.
2. Consider installing a motion detector switch or light-sensing device so that your landscape lights will turn on automatically when someone passes by. This is a great way to add an extra layer of security to your yard and save energy by ensuring that only necessary lighting is used.
3. If your landscape lights are connected to an outdoor outlet, make sure that the outlet is properly grounded and that the wiring is in good condition. Wiring issues can cause shorts or other electrical problems that could cause a fire hazard if not addressed quickly.
4. Make sure to check the timer settings regularly to ensure they are accurate and working properly. Over time, the timer settings can become inaccurate or cease working altogether. Regularly checking the timer is an important part of maintaining your landscape lights.
5. If you’re using LED landscape lights, it might be beneficial to install a dimmer switch as well so that you can adjust the brightness of the lighting depending on your needs. A dimmer switch can also help you conserve energy and reduce your electricity bill.
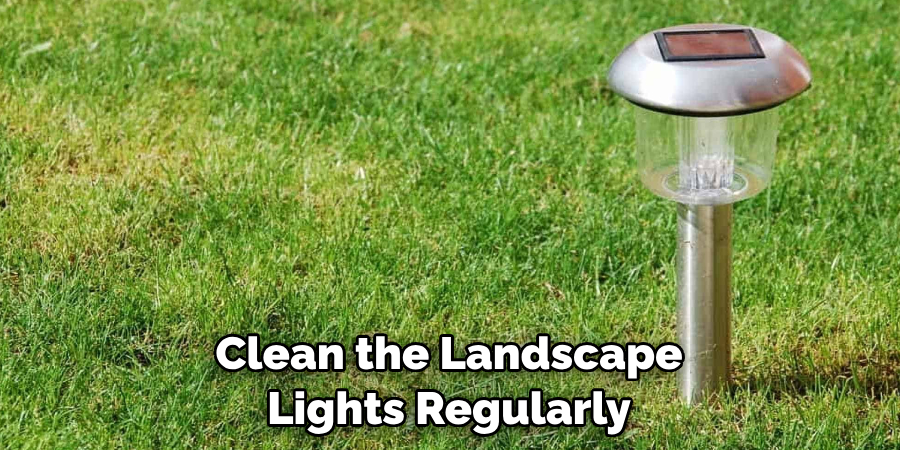
6. Make sure to clean the landscape lights regularly to keep them in optimal condition. Dirt, dust, and other debris can collect on the bulbs and affect their performance over time. Regularly cleaning your lights will help ensure that they stay running smoothly for years to come.

By following these tips, you can easily set the timer on your landscape lights and get the most out of them. With a little bit of maintenance and regular checking, you can keep your landscape lighting looking great for years to come.
Things You Should Consider to Set Timer on Landscape Lights
1. Check the Timer’s Compatibility With Your Landscape Lights:
Before setting up your timer, make sure it is compatible with your particular type of landscape light. Different types of timers may be used for different types of landscape lights. So, read the manufactures instructions or descriptions to determine which type is right for you before purchasing a timer. Checking that your timer will work with your landscape lights will save you time and money.
2. Determine the Timer’s Settings:
Once you have found a compatible timer for your landscape lights, it is important to take note of all the settings available on the timer. This should include how often you want the light to turn on or off, as well as the duration for which it should stay illuminated. The settings can be adjusted accordingly to suit your needs.
3. Install and Verify:
The installation of a timer is relatively simple but again, make sure to read the manufacturer’s instructions before installing the timer. Once it is installed, make sure to test its functionality by turning it on and off several times. Installing is not complete until you are sure that it is working properly.
4. Setting Up a Timer to Run at Sunset and Sunrise:
Some timers come with the ability to adjust themselves according to the sun’s setting and rising times. This feature can help save energy by automatically adjusting for long winter days or shorter summer days. If your timer has this feature, simply follow the instructions provided to enable it.
Following these simple considerations will help you to properly set up a timer for your landscape lighting. This can save energy and money by allowing you to conveniently set up the lights in advance without having to manually switch them on or off each day.
Frequently Asked Questions
How Long Should I Set the Timer for My Landscape Lights?
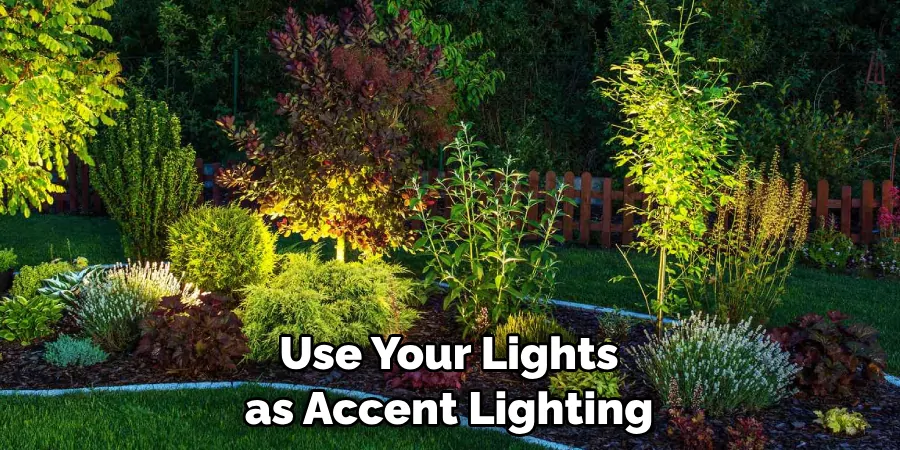
The duration of your landscape lighting depends on the purpose of the lights and when you need them. For example, if you want to use your lights as accent lighting to highlight a particular focal point in your yard, then 15 minutes or until dark is usually sufficient.

If you are using them for safety and security, then a longer duration of 8-12 hours is recommended. Additionally, some timers can be set to turn on your lights at different times throughout the day or night.
How Do I Set the Timer on My Landscape Lights?
The majority of landscape lighting timer models come with an easy-to-follow instruction manual that will walk you through the process of setting the timer. It is important to read the manual and familiarize yourself with all the features available on your timer before attempting to set it up.
Once you understand how to use your timer, setting it should be relatively simple. Most models have a dial-style interface that allows you to easily select the times when your lights will turn on and off.
Are There Different Types of Timers for Landscape Lighting?
Yes, there are a variety of timer options available for landscape lighting. These range from digital timers with multiple settings to mechanical timers with fewer features. Depending on the needs of your project, you may opt for a more basic mechanical timer or a more advanced digital model that allows you to customize the timing of your lights.
Do I Need a Special Type of Timer for LED Landscape Lights?
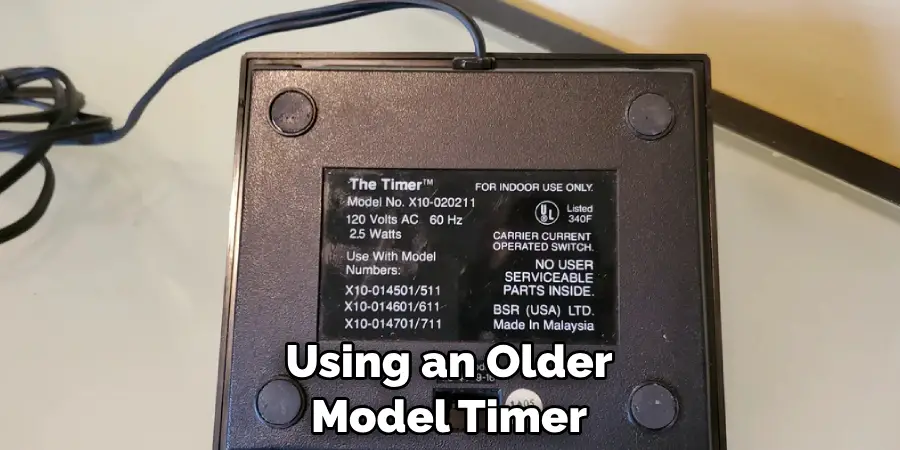
Most landscape lighting timers will work with any type of light, including LED lights. However, if you are using an older model timer or one that has not been designed specifically for LED lights, it is important to make sure that all your settings are appropriate for LED lights. This includes setting the timer to the right voltage and ensuring that it is compatible with your light fixtures.

Conclusion
Setting the timer on your landscape lights is an efficient way to light up your outdoor space while still saving energy and avoiding overuse. Not only can you enjoy the benefits of having a beautifully lit yard, but you can also enjoy a low-maintenance solution that is perfect for busy homeowners.
It will give you peace of mind knowing that your landscape lighting will turn on and off in accordance with the pre-programmed schedule, all without having to constantly manually adjust the settings.
With these simple steps on how to set a timer on your landscape lights, you’ll be able to easily get everything set up so you can enjoy all the advantages of this convenient outdoor lighting system. Lastly, never forget to test out your newly created timer after installation, just as an extra safety precaution!
How to Set Timer on Landscape Lights has never been easier or more achievable—all you need now is some electrical know-how and the necessary materials.

