Rewiring a floor lamp can seem like a daunting task, but with the right tools and a bit of patience, it’s a straightforward project that anyone can tackle. Whether you’re restoring a vintage lamp or repairing a trusted fixture, learning how to rewire it can save you money and ensure safety when using the lamp.

This guide will walk you through the necessary steps of how to rewire a floor lamp, helping you bring new life to your floor lamp while maintaining proper electrical safety precautions.
Why Rewiring a Floor Lamp May Be Necessary
There are several reasons why you might need to rewire a floor lamp. Over time, the wiring inside a lamp can become worn out, brittle, or frayed, posing a potential fire hazard or risk of electrical shock. Older lamps, especially vintage or antique ones, often have outdated wiring that may not meet modern safety standards. Additionally, a lamp might stop working due to loose connections or damaged components, which rewiring can resolve. Rewiring can also be part of a restoration project, allowing you to preserve the aesthetic value of a cherished lamp while ensuring it functions safely and efficiently.
Tools and Materials Needed
Before rewiring a lamp, gather the necessary tools and materials to ensure a smooth and efficient process. You will need the following items:
- Screwdriver (Phillips and Flathead): For disassembling the lamp and accessing internal components.
- Wire Cutters and Strippers: Essential for cutting and preparing wires for connections.
- New Lamp Cord: A replacement cord with the appropriate insulation and length.
- Lamp Socket: If the existing socket is damaged or outdated, a new one may be required.
- Plug: A replacement plug may be necessary if the original one is unsafe or incompatible.
- Electrical Tape: For insulating and securing wire connections.
- Wire Nuts: To ensure secure and safe connections between wires.
- Needle-nose Pliers: Helpful for grasping or bending wires during the process.
- Voltage Tester: To confirm the absence of electrical current for safe operation.
Make sure to select high-quality materials and tools to enhance both the safety and durability of your rewiring project.
10 Methods How to Rewire a Floor Lamp
1. Assess the Condition of the Lamp
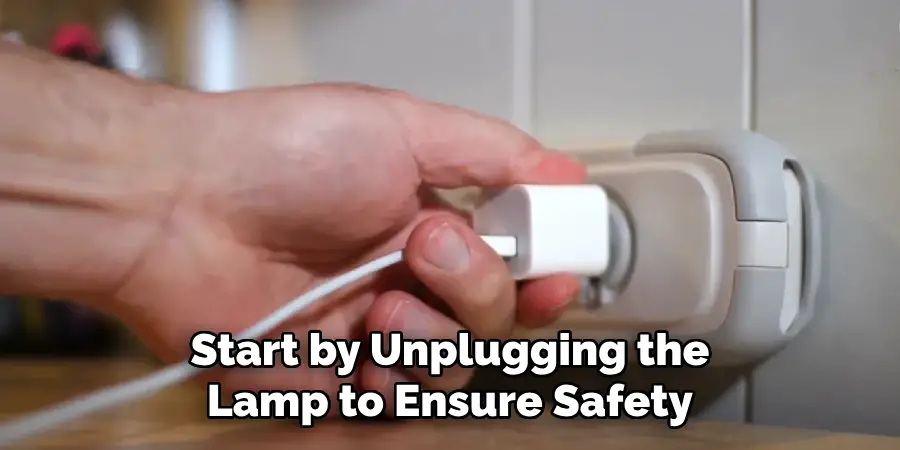
Before any rewiring takes place, it is crucial to assess the condition of the floor lamp. Begin by unplugging the lamp from the wall outlet and visually inspecting the cord, plug, switch, and socket for any damage. Fraying wires, cracked insulation, or corroded metal parts indicate that rewiring is necessary. If the lamp has sentimental or antique value, you might want to photograph its wiring layout before disassembling it.

Understanding the current condition of the wiring will help determine if a complete rewire is required or if you can simply replace specific components. This evaluation ensures you are approaching the task safely and with a plan tailored to the lamp’s needs.
2. Gather the Proper Tools and Materials
Once you decide to proceed with rewiring, gather all the essential tools and materials to make the process smooth and efficient. Common tools include a screwdriver (flathead and Phillips), wire strippers, electrical tape, pliers, a utility knife, and possibly a multimeter to test continuity. Materials typically needed are a replacement lamp cord (usually 18-gauge SPT-1 or SPT-2 wire), a polarized plug, a new socket if necessary, and optional wire connectors.
Choosing UL-listed components is highly recommended for safety and longevity. Having everything at your workspace reduces interruptions and minimizes the risk of overlooking critical steps in the rewiring process.
3. Disassemble the Floor Lamp
The disassembly process begins by removing any lampshade, light bulb, and socket cover to access the internal wiring. You’ll need to unscrew the socket from the base or lamp body. Some sockets have a shell that snaps apart, revealing two terminal screws where the cord is attached. Be careful not to force parts apart—if the lamp is vintage, the components might be delicate.
If the cord runs through metal tubing or the lamp base, gently pull it out to inspect how it’s routed. Document or sketch the layout if it looks complex. This careful disassembly ensures that you can later reassemble the lamp correctly and efficiently.
4. Remove the Old Wiring
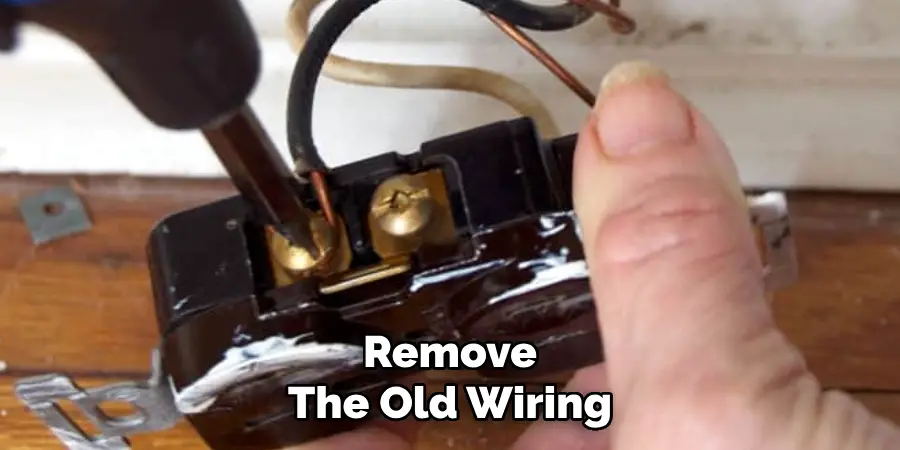
Once the lamp is disassembled, proceed to remove the old wiring. If the cord is tightly fixed within the lamp’s body or run through tubing, pull it through slowly and steadily to avoid damaging the lamp. Snip off the old plug using wire cutters if it’s not removable. Be cautious of sharp edges inside the tubing, especially in metal lamp stems.

If your lamp includes a switch integrated into the cord or socket, make note of how it was wired. This is also a good time to check for debris, rust, or any obstruction inside the lamp tubing. Remove the old cord entirely so you can install fresh, safe wiring.
5. Measure and Cut the New Cord
Take the old lamp cord and use it as a reference to measure the new cord, adding a few extra inches for flexibility and easier connection. If the old cord is missing or unusable, measure the internal path of the lamp stem and add additional length—typically 6 to 12 inches more—to allow slack near the socket and plug. Use a utility knife or wire strippers to remove about ¾ inch of insulation from each end of the new cord. Be careful not to nick or cut into the copper strands during this step. Having a properly sized and prepared cord ensures smooth installation and secure electrical contact.
6. Install a New Plug (if needed)
If your replacement cord doesn’t already have a plug attached, you’ll need to install one. Choose a polarized plug, which has one prong wider than the other to match modern electrical standards. Open the plug housing, thread the cord through the casing, and connect the wires to the appropriate terminals—usually, the ribbed wire connects to the neutral terminal (the wider prong), and the smooth wire connects to the hot terminal (the narrower prong). Tighten the terminal screws securely, ensure the wires aren’t frayed or exposed, and reassemble the plug housing. A correctly installed plug ensures the lamp can operate safely with minimal fire risk.
7. Thread the Cord Through the Lamp
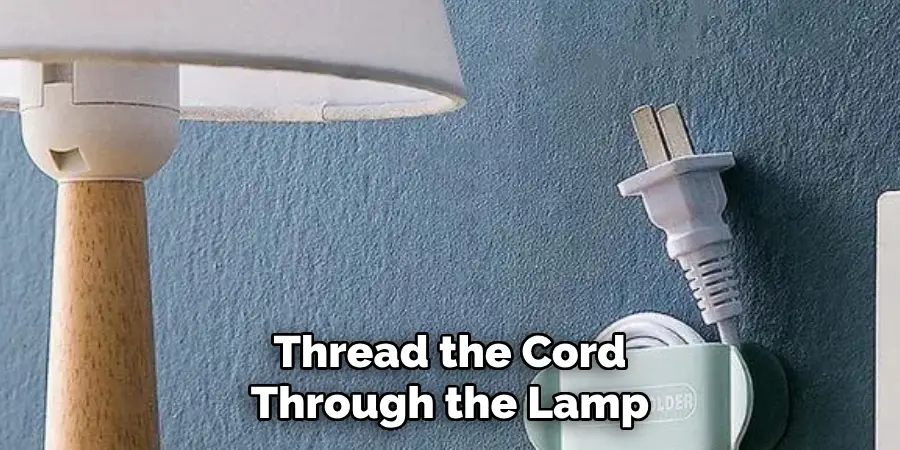
Begin inserting the new cord through the lamp base and up through any tubing or internal passages. This can be tricky, especially if the pathway is long or has bends. If the cord snags or gets stuck, use a fish tape or a straightened coat hanger to guide it through.

Take care to keep the insulation intact while feeding it, as damaged insulation can lead to shorts or electrocution. Once the cord is in place, pull through enough slack to work comfortably when attaching the socket. Secure the cord with a knot or strain relief inside the base to prevent stress on the wire connections.
8. Wire the New Socket
With the cord threaded, it’s time to wire the new socket. Most lamp sockets have two terminal screws: brass for the hot (smooth wire) and silver for the neutral (ribbed wire). Wrap the stripped copper ends around the respective screws in a clockwise direction so they tighten as you turn the screw. Tighten each screw securely to prevent loose connections, which can generate heat and pose a hazard. Ensure no bare wire is exposed beyond the terminals. After wiring, reassemble the socket by snapping or screwing it shut. A well-connected socket ensures the bulb receives power safely and efficiently.
9. Reassemble the Lamp
Now that the wiring is complete, reassemble all the lamp components. Carefully fit the socket back into its holder and secure it with any screws or fasteners that were removed earlier. Tug gently on the cord at the base to make sure the strain relief is working and the wiring doesn’t shift. Replace the bulb and lampshade, then visually inspect the lamp for any misaligned or pinched wires. Ensure everything is snug but not overtightened. Reassembly is a critical phase—it not only restores the lamp’s form but also finalizes the integrity of the rewiring job.
10. Test the Lamp for Safety and Functionality
Before placing the lamp back into service, perform a safety check. Use a multimeter to test for continuity and verify that there are no shorts between the wires or metal housing. Plug the lamp into an outlet and turn it on—if it lights up immediately and there are no flickers, smells, or strange sounds,

it’s likely safe to use. Let it run for a few minutes while monitoring for heat buildup or issues. For added safety, consider plugging it into a GFCI outlet for its first few uses. Proper testing ensures peace of mind that your rewired lamp is functional and safe.
Conclusion
Rewiring a lamp may seem like a daunting task at first, but with patience and attention to detail, it can be a rewarding project. By following the necessary steps and conducting thorough testing, you can ensure that your lamp is both functional and safe for everyday use. Not only does this process allow you to revive a cherished fixture, but it also provides a sense of accomplishment and sustainability. Always prioritize safety and take your time to achieve the best results. So, there you have it – a quick and easy guide on how to rewire a floor lamp.

