Outdoor light timers are valuable tools for controlling when your outdoor lights turn on and off, offering a convenient solution to enhance energy efficiency and security. Whether you’re illuminating pathways, yards, or porches, these devices help automate lighting schedules, providing peace of mind and reducing energy waste. However, it’s essential to periodically reset your outdoor light timer to ensure it operates efficiently. A well-timed reset allows the timer to adapt to seasonal changes in daylight, ensures the device continues to function correctly, and helps maintain your preferred light schedule.
This article serves as a comprehensive guide on how to reset outdoor light timer models, walking you through the step-by-step process, troubleshooting tips, and an understanding of different timer types, including mechanical, digital, and smart timers. Proper maintenance of your timer guarantees optimal performance and keeps your outdoor spaces well-lit and efficient.
Types of Outdoor Light Timers
Mechanical Timers
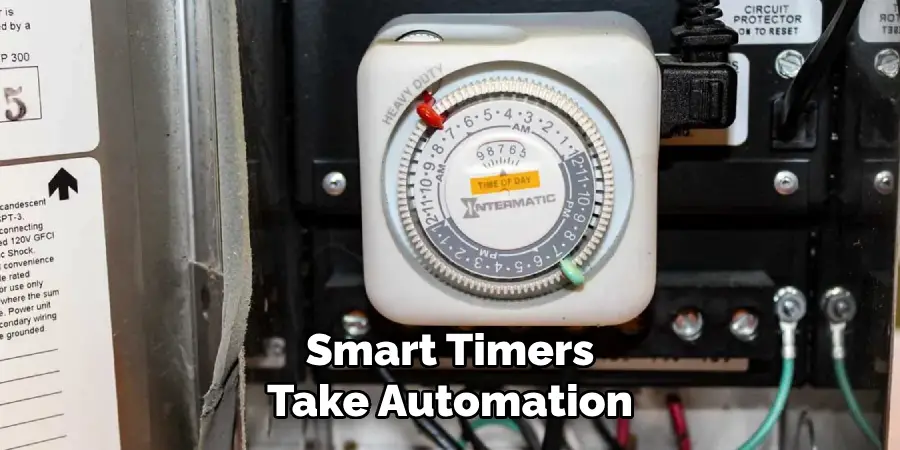
Mechanical timers are basic yet reliable devices that use dials and pins to set designated on and off times. They operate without needing electricity, making them energy-efficient and easy to use. The pros of mechanical timers include affordability and durability, while the cons revolve around limited precision and fewer customization options. These timers are ideal for users who prefer simplicity and a hands-on approach.
Digital Timers
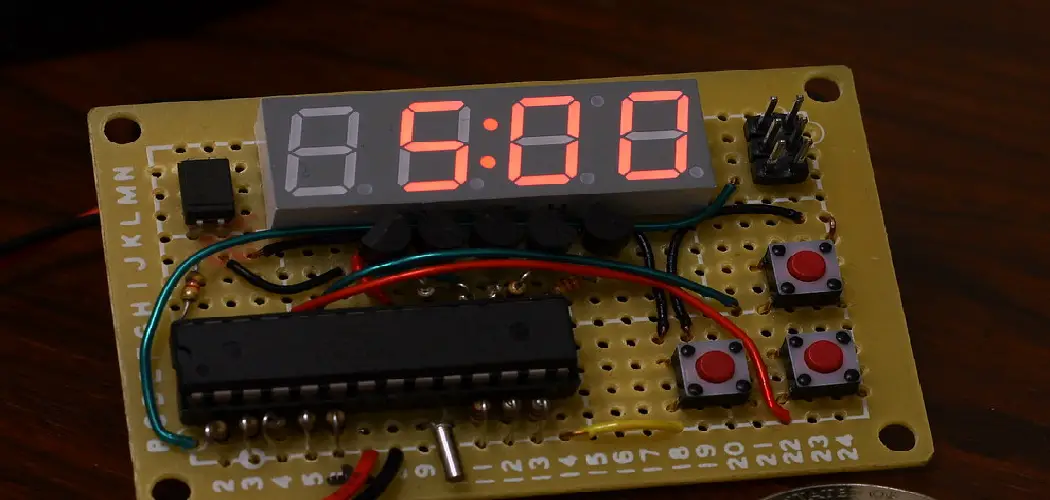
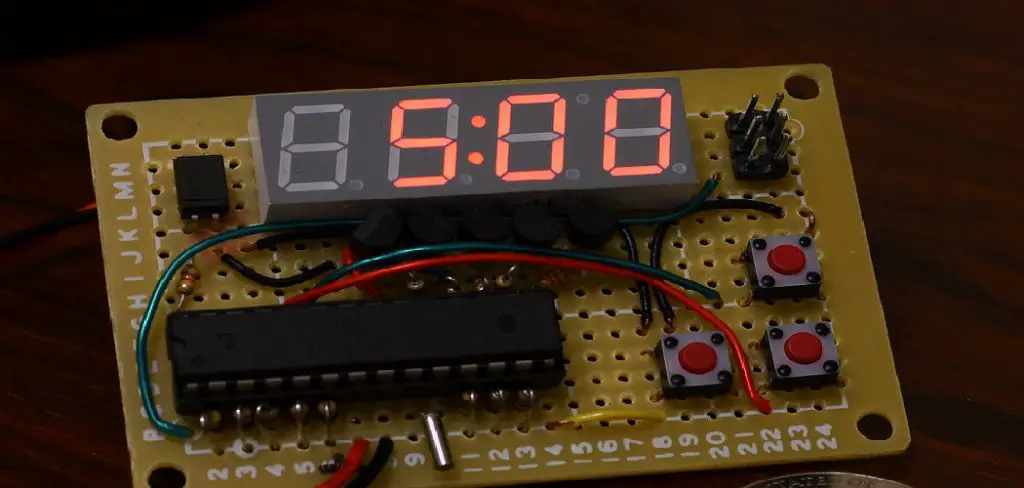
Digital timers offer a more advanced solution, featuring digital displays for precise scheduling. They allow for easy programming and often include multiple setting options, such as daily or weekly schedules and countdown features. Advantages of digital timers include greater accuracy, flexibility, and the ability to program complex schedules. However, they may require a power source or batteries, and their interfaces can be slightly more complicated for first-time users.
Smart Timers
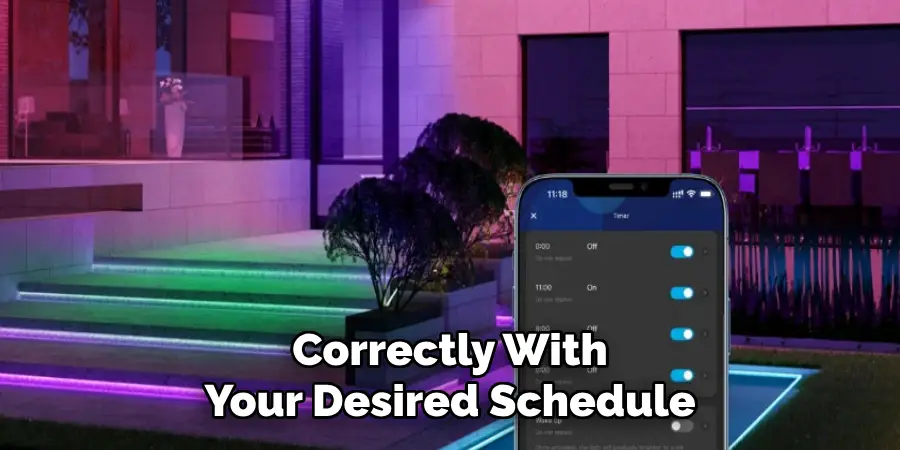
Smart timers take automation to the next level by enabling control through smartphone apps or voice assistants like Alexa or Google Assistant. The benefits of smart timers include remote management, integration with other smart home devices, and automatic adjustments for factors like daylight saving. These timers are perfect for tech-savvy individuals seeking ultimate convenience and efficiency.
Choosing the Right Timer for Your Needs
When selecting an outdoor light timer, consider factors such as your lighting setup, the level of convenience you desire, and the features you value most. Whether you prefer the simplicity of a mechanical timer, the precision of a digital timer, or the advanced capabilities of a smart timer, choosing the right device ensures a well-lit and hassle-free outdoor space.
Materials and Tools Needed
Resetting an outdoor light timer is a straightforward process that requires a few materials and tools. Here’s what you’ll need:
- Outdoor light timer (mechanical, digital, or smart).
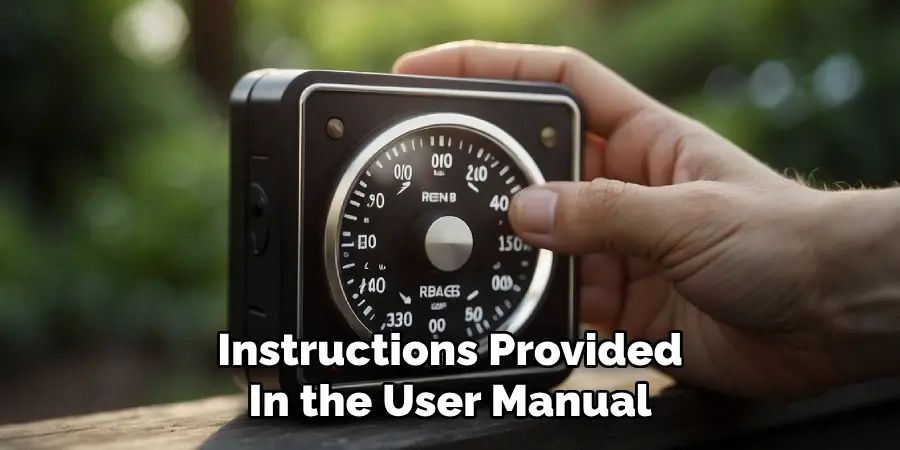
- User manual or instructions (if available) to reference specific steps for your timer model.
- Pen and paper (optional for jotting down current settings or configurations).
- Tools (if applicable):
- Screwdriver for removing the timer from its mounting or accessing its internal components.
For smart timers, ensure you have access to a smartphone or Wi-Fi connection to reprogram or reset through the app. Having these items ready will make the resetting process smoother and ensure your outdoor timer operates efficiently once reconfigured.
How to Reset Outdoor Light Timer: Reset a Mechanical Outdoor Light Timer
Resetting a mechanical outdoor light timer is a simple process that ensures your lights function efficiently according to your schedule. Follow these steps to reset and reconfigure your timer:
Step 1: Locate the Timer’s Settings Dial
Identify the timer’s settings dial, which typically has markings indicating the hours of the day. This dial might also feature small pin slots or switches used to set the on/off times for your lights.

Step 2: Adjust the Pins or Dial for New Settings
Move the pins or adjust the dial to set the on and off times according to your preferences. Ensure the schedule reflects your desired lighting times, whether it’s for security, convenience, or ambiance. For daylight hours, align the settings to match seasonal changes if necessary.
Step 3: Set the Current Time
To ensure the timer operates accurately, rotate the time dial to align with the current time. This allows the device to coordinate its schedule with the actual time of day.
Step 4: Test the Timer
Plug the timer back into the power outlet and connect the lights. Turn the lights on to verify the settings. Observe whether the timer activates and deactivates the lights according to the newly configured schedule.
By completing these steps, your outdoor mechanical timer will be properly reset and ready for use, helping you save energy and maintain a well-lit environment.
How to Reset Outdoor Light Timer: Reset a Digital Outdoor Light Timer
Resetting a digital outdoor light timer can help ensure your lights operate reliably and on schedule. Follow these simple steps to reset and reprogram your timer effectively.
Step 1: Powering the Timer Off and On
Begin by turning off the timer. You can do this by either unplugging it from the outlet or using the reset button, if one is available. This process clears any previous settings and prepares the device for reprogramming.
Step 2: Program the Current Time
Next, set the correct time on the digital display. Refer to the user manual for specific instructions regarding your timer model. Usually, this involves pressing a “set time” or “clock” button and using arrow buttons to adjust the hour and minute. Properly setting the current time ensures the timer aligns correctly with your desired schedule.
Step 3: Set the On/Off Schedule
Access the programming menu on the digital timer’s display to set your desired on/off schedule. Navigate using the buttons or arrows provided. Input the specific times and days you want the connected lights to turn on and off. For example, you might choose to turn the lights on at 6 PM and off at midnight.
Step 4: Save and Test the Timer
Once you’ve entered the schedule, save the settings by following the timer’s instructions. To test the timer, manually toggle through the modes to confirm it activates and deactivates at the programmed times. This final step ensures reliable operation.
By following these steps, your digital outdoor light timer will be reset and correctly programmed, making it easy to keep your outdoor spaces illuminated while saving energy.
Common Issues and Troubleshooting Tips
Lights Not Turning On/Off at the Right Time
Double-check the set time and the on/off schedule to ensure it aligns with your expectations. Verify that the timer is set to the correct AM or PM setting and make any necessary adjustments. Additionally, ensure that daylight saving time has been accounted for, particularly with mechanical timers, as this can impact the programmed schedule.
Timer Not Responding
For mechanical timers, inspect the pins or tabs to confirm they are correctly aligned with the desired time settings. If using a digital or smart timer, try restarting the device or performing a factory reset to clear any errors. Make sure the timer is plugged into a functioning outlet and that there is no disruption to the power supply.
Smart Timer Sync Issues
If you’re experiencing difficulties with a smart timer, check that the corresponding app on your device is up to date. A stable Wi-Fi connection is essential for proper operation, so verify the connection strength. If the issue persists, try re-pairing the smart timer with the app by following the instructions provided in the user manual.
Conclusion
Understanding how to reset outdoor light timers ensures a seamless setup for your lighting needs. Mechanical timers demand manual adjustments to align with desired settings, while digital timers rely on button inputs for precision. Smart timers, on the other hand, integrate app-based control for greater convenience. Maintaining your timer is crucial—regularly check and update its settings to guarantee optimal performance. A final tip: always keep the timer’s manual or app accessible for quick reference when facing issues or resetting in the future. By mastering these steps, you’ll simplify the process of how to reset outdoor light timer effortlessly.

