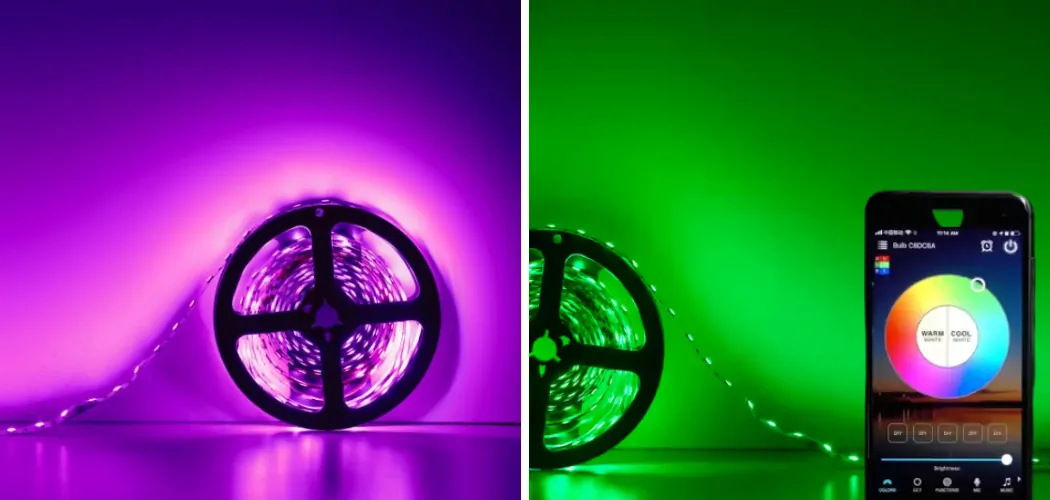
Daybetter LED lights are a popular choice for adding ambient lighting to any room. However, like any electronic device, they may occasionally need to reset due to issues such as not responding to the remote control or not changing colors properly. In this guide, we will discuss how to reset Daybetter LED lights.
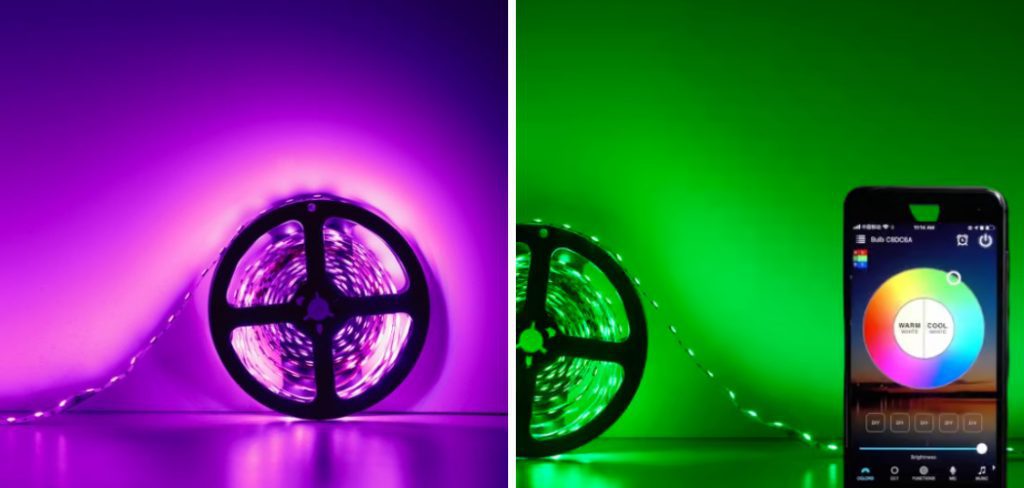
Before we dive into the steps of resetting your Daybetter LED lights, it is important to understand why a reset may be necessary.
Necessary Items
Before resetting your Day Better LED lights, you will need the following items:
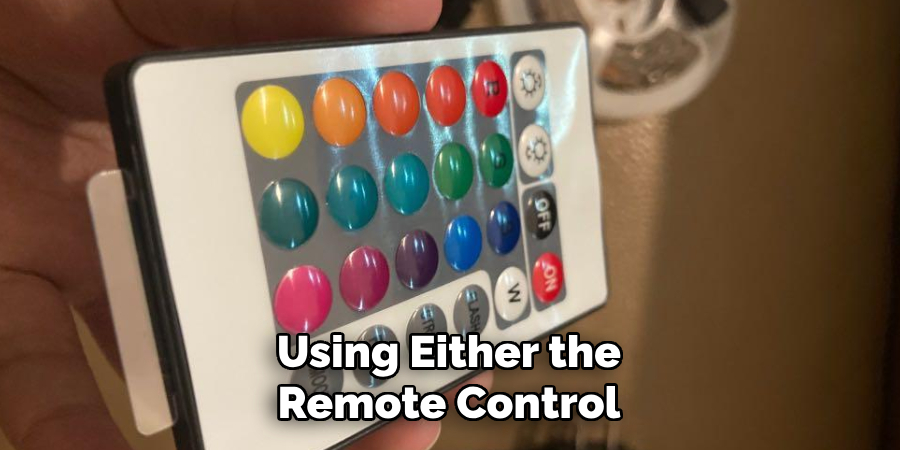
- The remote control for your Day better LED lights
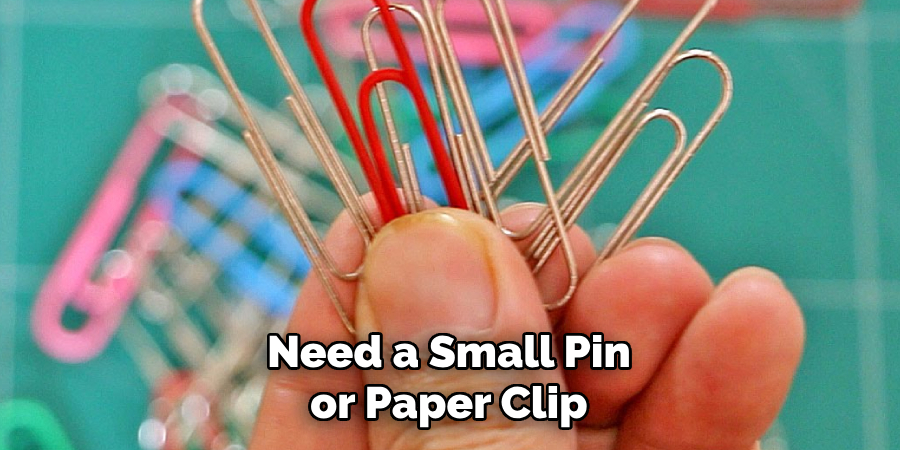
- A small pin or paperclip (for pressing the reset button)
Reasons for Resetting Daybetter LED Lights
There are several reasons why you may need to reset your Day Better LED lights:
1. The Remote Control is Not Working Properly
Sometimes, the remote control for your Day Better LED lights may stop responding due to various factors such as low battery or interference from other electronic devices. In such cases, resetting the lights can help resolve the issue.
2. The Lights are Not Changing Colors
If your Daybetter LED lights are not changing colors properly or getting stuck on one color, a reset may be necessary to fix this problem. And while this may seem like a minor issue, it can greatly affect the overall ambiance and mood of the room.
3. The Lights are Not Turning On or Off
Another reason you may need to reset your Daybetter LED lights is if they are not turning on or off using either the remote control or the power button on the main unit. This could be due to a technical glitch that can be resolved with a reset.
8 Things to Know Before You Start
Before you reset your Day Better LED lights, here are some important things to keep in mind:
1) Check the Power Source
Before attempting to reset your Daybetter LED lights, make sure that they are properly connected to a power source and turned on. If there is no power going to the lights, a reset will not be effective. While this may seem like an obvious step, it is always worth checking to avoid unnecessary troubleshooting.
2) Check the Batteries in the Remote
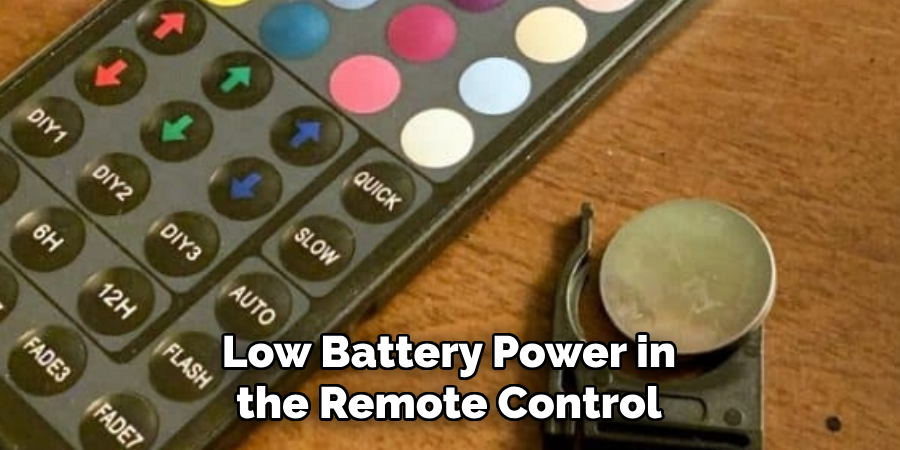
If the remote control for your Daybetter LED lights is not working properly, it may be due to low battery power. Before resetting the lights, try replacing the batteries and see if that resolves the issue.
3) Make Sure the Remote is in the Range
The remote control for Daybetter LED lights typically has a range of up to 16.4 feet (5 meters). If you are too far away from the lights, they may not respond to the remote’s commands. Make sure you are within range before attempting a reset.
4) Avoid Using Other Remotes Nearby
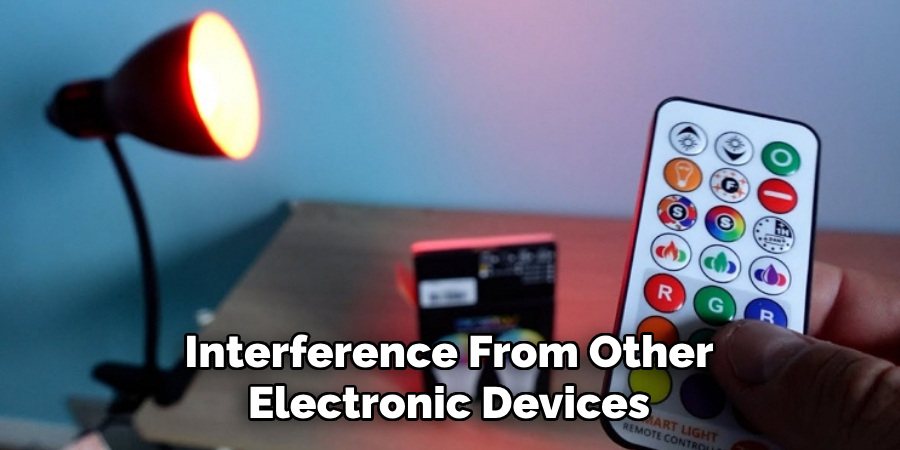
If there are other electronic devices with remotes in the vicinity, it may interfere with the signal of your Daybetter LED lights’ remote. Make sure to keep other remotes away to avoid any potential interference.
5) Use a Small Pin or Paperclip for Resetting
To press the reset button on your Daybetter LED lights, you will need a small pin or paper clip. This is because the button is typically small and recessed, making it difficult to press with your finger.
6) Avoid Resetting Multiple Times
If resetting your Daybetter LED lights does not solve the issue, avoid repeatedly resetting them, as this may cause damage or decrease their lifespan. Instead, consider contacting customer support for further assistance.
7) Follow the Correct Reset Procedure
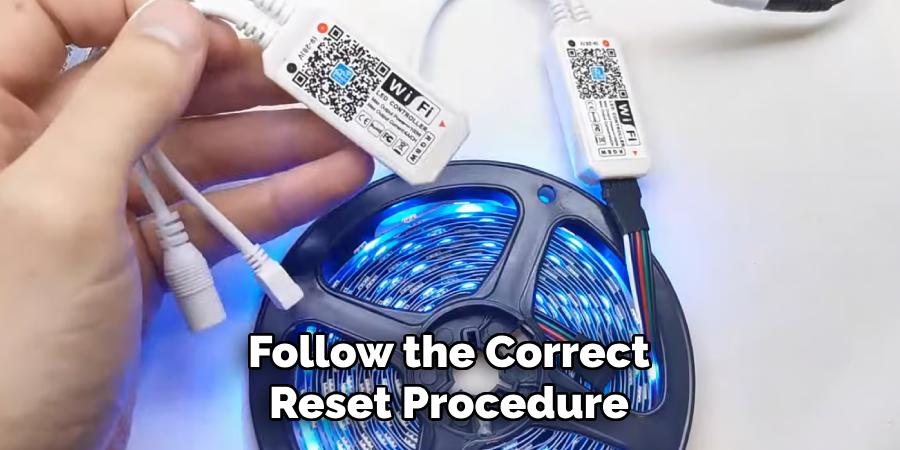
Different LED light models may have slightly different reset procedures. Make sure to consult your product manual or contact customer support for the correct procedure before attempting a reset. As a general rule, the reset button is usually located on the main unit of the lights.
8) Be Patient
Resetting your Daybetter LED lights may take a few minutes, so be patient and avoid interrupting the process. If you are unsure if the reset was successful, wait for a few more minutes before trying again or contacting customer support.
Resetting your Daybetter LED lights may seem like a daunting task, but it is a simple process that can help resolve common issues with these popular lights. By following the correct procedure and keeping the above tips on how to reset Daybetter LED lights in mind, you can easily reset your Daybetter LED lights and continue enjoying their ambient lighting in your home. Remember always to consult the product manual or contact customer support for further assistance if needed.
12 Steps on How to Reset Daybetter LED Lights
Now that you have all the necessary information and items, here are the steps to reset your Day Better LED lights:
Step 1: Turn off the Power
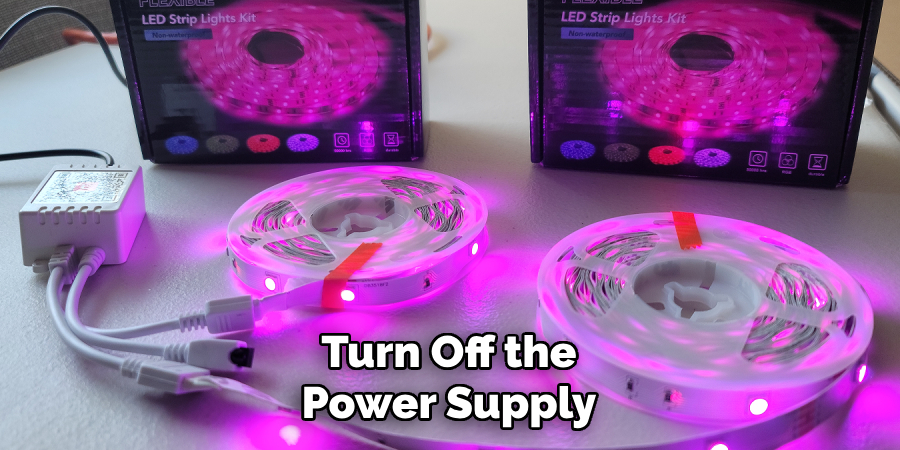
Make sure to turn off the power supply to your Daybetter LED lights. You can do this by unplugging them from the power source or using a switch if available. While this may seem like an obvious step, it is essential to ensure your safety and avoid any potential damage.
Step 2: Press the Reset Button
Locate the reset button on the main unit of your Daybetter LED lights. As mentioned earlier, you will need a small pin or paper clip to press it. Insert the pin or paperclip into the button’s recess and hold it down for a few seconds. You may hear a clicking sound when the reset button is pressed.
Step 3: Unplug the Power Source
Unplug your Daybetter LED lights from the power source and wait for at least 30 seconds before plugging them back in. This will allow enough time for the lights to fully reset. Make sure the power supply is turned off before plugging them back in.
Step 4: Turn on the Power Supply
Turn on the power supply to your Daybetter LED lights and wait for them to fully turn on. You should see a solid color or blinking lights indicating that the reset was successful. While the lights are turning on, make sure to keep the remote control in range.
Step 5: Change Colors
Using the remote control, try changing the colors of your Daybetter LED lights. If they are responding correctly, the reset was successful. If not, proceed to the next step. Then, try turning the lights off using both the remote control and the main unit’s power button to see if they respond correctly.
Step 6: Repeat Steps 2-5
If your Daybetter LED lights are still not responding correctly, repeat steps 2-5 at least two more times. This will ensure that you have followed the correct reset procedure and given enough time for the lights to fully reset.
Step 7: Check Other Potential Issues
If the lights are still not responding correctly, double-check other potential issues, such as low battery power in the remote control or interference from other electronic devices. If none of these seem to be the problem, consider contacting customer support for further assistance.
Step 8: Turn off and Unplug the Lights
If you are unable to resolve the issue, turn off and unplug your Daybetter LED lights for at least 30 seconds before plugging them back in. This will allow the lights to reset fully and potentially resolve any issues.
Step 9: Try a Different Reset Procedure
Some Daybetter LED light models may have a different reset procedure than others. If your lights are still not responding correctly, consult your product manual or contact customer support for the correct procedure and try again.
Step 10: Avoid Repeated Resets
If you have already tried resetting your Daybetter LED lights multiple times without success, avoid repeating the process too many times. This may cause damage to the lights or decrease their lifespan. Instead, consider contacting customer support for further assistance.
Step 11: Check Warranty
If your Daybetter LED lights are still not working correctly after multiple attempts at resetting, check the warranty on the product. If it is still within the warranty period, consider getting a replacement or contacting customer support for repair options.
Step 12: Contact Customer Support
If all else fails, contact customer support for further assistance. They may be able to provide additional troubleshooting steps or advice on how to resolve the issue with your Daybetter LED lights.
Overall, resetting your Daybetter LED lights is a simple process that can help resolve common issues and ensure that you continue enjoying their ambient lighting in your home. Remember to always follow the correct reset procedure and avoid repeated resets unless necessary.
Contact customer support for further assistance if needed. Further assistance can be obtained by contacting Daybetter’s customer support team. They are available to help you with any additional questions or concerns regarding your LED lights. Consider reaching out to them for a more personalized and in-depth troubleshooting experience.
8 Things to Avoid when Resetting Your Daybetter LED Lights
1) Rushing the Process
As mentioned earlier, be patient and avoid interrupting the reset process by unplugging or turning off the power supply too soon. This can cause bigger issues and may even void the warranty. Take your time and follow the steps carefully.
2) Using Incorrect Tools
Always use a small pin or paper clip to press the reset button on your Daybetter LED lights. Using other tools may damage the button or cause harm to yourself. More importantly, avoid using metal objects as they can conduct electricity and potentially cause electrical shocks.
3) Not Turning off the Power Supply
Before attempting to reset your Daybetter LED lights, make sure to turn off the power supply. This will ensure your safety and prevent any potential damage to the lights. Always follow safety precautions when dealing with electronic devices.
4) Forgetting to Keep the Remote in Range
To ensure that the reset is successful, always keep the remote control within range of the central unit during the process. This allows for proper communication between the two and ensures that any changes made are reflected on the lights.
5) Neglecting Other Potential Issues
Before resetting your Daybetter LED lights, double-check other potential issues, such as low battery power in the remote control or interference from other electronic devices. These may be the root cause of the problem and may not require a reset.
6) Repeated Resets without Success
Avoid repeatedly resetting your Daybetter LED lights if they are still not responding correctly after multiple attempts. This can potentially damage the lights and decrease their lifespan. Instead, consider contacting customer support for further assistance.
7) Not Checking the Warranty
If your Daybetter LED lights are still not working correctly after multiple attempts at resetting, check the warranty on the product. If it is still within the warranty period, consider getting a replacement or contacting customer support for repair options.
8) Disregarding Customer Support’s Advice
In case you are unable to resolve the issue on your own, do not disregard any advice given by customer support. They are trained professionals and may have more knowledge about the product’s functioning. Always consider their suggestions before attempting any further troubleshooting steps.
Overall, avoiding these common mistakes can help ensure a successful reset process for your Daybetter LED lights and prevent any potential damage or safety hazards. Remember always to follow safety precautions and consult customer support for further assistance if needed.
8 Additional Tips for Maintaining Your Daybetter LED Lights
1) Clean Regularly
To ensure the longevity and optimal functioning of your Daybetter LED lights, it is important to clean them regularly. Use a soft cloth or gentle cleaner to wipe away any dust or dirt that may accumulate on the surface.
2) Keep Away from Water
Daybetter LED lights are not waterproof and should be kept away from any water sources. Avoid using them in areas with high humidity or where they may come in contact with liquids. While some models may be advertised as waterproof, it is still important to avoid exposing them to excessive moisture.
3) Check for Loose Connections
Periodically check the connections between your Daybetter LED lights and ensure they are secure. Loose connections can cause flickering or dimming of the lights, affecting their overall performance. Tighten any loose connections if necessary.
4) Use Power Surge Protectors
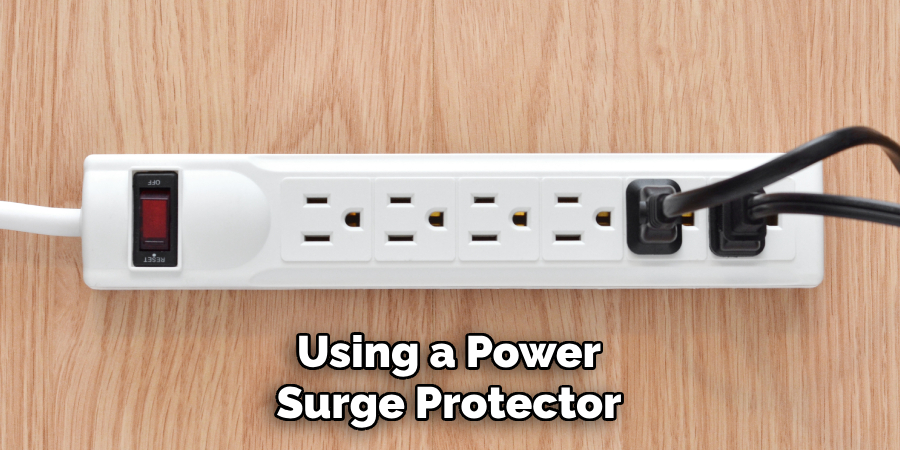
To protect your Daybetter LED lights from power surges or fluctuations, consider using a power surge protector. This will help prevent any potential damage to the lights and extend their lifespan. As a precaution, always turn off the power supply before plugging or unplugging the lights.
5) Store in Cool, Dry Places
When not in use, make sure to store your Daybetter LED lights in a cool and dry place. Exposure to extreme temperatures or high humidity can damage the lights and affect their performance. Meanwhile, keep them away from direct sunlight to avoid discoloration or fading of the lights.
6) Avoid Overloading Outlets
Do not overload outlets when plugging in your Daybetter LED lights. This can cause a fire hazard and potentially damage the lights. Spread out the usage of outlets or consider using an extension cord if necessary.
7) Check for Software Updates
If your Daybetter LED lights come with a remote control or app, make sure to periodically check for software updates. These updates can improve the functionality and performance of the lights.
8) Consider Professional Installation
For more complex setups or larger installations of Daybetter LED lights, consider hiring a professional for installation. This can ensure that the lights are set up correctly and minimize the risk of any potential issues or damage. By following these additional tips on how to reset Daybetter LED lights, you can help maintain your Daybetter LED lights and ensure they continue to provide optimal lighting for your needs.
Remember to always refer to the product manual for specific instructions on maintenance and usage.
Frequently Asked Questions
How Often Should I Clean My Daybetter LED Lights?
It is recommended to clean your Daybetter LED lights at least once a month or more frequently if they are located in areas with high dust or traffic. Regular cleaning can help maintain their performance and prevent dust buildup.
Can I Use Water on My Daybetter LED Lights?
No, Daybetter LED lights are not waterproof and should not come in contact with water. Avoid using them in areas with high humidity or where they may be exposed to liquids. If necessary, you can use a slightly damp cloth to clean the surface of the lights, but make sure to dry them thoroughly afterward.
Can I Cut the LED Strips to Shorten Them?
No, it is not recommended to cut the LED strips as it can damage the circuit and affect their functionality. If you need shorter strips, consider buying a different size or consulting customer support for alternative options.
Can I Use Daybetter LED Lights Outdoors?
Daybetter LED lights are designed for indoor use only and should not be used outdoors. Exposure to the elements can damage the lights and pose a safety hazard. If you need outdoor lighting, consider purchasing specific outdoor LED lights.
What Should I Do if My Daybetter LED Lights Stop Working?
If your Daybetter LED lights stop working, try resetting them first before contacting customer support. If the issue persists, check the warranty and consider getting a replacement or seeking repair options from customer support. Overall, it is important to properly maintain your Daybetter LED lights and avoid common mistakes to ensure their optimal performance and longevity.
However, if you encounter any issues or have further questions, do not hesitate to reach out to customer support for assistance.
Conclusion
In conclusion, resetting your Daybetter LED lights can help resolve any issues you may encounter and ensure their proper functioning. By avoiding common mistakes and following the proper steps on how to reset daybetter LED lights for resetting, you can maintain the performance and lifespan of your lights.
Remember to clean them regularly, avoid water exposure, check connections, use power surge protectors, store in appropriate conditions, and consult customer support if needed. With these additional tips and precautions, you can enjoy the full benefits of your Daybetter LED lights for years to come. Lastly, thank you for choosing Daybetter for your lighting needs, and we hope this guide has been helpful in maintaining your LED lights.

