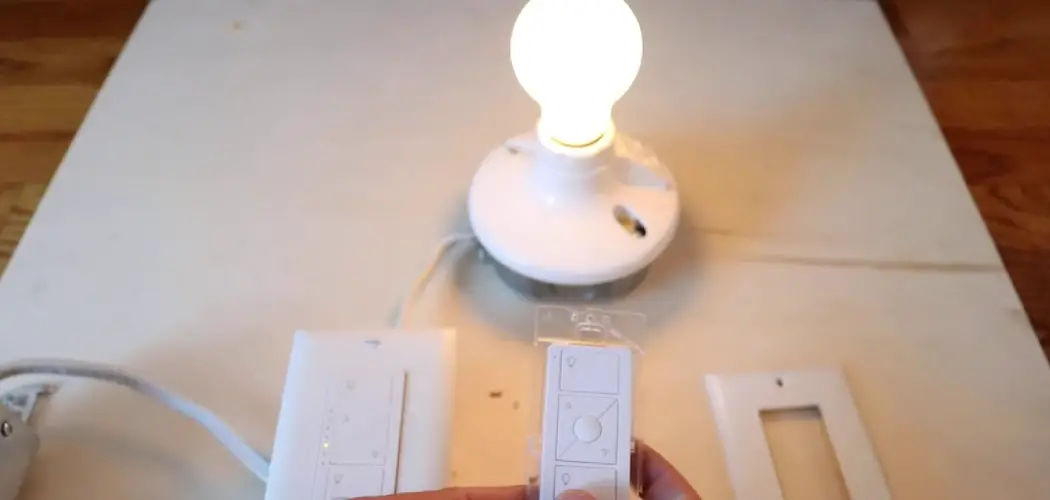
Resetting a Pico remote is an essential process for troubleshooting connectivity issues, reconfiguring settings, or preparing for a new setup within your Lutron smart lighting system. Pico remotes serve as convenient handheld controllers, allowing users to adjust lighting levels, activate preset scenes, or control multiple devices from anywhere within their home. However, there are instances when a reset becomes necessary to resolve technical glitches or prepare the remote for reprogramming.

Whether you’re encountering connectivity problems, experiencing unresponsive buttons, or simply need to start fresh with your Pico remote configuration, knowing how to reset it effectively is crucial. In this comprehensive guide, we’ll explore the step-by-step process for resetting a Pico remote, offering insights into different reset methods and tips for ensuring a smooth and successful reset.
Whether you’re a novice or experienced user, understanding how to reset your Pico remote empowers you to maintain optimal performance and convenience within your smart lighting system.
Importance of Resetting a Pico Remote
Resetting a Pico remote plays a pivotal role in maintaining the efficiency and responsiveness of your smart lighting system. It provides a fresh start for the device, clearing any temporary glitches or misconfigurations that may have accumulated over time. This action not only ensures the remote functions at peak performance but also helps to prevent further connectivity issues, enhancing overall user experience.
In scenarios where the system’s settings need to be updated or reconfigured, a reset can serve as a preliminary step, making the remote more receptive to new configurations. Furthermore, for users integrating new lighting devices or expanding their smart home setup, resetting the Pico remote facilitates seamless device pairing and synchronization.
Recognizing the significance of a remote reset is essential for effectively managing and troubleshooting your smart lighting system, thereby ensuring it operates smoothly and reliably in your daily life.
Understanding Pico Remotes
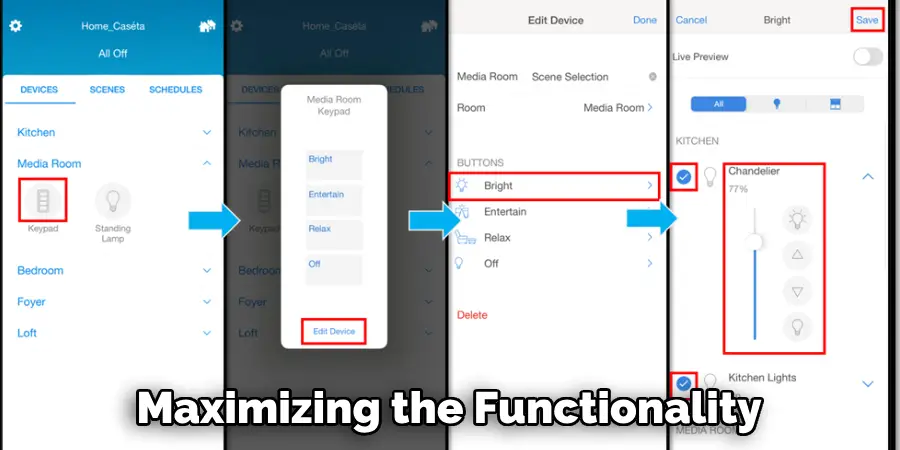
Understanding Pico Remotes is crucial for maximizing the functionality and convenience they bring to your smart lighting system. Pico remotes, developed by Lutron, are versatile wireless controllers designed to work seamlessly within the Lutron ecosystem.
They operate on Clear Connect RF Technology, ensuring reliable communication with light controls and shades without interference from other wireless devices in your home. Compact and elegantly designed, Pico remotes can be wall-mounted with a bracket or used as a handheld device, offering flexibility in how you control your environment. They are capable of adjusting lights, setting scenes, and managing shades across multiple zones, all from a single remote.
With a battery life of up to 10 years, Pico remotes are not only durable but also low maintenance, contributing to a hassle-free smart home experience. Understanding these features and capabilities is the first step towards integrating Pico remotes into your daily routine, enabling you to create a more comfortable and customizable living space.
The Different Types of Pico Remotes Available
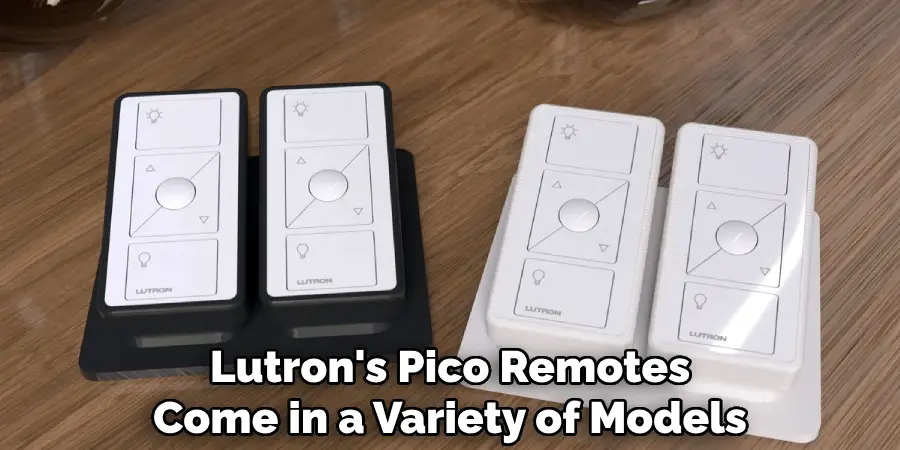
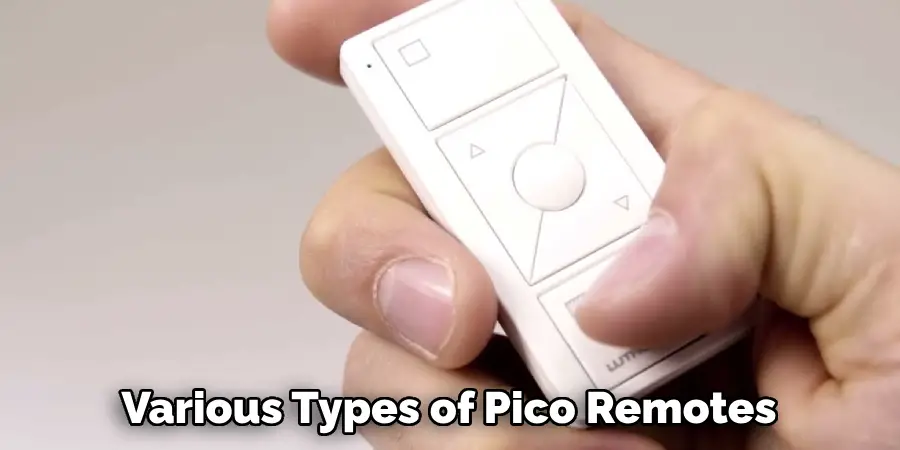
Lutron’s Pico remotes come in a variety of models, each tailored to specific uses within the smart lighting and shade control ecosystem. Understanding the different types available can help you select the perfect remote to meet your needs:
- Lighting Control Pico Remote: This version is specifically designed for controlling Lutron’s smart lighting systems. It allows for the dimming and switching of lights, making it a fundamental choice for general lighting control.
- Shade Control Pico Remote: Focused on controlling Lutron’s motorized shades, this remote enables users to raise, lower, and stop shades with ease. It’s an essential tool for enhancing privacy and controlling natural light with minimal effort.
- Audio Pico Remote: Compatible with Lutron’s audio solutions, this remote allows for easy control over music and audio systems, including play/pause, track skipping, and volume adjustments, creating a seamless audio experience throughout your home.
- Scene Pico Remote: Designed for creating and controlling scenes, this remote can activate predefined lighting and shade settings to match different moods or activities, offering a higher level of customization and convenience.
- 2-Button Pico Remote: Offering a simplified control option, the 2-button remote is ideal for basic on/off functions, perfect for users seeking straightforward control without the need for dimming features.
- 4-Button Pico Remote: This model adds more functionality with buttons dedicated to adjusting light intensity or shade positions, suitable for areas requiring more nuanced control.
- Fan Control Pico Remote: Specially designed for ceiling fan control, this remote includes options for adjusting fan speed, providing a comfortable and adaptable living environment.
Each Pico remote is engineered for specific functions within the Lutron system, ensuring there is a solution available for any need. Whether for lighting, shades, audio, or ceiling fans, Pico remotes offer the versatility and reliability needed to enhance the smart home experience.
Reasons for Resetting a Pico Remote
There are several reasons why you might find it necessary to reset your Pico remote. These include:
- Resolving Connectivity Issues: Resetting can help fix problems related to the remote’s connection with the lighting system or shades, ensuring smooth and reliable control.
- Troubleshooting Unresponsive Buttons: If certain buttons on the remote become unresponsive or do not work as expected, a reset might restore its full functionality.
- Implementing System Updates: In some cases, updating your smart home system may require a reset of the Pico remote to ensure compatibility and optimal performance.
- Changing System Configurations: Resetting is often needed when making changes to your configuration, such as adding new devices or changing the setup of your current system.
- Clearing Old Configurations: Over time, your needs and preferences for lighting and shade control may evolve. Resetting allows you to clear old settings and start fresh, tailoring the system to your current requirements.
- Preparing for Re-pairing: If you’re looking to pair your Pico remote with a different device or system, a reset ensures that it is ready to establish a new connection without any lingering data from previous pairings.
Understanding these reasons for a reset can help users diagnose issues with their Pico remote more effectively, leading to quicker resolutions and an enhanced smart home experience.
Troubleshooting Connectivity Issues with Pico Remotes
When experiencing connectivity issues with Pico remotes, it’s crucial to follow a systematic approach to troubleshoot and resolve these problems efficiently. Here are steps to diagnose and fix connectivity issues, ensuring your Pico remote seamlessly communicates with your smart lighting system or motorized shades:
- Check Battery Life: Begin by verifying the battery of the Pico remote. A low battery can lead to weakened signal strength or intermittent connectivity. Replacing with a fresh battery may immediately resolve the issue.
- Ensure Proper Range: Pico remotes rely on RF (Radio Frequency) signals to communicate with the Lutron system. Ensure the remote is within the recommended operating range, typically about 30 feet (9 meters) from the receiver, without significant obstructions.
- Inspect for Interference: Other wireless devices in your home, such as Wi-Fi routers, cordless phones, or microwave ovens, can cause interference. Try using the Pico remote at a different location or time to rule out interference as a cause.
- Re-pair the Remote: Sometimes, the solution is as simple as re-pairing the Pico remote with your smart lighting control or shade system. Follow the manufacturer’s instructions to reset and re-pair the remote, ensuring a clean connection.
- Update System Firmware: Ensure that your Lutron system and any associated smart home devices are running the latest firmware. An outdated system might not communicate effectively with the Pico remote.
- Reset the Pico Remote: If the above steps do not resolve the connectivity issue, resetting the Pico remote itself can clear potential glitches. Follow the reset procedure as outlined in the product manual, and then re-pair the remote with your devices.
- Contact Support: Should connectivity issues persist after trying these steps, reach out to Lutron customer support. Expert assistance can help diagnose less obvious problems and guide you towards a solution.
By systematically troubleshooting connectivity issues with your Pico remote, you can quickly identify and remedy the problem, ensuring that your smart lighting and shade systems function as intended with minimal disruption to your smart home experience.
10 Methods How to Reset a Pico Remote
Understand the Importance of Resetting a Pico Remote:
Before diving into the reset methods, it’s crucial to understand why you might need to reset a Pico remote. Common reasons include troubleshooting connectivity issues, clearing out outdated configurations, or resolving software glitches. By identifying the specific issue you’re facing, you can determine the most appropriate reset method to use.
Identify the Type of Pico Remote:
Lutron offers various types of Pico remotes, each with its own reset procedures. Before attempting to reset a Pico remote, identify its model and familiarize yourself with the corresponding reset method. This ensures that you follow the correct steps for your specific remote model.
Check the Battery Level:
Before proceeding with a reset, check the battery level of the Pico remote. Low battery power can affect the remote’s functionality and may prevent the reset process from completing successfully. If the battery is low, replace it with a fresh one before attempting the reset.
Soft Reset Using Button Combination:
One method for resetting a Pico remote is through a soft reset using a button combination. Begin by pressing and holding specific buttons on the remote simultaneously for a few seconds. The exact button combination may vary depending on the model of the Pico remote. Refer to the user manual or manufacturer’s instructions for the correct button combination for your remote.
Hard Reset Using Reset Button:
If a soft reset doesn’t resolve the issue, you can perform a hard reset using the reset button on the Pico remote. Locate the reset button, which is typically a small recessed button on the back or bottom of the remote. Use a paperclip or similar tool to press and hold the reset button for a specified duration, usually around 10-15 seconds. Release the button when the LED indicator on the remote blinks rapidly, indicating that the reset process has begun.
Factory Reset Using Lutron App:
Some models of Pico remotes may offer the option to perform a factory reset through the Lutron app. Open the app and navigate to the settings or device management section. Look for the option to reset or reconfigure the Pico remote and follow the on-screen prompts to initiate the factory reset process. This method is convenient for users who prefer to manage their devices through the Lutron app.
Factory Reset Using Smart Bridge:
If your Pico remote is paired with a Lutron Smart Bridge or Smart Bridge Pro, you can perform a factory reset through the bridge’s interface. Access the bridge’s settings using the Lutron app or web portal and look for the option to reset connected devices. Follow the on-screen instructions to reset the Pico remote to its factory settings. This method is ideal for users who have multiple devices connected to the Smart Bridge and prefer to manage them centrally.
Resetting Individual Device Associations:
If your Pico remote is programmed to control specific devices, you may need to reset these associations individually. Begin by identifying the devices that the Pico remote is paired with and accessing their settings through the Lutron app or device interface.
Look for the option to remove or reset the Pico remote’s association with each device and follow the on-screen instructions to complete the process. This method allows for granular control over the remote’s configuration and ensures that it is only paired with the desired devices.
Resetting Favorite Button Settings:
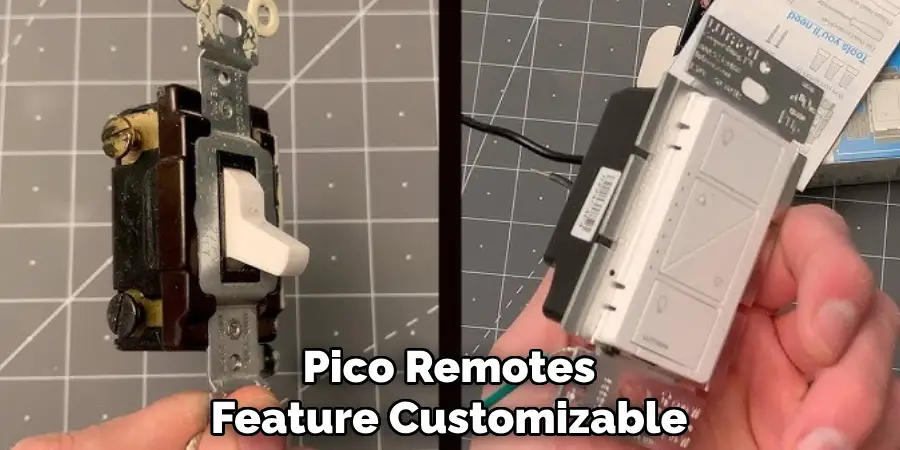
Some models of Pico remotes feature customizable “Favorite” buttons that allow users to assign specific functions or scenes. If you need to reset the Favorite button settings, access the remote’s settings menu through the Lutron app or device interface. Look for the option to reset or reconfigure the Favorite button settings and follow the on-screen instructions to complete the process. This method allows you to customize the remote’s functionality according to your preferences.
Seeking Professional Assistance:
If you’ve tried all the above methods and are still experiencing issues with your Pico remote, it may be time to seek professional assistance. Contact Lutron support or consult with a qualified technician who specializes in smart home systems. They can provide expert guidance and assistance with diagnosing and resolving the problem, ensuring that your Pico remote is operating smoothly and efficiently.
Additional Tips and Best Practices
After successfully resetting your Pico remote, consider the following tips and best practices to enhance its functionality and extend its lifespan:
- Regular Updates: Ensure that your Pico remote and any associated Lutron Smart Bridge or app are kept up-to-date with the latest firmware and software updates. These updates can improve functionality, introduce new features, and resolve known issues.
- Proper Battery Maintenance: Regularly check the battery level and replace the batteries as needed to maintain optimal performance. Consider using high-quality batteries for longer life and more reliable operation.
- Customization: Take advantage of the customization options available for your Pico remote. Configuring scenes, adjusting dimming levels, or setting your favorite settings can enhance your smart home experience.
- Placement: For optimal performance, place the Pico remote within the recommended range of the Lutron Smart Bridge or the devices it controls. Avoid placing the remote near large metal objects or in areas with significant electronic interference, which could affect its connectivity.
- Cleaning and Care: Keep the Pico remote clean by gently wiping it with a dry or slightly damp cloth. Avoid using harsh chemicals or abrasive materials that could damage the remote’s surface.
- System Integration: If you have a diverse smart home ecosystem, explore ways to integrate your Pico remote with other smart devices or systems. This could enable more complex automations and enhance the overall functionality of your smart home.
- Learning Resources: Familiarize yourself with the resources available from Lutron, such as tutorials, FAQs, and customer support forums. These can be invaluable for troubleshooting, learning tips for advanced use, and staying informed about product updates.
By following these additional tips and best practices, you can ensure that your Pico remote continues to serve as an efficient and reliable component of your smart home system, providing ease of use and enhanced control over your lighting and shading devices.
Conclusion
In conclusion, mastering the art of resetting a Pico remote is essential for maintaining the functionality and convenience of your Lutron smart lighting system. Whether you’re troubleshooting connectivity issues, reconfiguring settings, or preparing for a new setup, the ability to reset the remote effectively ensures smooth operation and optimal performance.
By following the step-by-step process outlined in this guide, users can confidently navigate the reset procedure without encountering any difficulties. Additionally, staying informed about different reset methods and tips for ensuring a successful reset empowers users to address any technical glitches or unresponsive buttons with ease. Now that you know how to reset a pico remote. While it does take a few steps each time, hopefully now you understand the process and why it’s worth taking the extra step to make sure your floor is properly cared for. So don’t wait any longer, take action today!
You can also check it out to : Repair Your Led Light Remote

