In the quest for energy efficiency and enhanced lighting quality, many homeowners are opting to replace traditional recessed lights with energy-saving LED alternatives. Making the switch not only lowers electricity bills but also provides a brighter, more versatile illumination. In this guide, we explore the step-by-step process of how to replace recessed lights with LED fixtures, covering essential considerations such as choosing the right LED bulbs, understanding compatibility with existing fixtures, and ensuring a seamless installation.
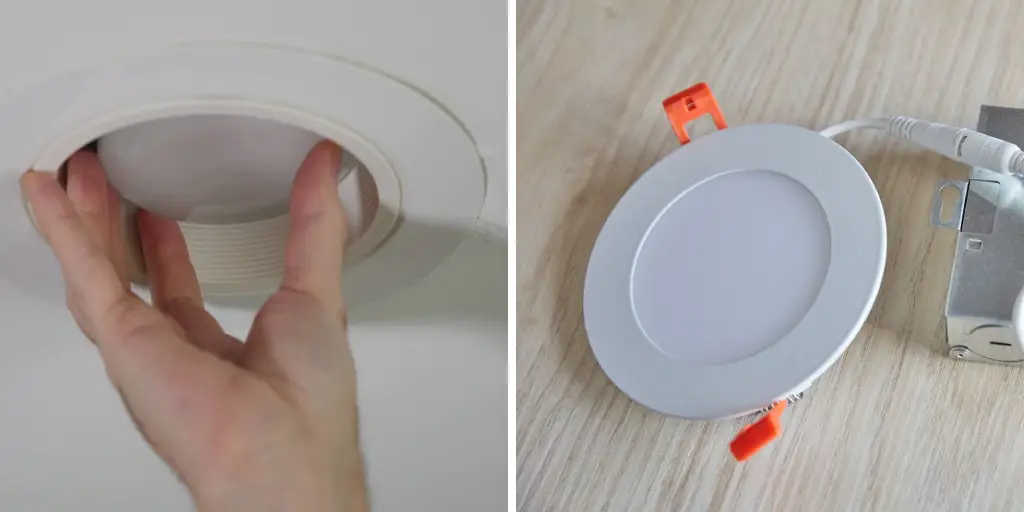
Whether motivated by environmental consciousness or a desire for a modernized lighting aesthetic, this transition to LED technology offers a myriad of benefits. By following these instructions, homeowners can easily upgrade their recessed lighting, enjoying the advantages of improved energy efficiency, longer bulb lifespan, and the customizable appeal of LED lighting in their living spaces.
Advantages of Replacing Recessed Lights with LED
LED lights have become increasingly popular in modern households, and for good reason. In recent years, they have emerged as a more efficient and cost-effective alternative to traditional lighting sources such as incandescent bulbs and fluorescent tubes. More specifically, LED lights are now being used as replacements for recessed lights, which are commonly found in kitchens, living rooms, hallways, and other areas of the home. In this section, we will explore the advantages of replacing recessed lights with LED lights.
Energy Efficiency
One of the main reasons why LED lights are becoming so popular is their energy efficiency. Compared to traditional lighting sources, such as incandescent bulbs, LED lights use significantly less energy to produce the same amount of light. In fact, LED lights use up to 80% less energy, making them a more environmentally friendly option. This also means that replacing your recessed lights with LED lights can significantly reduce your electricity bill, saving you money in the long run.
Longevity
Another advantage of using LED lights is their longevity. Traditional lighting sources have a limited lifespan and require frequent replacements, which can be a hassle and an added expense. On the other hand, LED lights have a much longer lifespan, lasting up to 25 times longer than incandescent bulbs. This means you won’t have to replace your recessed lights as often, saving you time and money in the long term.
Versatility
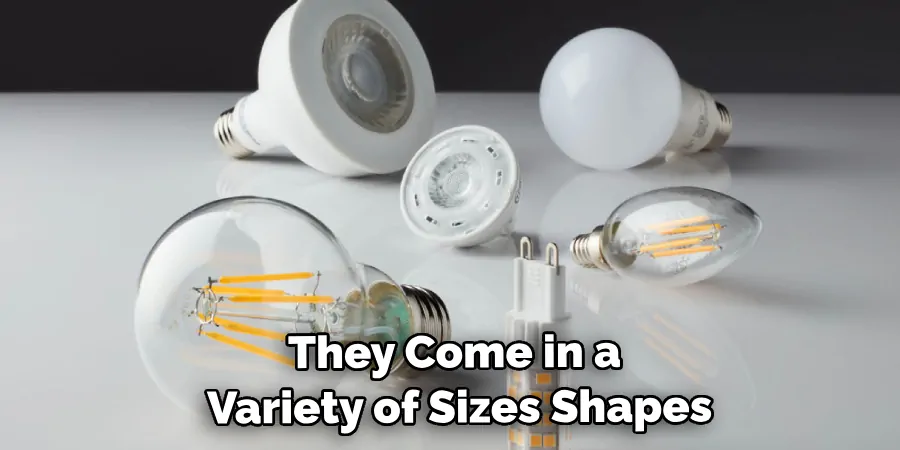
LED lights offer more versatility in terms of design and functionality compared to traditional lighting sources. They come in a variety of sizes, shapes, and colors, giving you more options to choose from when replacing your recessed lights. LED lights can also be dimmed, allowing you to adjust the brightness according to your needs and preferences. Additionally, some LED lights offer smart features such as remote control and color-changing capabilities, adding a modern touch to your home.
Environmentally Friendly
As mentioned earlier, LED lights are more environmentally friendly compared to traditional lighting sources. They do not contain harmful substances such as mercury, which can be found in fluorescent bulbs, making them safer for both humans and the environment. Furthermore, LED lights emit less heat than incandescent bulbs, reducing the risk of fire hazards. This makes them a safer and more sustainable option for your home.
10 Methods How to Replace Recessed Lights with Led
1. Turn Off the Power
The first step in replacing recessed lights with LED is to turn off the power to the fixture. This can be done by turning off the circuit breaker or unplugging the light fixture from its power source. It is important to make sure that there is no electricity running to the fixture before beginning any work, as it could cause serious injury or death if not handled properly.
2. Remove Existing Fixture
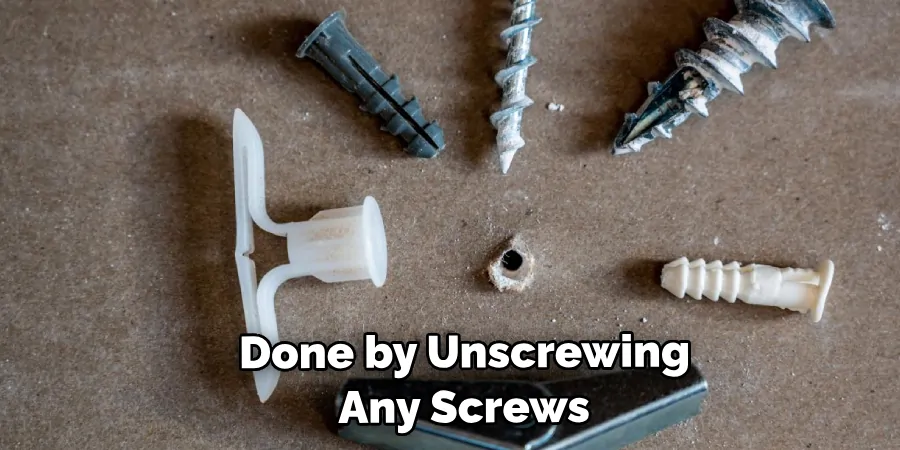
Once the power has been shut off, the next step is to remove the existing recessed light fixture. This can be done by unscrewing any screws that are holding it in place and carefully lifting it out of its housing. Be sure to keep track of any screws or parts that are removed so they can be re-used when installing the new LED light fixture.
3. Install New LED Fixture
Once the old recessed light has been removed, it’s time to install a new LED light fixture. Before doing so, check that all wiring connections are secure and free from corrosion or damage. Once everything looks good, mount the new LED light into place using appropriate mounting hardware and connect all wiring accordingly.
4. Connect Wiring
After mounting the new LED light into place, you will need to connect all wiring according to manufacturer instructions. Depending on your particular model of LED light, this may involve connecting wires directly from your house’s electrical system or using a junction box if one is needed for installation purposes. Make sure all connections are secure and free from corrosion before continuing on with the installation process.
5. Test Light Fixture
Once all wiring has been connected, you should test your new LED light fixture before turning on the power again. To do this, simply flip a switch near your circuit breaker box and observe whether or not your LED lights come on when switched on/off accordingly—if they do not come on then additional troubleshooting may be necessary in order to resolve any issues with wiring connections or other components of your lighting setup prior to powering up again for normal usage purposes.
6. Secure Cover Plate
After testing your new LED lights and ensuring they work correctly, you should now secure a cover plate over where you installed them in order to protect them from dust and debris buildup over time as well as provide an aesthetically pleasing look once complete with the installation process (this will vary based upon particular model/size of cover plate). To do so simply screw in place the cover plate into the same holes where the original recessed lighting was located prior—ensure screws are tightened properly but not too tightly so as not to damage surrounding drywall material upon installation process completion!
7. Turn On Power Source
Once everything else has been completed with regards to the installation process, it’s now time to turn back on the power source for newly installed LED lights—simply switch circuit breaker back “on” position and observe whether or not the lights come on accordingly; if they do then congratulations!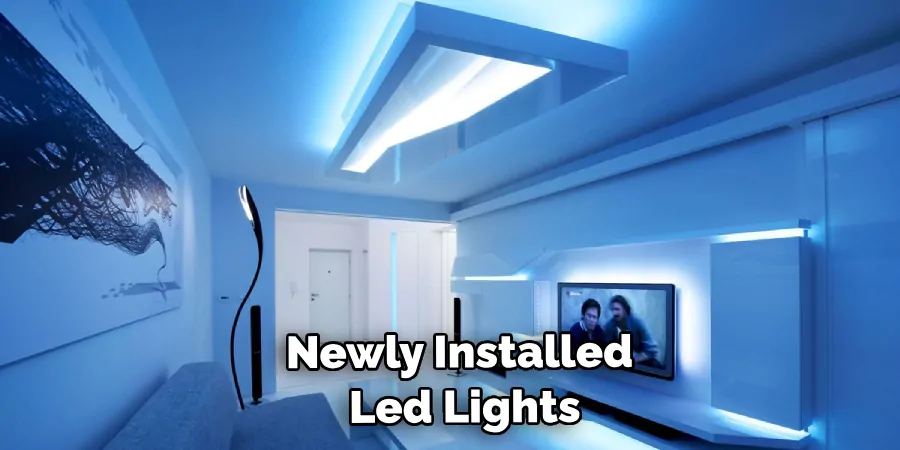
You have successfully replaced traditional recessed lighting with modern energy-efficient LEDs! If however, they don’t come on after flipping the switch then additional troubleshooting may need to be undertaken prior to completing the installation process successfully (e.g., checking connections again, etc.).
8. Adjust Brightness Settings
Depending upon the model of newly installed LEDs, there may be various brightness settings available, which can be adjusted accordingly via a dimmer switch (if applicable) – this allows user to customize the amount of illumination desired within a particular space depending upon needs at given moment in time; some models even feature automated settings which adjust brightness levels automatically based upon ambient lighting conditions present room/area being illuminated!
9. Clean Up Area
Once everything else has been taken care of regarding the replacement process, it’s now time to clean up area – ensure all tools used during the project have been put away safely & securely while also disposing of any excess materials such as packaging materials etc.; additionally, vacuum around the area where LEDs were installed help remove any dust particles which may have accumulated during the installation process itself!
10. Enjoy Your New Lights!
The final step in replacing recessed lights with LEDs is simply enjoying them – take some time to admire how much brighter & more efficient space appears due addition of these modern energy-saving bulbs; additionally, feel free to experiment with different brightness settings available order further customize the look feel room/area being illuminated according to individual preference(s)!
Things to Consider When Replacing Recessed Lights with LED
Replacing recessed lights with LED can be a great way to save energy and lower your electricity bill. However, before you dive into the project, there are a few things you should consider.
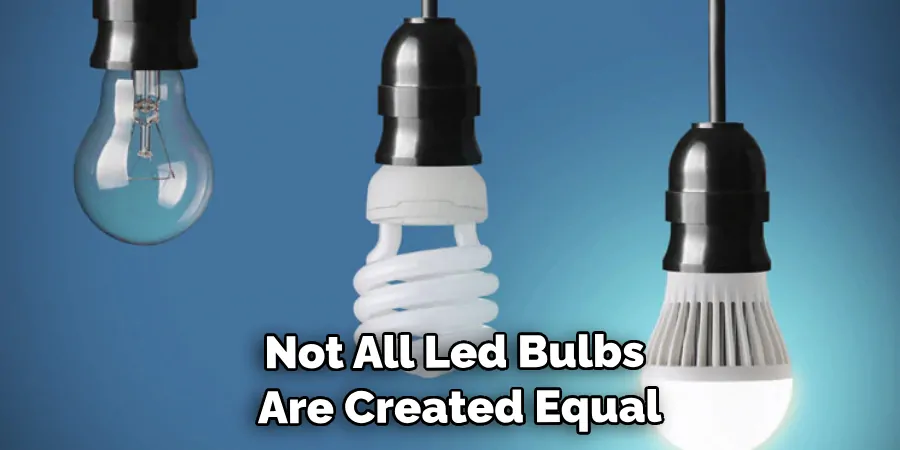
Firstly, it is important to understand that not all LED bulbs are created equal. Different bulbs may have different brightness levels, color temperatures, and beam angles. It is important to choose the right LED bulb that will fit your needs and preferences.
Secondly, you should also consider the type of recessed light fixture you currently have. Some LED bulbs may not be compatible with certain fixtures, so it is important to check before making a purchase.
Conclusion
In conclusion, replacing your recessed lights with led is a great way to make your home environment brighter and more efficient. LED recessed lights are now more affordable and come in all shapes and sizes for whatever your needs may be. The installation process can seem daunting, but with the proper tools and instruction, you can replace your existing recessed lights with LED yourself.
With these tips, you should have all the information you need to get started on replacing those pesky old recessed lights with LED. So go ahead! Take on this project today and enjoy the benefits of having energy-efficient light fixtures in the comfort of your own home. And if you need more help or have any questions about how to replace recessed lights with LED, please don’t hesitate to reach out to us – we’re here for you every step of the way!

